“See the line; cut the line.” It’s the basic premise of hand tool woodworking. It seems like everyone is so focused on the latter (cutting the line) and no one cares about the former (seeing the line). I would like to change that, because no one should struggle through the literal and metaphorical darkness.
In my experience, an ample source of clean and bright light is just as important to quality and safety in woodworking as sharp tools, solid workholding and proper technique. With a little bit of planning, you too can drive away the dark and see what you’ve been missing.

You can’t cut what you can’t see, and quality shop lighting goes a long way in improving your woodworking, even in an apartment.
Up front, I want to say that you do have choices when it comes to shop lighting. I use LED lighting because when it comes to efficiency, durability, simplicity and safety, LED in my mind is head and shoulders above incandescent or fluorescent equivalents. If you’re looking to illuminate a workbench tucked away in a corner, without having to change bulbs or wire permanent fixtures, then hanging LED bar lights are the way to go. If you are looking for tips on lighting your 1500 square foot production workshop, you are clearly on the wrong website.
Okay, now that’s over, let’s talk about goals. My shop lighting goal is (and has always been) to have bright, white light shining directly on my work surface(s) without shadows or obstructions. Ideally, I’d have a north facing window and a high ceiling with plenty of clearance and wooden studs directly above my workbench. That way, I could hang two Lithonia 120V LED light bars over the workbench and be done with it. I had this setup in Vermont (plus an LED task light for joinery and sharpening tasks) and it worked great.
In my current apartment, though, my windows face east (which is a nightmare in the mornings) and, although I have 12 foot ceilings, everything is concrete and drywall with nary a wooden stud to be found. I only need to hang one bar light given my smaller work space, but I am just not comfortable using drywall anchors or drilling into the concrete [i.e., losing my security deposit]. The LED task light alone was not cutting it and I needed to get creative. The solution turned out to be easier than I could have hoped. I built an arbor.

Sometimes the best ideas are born of lazy necessity.
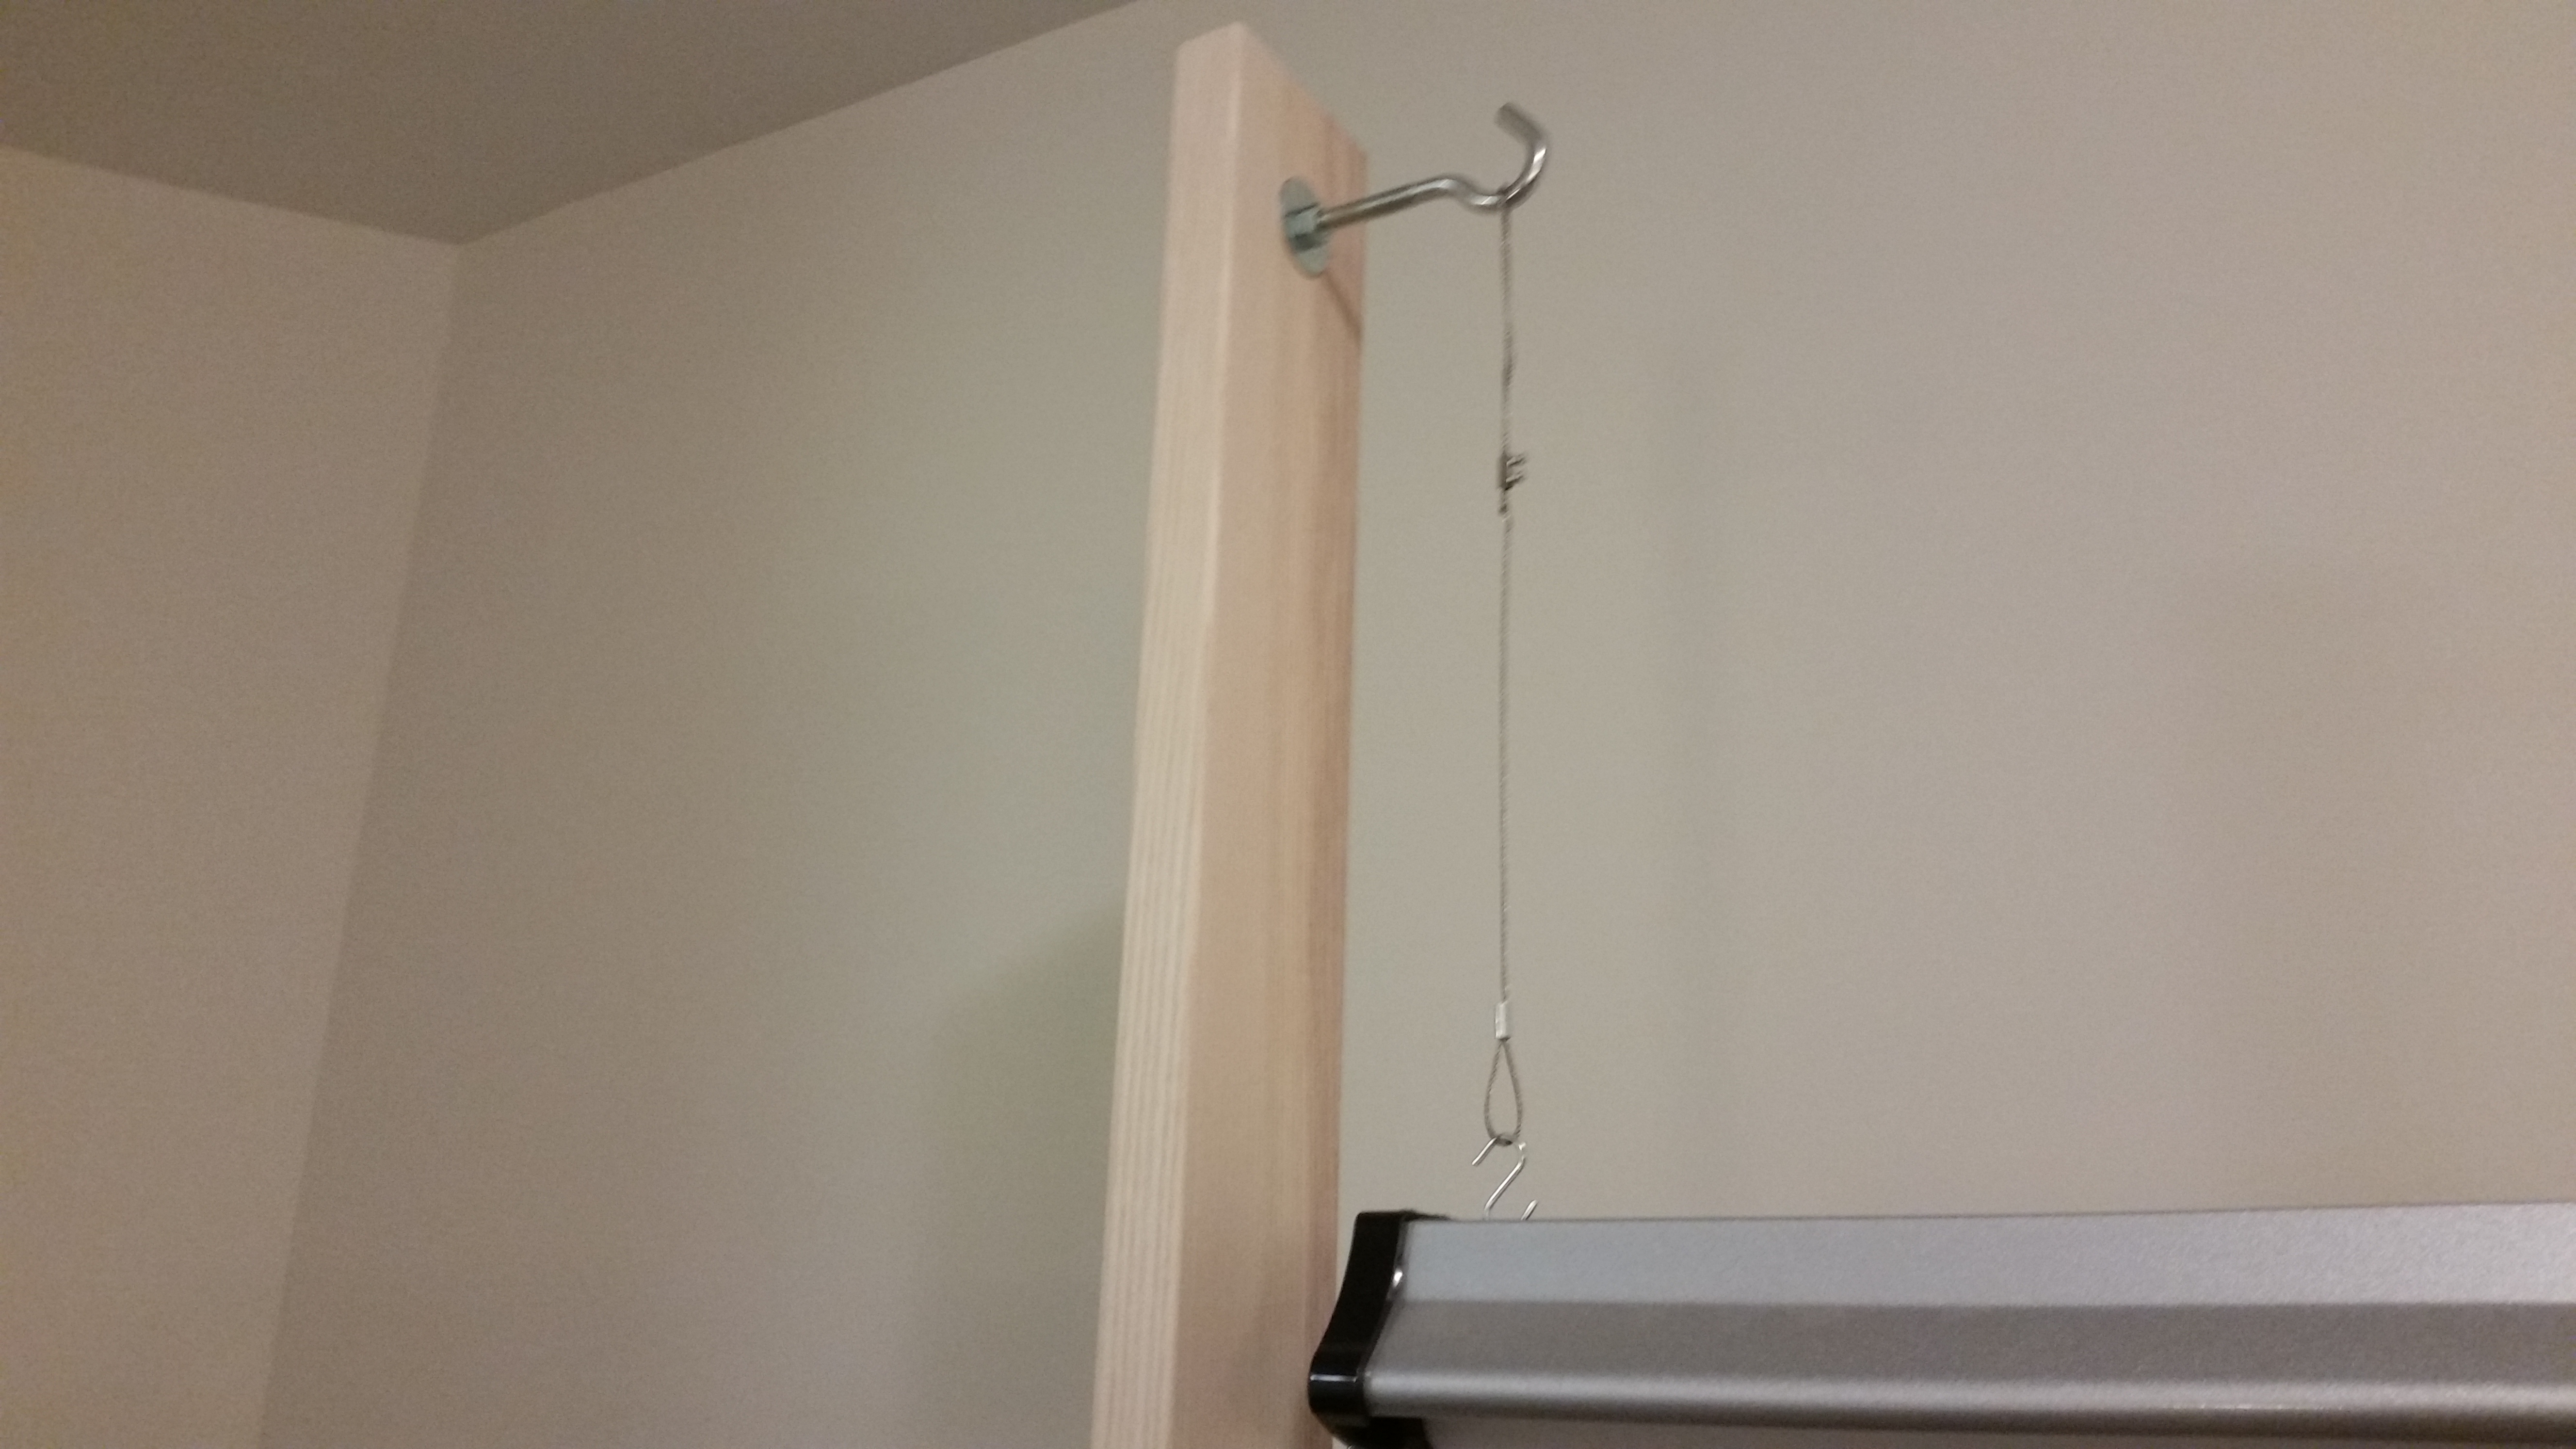
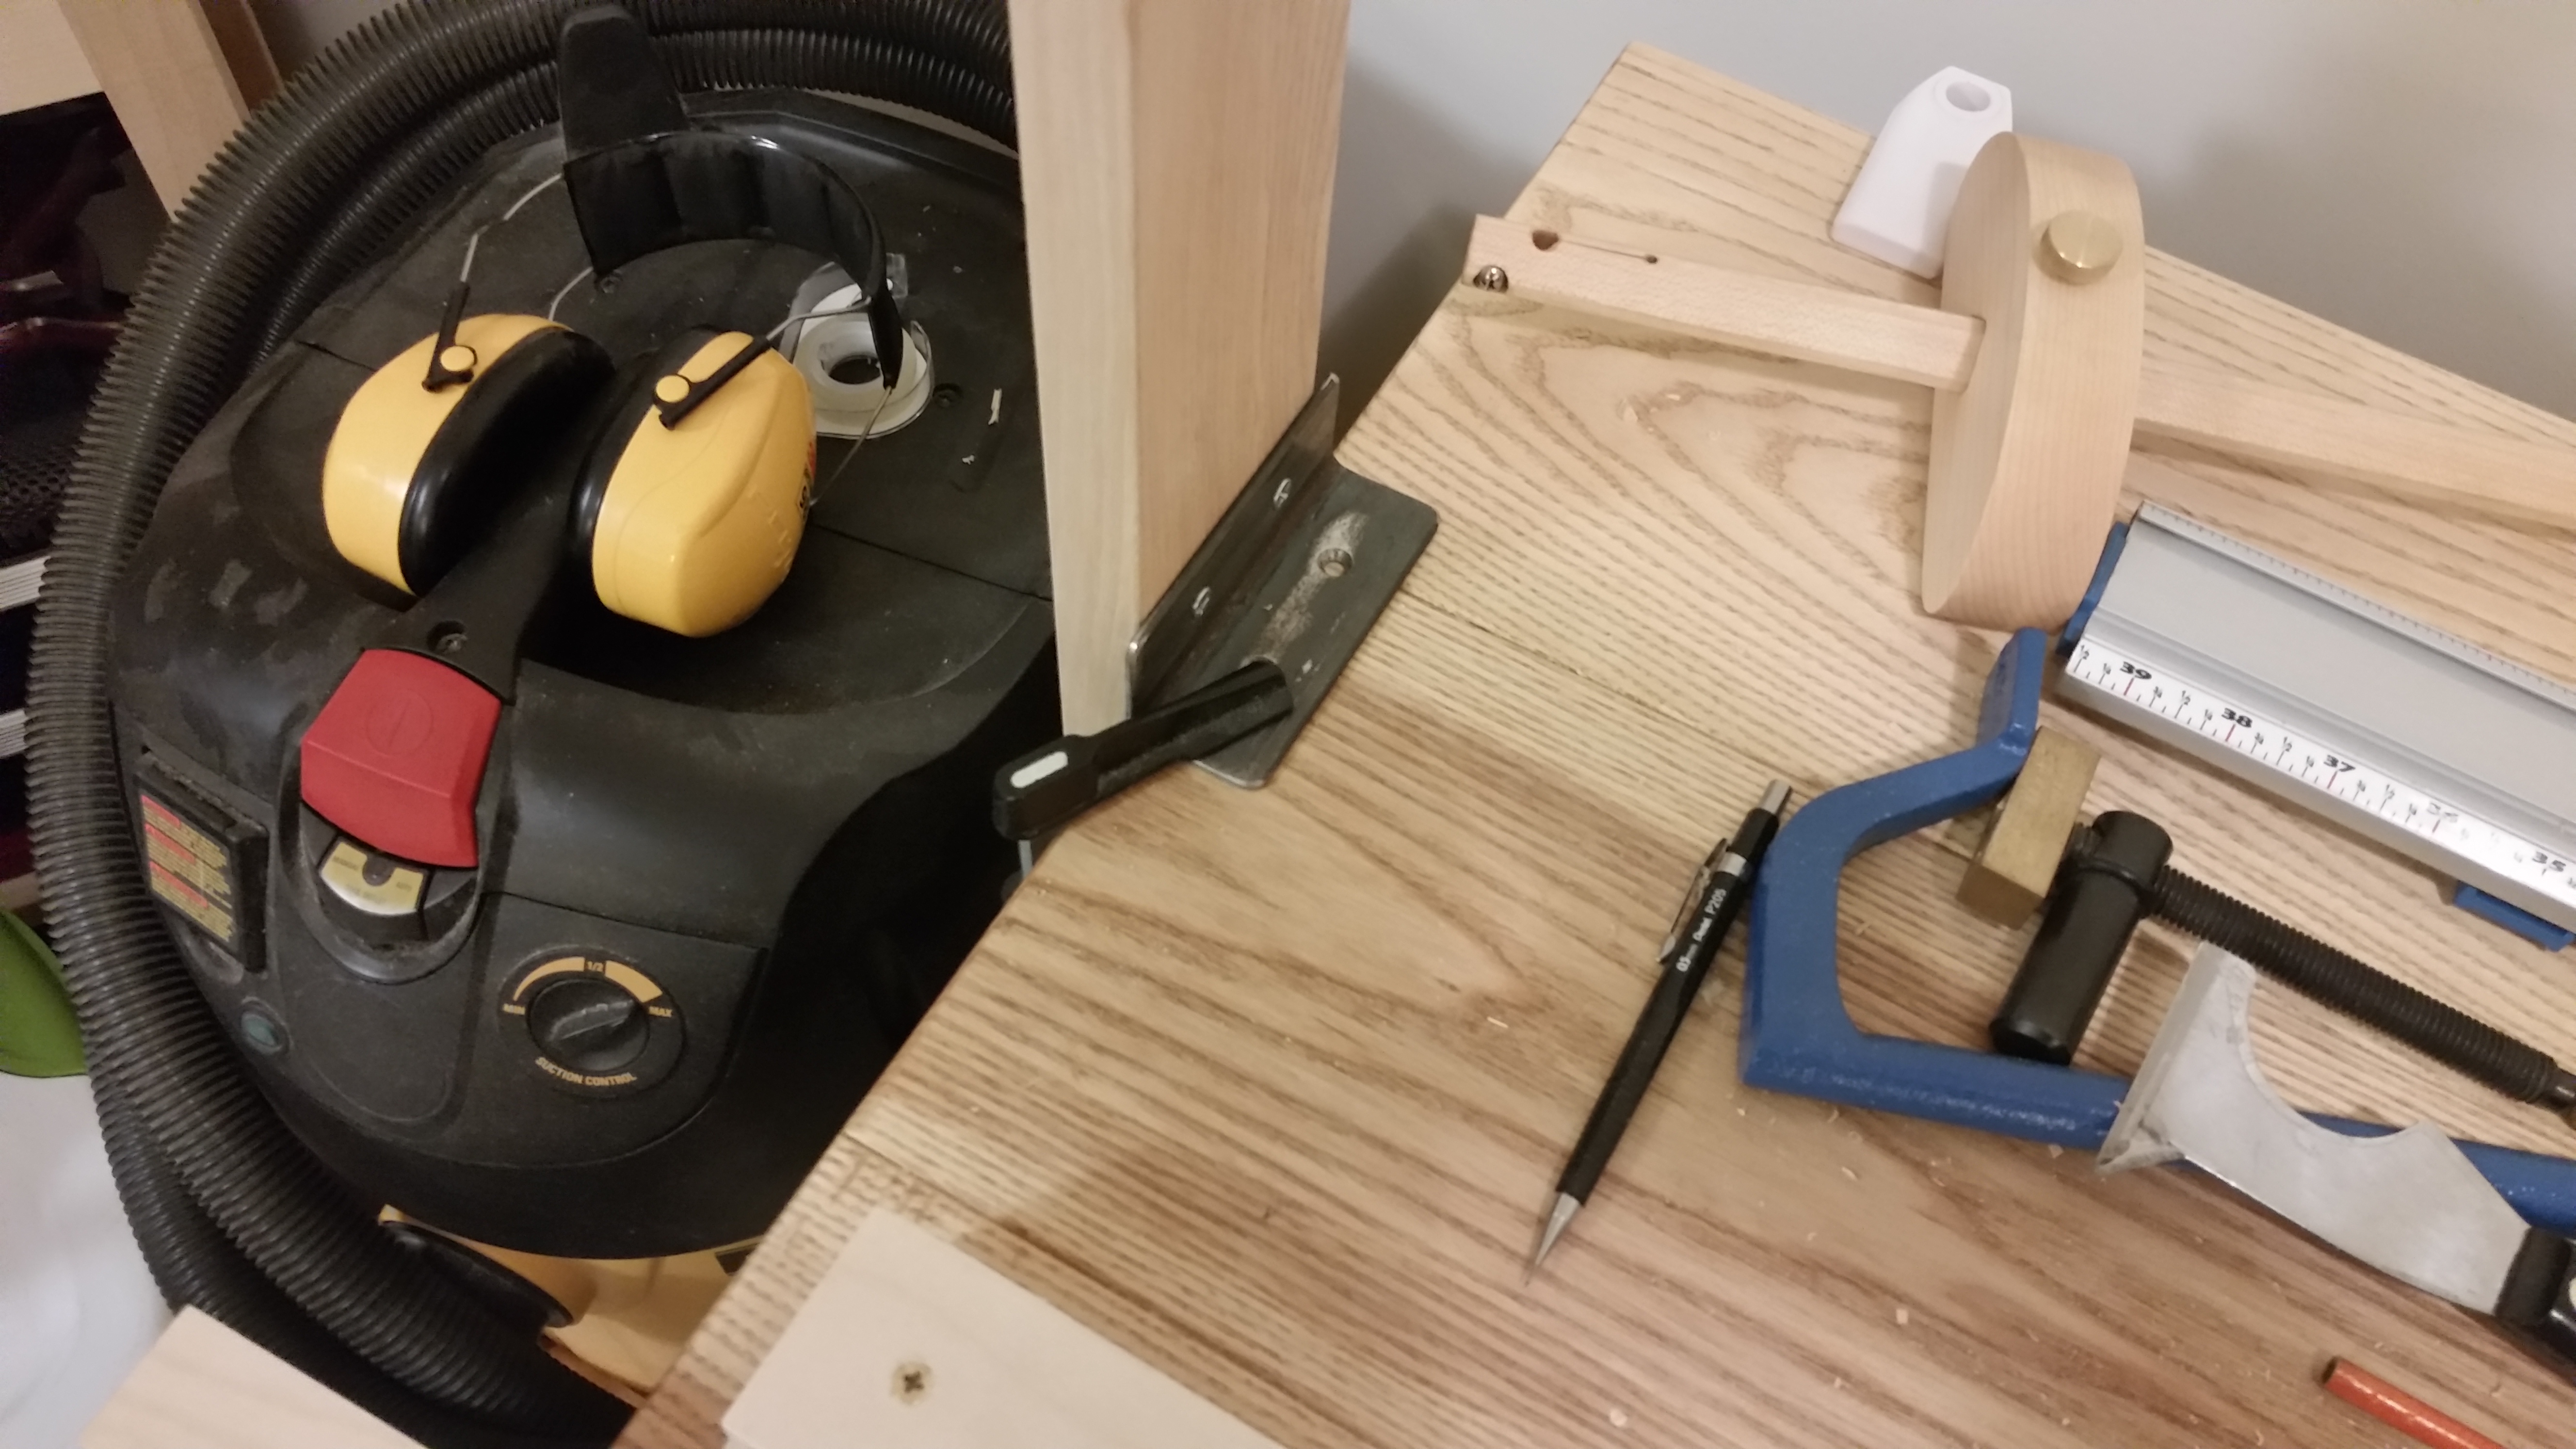
Take some leftover 6/4 ash (ripped and planed into two approximately 60″ x 3.25″ x 1″ pieces), add in couple of angle irons (left over from the Milkman’s Workbench supplies) and a pair of threaded screw hooks (hardware store specials), clamp to opposite sides of the table and hang a bar light. Done and done. No finish, no flair: just bright, clean light directly on the work surface. I might one day scrap the screw hooks and make a cross bar that fits in bridle joints on the supports, but for now, good enough is good enough for me.
It’s that simple.
The best part is, because they’re just clamped to the table, I can move the supports around if I need the clearance or want to focus the light on a particular part of the work surface. Plus, the whole thing is portable, relatively speaking.
Nothing permanent here.
With very little effort, I now have a well-illuminated work surface. My task lamp can be tucked out of the way until needed for close up work and the whole project took about 2 hours (not including the drive to my parents’ house and back to use my thickness planer).
Quality shop lighting makes tasks like reading grain direction and inspecting the camber on a freshly-sharpened plane iron a snap. You’re also less likely to miss a spot when planing or applying finish or wander over a layout line if the work is brightly lit.
So before you cut the line, spend some time making sure you can see the line. Drive away the dark in your workshop and see what you’ve been missing.
JPG

Hello mate nice posst
LikeLike