After a fun couple hours of installing the red oak tray runners, it was time for fitting the red oak tray bottoms. I hadn’t really fit any moving parts since the carriage vise on the Milkman’s Workbench. From that project I learned the fine line between free movement and wracking. For the lower tray bottom (pictured below), the magic length ended up as about a 1/64 inch gap when the tray is slid to the front of the tool chest (and about 3/128 inch when slid to the back, because the inside of the carcass is almost imperceptibly out of square).

Those are the vintage Stanley trunk pulls I bought for $20 off Ebay.
I couldn’t get 8 inch wide red oak hobby boards at the home center, so I laminated the bottoms using 5 1/2 inch and 2 1/2 inch boards. The smaller boards actually ended up being slightly thicker off the rack than the larger ones, so a quick pass through the thickness planer is required before I nail the pine tray carcasses to the red oak bottoms.
Speaking of the tray carcasses, I’m thinking of making the trays rabbeted and nailed (as opposed to dovetailed), because I’ve been wondering if I should have instead made the boarded tool chest Chris Schwarz posted about a couple months ago. I don’t own a fillister plane, but I can pretty easily chisel-split some shallow rabbets and clean it up with a router or shoulder. If I go that route (although at this point, not sure why I would), the trays would be good practice for rabbeting and nailing.
Before I go, one thing I’ve loved about this project is getting to use tools I didn’t even realize I still had, like wooden screw clamps.
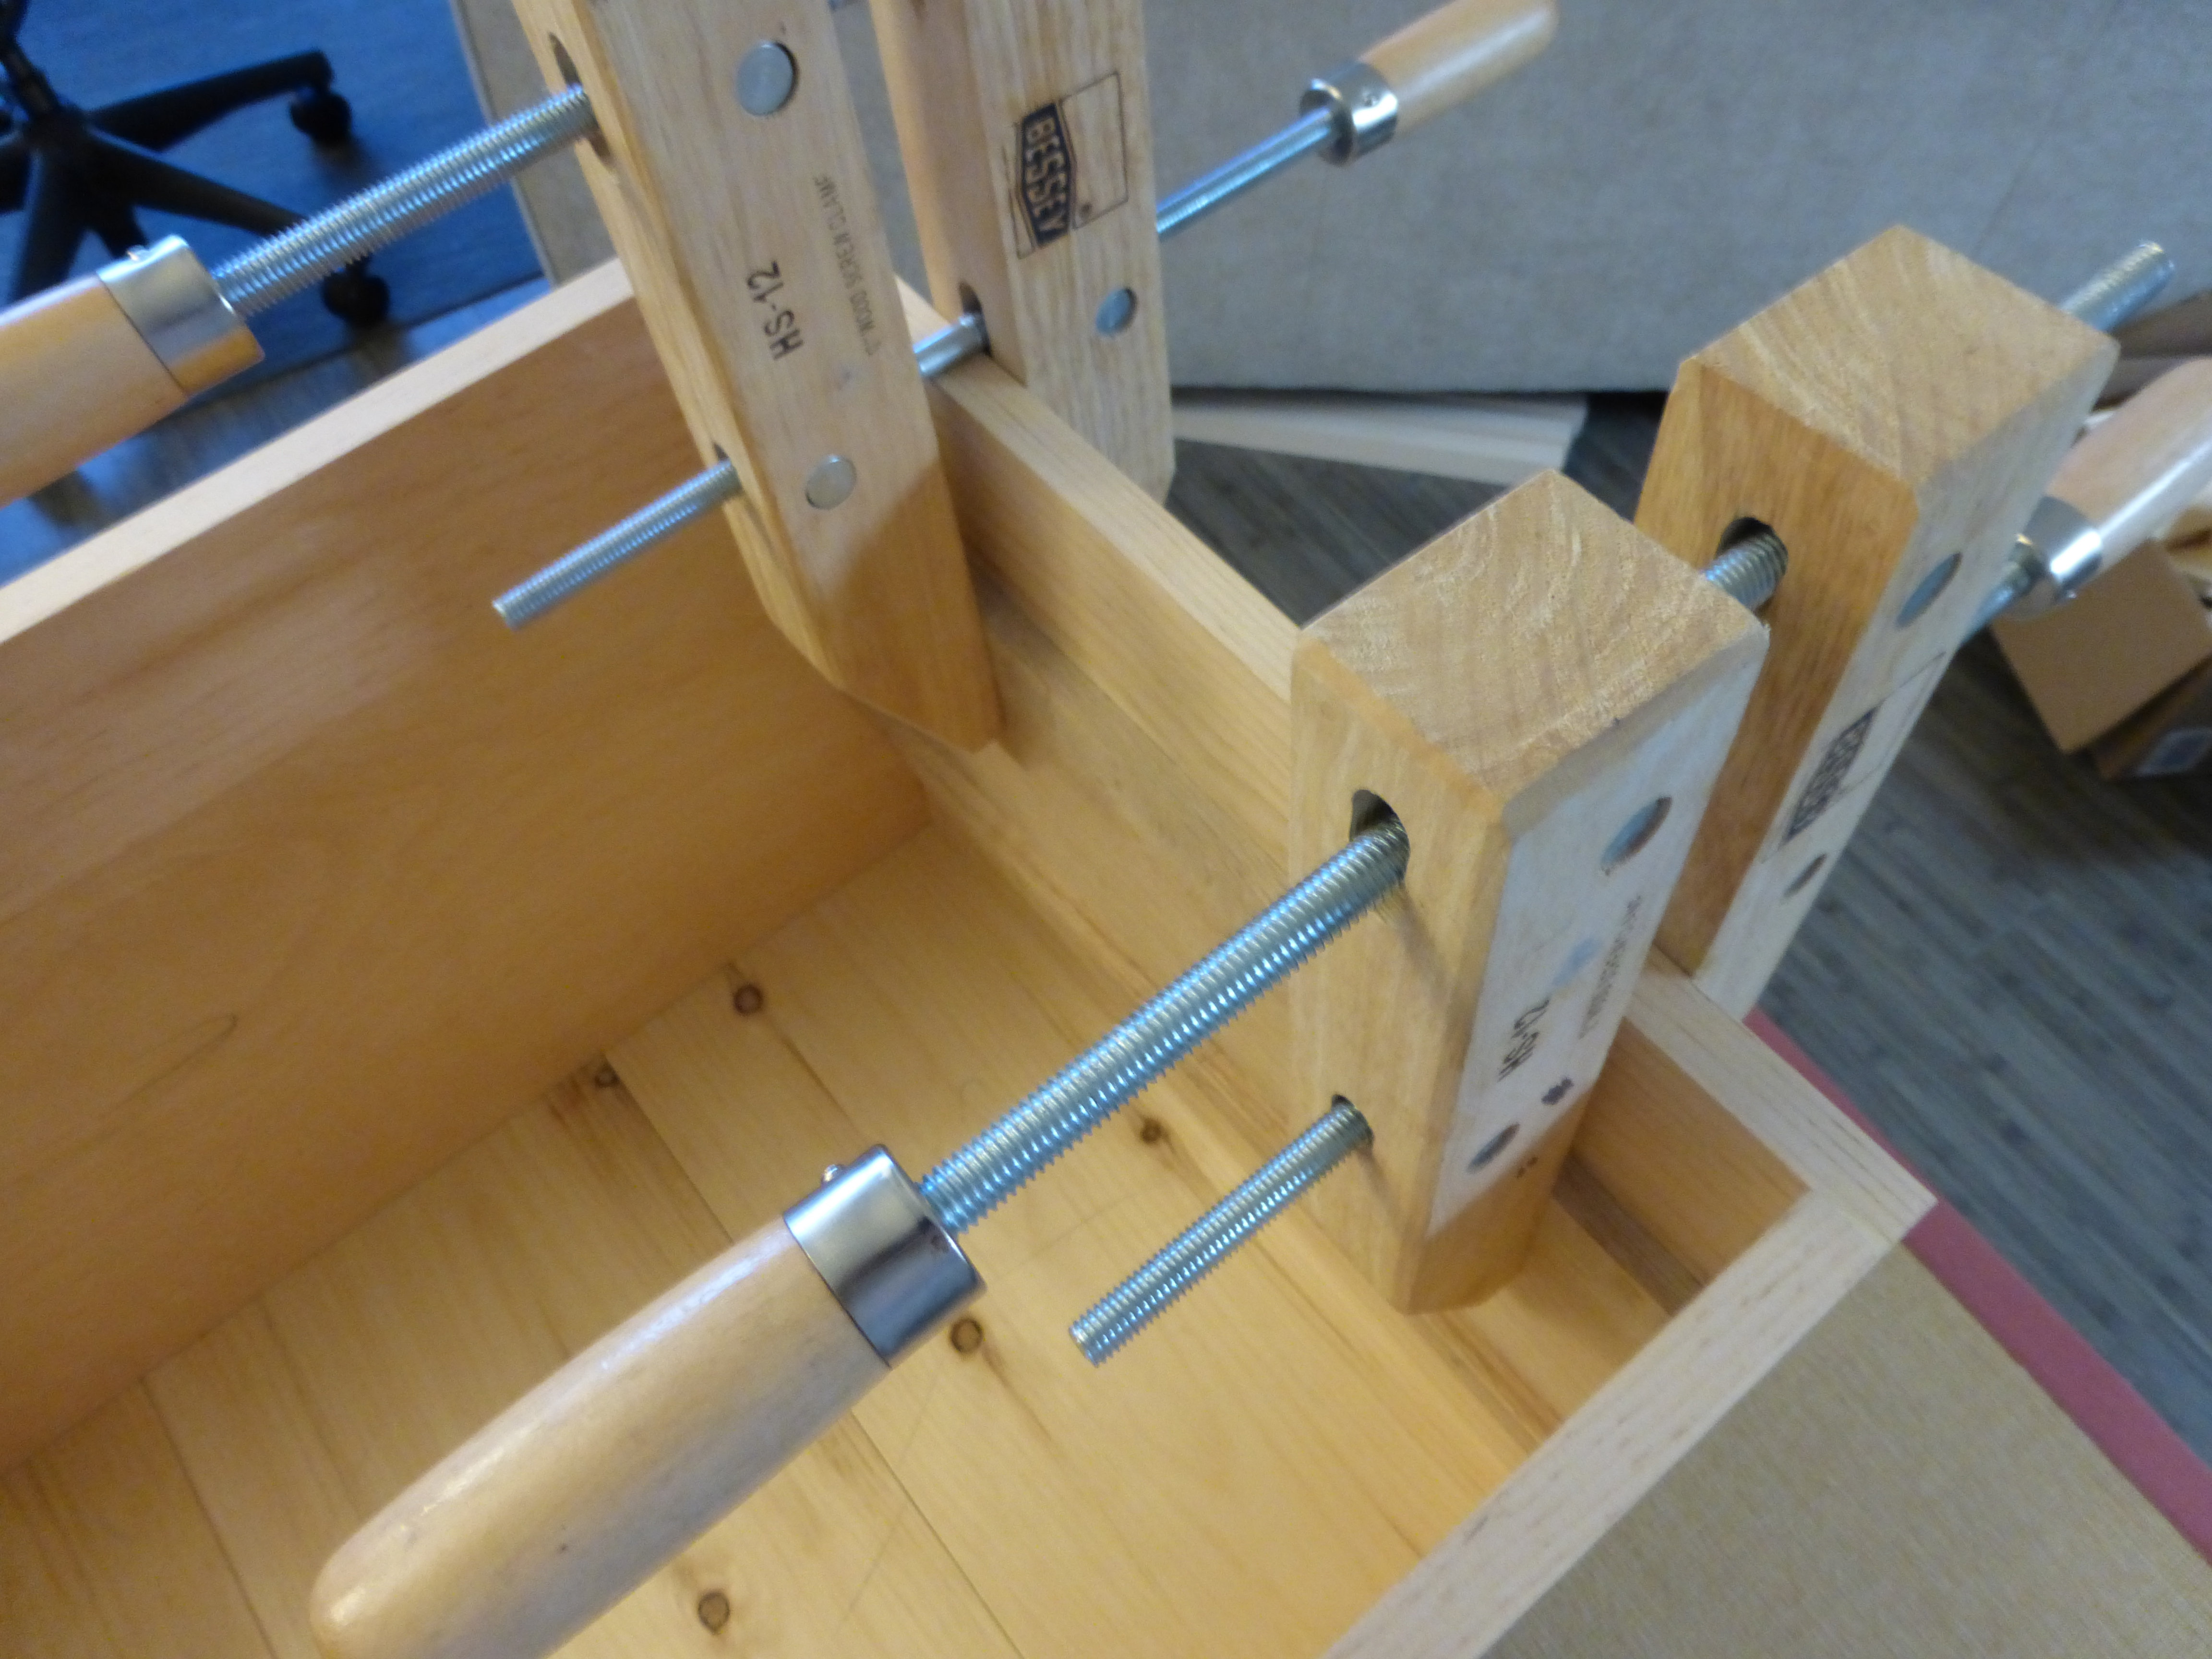
Unused since the stock prep for the now-defunct planing slab.
JPG

Ah darn it, I was pretty much neck-and-neck with you, working on my travelling tool chest until just now. Well done and it looks awesome! Loving your blog mate; I enjoy reading it as much as the Schwarz.
LikeLike
Thanks, Simon. That means a great deal to me.
LikeLike