I am intentionally procrastinating on the backsaw tills for the medium tool chest (the panel saw till was an interesting endeavor that I did not particularly enjoy), so next up are the rabbeted/nailed tool trays. I started with the lower tray, thinking that any major mistakes would be hidden deep within the chest.
True to form, there are serious french marks and I split one of the ends down the middle, trying use 6d nails on the ends without (apparently) sufficient pilot holes. After a quick reset with headless brads, the lower tray has really come together.

The upper tray will be perfect, I swear.
Aside from that minor splitting mishap, the tray itself is actually joined together quite well. The rabbets were easily split and cleaned up with a router plane and I was sure to size the end grain before gluing. Four headless brads per corner cinched the carcass right up. I can steam out most of the french marks and I’m rather happy with the cleanliness of the shoulder lines on the rabbets.
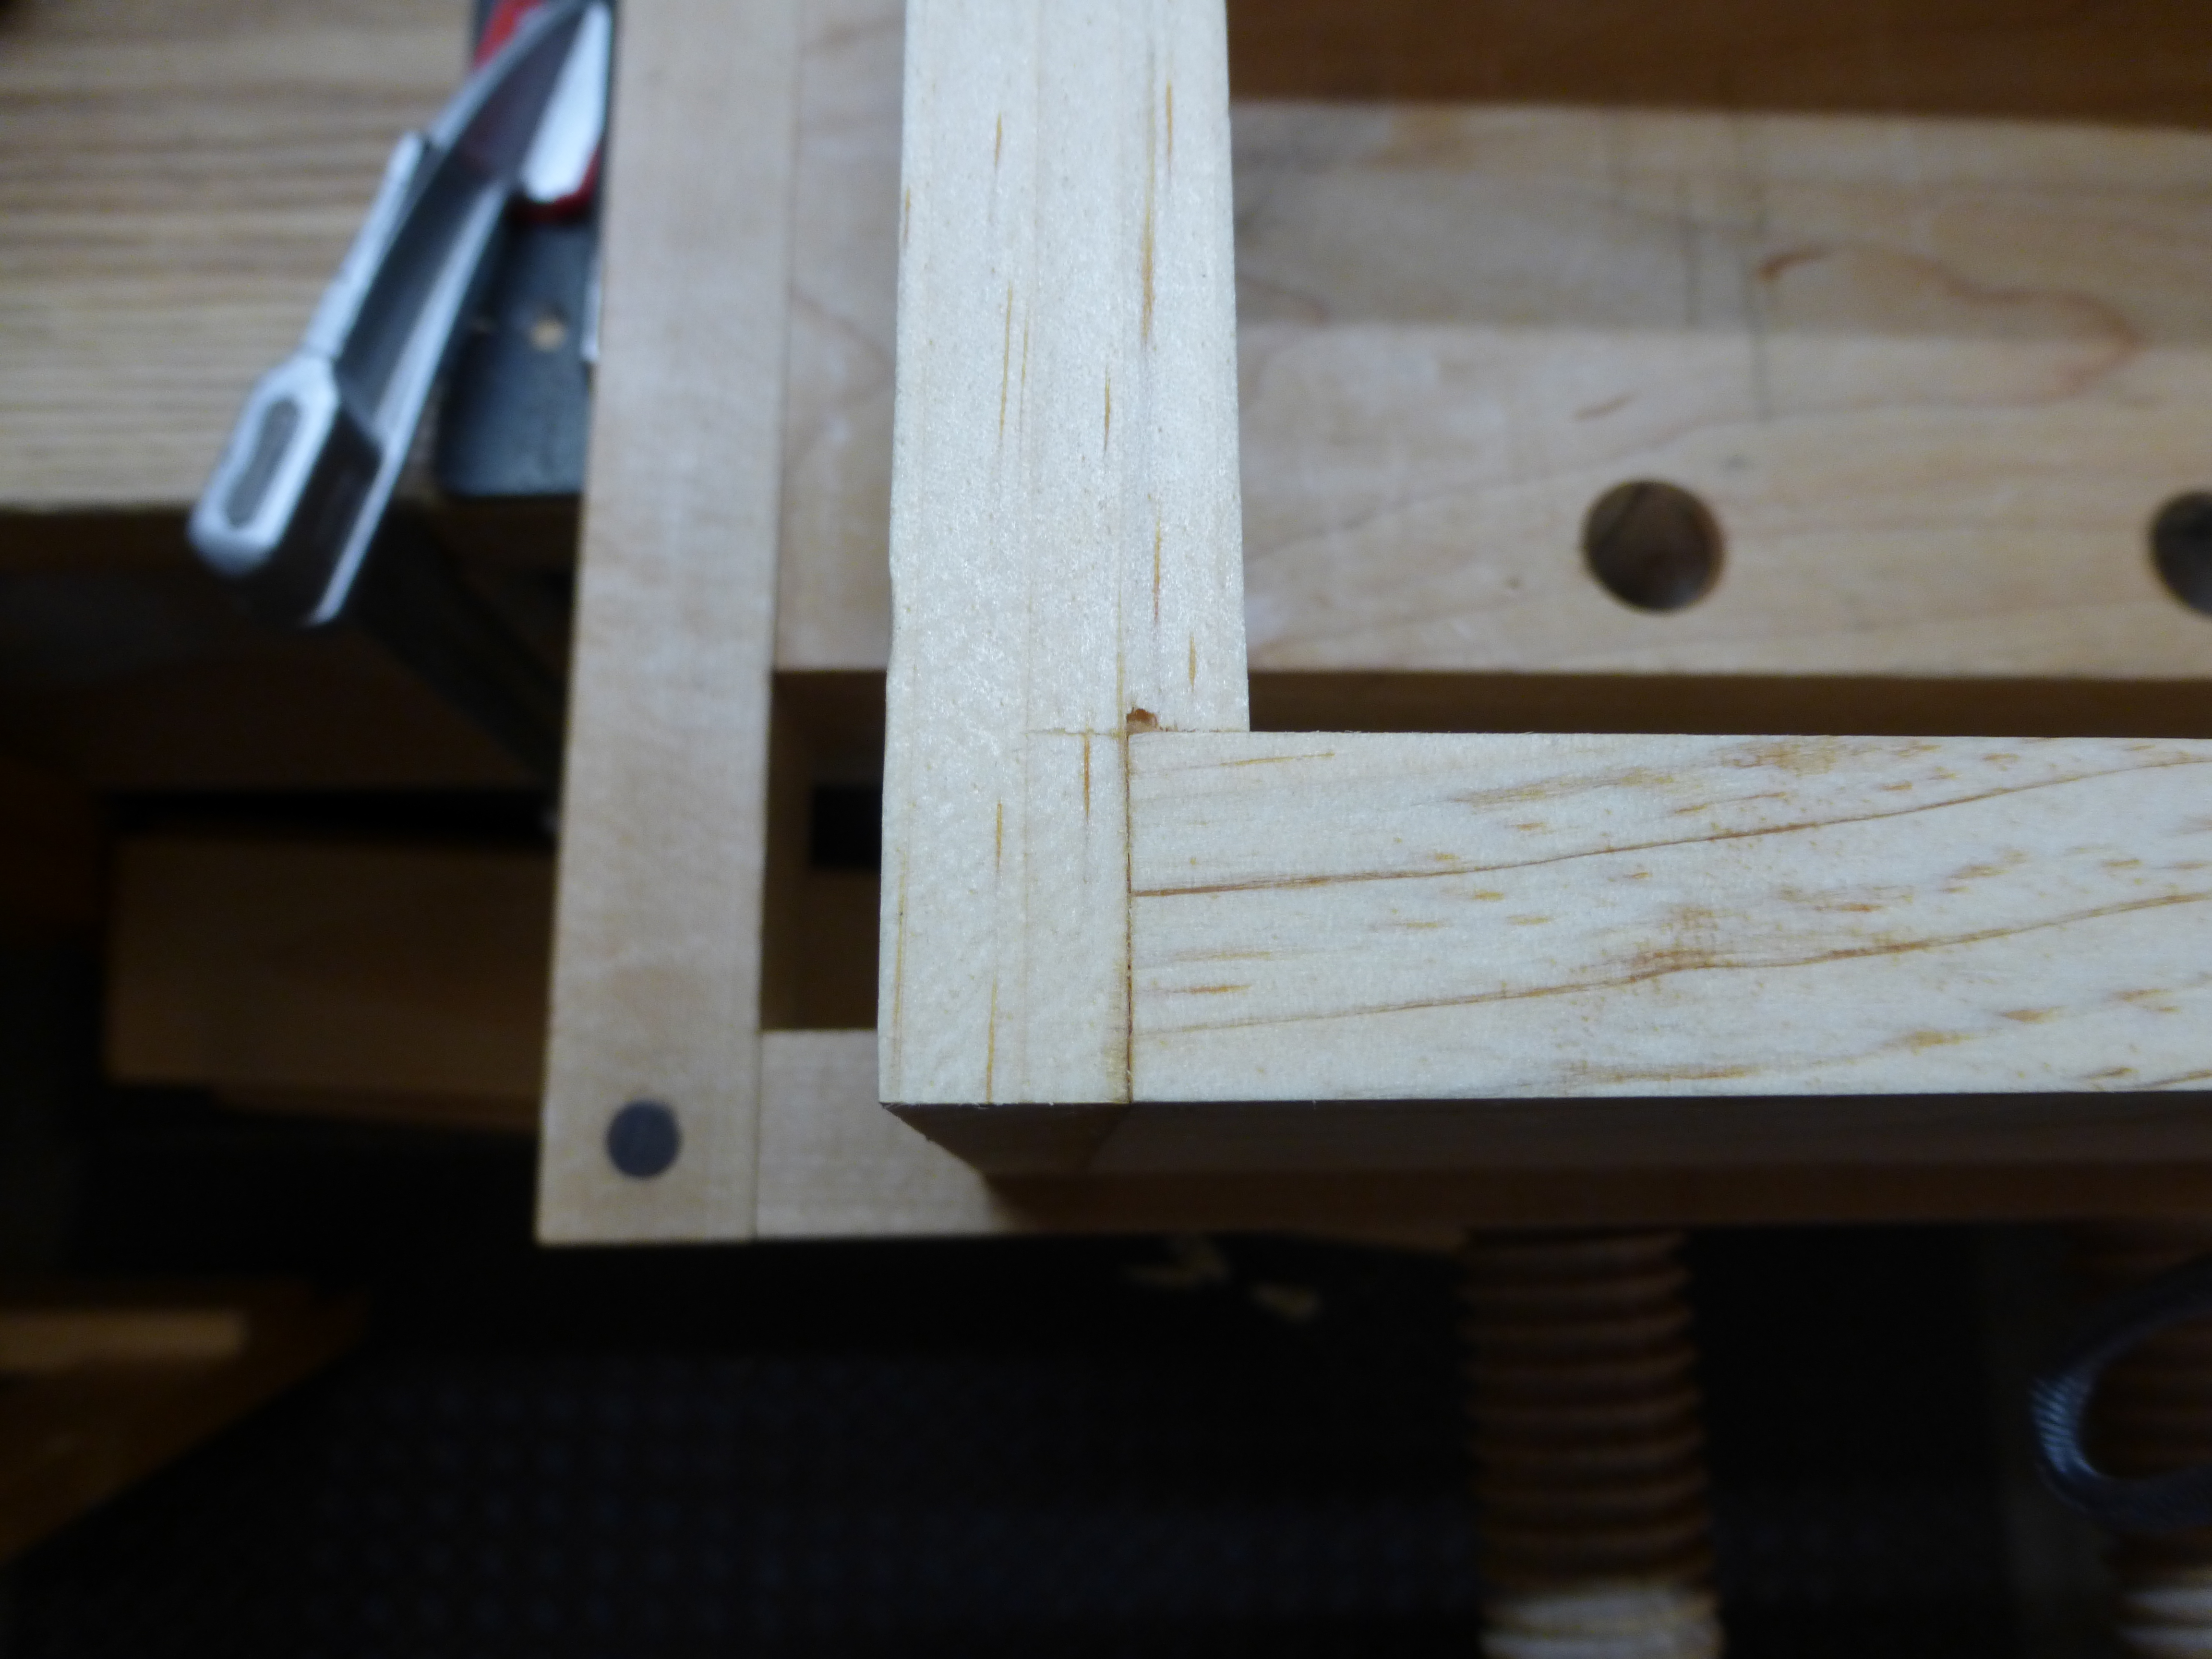
You’d think I had any clue what I was doing.
The lower tray won’t be ready right away, as I still have to rip the board down to size. In the meantime, I can attach the upper tray to its bottom and miter the the upper skirt.
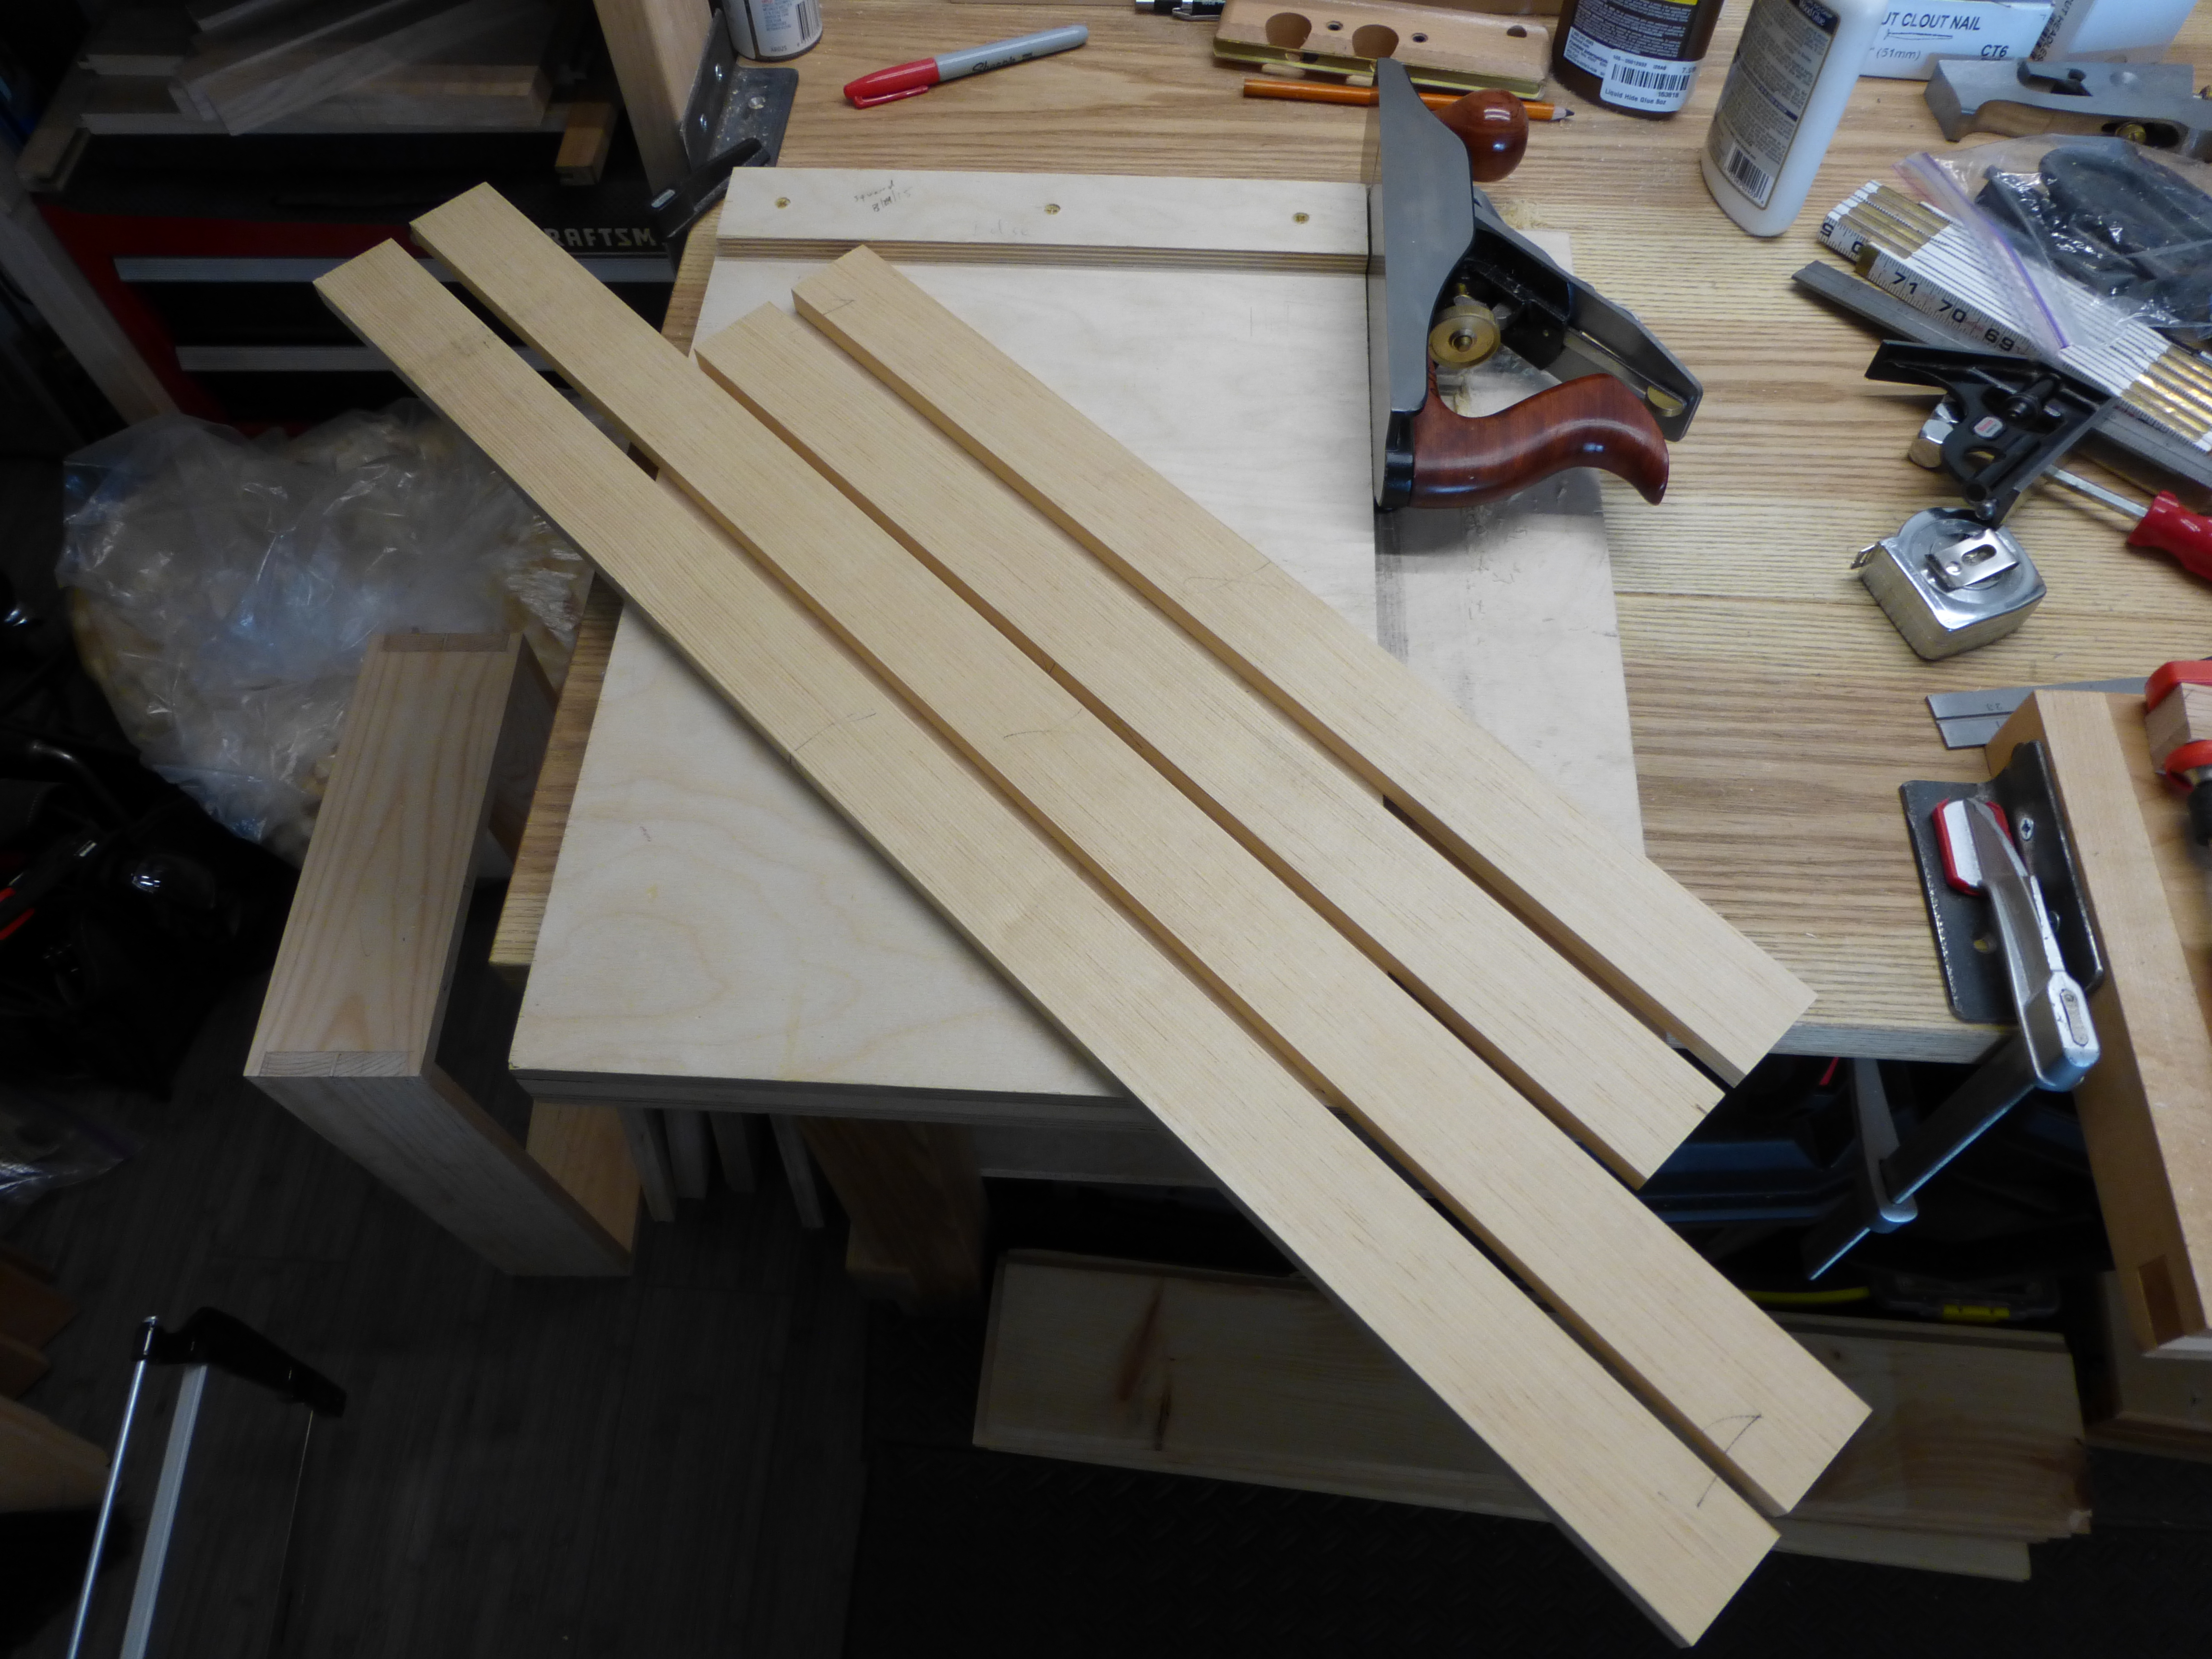
Getting very close to being done with the carcass entirely.
Once the trays are done and the upper skirt and backsaw tills are attached, I’ll paint the carcass and affix the handles. Then it’s just lid/dust seal and stuffing it with tools.
Oh, what I learned today was “don’t use a 5/64″ drill bit to predrill for a 6d nail”.
JPG

Ideally you want a drill bit that is just undersize for the nail. If you don’t have one, you can snip off the head of the same size nail and chuck it right in the drill. I’ve used this method plenty and it seems to work well.
LikeLiked by 1 person