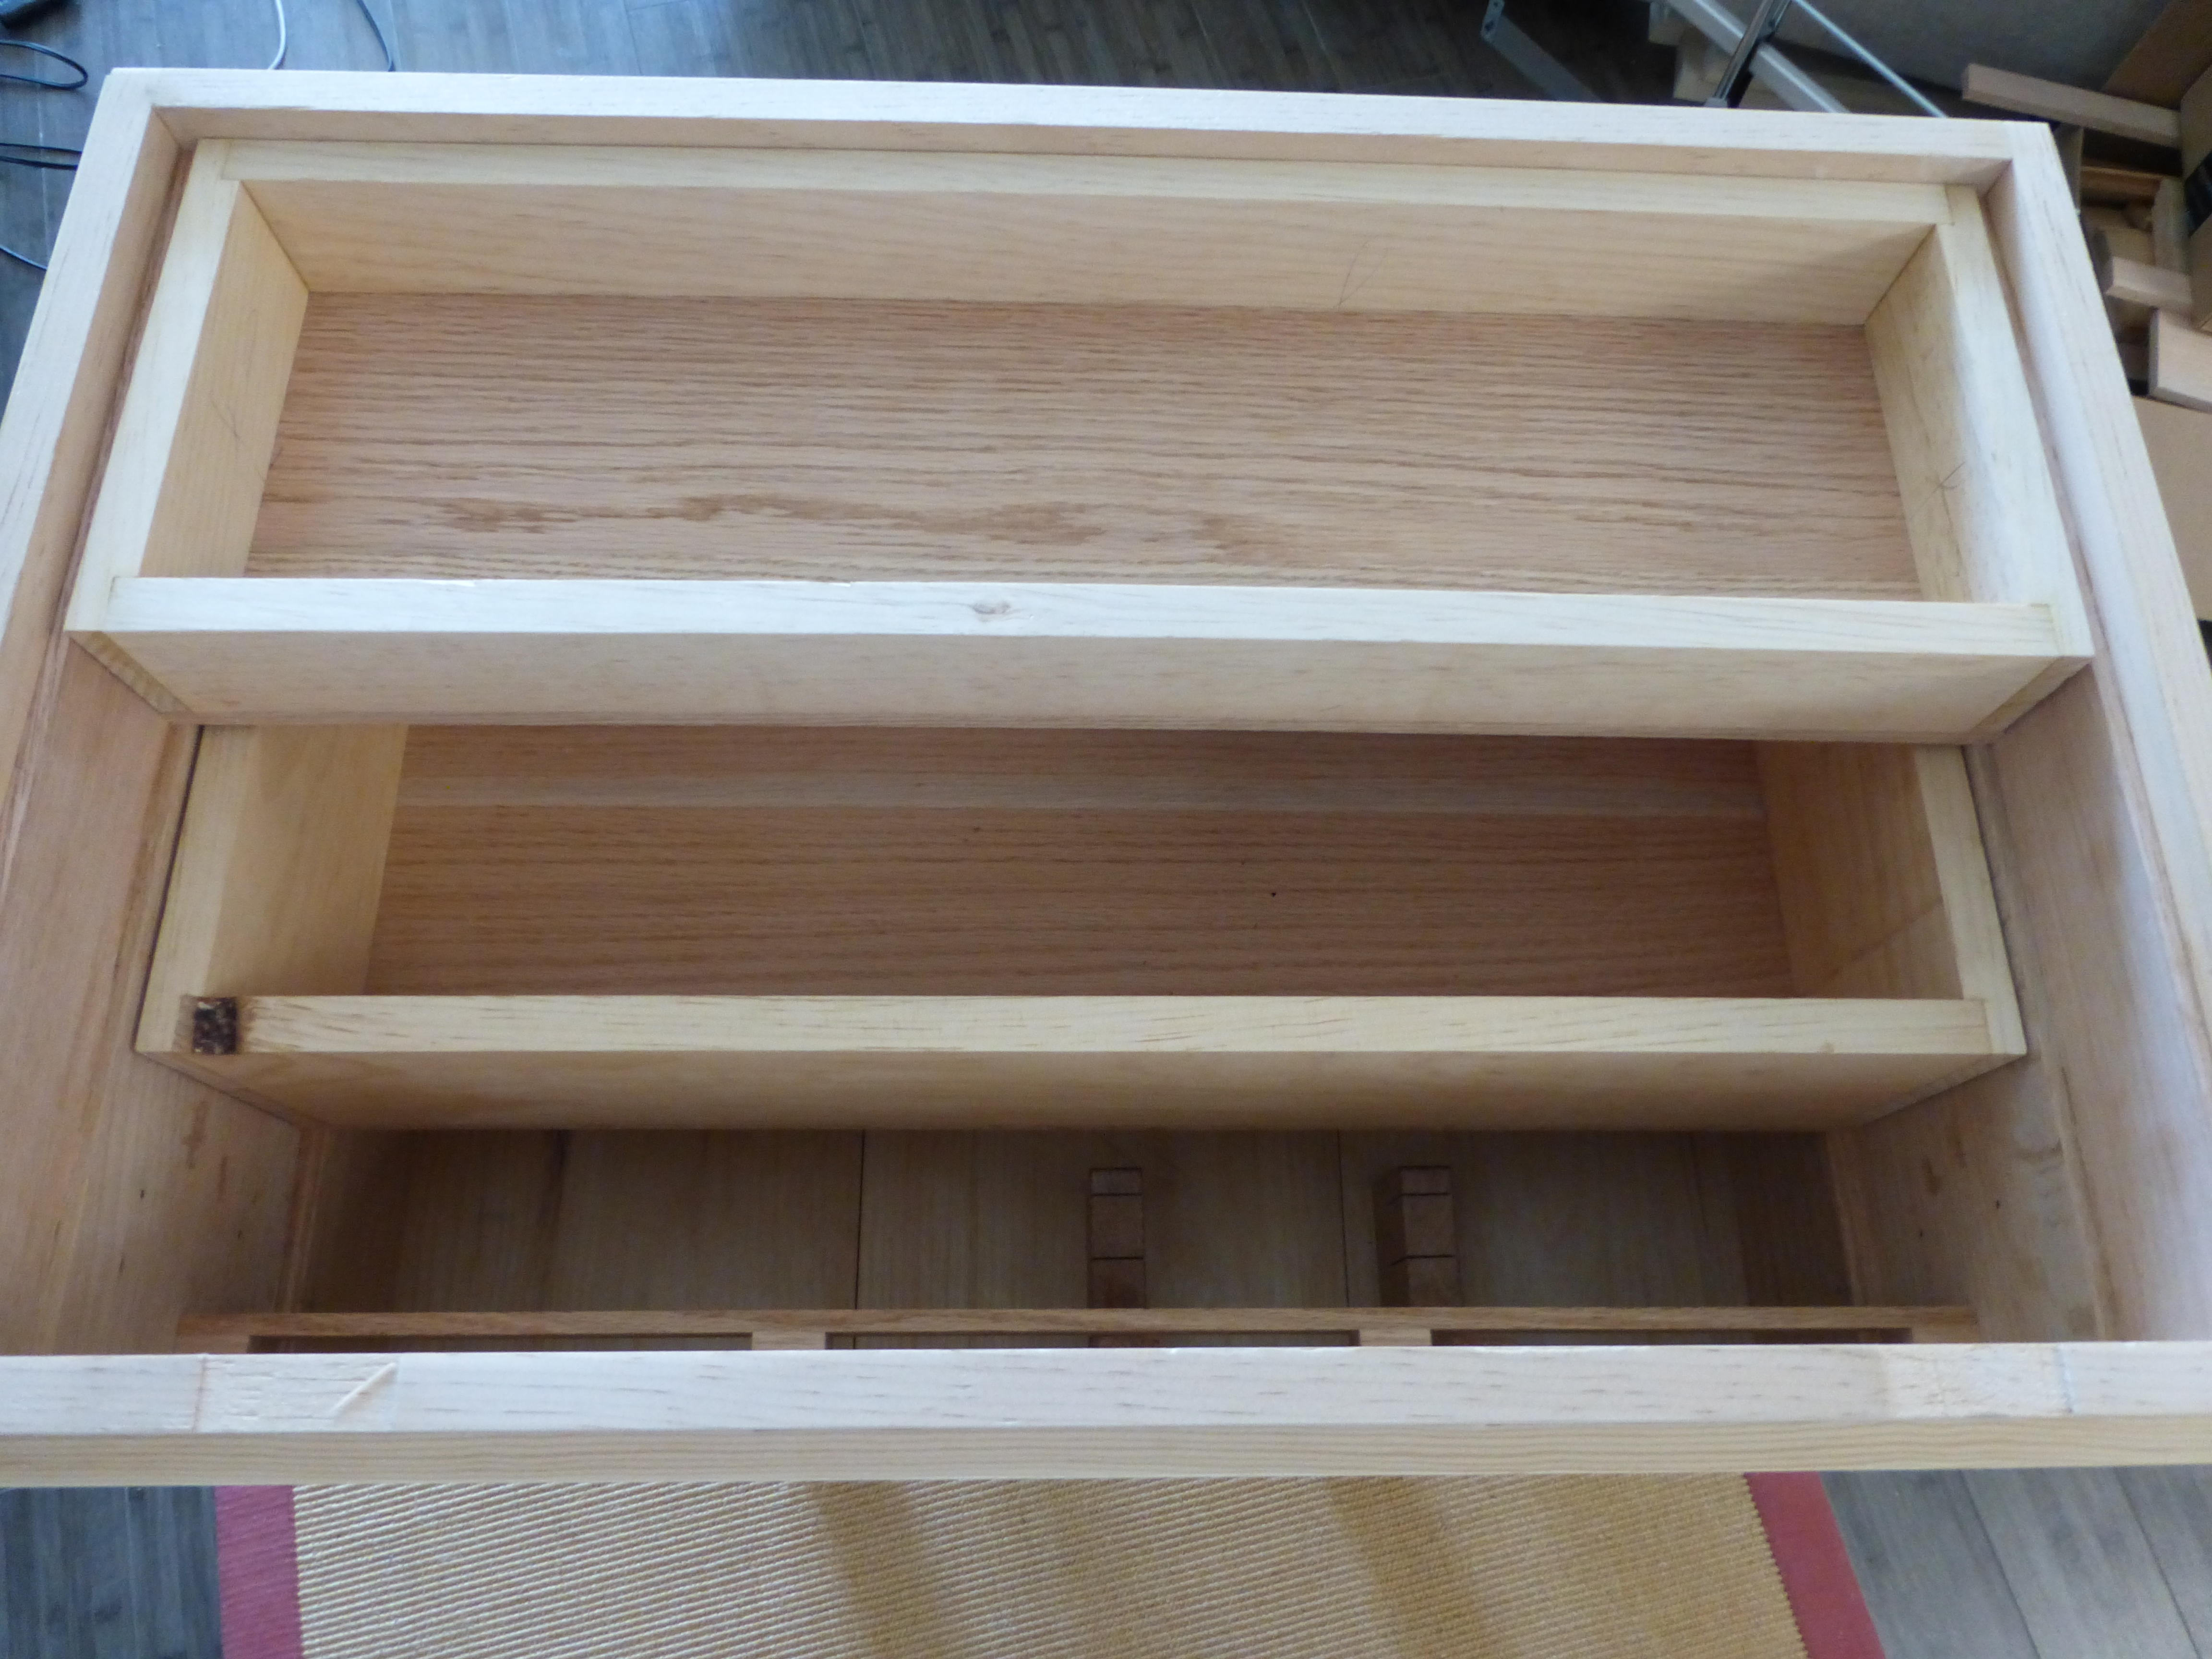
I hit a milestone over the long weekend on the medium tool chest project. I am officially done with the carcass. The skirts are fitted, the drawers are done and the saw tills and chisel rack are attached. There is literally nothing left build-wise but the lid and dust seal.
The second set of saw tills (for my backsaws) came out much better than the panel saw till.
The whole assembly has become a bit unwieldy, so I think I’ll pause the build process so I can paint the box and attach the handles. I think two coats of paint on a lazy September day will do just fine.
Cards on the table, I’ve enjoyed the build, but I don’t think I’ll actually use this tool chest in my apartment woodworking shop. It’s just not big enough for all of my tools. I don’t own a set of moulding planes, but I definitely own more than just two panel saws and three backsaws.
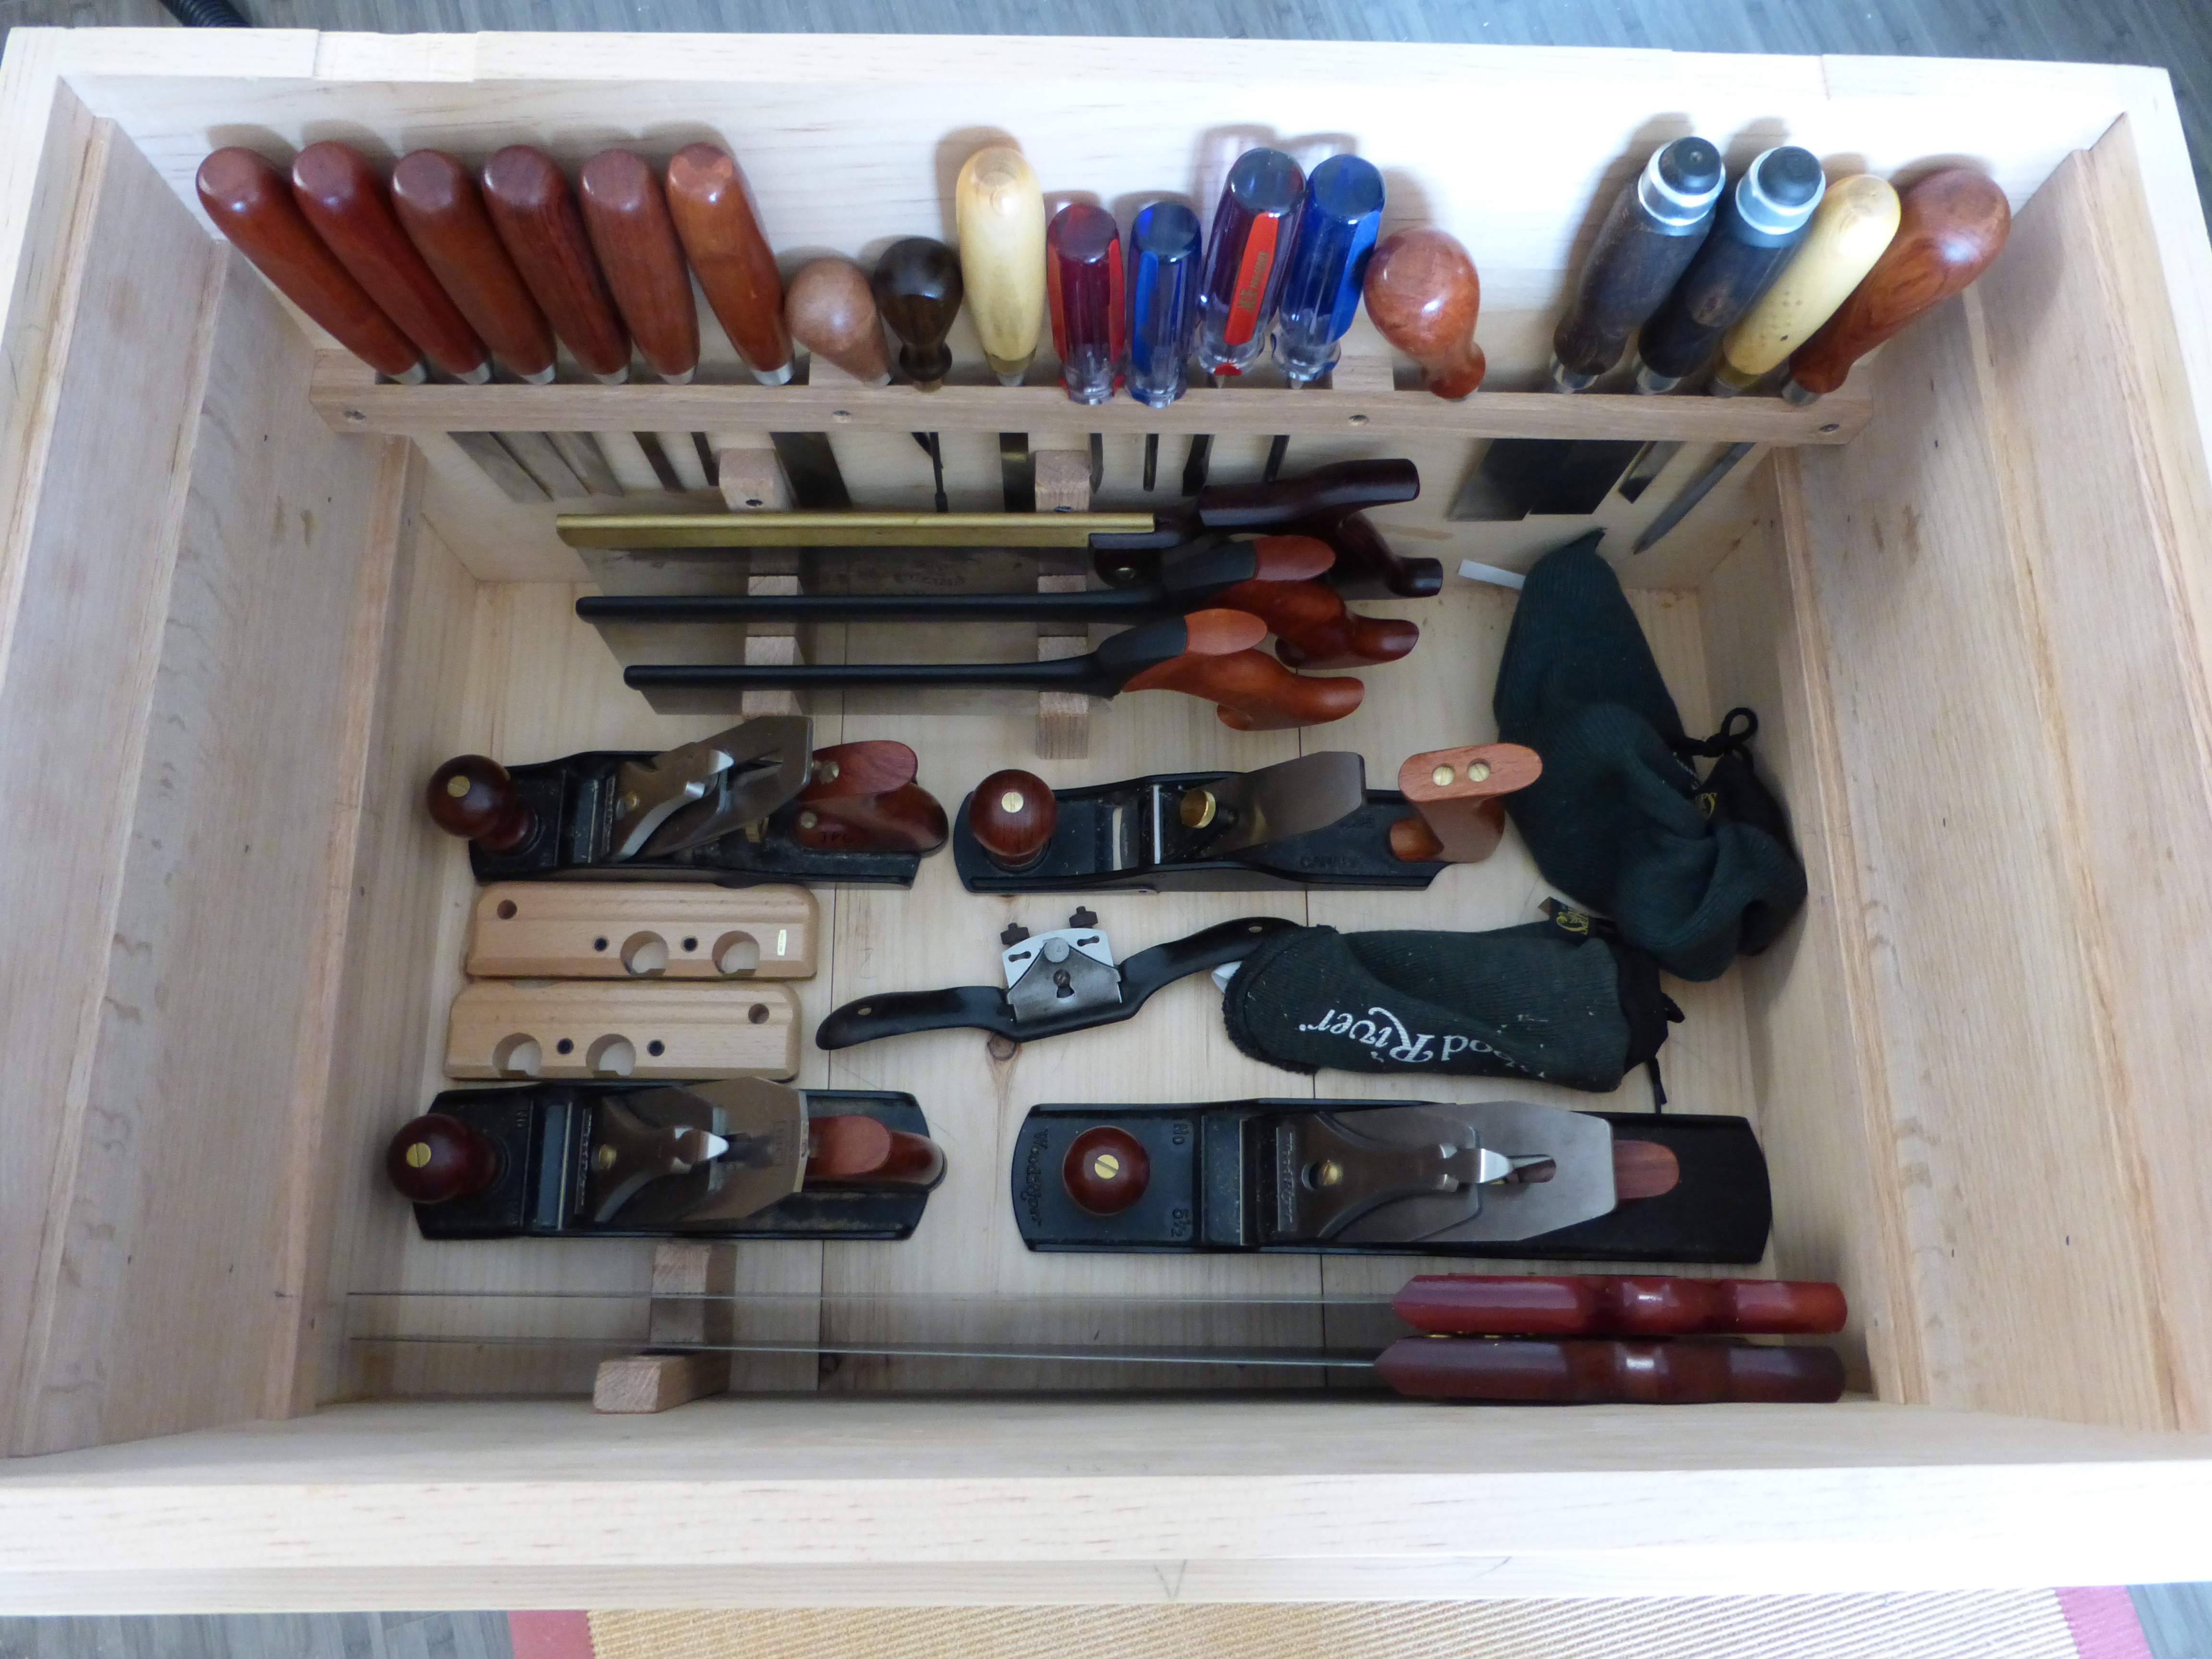
That having been said, I stuffed the chest full of tools this morning, for the first and last time.
The well:
That doesn’t even include the jointer plane I’m still intent on buying.
The deep tray:

Yes, I’m a huge fan of Mythbusters. Thanks for asking!
And the shallow tray:

Admittedly, almost all of this stuff (other than the small planes and the rasp) lives on my bench.
It felt almost disingenuous staging all of those tools for a couple of pictures, but I to confirm my suspicion that this was the wrong size tool chest for me. Plus, I got some pretty good tool pron out of it.
I will still complete the entire build so I can gift the chest to someone.
JPG

I sure looks great, in any case. I have to say, seeing that pocket reference guide stopped me short. I have one too 🙂
LikeLike
I bought my first copy because of Mythbusters. It’s the best.
LikeLike
Mine was a gift, and I guard it like as if it contained the secrets of the universe. I only wish I understood everything in it. I’m no engineer!
LikeLike
Ah, just when I thought I had caught up to you – you’ve leapfrogged ahead. Alas I have no panel saw till, nor chisel rack yet. However I have the trays and the beginnings of the skirt around the lid. It’s such a shame that the size of the toolbox isn’t suited for your purposes. Mine’s about the same size as yours, and I’m trying to make it work for me; the essential tools. Granted, I do have my original chest which I can dump my miscellaneous tools into that I use less often. Perhaps you could give that a go before giving the chest away? I’ve really enjoyed watching you build this chest – nice work.
LikeLike
Thanks, Simon. I’ll be stuck on the lid for a while figuring out how exactly to rabbet the dust seal without a fillister plane. Grooves can’t be easily split. I’m thinking marking gauge and shoulder plane.
LikeLike
I’m not sure what you mean by rabbeting the dust seal? I don’t own the book, anarchist’s tool chest, but from what I can see, it’s just a dovetailed skirt around the lid portion (with none on the back), so that it overhangs a bit on the carcass when closed. Then make a corresponding skirt around the top of the carcass such that when the lid is closed – the two halves meet. What’s the Rabbeting @ grooves for?
LikeLike
Ah, yes. This isn’t the full-size Anarchist’s Tool Chest. This is the medium sized tool chest from the Aug 2015 Popular Woodworking issue (with the marquetry lid). It’s only 29″ x 19″ (including the skirts). The dust seal is rabbeted to fit around the lid and form a tight seal.
Check out http://blog.lostartpress.com/2015/03/27/how-big-or-little-is-your-chest/ for some more info on tool chest sizing.
LikeLike
Ah, I didn’t realise that he uses that method for making the dust seal. I just made a skirt with thinner material, than trying to make it wrap around and underneath the lid like he does in that magazine issue. You know, it looks almost as though you could do it the way I’ve suggested, but glue on another piece onto the skirt to make the L shape rabbet, without cutting a rabbet. Does that make sense? Look on page 28, at the bottom, it looks like you could simply glue those extra raised sections on. I personally don’t see the point in wrapping it around like that though.
LikeLike
That would definitely work! Kind of like the lid in the New Anarchist Boarded Tool Chest, but with the dust seal as well.
LikeLike
I’ve been enjoying watching your progress on this, now I think I want to build one. Great work!
LikeLike
Thanks, Rob! I appreciate the kind words. I would urge you to measure your hand saws to make sure they fit before you stick completely to the plans!
LikeLike