Thoroughly ripping off Mr. McConnell, I’ve been making a small workbench to clear out some spare Douglas Fir 4×4’s from the home center. I don’t know about you guys, but whenever I see a rift-sawn, clear-ish 4×4 at the local Lowes or Home Depot, I buy it. For US$8 or so each, it’s hard to pass up such useful dimensional lumber. I’m sitting on ten or or so of them right now, so why not make a little workbench for a buddy who is moving into a new place?
It’s not perfect, but it’s good enough for any workbench.
My friend is about 6’1″, so a 36″ high workbench should be perfect. He does metalworking (not woodworking), so I’ll skip the crochet and assume he’ll bolt a metalworker’s vise to the top. Speaking of which, a 48″ x 18″ top (i.e., about 6 lengths of Douglas Fir 4×4) should be plenty of real estate. With the splay on the back legs, it will probably be 20″ from the wall (and I’ll make a backsplash that he can screw on to keep things from falling down the back).
The front legs will pierce the top with through tenons (like a Roubo bench but without the sliding dovetail). The mortises will be formed in advance by shaping the front piece of the lamination (to keep things simple). The back legs will also be through-mortised, but on an angle in much the same way as a joined saw bench. The back lamination, like the front, will be shaped in advance to create the mortise for those angled joints.
Short rails will connect each front and back leg with lap joints. But there will be no long rails between the legs. Instead, a scrap of 3/4″ plywood, reinforced with a couple of Douglas Fir strips, will fit neatly across the short rails. I don’t expect the workbench to receive much lateral stress (like occurs when planing by hand), so I’d rather leave the area under flexible for storage.

Beautiful, beautiful lap joints.
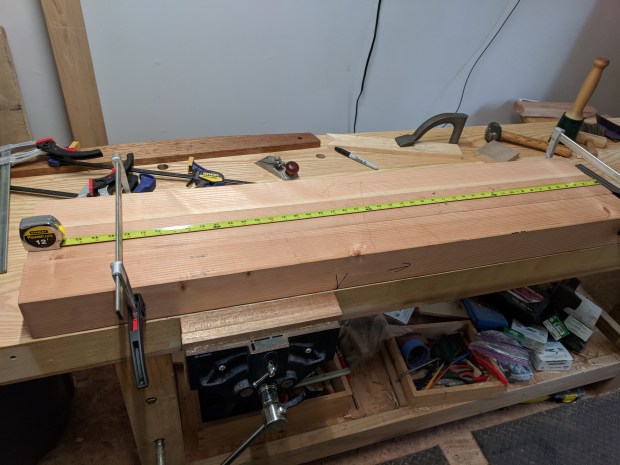
In the spirit of adventure, I’m using only a very small number of edge tools to build the bench. To date, the only handtools to touch the work have been a Stanley No. 5 bench plane, a 3/4″ chisel and a large router plane. All pieces go through the thickness planer once a reference face and edge are tried and trued. And F-style clamps are used for glue-ups (with Titebond I).

This vintage Stanley No. 5 has quickly become my favorite bench plane.
I’ve purposely selected the more twisted boards for this project because they aren’t good for much else. As a result, each length of 4×4 ends up at about 3.25″ square. These boards have been in the corner of the shop for over a year at this point, so once the twist is removed and they are laminated, I’m willing to bet they’ll behave (more or less) for the rest of the bench’s working life.
This is all just a distraction from finishing up the Dri-core in the basement. It’s amazing how much gets done when you’re procrastinating.
JPG

as usual appreciate the post. I’m going to build a new workbench myself – as the one I built last year (my first woodworking project) is too wobbly. So as you can imagine it’s a royal pain to plane flat.y. I picked up some 5x5x4 pine at a sawmill and plan on using those for the legs. Might even try the Ruobo dovetail. I have a ton of oak that I also bought at the same time, so I think I will laminate that for the top. One of the mistakes I made with my current bench is the laminated boards grain do not run in the same d
LikeLiked by 1 person
This will be a great little bench. Kudos. Yes, I’ve been obtaining rift-sawn lumber from wide dimensional big box lumber for years!
LikeLike