Where we last left off, we had a slab of laminated plywood that was tried and true on the top face because of some smart lamination techniques. And, in theory, the slab would work just fine at that point. But it’s better to have relatively-straight and relatively square edges and ends on a workbench. So let’s do that.
So what you do really depends on your method of straightening. Because this is meant to be a beginner woodworker project, I used a time-tested method for getting an edge relatively straight and square. For this you’ll need a hand plane of some sort and a power router with two bits: a pattern bit (the bearing is near the shank) and a flush trim bit (the bearing is on the end).
My first step is to true up the top 3/8″ or so of the edge adjacent to the reference face with the hand plane. I used a No. 5 Stanley, but anything will do (even a block plane). You could in theory use a coarse sanding block or even a power sander, but that sounds like a lot of work. Just check it with a straightedge as you go.
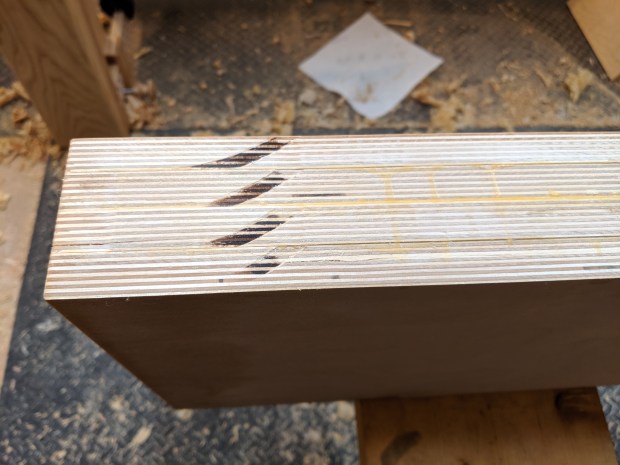
Like so.
The angle between the flat top of the slab (against which the base of the router registers) and the straight portion of the edge you just planed (against which the pattern bit bearing will run) becomes the overall reference for the bench. Go slowly to avoid chatter, especially if you’re taking of a decent bit of material. It should have brought most of the edge into relatively squareness. Although the pattern bit is unlikely to make it all the way.
ice and clean.
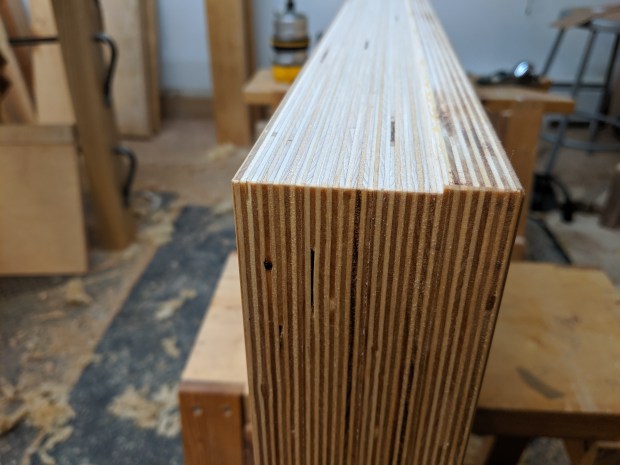
Now, flip the slab over and switch in the flush trim bit in the power router. The bearing on the flush trim bit will run against the surface you just flattened with the pattern bit and trim off the ledge that remains. What you should be left with is a relatively square, probably straight edge. It’s not going to be perfect, but it’s more than good enough for what we’re doing here.

Pattern bit on the left. Flush trim bit on the right. Or vice versa.
Then repeat the process for the other side and each end. Get the entire slab to as uniform of a width as possible and do your best to square the front end of the slab to one of the sides (the back end matters less).
You could definitely do this entirely with a hand plane, but Baltic Birch plywood is tough on O1 steel and you’d need to resharpen often. In any event, break all the corners of the slab with a hand plane or a sanding block. Then slap on a couple of coats of Boiled Linseed Oil or Tung Oil onto the top face, sides and ends (but not the underside). Any penetrating oil will do, but stay away from film finishes like shellac or polyurethane.
Up to this point, I’ve used four tools: a hand plane of some sort, a power router with two bits (pattern and flush trim), a sanding block and a claw hammer (with wire brads). That, plus some glue, resulted in a pretty straight, pretty flat, pretty square, and pretty clean slab that is 60″ long, 11.75″ wide and 2.825″ thick. Not including glue drying time, I’m about two workshop hours into this project (plus some driving back and forth from the lumber yard).
Next time, we’ll talk about adding some initial workholding (preview pic below) so we can begin using the bench to make the rest of it. Warning: you’ll need a saw and a way to bore holes the size of the oak dowel you purchased.
JPG
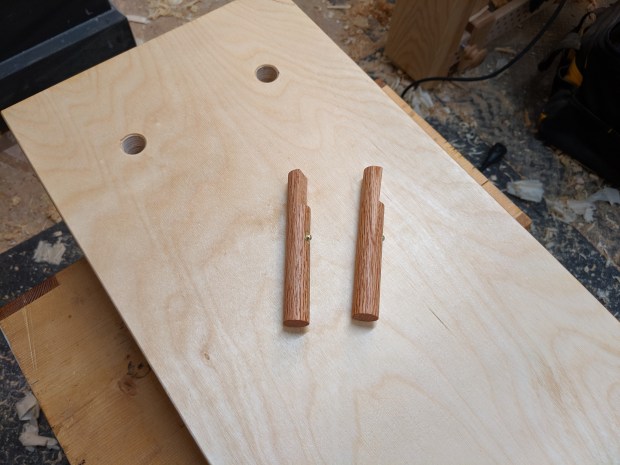
Homemade bench dogs!

One comment