From my experience, a large portion of work holding when using a low workbench is sitting on the work. But any good workbench for hand tool work needs at a minimum a planing stop for hand planing and a bench hook for sawing. So let’s add both at the same time through a pair of bench dogs at one end of the newly-squared plywood slab. Fair warning, the list of tools needed is going to increase from this point on.
This is pretty much all you need for most woodworking.
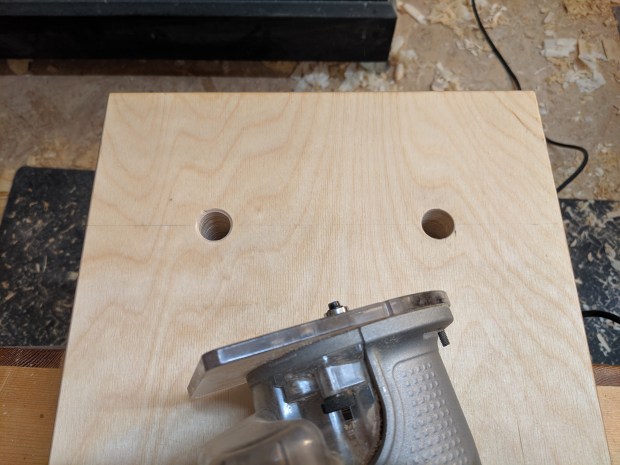
Let’s begin with locating the dog holes. In my experience, a single point planing stop will work without re-positioning the wood for boards up to about 5″ wide. So on this bench, I spaced the dog holes at 5 1/2″ on center, equally spaced from each edge. 4″ from the end seems about right as well, so the dogs can be used as a bench hook in either direction.
I used a brace and bit to bore the holes, but a drill driver works just fine. Use the bit that is the same size as the dowel you purchased (mine are 3/4″). Do your best to bore the holes vertically, although if you’re going to err, hopefully err on the side of angled toward you.

Two squares make boring true much easier.
Yes, this is a workbench, but don’t bore all the way through in one shot and break out the underside. One day, you’ll probably flip the slab over and breakout is unsightly. Instead, stop when the point of the bit just pokes through, then flip over the slab and finish the hole from the other direction. That way, you’ll have clean exit holes on each face. Then, break the edges of the hole with a countersink bit in a drill driver, a chamfer bit or roundover bit in a router, or with some coarse sandpaper.
I prefer chamfer to roundover for dog holes.
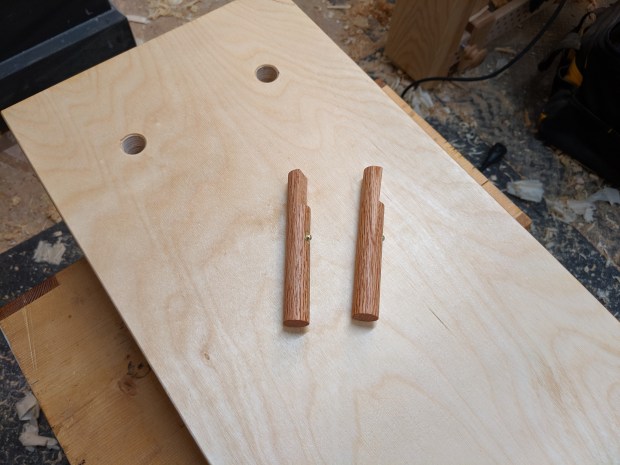
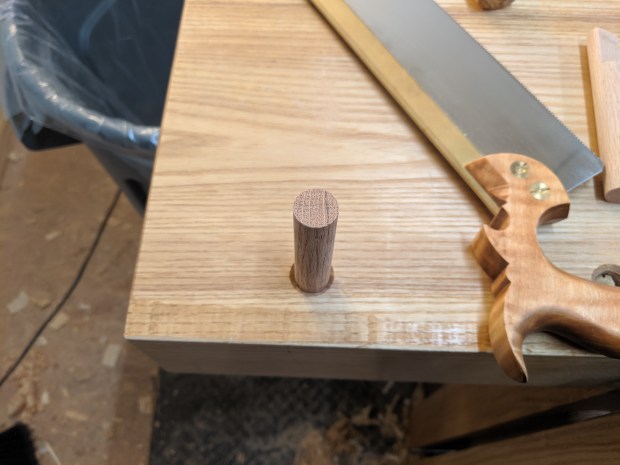
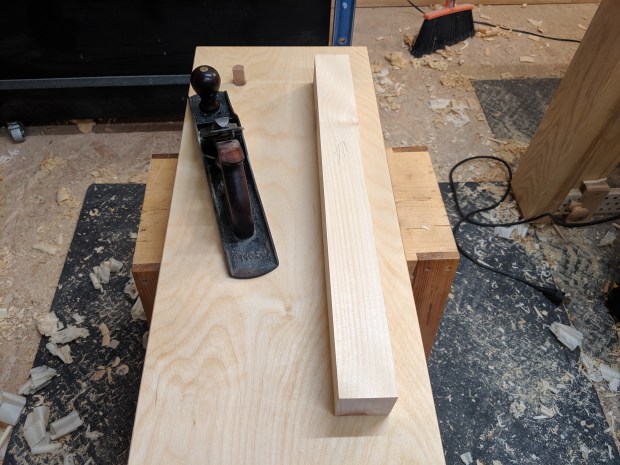
Now, let’s make bench dogs. You should feel free to purchase commercially made metal bench dogs and be done with it. I like the brass ones from Lee Valley and use them on my main workbench. But hand made bench dogs work great too. Start with lengths of dowel that are 2″ longer than your slab is thick. In my case, 5″. Now, jam the dowel into the hole you just bored. I had to use my main workbench because the dowel I purchased was apparently a bit undersized to the hole I bored.
Nice, straight grain.
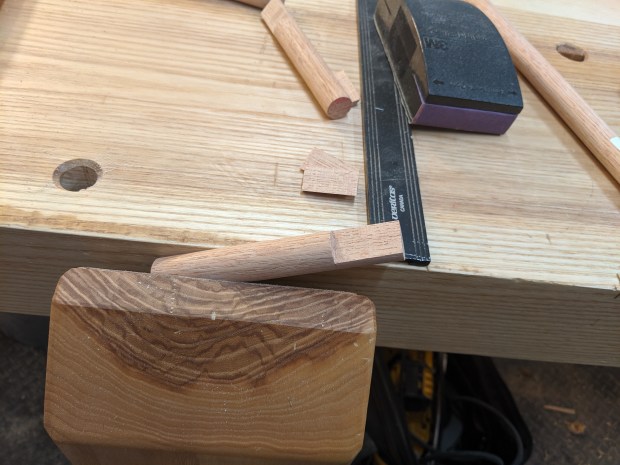
Orientation of the relief on the bench dog is critical to strength and grip. Align the growth rings left to right, and mark a pencil line top to bottom that is about 1/4″ from the right side (left side, if you are left-handed). Now, saw down that line, angled in about 2 degrees, to a cut depth of 1″ or so. Then crosscut the waste away. I used my leg vise but you can just clamp the dog to the slab or crosscut while the peg is vertical in the hole. Be sure to ease the hard edges of the dog with some sandpaper of any medium grit.
That’s literally all there is to it.
If your bench dog is snug in the dog hole but moves with light mallet taps, proceed to the next paragraph. If the fit is too tight, thin the diameter of the dog a bit with some medium grit sandpaper, checking the fit as you go. If the dogs fit loosely, like mine were, maybe buy some cheap brass bullet catches for cabinet doors or check out this Paul Sellers how-to on making wire springs for bench dogs (it starts at about the 11 minute mark). If you use bullet catches, make sure to locate them in a place where they will catch when the dog is both up and down. You’ll see what I mean.
Add a coat of Boiled Linseed Oil or Tung Oil (whatever you used for the bench top, honestly) and you’re done.

Bullet catches are useful for a bunch of applications, honestly.
Once the oil finish is dry, pop in the dogs and have at some face and edge planing.
One advantage to having two bench dogs instead of a single planing stop is you can crosscut boards using both pegs as a bench hook. Like so:
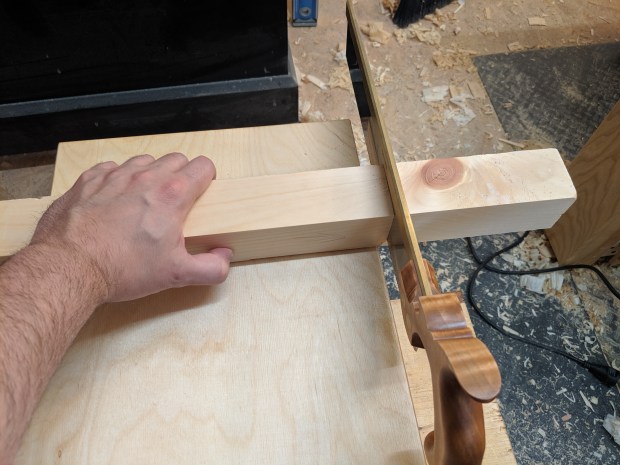
Goodbye, knot!
The slab now has all the workholding you’ll need to make two mini saw horses to replace the milk crates or buckets that you’ve been working on to this point.
I just finished up the prototype using just the slab with two bench dogs as my work surface. I’m pleased enough with the design that I’ll replicate it for the second one.

Basically 1/2 scale to full size saw horses.
But more on that later.
JPG

Nice work. Too many people just nail 2x4s together to make legs like that.
LikeLiked by 1 person
I mean that would work but it wouldn’t last as long under the forces. I don’t want to discourage anyone from nailing stuff together and getting woodworking. But yes a little bit of joinery makes a permanent piece.
LikeLiked by 1 person