So it’s been about a month since I sliced the tip of my finger off using a marking knife. In the meantime, it’s gotten colder and I have more time to be in the shop. As I’ve been healing, I’ve also been getting ready for the holiday season. So let’s talk about my biggest recent project: a white oak “workbench”. Buckle up: this is a long one.
Quartersawn White Oak is splintery, FYI.
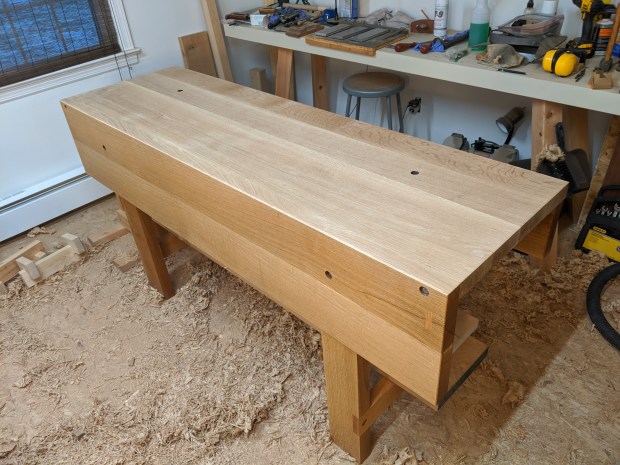
So, let me first say that this was never supposed to be a workbench. It’s actually destined to be a kitchen island. I will use it as a workbench for a while to distress it a bit. So it’s constructed as a Paul Sellers-style knock-down piece so I can get it up the stairs. It’s actually a bit unfortunately, as this is the perfect workbench for a small space woodworker. But let’s talk about how it’s put together.
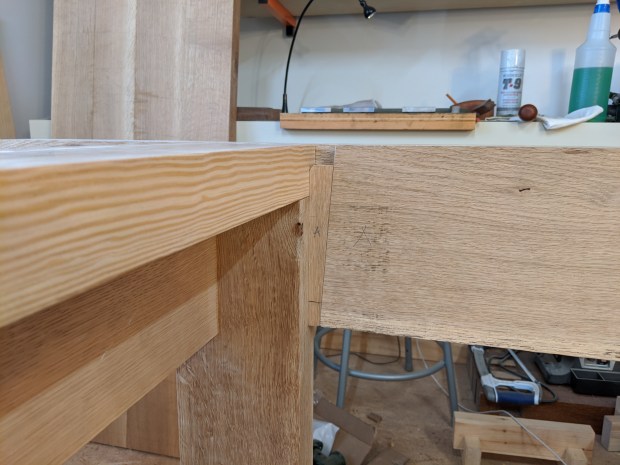
You’ll notice it’s generally in the style of a Nicholson (or “English Style”) workbench, with wide aprons in lieu of stretchers that give the structure its rigidity. The aprons are not glued to the leg frames (i.e., the aforementioned knock down), though. Instead, they are carriage bolted to the leg frame and there are quartersawn white oak wedges keeping everything together and rigid. I would describe it as a 3 degree angle, if you have to know. These have dense growth rings, so I would think the wedges as tough (or tougher) than the main parts of the bench.
Pretty, right?
But it wouldn’t be a The Apartment Woodworker project if there wasn’t a compromise. First off, the bench is only 72 inches long to accommodate a pile of quartersawn white oak shorts that were on sale at my lumberyard about a year ago. Second, the back apron (7″) is much narrower than the front apron (13.5″), for the same reason. This won’t be a problem structurally, but it does make the bench asymmetrical. Finally, the bearers are Southern Yellow Pine, because I had it handy. I’m still undecided on the type of vise to add.
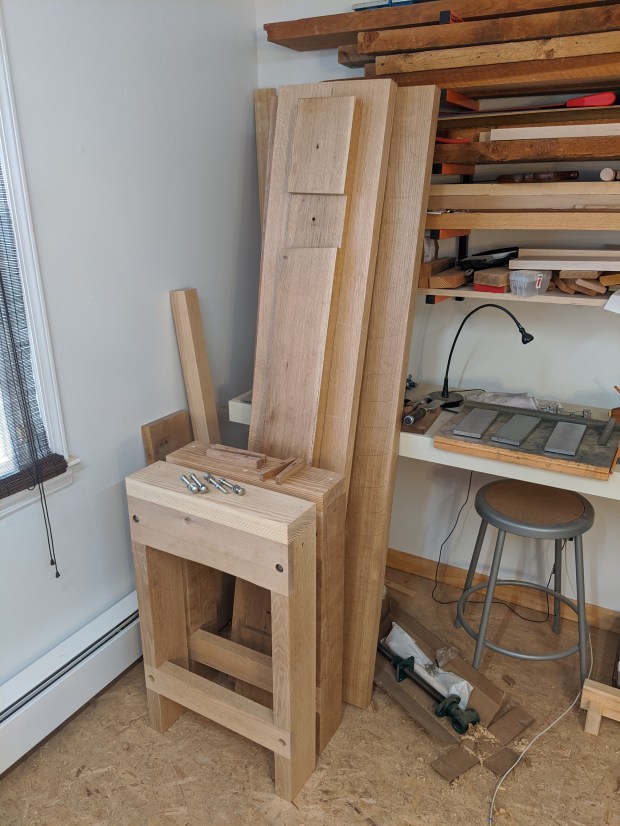
But I have a vise screw handy if I need one, apparently.
All these compromises add up to a bench that is not as heavy (on its own) as it could be. Yes, it’s made of approximately 2″ white oak all around. That’s tough and heavy. But it’s clearly not the 5″ thick red oak all around that’s used in those Roubo’s that are all the rage. I did the math, and had I laminated everything together to make it Roubo-style, it is barely the same amount of material than my current, stretcher-less workbench, which is a full foot longer overall.
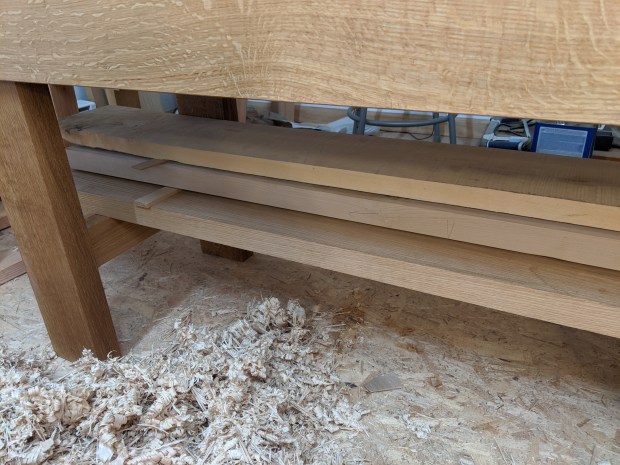
I don’t plan on a shelf or other storage for the under the bench (it tends to clutter). But for some extra weight, I’ll pile it up with spare lumber to add mass and stability. So far, I’ve selected a wide (13″) piece of red oak and two chunks of hard maple, all of which I’ve had since before I started this blog. I’ll probably find a few more boards to pile on before the end. Once the bench is on the anti-skid mats, this should be an immovable object.
Not a huge fan of the color match on that left front leg, though.
So where am I now?
For one, I need to find a food safe oil finish for the benchtop that will provide enough protection for workshop work and won’t be too slippery. I’m thinking mineral oil or pure tung oil. I worry that linseed oil and beeswax will be too slick.
More difficult is where to put the bench dog and holdfast holes in the aprons and benchtop. I have a pretty good idea where to bore the holdfast holes in the benchtop. That’s a pretty well-established path and unlikely to make the tabletop too swiss cheese-like for its future life in food service.
Less clear to me is where to locate dog holes on the apron. I’ve never worked on a Nicholson workbench before. But I would think that the Naked Woodworker pattern would make sense. That is, a vertical line of dog holes up each leg, two other vertical lines of dog holes equally spaced on the apron, and stepped dog holes on the aprons connecting them.
I don’t want to bore too many holes, though, because this won’t be a workbench forever. However, I doubt I’ll be using the apron much for food preparation, so I’ll probably get over it.
We’ll see.
JPG

Very nice. Kudos!
LikeLiked by 1 person
Nice hybrid between a “naked workbench” (leg-frames, top) and a Paul Sellers workbench (wedges).
The wedges can compensate leg-frame shrinking.
On the P. S. workbench, the front apron is glued to the bench-top which make a very rigid L beam (a bit less easy to move. I probably could have moved it alone to the second floor [attic workshop] but I benefited from the son help)
kitchen island from a P.S. workbench:
Sylvain
LikeLiked by 1 person
That’s pretty awesome. Thanks for the link!
LikeLike
I like this build. Is the top free to expand? It looks like the top is bolted to the leg-bearers.
LikeLike