Before the new year, I essentially finished the carcass on a new, streamlined traveling tool chest. I had made a low profile Dutch Tool Chest fairly recently that, unfortunately, didn’t quite work out for its intended purpose. Long story short, I miscalculated the size of the lower compartment and nothing quite fits without effort. Another inch or so and it would be fine. It’s also a bit wider than it needs to be.
So that means it’s time to make another one!
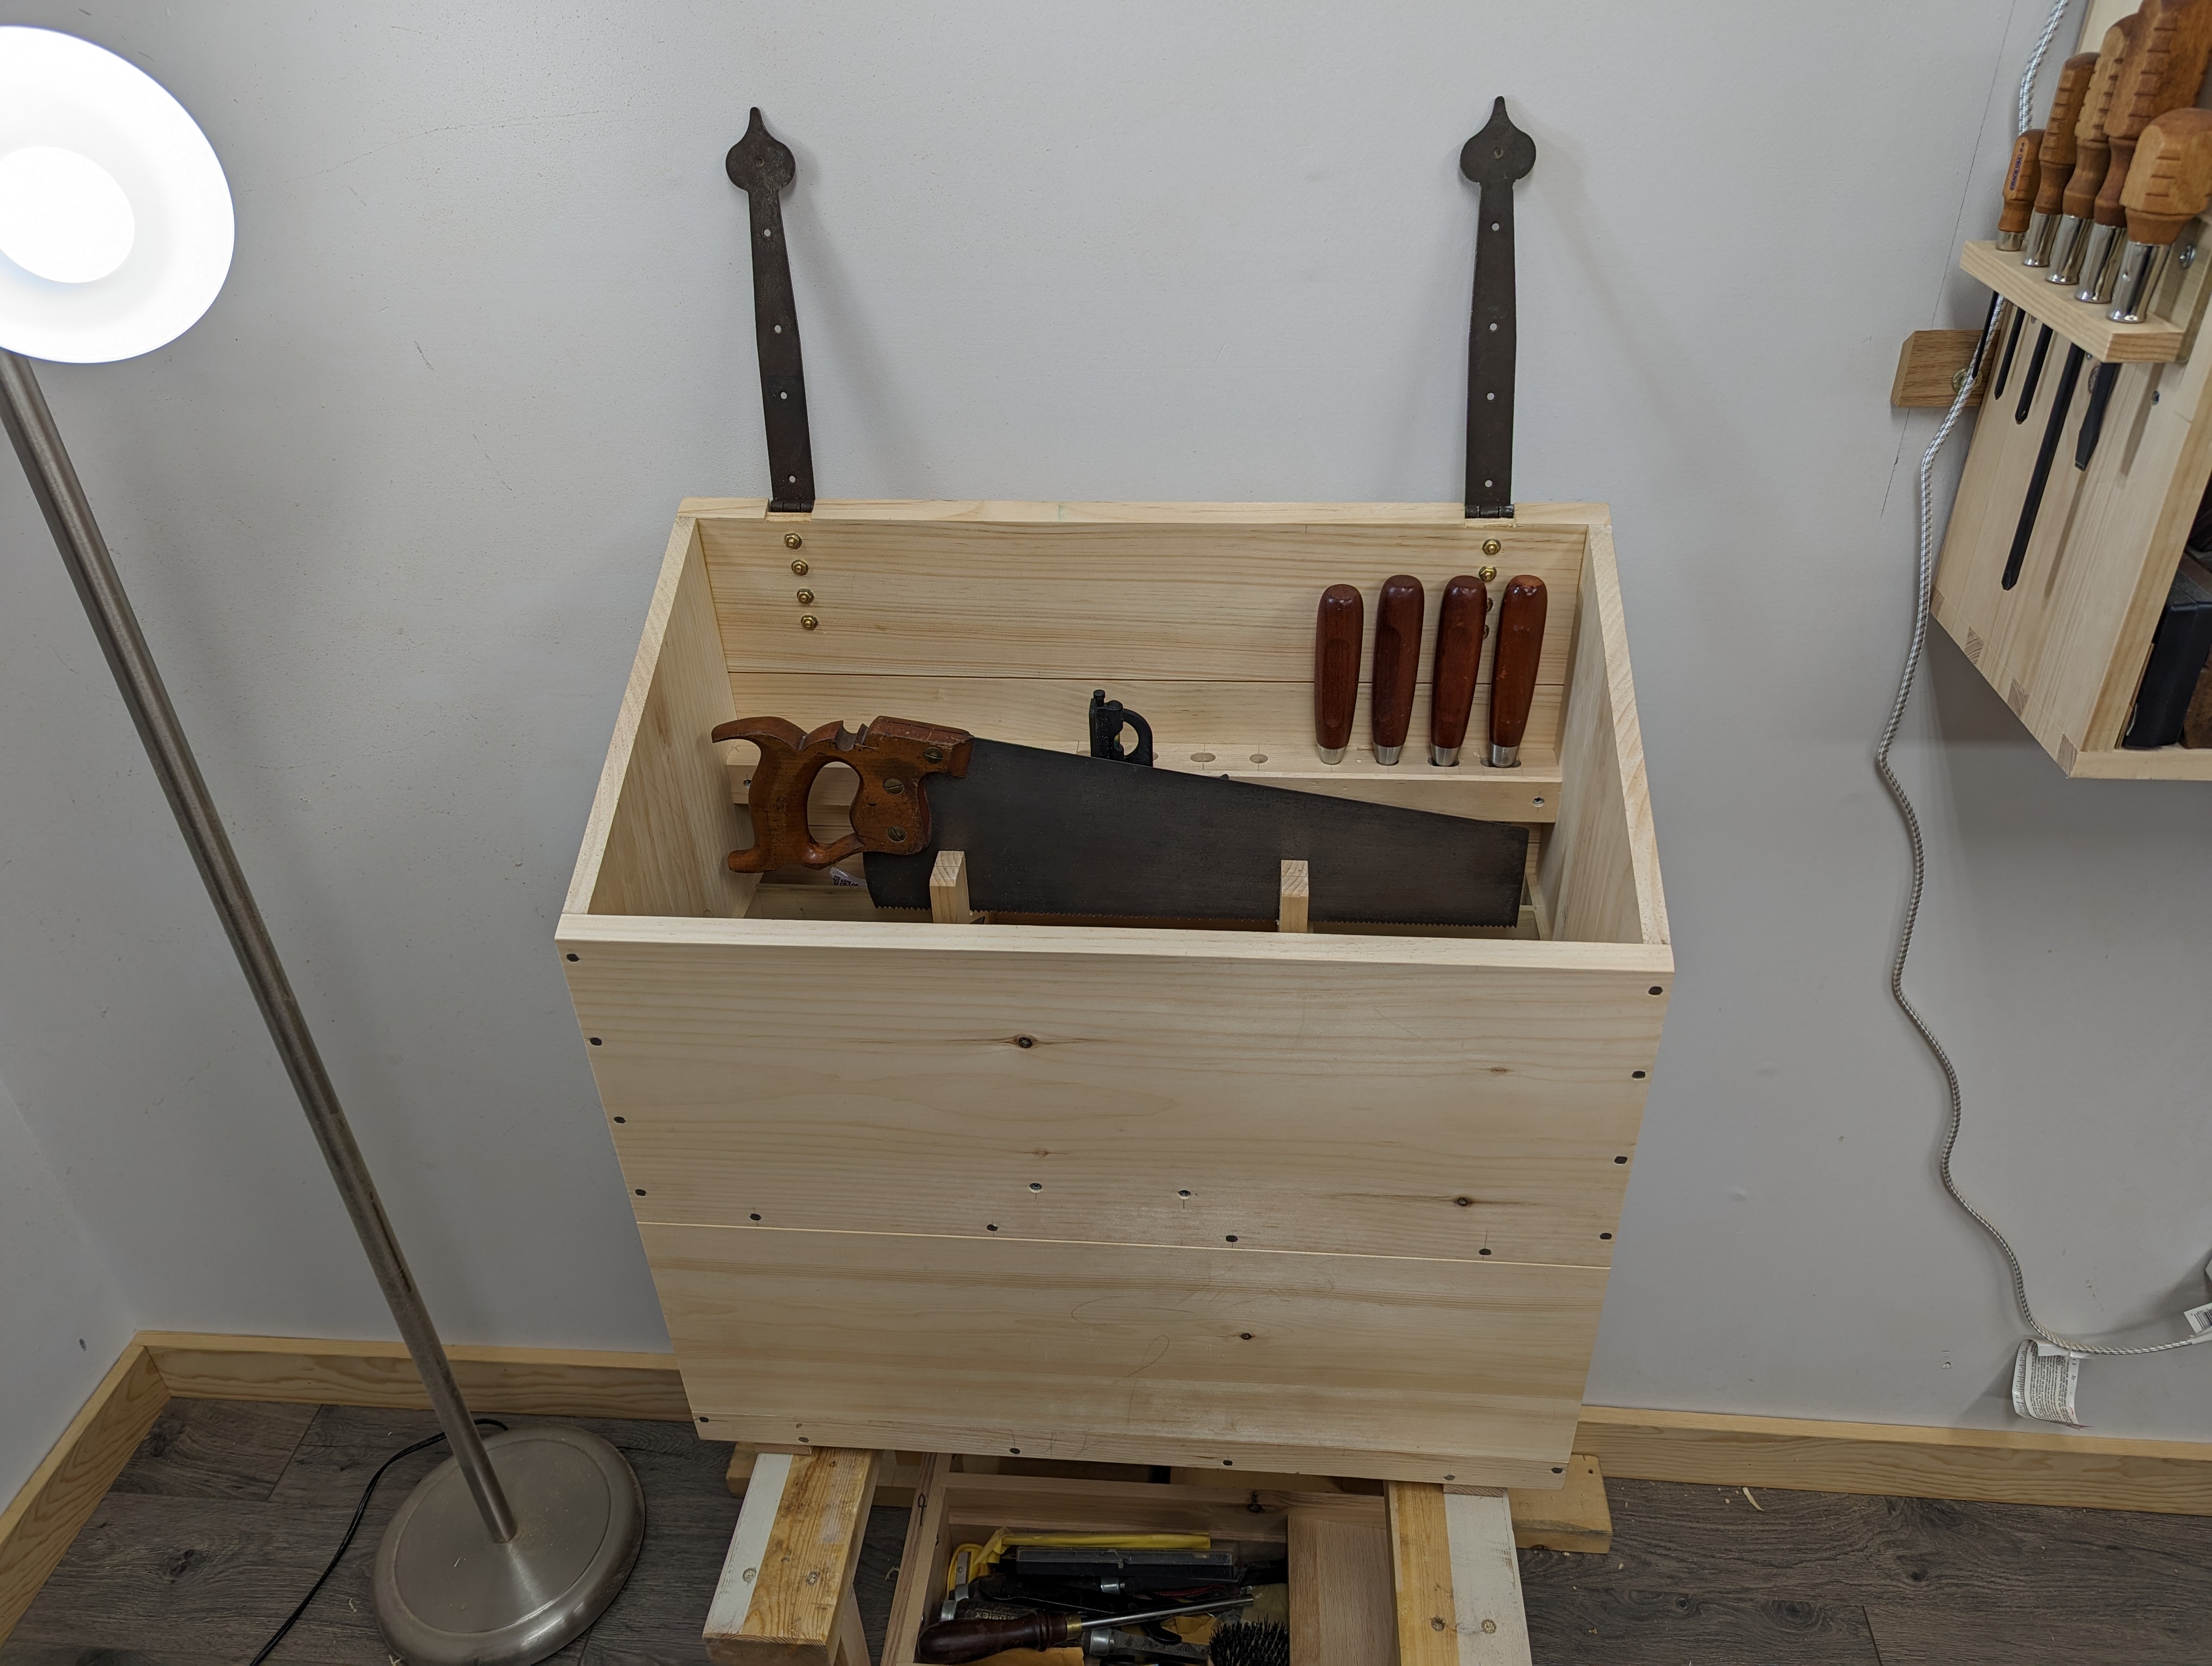
This isn’t a post about the new chest itself, but here are some quick details: 9/16″ Eastern White Pine carcass; 3/4″ EWP tongue and groove back boards; Southern Yellow Pine lock, battens and catches; Tremont Nail cut nails throughout. Overall size 24″ x 23″ x 12″. Lower compartment is 9″ high.
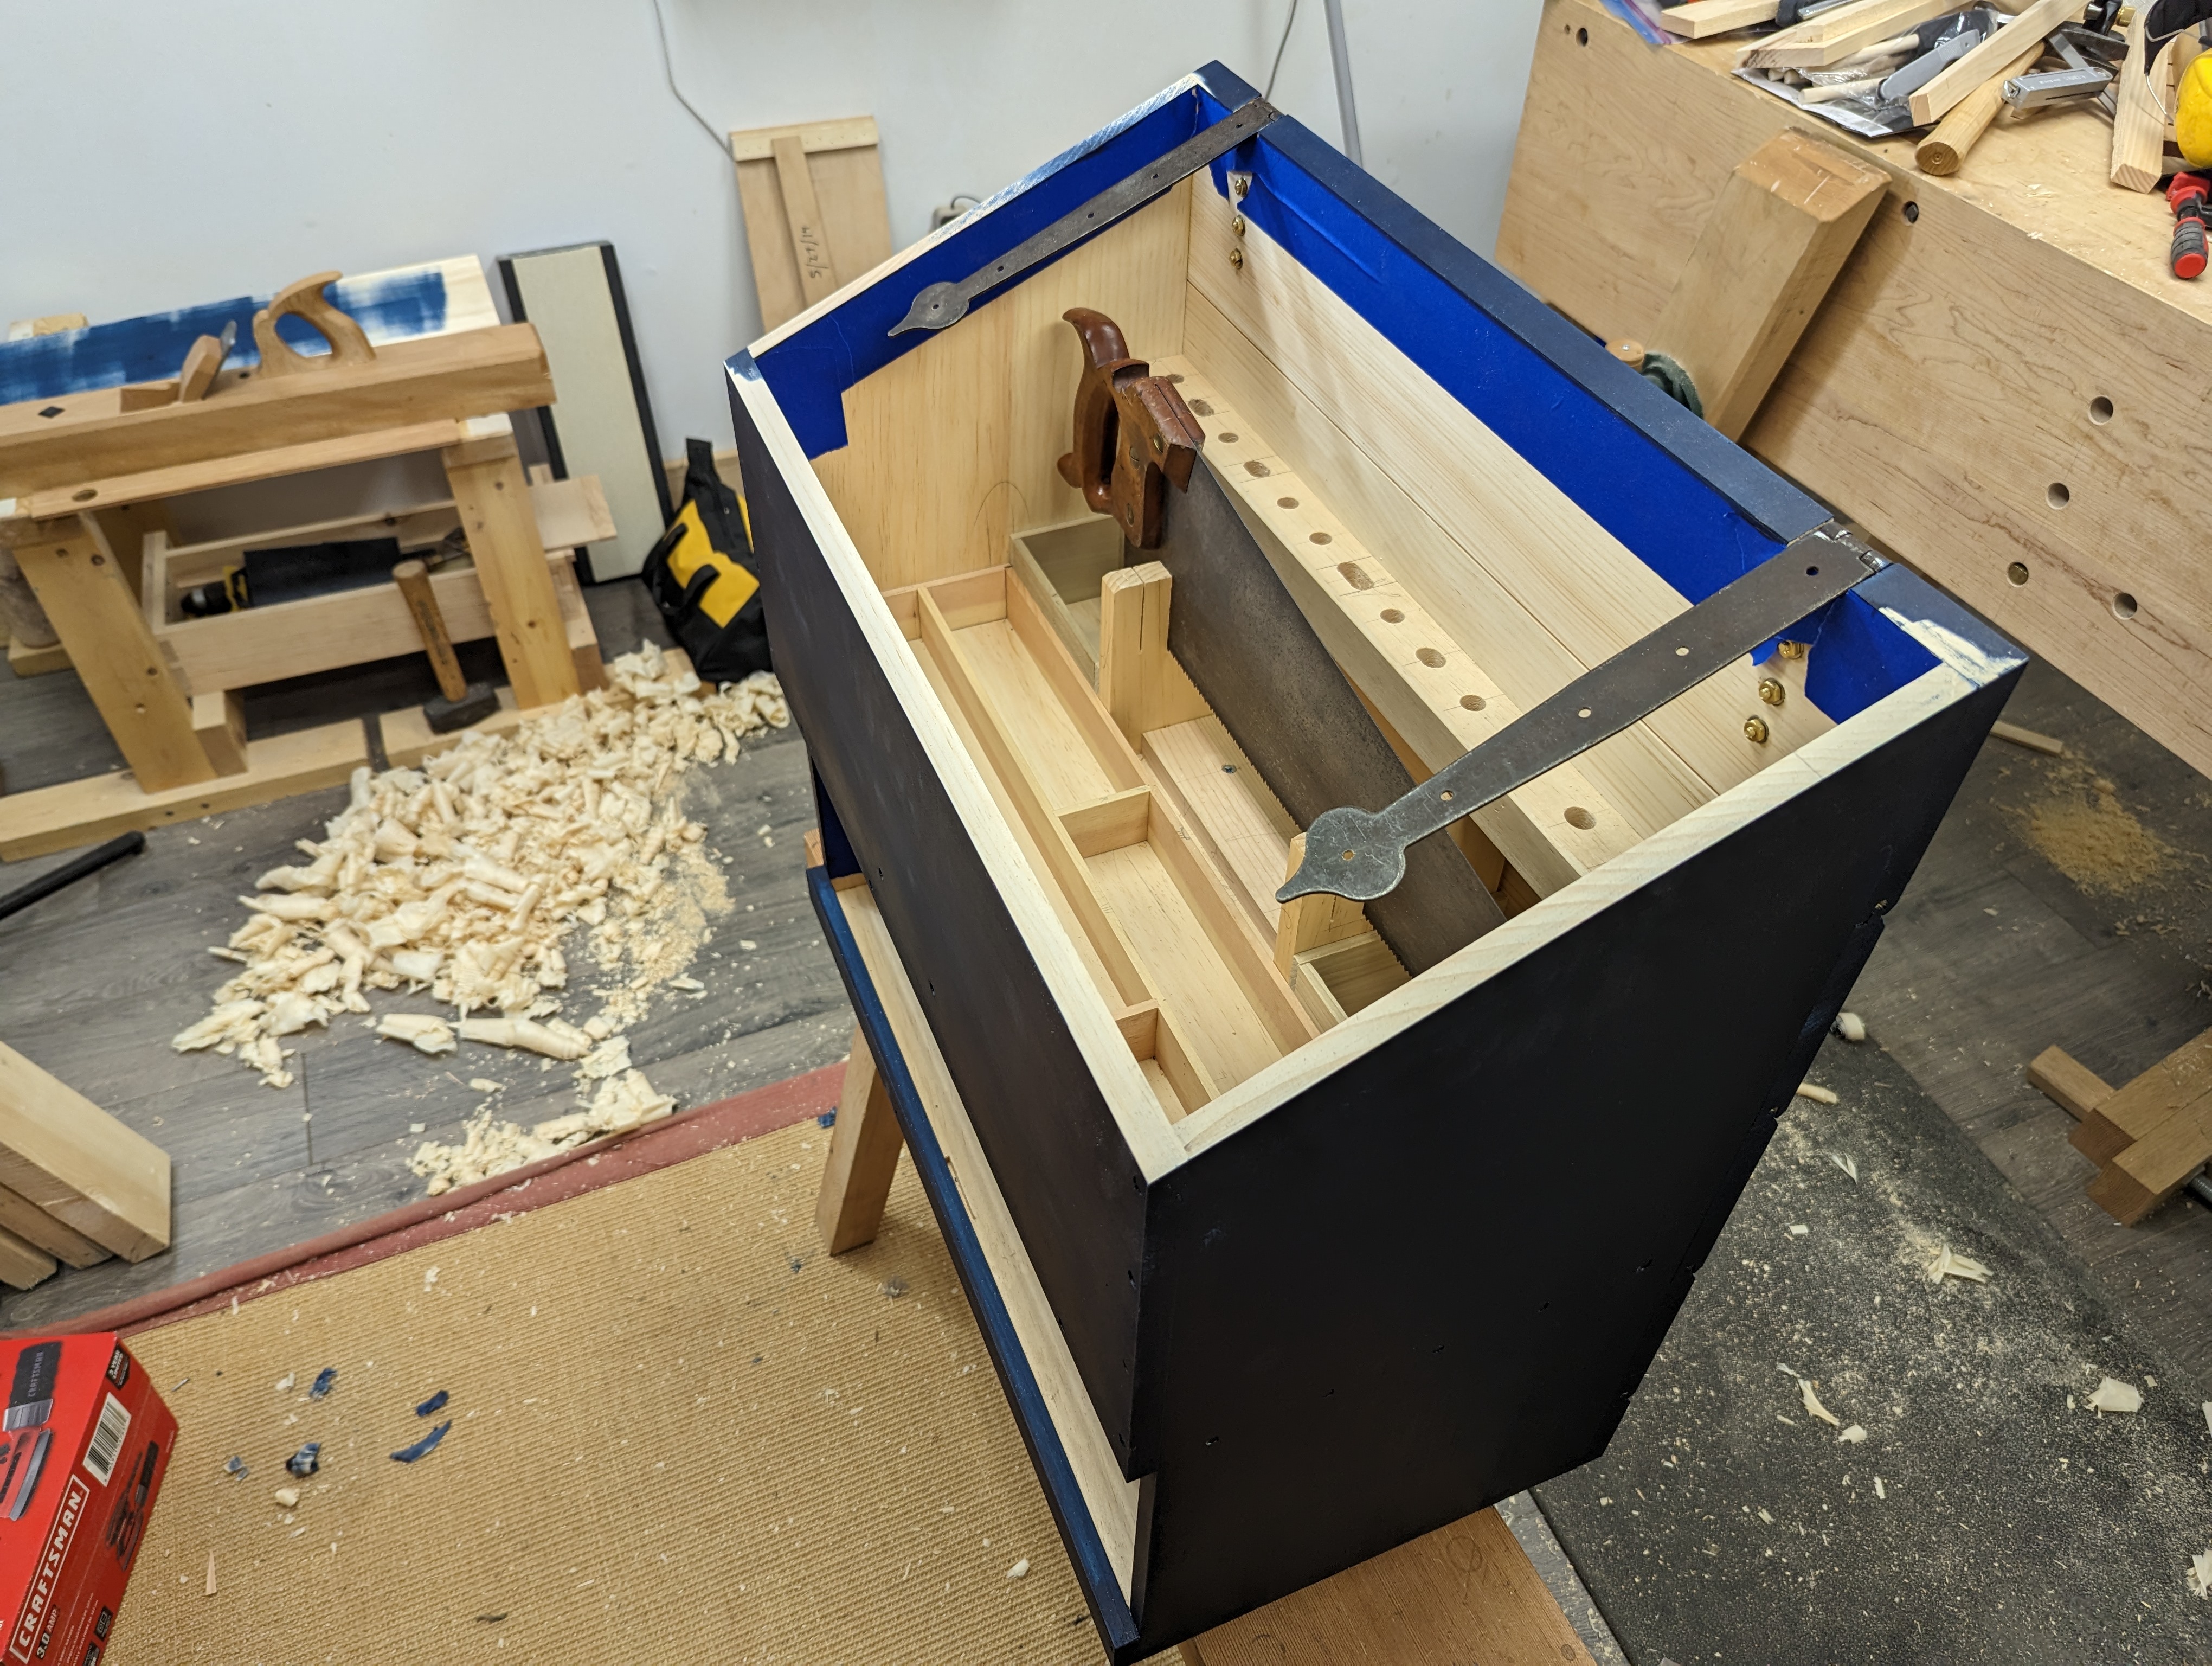
As I was making the lid (always the worst part of any tool chest build), I decided to start painting the case. Then, after three coats of paint, I dry fit the lid and discovered the top of the well is rather twisted. The front right corner was about 3/32″ higher than it should have been, so the lid rocked pretty badly. If you’ve never had to level the top of a Dutch Tool Chest after assembly, know that you can’t just continuously plane the top edge like you would with a traditional square box where it’s all edge grain. If you’re not careful, you’ll ram into the end grain of the side board and risk spelching the case side. And it’s awkward.
Instead, whenever I need to level a cross grain corner joint, I start with a chisel. Mark the depth with a gauge and chop, bevel down, until you scallop out enough of the end grain where the two boards meet to give clearance to your plane bed. You can now plane down the the long grain of the front board to depth without slamming into the end grain of the side board. Then, just take down the hump in the end grain of side board until it’s straight and flush with the new corner height. Once everything is about there, one long continuous pass starting from the far front corner and ending at the near back corner finishes it off.
Moral of the story: check for twist before you apply three coats of paint. Or, better yet, before you attach the front board at all.
JPG
