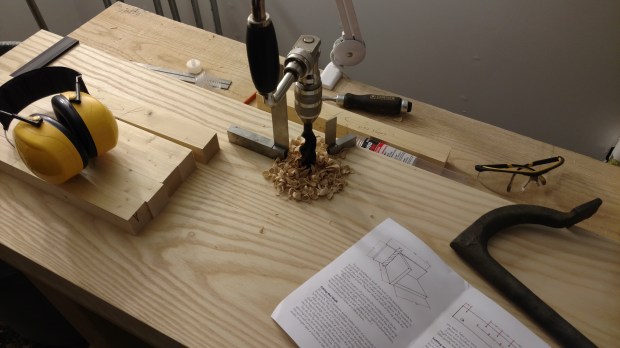
When I started TheApartmentWoodworker.com over two years ago, I had one goal in mind: chronicle my foray into handtool woodworking in a confined space with a limited set of tools. For almost two years, that confined space was my high rise apartment in lower Fairfield County, Connecticut. There were ups and downs to woodworking in that apartment: the ups being mostly proximity-related, and the downs being primarily noise-related. I’d like to think I was successful in that respect.
I don’t talk about it much, but I no longer live in a high rise apartment. But I do still woodwork in a confined space. Instead of a dining nook facing an inside wall, however, my shop is now a 12′ x 13′ ground floor bedroom with a south facing window. Once you factor in wood storage, the usable space is more like 12′ x 9′. Quite comparable to the overall space I had in my old apartment.
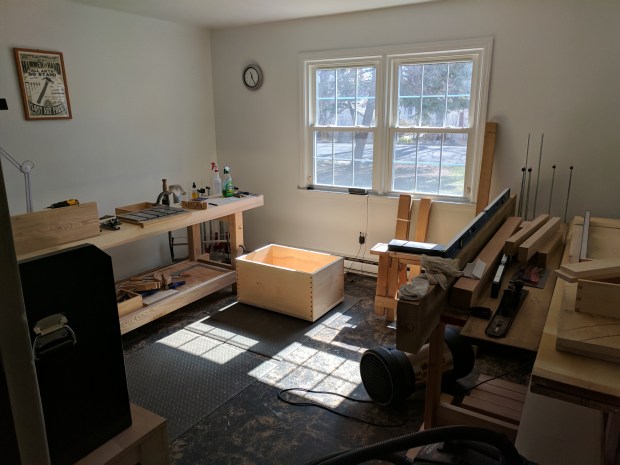
Seen here, with the aforementioned blanket chest.
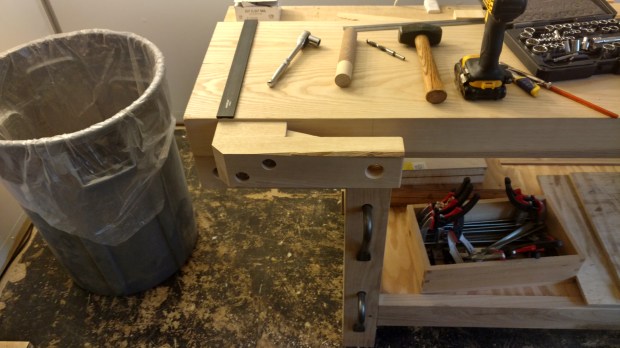
I would go so far as to say the only real difference from my old setup (aside from all the natural light) is having a full size workbench, rather than a series of clamp-on workholding solutions. And that is something I was working on anyway when I still had my apartment. I will also note that instead of driving 45 minutes each way to my parents’ house to use my miter saw or my thickness planer, they’re tucked away nearby.
So, all in all, I’m keeping the name of the website. I hope you will stay with me on this adventure and all the (hopefully) great things to come.
JPG