Welcome back to the third installment of the Planing Slab series (Parts 1 and 2 linked here and here)!
When laminating the slab, I did my best to keep what would be the bottom of the planing slab as flat as possible. I did this by only using boards ripped from the outside edges of the 2x10s and by doing some basic straightening before glue-ups. Also, by laminating one board at a time, I was better able to control float during the glue-up.

Overall, not too bad for a starting point.
As is often the case, the best intentions only get you so far. I still had a decent amount of flattening to accomplish for the fully-laminated slab. I have a box store Stanley bench plane that I set up as a scrub plane, but it’s unfortunately not at my apartment, so I did the next best thing: I sharpened an exaggerated camber into my No. 5 1/2 (not overly much, so I wouldn’t need to grind to reset the iron) and went to work. A few hours later, my floor was blanketed in shavings and I had something flat enough to skip plane through my thicknesser.

I generally keep the workshop cleaner than this, ladies.
Skip planing is relatively new to me. I don’t often work in boards large enough (read: thick enough) to resist the flex of the roller bars on my thicknesser. It was pleasant to focus solely on getting the the outside edges parallel and on axis and scooping just enough out of the center to ensure the outside edges ran slightly proud. After all, the slab was rigid enough that it would ride only on the edges while going through the thicknesser (which is how skip planing works). I removed the angle irons (used to clamp it to the table) and loaded the slab into the car.
It took about 10 light passes through the thicknesser to flatten the top and about 3 more to flatten the bottom (after a flip). Overall thickness ended up just over 2.75″, which is not bad, considering I ripped the component boards to slightly over 3″. All that was left was some basic squaring of the ends, accomplished via chop saw, and the rough dimensioning phase was done. Back at the apartment workshop, I straightened and squared the back edge, rounded all the corners with a 1/8 round-over router bit and reinstalled the angle irons.

My shop-made sharpening depth stop block makes a great backer-board for installing angle irons.
Special thanks to my mother for helping me out with the skip planing. It would have been a much tougher job without the extra set of hands. I would have managed it, but a little help goes a long way.
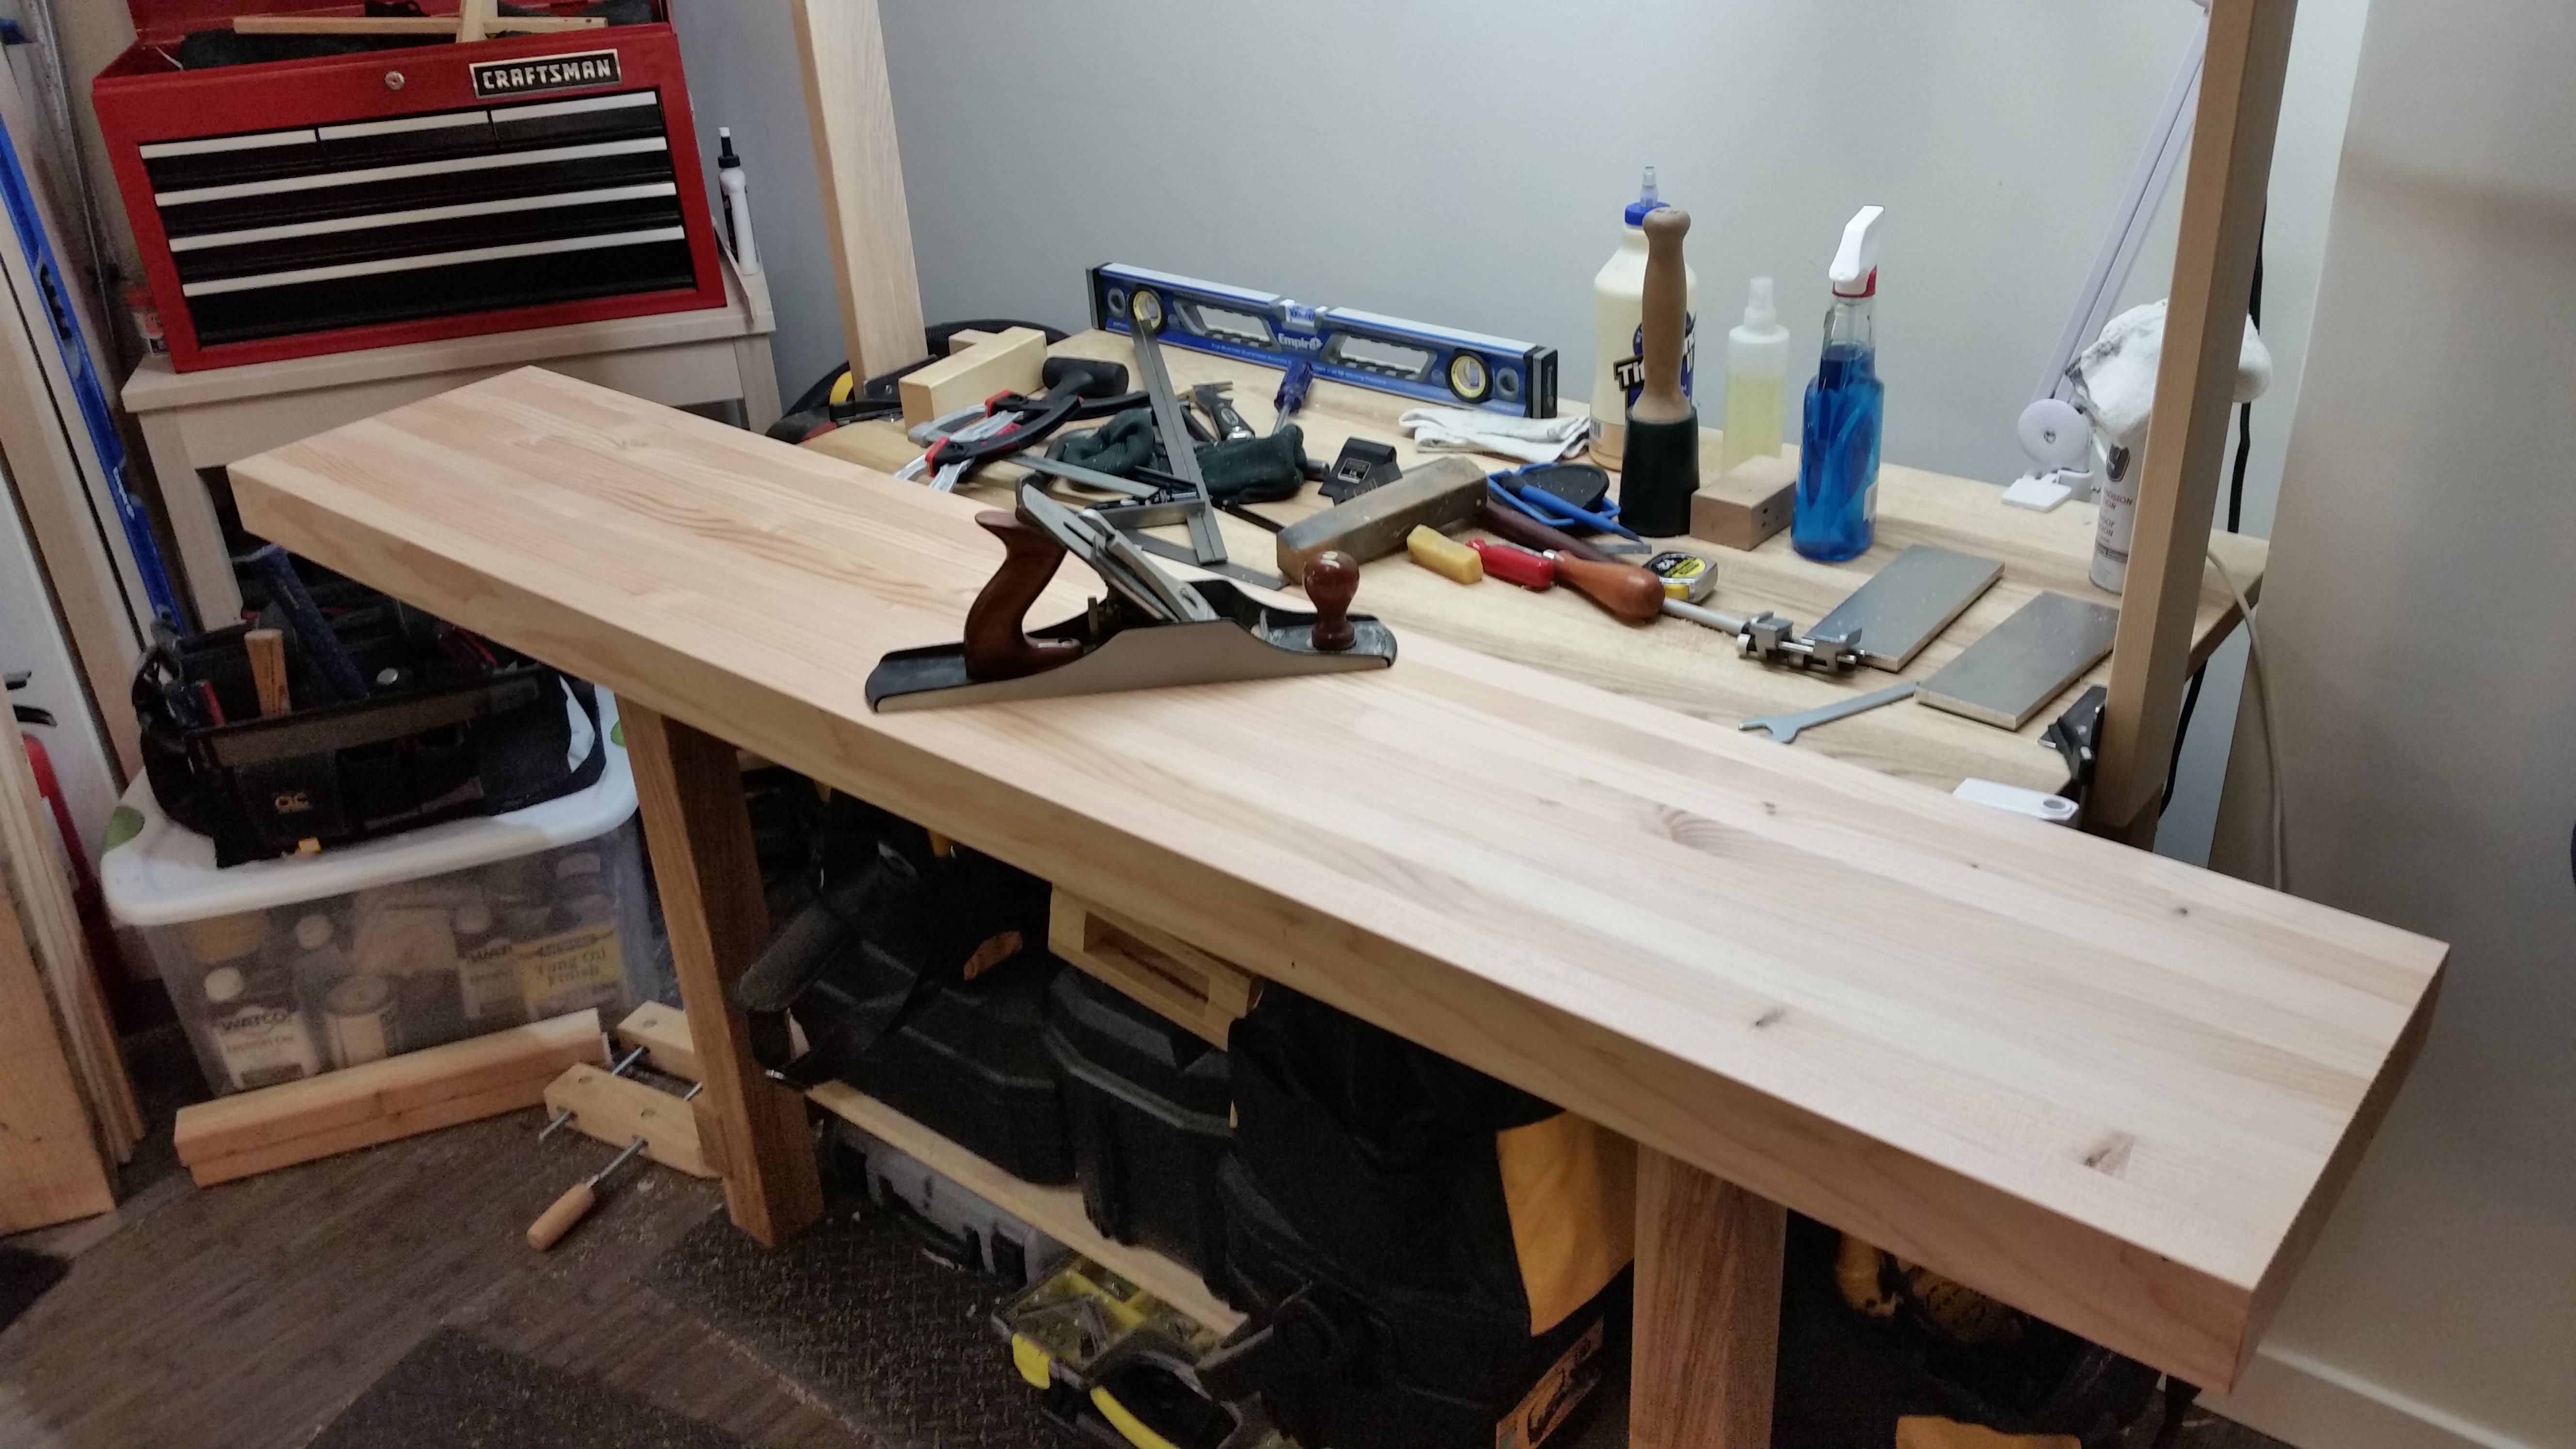
Straight-ish, square-ish and ready for final flattening and installation of the inset vise and dog holes.
In the next (and final installment), I’ll cover installation of the Veritas Inset Vise and final flattening, smoothing and finishing.
JPG

3 comments