If you’ve been following the saga, you know I now had a relatively S4S planing slab. All that remained was some final flattening/smoothing, installation of the Veritas inset vise and dog holes, and sealing with a coat or two of Danish Oil.
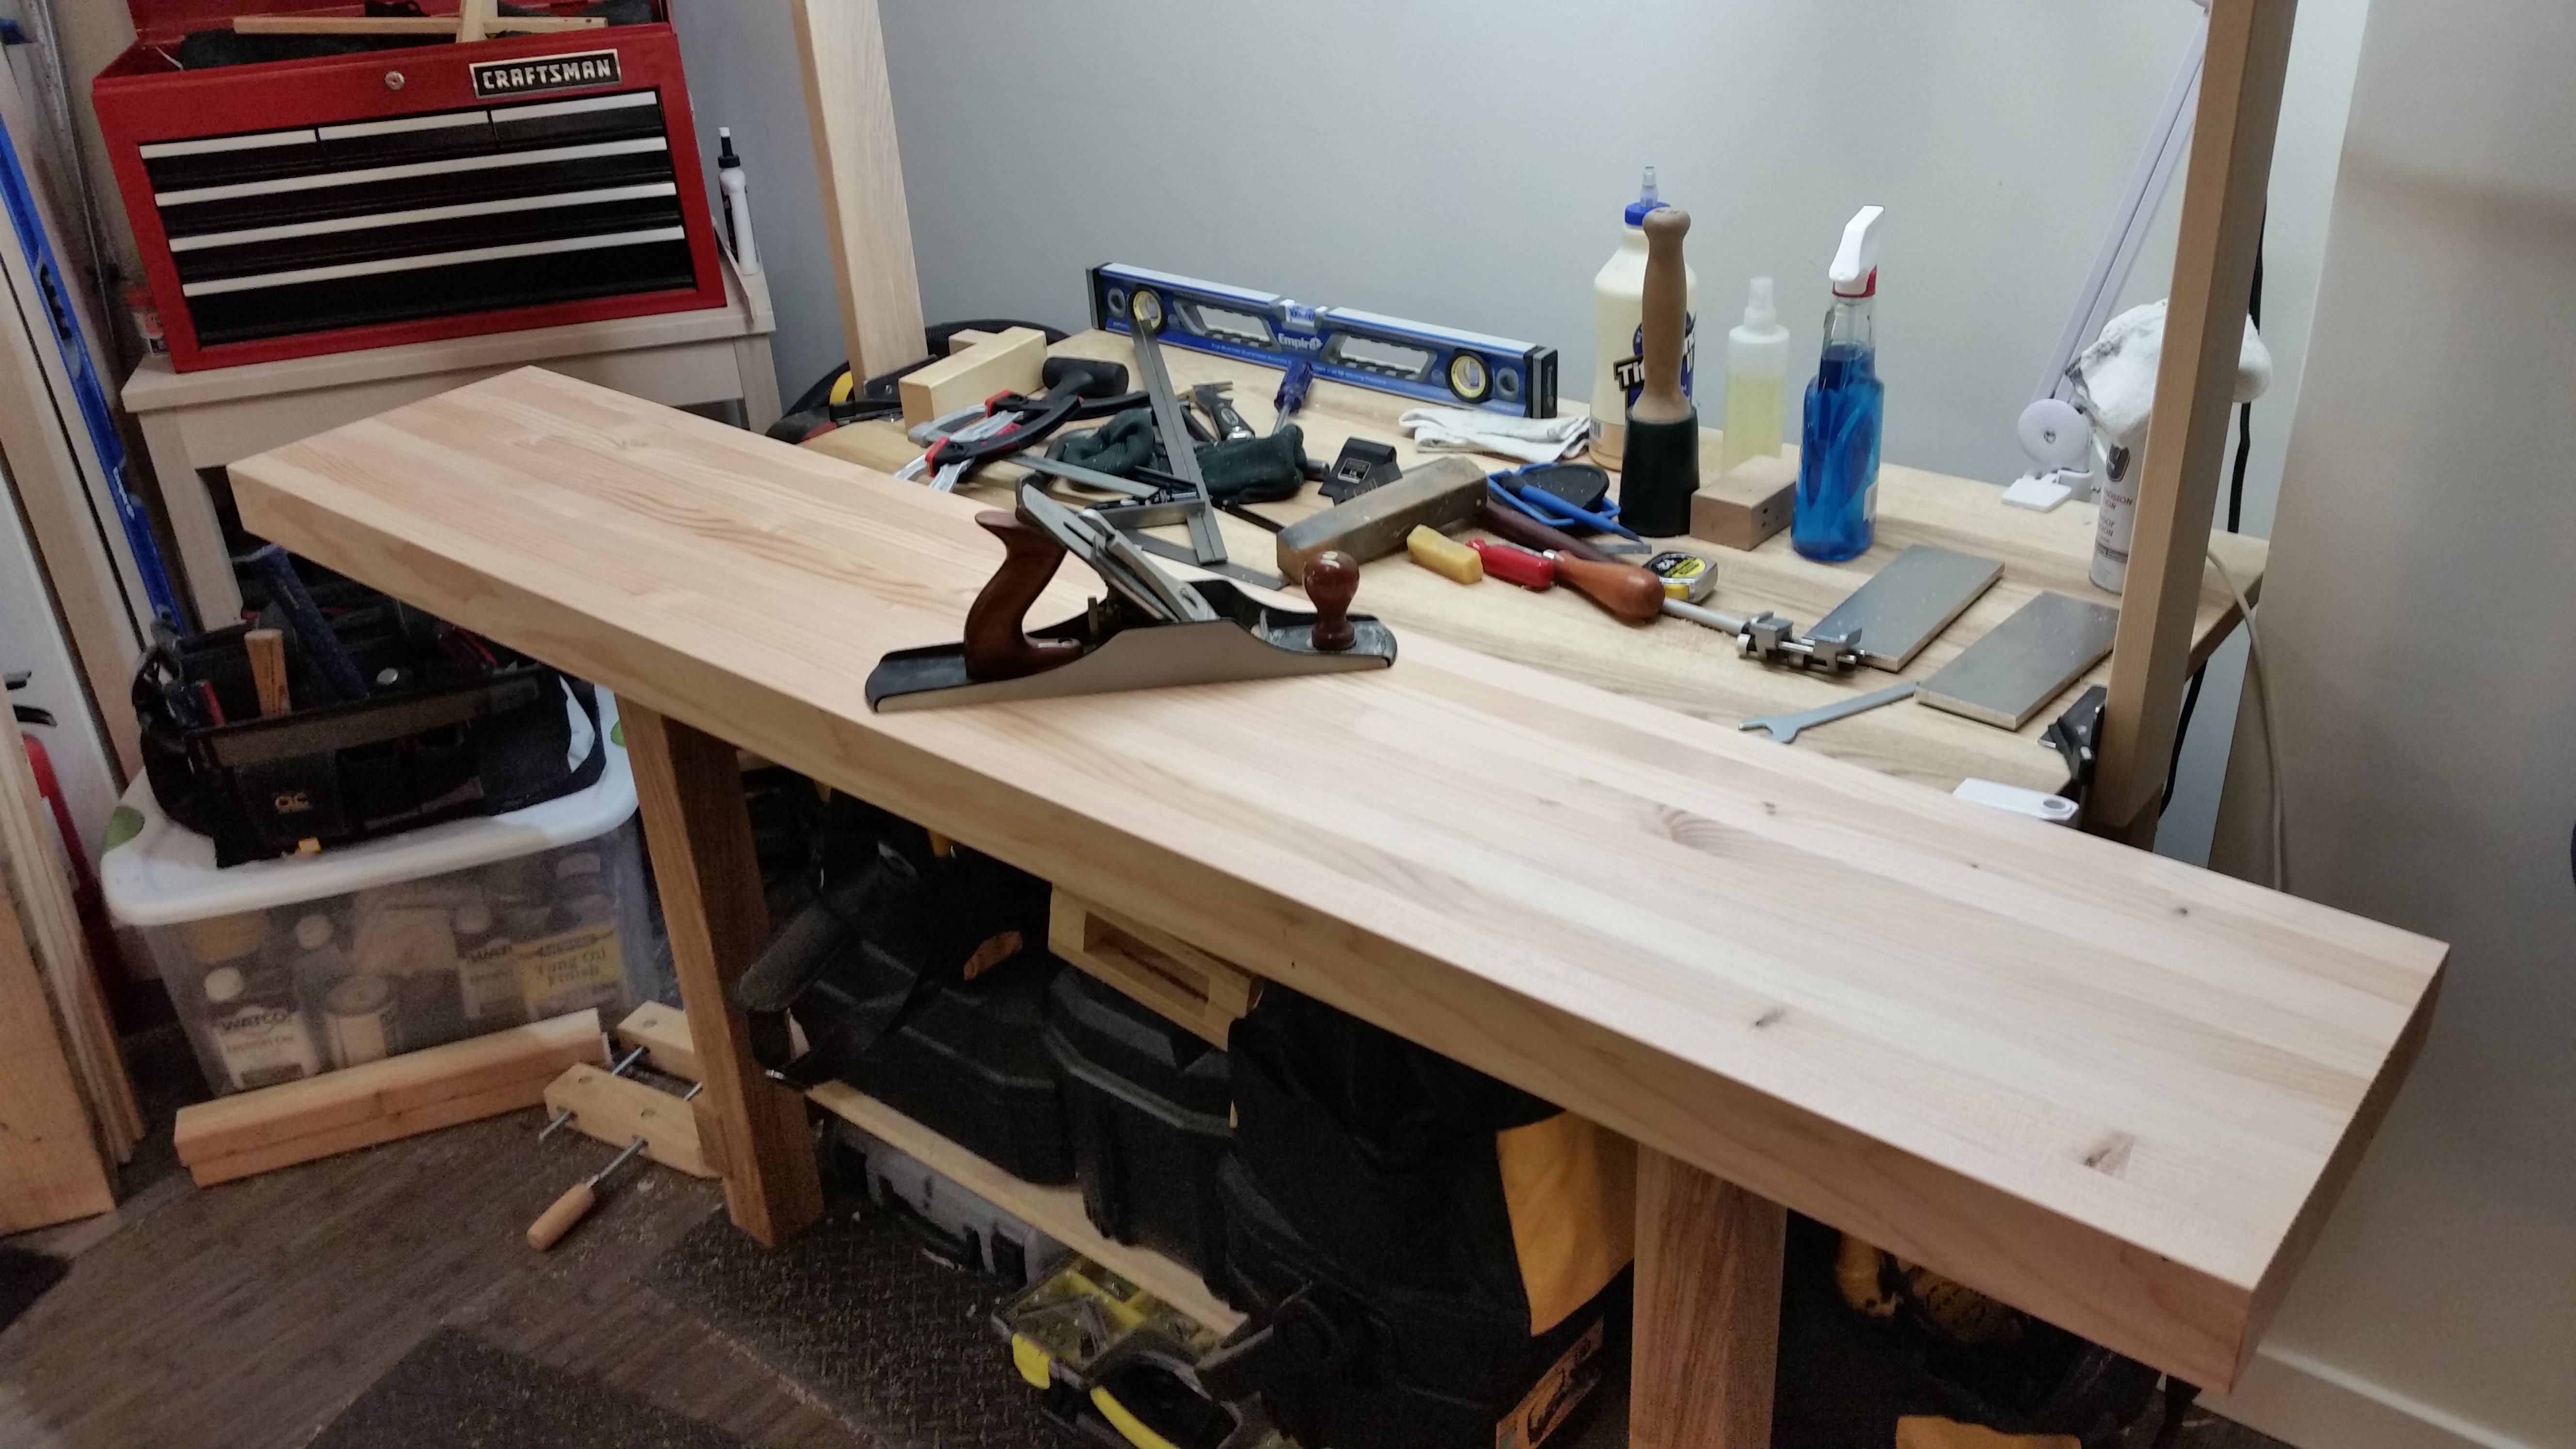
The final dimensions are a smidge under 72″ wide, 13″ deep and 2 3/4″ thick.
Truth be told, not a ton of final flattening was required after skip planing. The back seven boards of the slab are perfectly flat along their length, and although there ended up being about 1/32″ of hollow along the entire length of the front two boards, there is no twist across the entire slab. I made the executive decision (starring Kurt Russell) that the miniscule hollow wasn’t worth agonizing over. Therefore, it was time to install the Veritas inset vise. After much thought, I determined it would be best to install the vise centered over the width with a single strip of in line dog holes. More dog holes could be bored as needed.
The inset vise requires a two-stepped recess, with the bulk of the vise sitting inside a 29/32″ deep recess and the wings (where the screws attach) sitting inside shallower, 1/8″ deep wing recesses. I seriously considered using a power router at this point. I could have (should have?) marked out the entire recess, hogged out most of the waste with a 1/2″ upcut spiral bit on a full size router and cleaned it up by hand with a chisel. Instead, I did it all by hand. After marking and carcass-sawing down the sides of the main recess, I hacked out the waste with my new Narex 1 1/4″ bench chisel and cleaned up the bottom with a large router plane.

This took way longer than it needed to, but it was good practice (I think?).
The good news was, once the main recess was cut, I could mark the wing recesses directly off the vise itself. The bad news was, at 1/8″ deep and running with the grain, there was no completely clean way to remove the waste and leave crisp corners on the wing recesses (I opted for the large router plane, which did an adequate job, albeit slightly rough). After a while, the vise was fully installed and, remarkably, the jaws are perfectly square to the back reference edge.
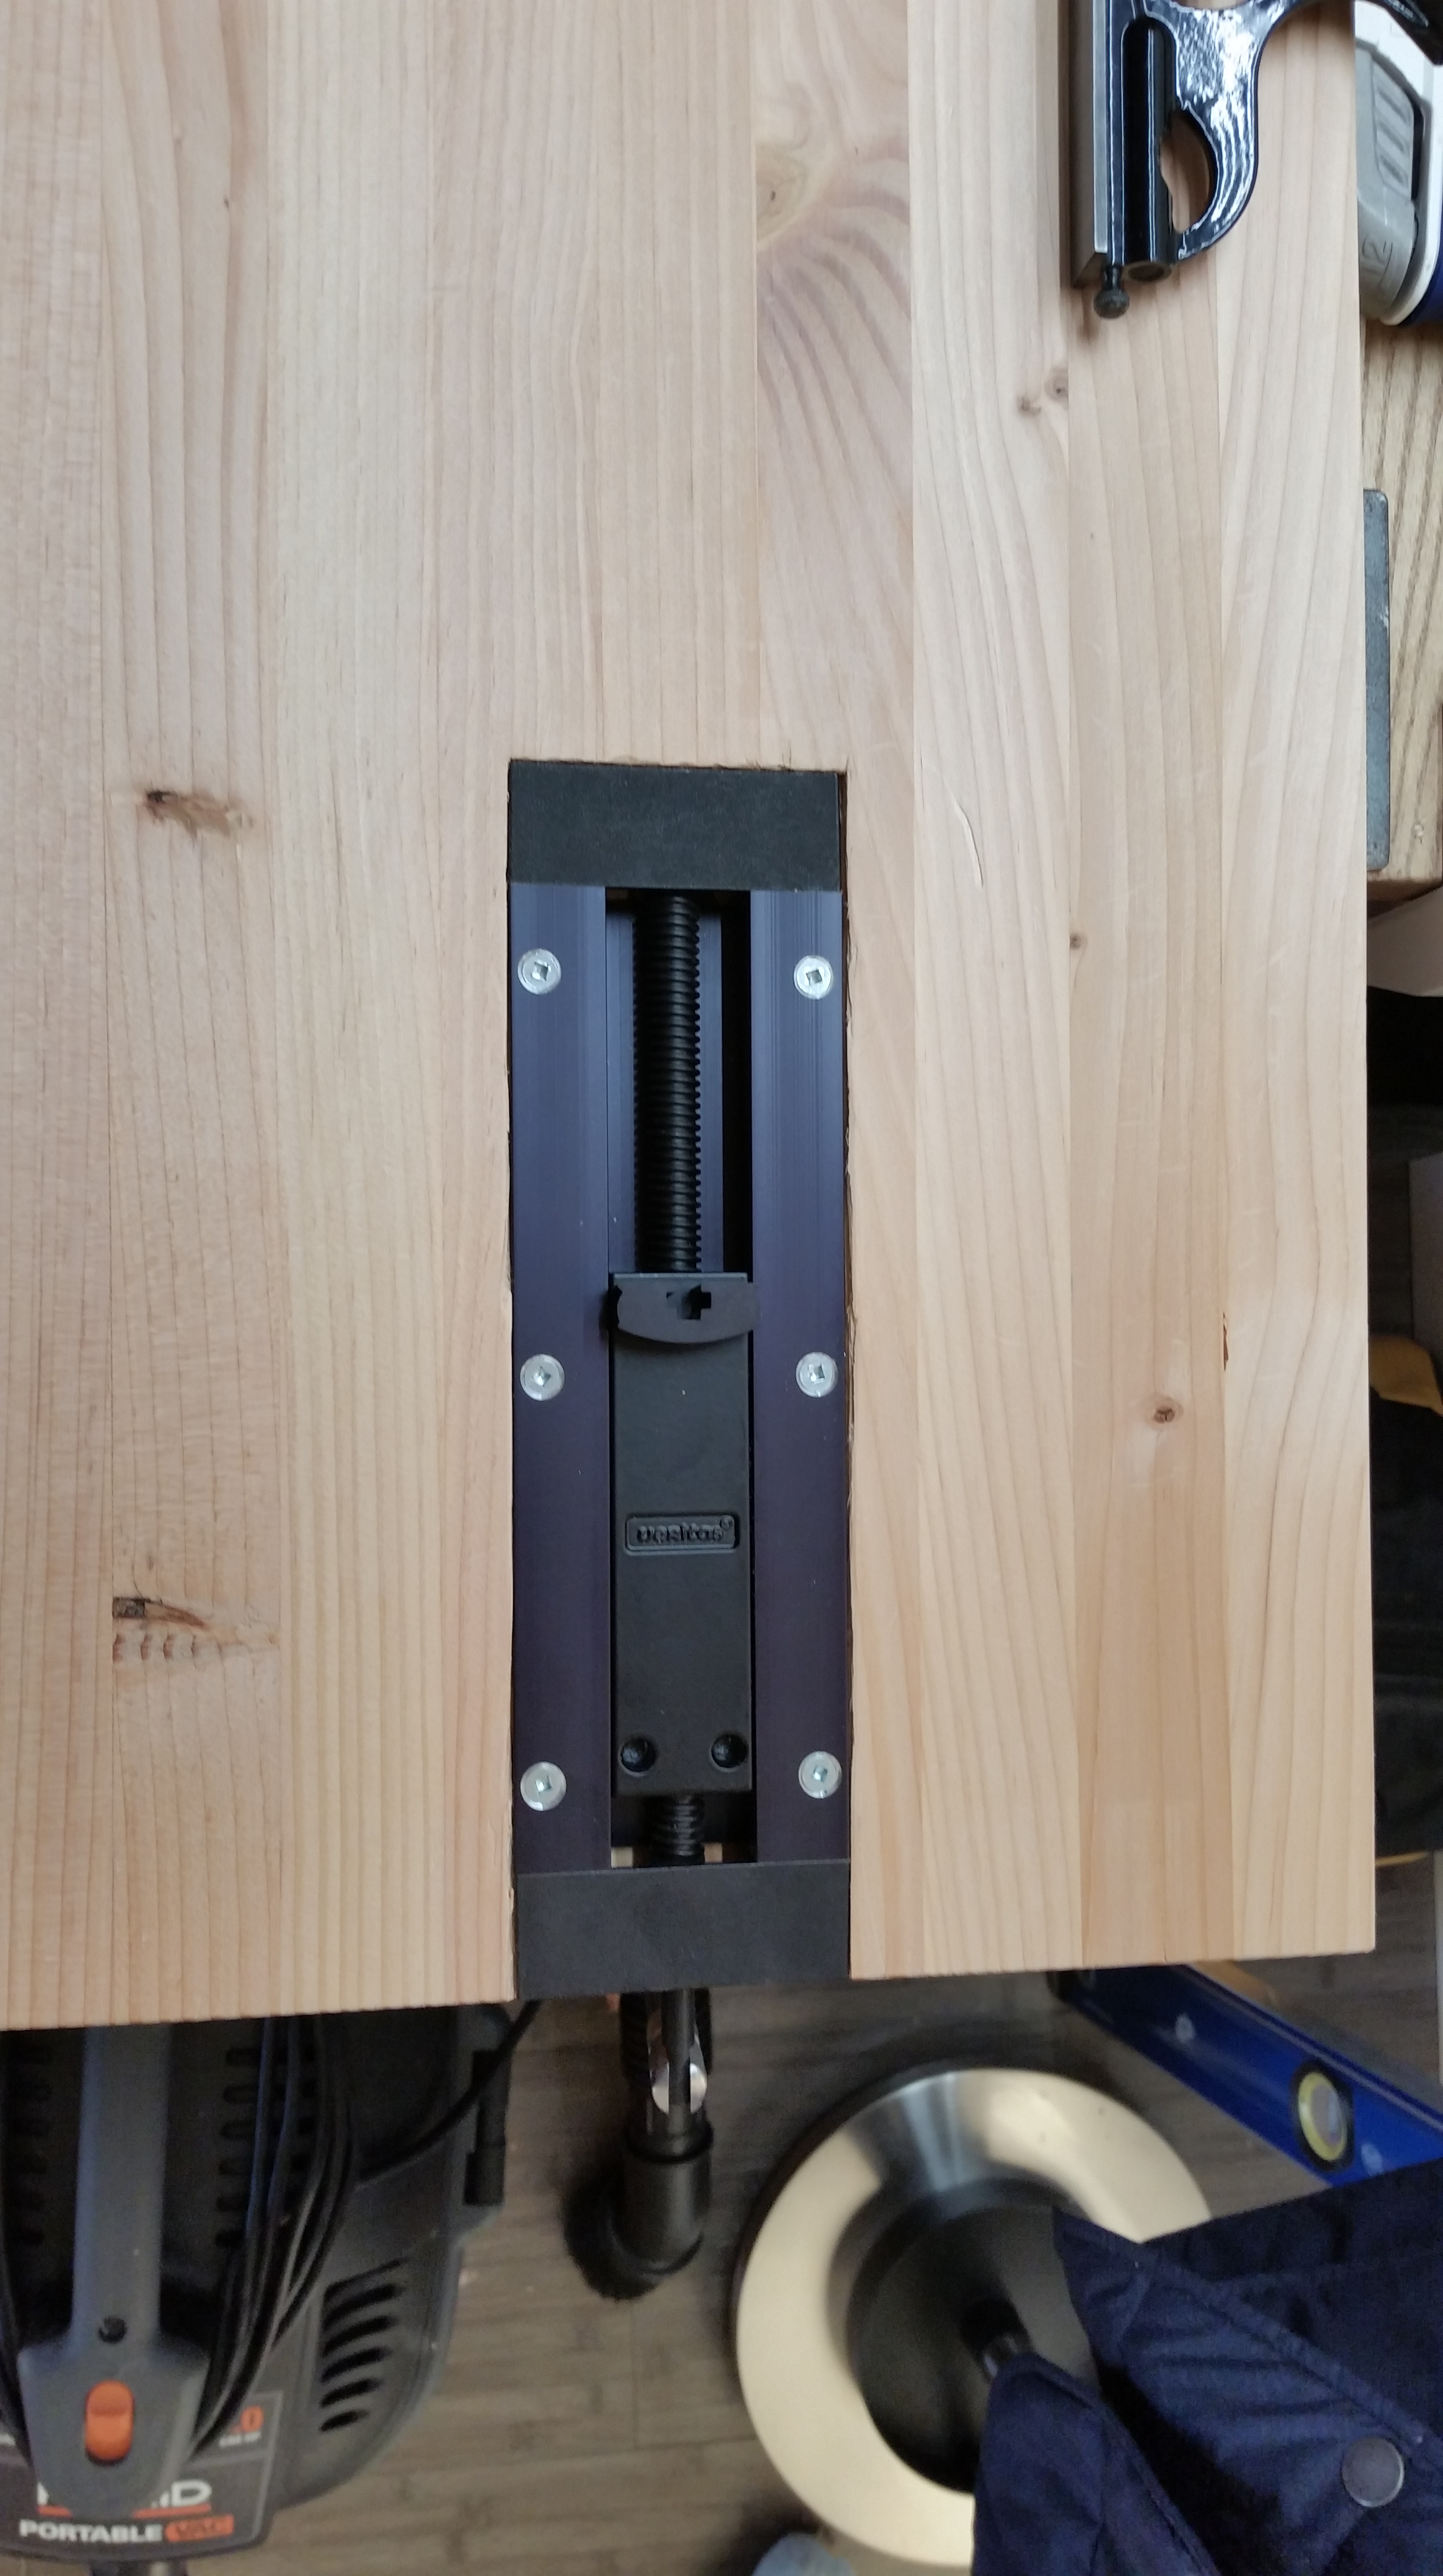
But the lack of perfectly crisp corners will haunt me forever (at least until I reflatten the slab and recut the recess).
The 3/4″ dog holes were interesting to bore. I have been using the Rockler forstner bit guide with my handheld drill for a while now, but the slab was too thick to make it all the way through. After starting the hole straight with the guided forstner bit, I had to switch to my beefy brad point bit after the drill chuck bottomed out on the guide. I went slow, but I still had a little bit of blowout on the underside, easily solved with water-based putty. I filled some other holes as well and left them to dry overnight.

This is actually the inset vise exhaust port, but still.
Nearing the end, I hit everything with a quick 220 grit orbital sanding, slapped on two thick coats of natural tint Danish Oil and leaned it up against the wall.

A place for everything and everything in its place.
So there it is: the finished planing slab. From home center douglas fir construction lumber to a sufficient worksurface for planing longer, thinner boards, all in about 30 shop hours (not including drying time). I think it was excellent practice for eventually making a proper woodworking bench (maybe something in white ash and walnut) and I am glad now to have it.
Now all I need is to pick a furniture project that requires planing longer, thinner boards so I can actually use the thing. I will report back.
JPG

6 comments