There comes a point in every build where I have to ask myself: do I dig deep and bear down, or take the easy way out? I am ashamed to admit it’s barely better than a 50/50 split over time.
I’ve been working for a while on a rather large “console table” made entirely of reclaimed lumber from past projects. The undercarriage is hard maple reclaimed from one of my earliest woodworking projects: a platform bed. Even after planing and sanding, you can still see the remnants of gross home center stain in the pores.
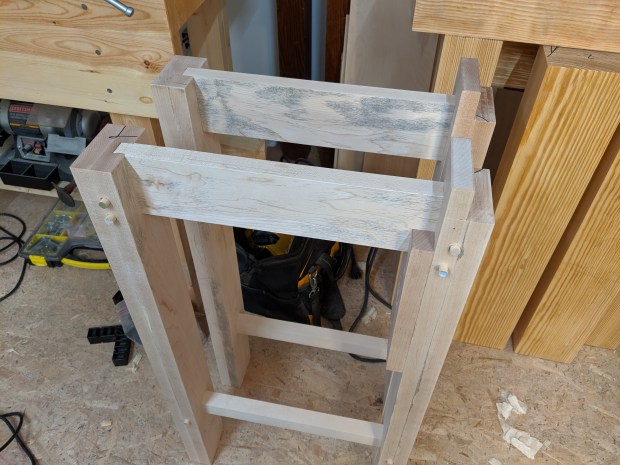
Looks green, but is actually “mahogany”.
If the general shape looks familiar, it should. And I have, to this point, worked hard and done it right. All the joints are mortise and tenon, drawbored with 7/16 dowels with relatively aggressive offset. Solid as a rock. The undercarriage will be painted to cover up the gross discoloration and some tear out of wild grain.
The tabletop, however, will be ash. Specifically, ash reclaimed from the back wing of my Stent Panel workbench. Reflattened and otherwise cleaned up a bit, it’s 80″ long, 10″ wide and a hair under 1 7/8″ thick. That’s more than half of the overall tabletop area and solid enough for whatever light duty it may pull as it sits under a north-facing window in my dining room.
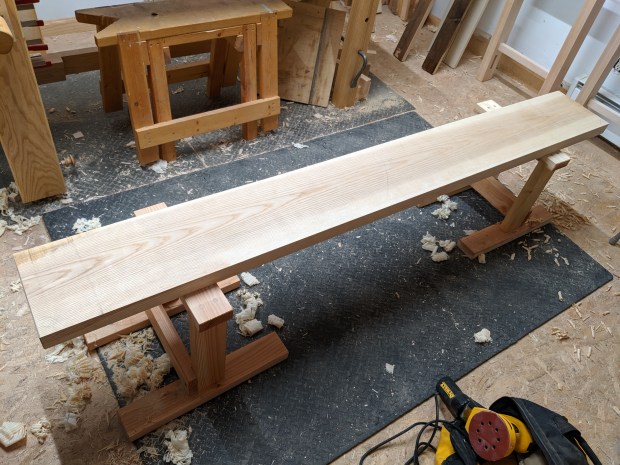
It’s pretty enough for its intended purpose.
The tenons on the tops of the front legs will be drawbored into mortises in the slab. Some DIY tabletop connectors should combine to make a stout connection between the frame and the tabletop. All while allowing for seasonal wood movement. Some sort of full length tool well will fill out the rest of the table top, but probably won’t be good for much other than collecting junk.
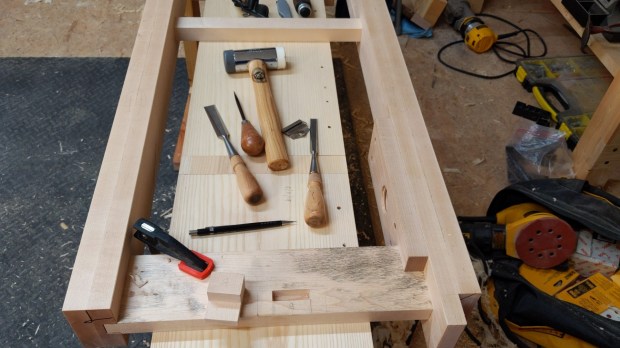
Tabletop connectors are good enough when there won’t be much wracking force.
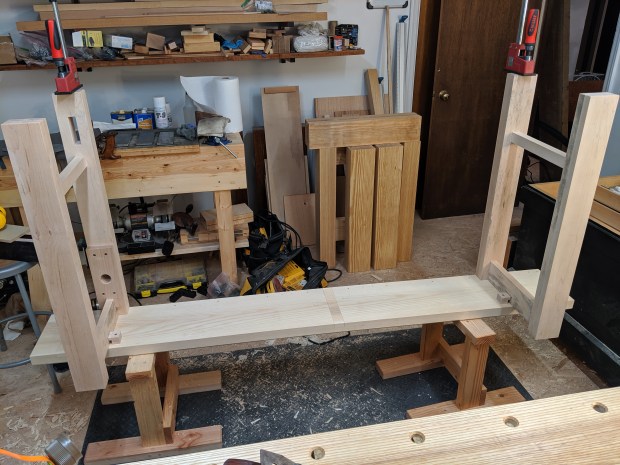
At this point, the mortises are cut into the slab and everything fits together nicely. But, as always happens, I now have a choice. There will definitely be stretchers on this table. It would otherwise be too wobbly with just a single tenon and tabletop connector on each leg frame. But how do I connect the stretchers?
Do I meticulously mark and pare shoulder lines for proper mortise and tenon joints (like the leg frames) for maximum strength and consistent aesthetic? Or do I skimp on time and process and lap the stretchers into the front and back legs, which would certainly be strong enough and look just fine?
And once the stretchers are attached, should I add a jack board mortised between the front stretcher and the underside of the tabletop to add a bit more rigidity in the middle and act as a fixed deadman? Or do I just glue a strip of maple to the underside of the tabletop to reinforce it more discreetly?
What about a shelf? Do I add one at all? If so, is it birch plywood banded in maple or solid wood reclaimed from some source?
Each of these choices affects the amount of effort and time required to finish this project.
Here I am, staring into the abyss.
So here is my hot-take (for now):
- Drawbored mortise and tenon joints connect the long stretchers to the legs.
- Tabletop reinforced with additional lamination below.
- No shelf, for now. I may also add a loose deadman one day.
Everything is a give and a take in hobby woodworking. Doubly so in small-space hobby woodworking. But, sometimes, there is a middle ground between “dig deep, bear down” and “easy way out”.
JPG

One comment