News and Announcements

Merry Christmas and Whatnot

In these United States of America, whether or not you actually celebrate Christmas, you likely have it off from work.  My family does celebrate, and my office is closed, so I will spend most of the day driving around my tiny slice of the cosmos.  First having lunch with my parents and my one extent grandparent at my aunt and uncle’s house, and second going to dinner and presents at my brother and sister-in-law’s house.  With woefully little time in the shop.

We have a rule in my family: if you don’t ask for it, you don’t get it.  My Christmas wish list was pretty much just woodworking hand tools.  I’ll post the tool-pron later once I’m back in the shop (read: home).

Happy Holidays to everyone.

JPG

Happy Thanksgiving

Happy Thanksgiving from TheApartmentWoodworker.com.  As the holiday season ramps up, I am (as always) grateful for my readers and followers and, most of all, the support of my family and friends who humor my woodworking hobby (obsession?).

Here’s wishing everyone a happy and healthy holiday. Travel safe and, if you can, get some time in the workshop!  Even if it’s just to flatten your saw bench.

P1000252

Sometimes, even shop furniture needs some maintenance.

JPG

Happy Birthday to TheApartmentWoodworker.com!

Exactly one year ago today, I entered the “writing-about-woodworking-on-the-internet” scene.  Though (not?) much has changed since then, the goal here at http://www.TheApartmentWoodworker.com remains the same: show that meaningful woodworking can be done in a small space with a few simple hand tools and some basic know-how.

I am grateful to all of my readers for making this first year so enjoyable and successful.  I have much to say (and would be shouting it at the void regardless) and knowing that what I write can help people enjoy the craft is a significant reward.  Thank you all for reading.  I am glad to have you as part of the Apartment Woodworker family.

There is still much to do and say.  Here is to the next year!

JPG

Mine’s Bigger

I had a modicum of free time last week, so I took the opportunity to laminate the main benchtop of my new clamp-on workbench.  At 48 inches long, the workbench is essentially the same length as the dining table to which it will clamp.

For a size comparison, that's my current clamp-on workbench in the bottom of the frame.

For a size comparison, that’s my current 31″ clamp-on workbench in the bottom of the frame.

In many ways, this new workbench is the spiritual successor to the planing slab that I unsuccessfully made out of home center douglas fir last year, although not nearly as long or heavy.  I’m hoping that with the inset vise (rather than a proper wagon vise), I’ll have about 44 inches between the dogs.  Compare this to 24 1/4 inches on the Milkman’s Workbench pictured above.

In addition to being much longer, the main benchtop is significantly deeper.  My Milkman’s Workbench has a main benchtop of 6 1/2 inches, and an overall depth of 9 3/8 inches including the face vise.  Compare the new workbench, which will have a main benchtop of 8 13/16 inches deep (I lost just 3/16 inches of nominal depth to jointing).  Add to that about 1 1/2 inches of inner front vise chop and another 5 1/2 inches of fully-extended front vise outer chop and I will be able to support almost 16 inches of work over the length of the front vise.  I plan to make a peg-held support for the right side of the bench so I have full support over the full 48 inches.

wpid-20150926_124501.jpg

Grainy work dungeon photo!

All of this is now dependent on how well I hang the front vise.  I plan to cut dadoes in the underside of the main bench to accept the screws.  Then it’s just a question of drilling holes perfectly straight through the outer chop (without a drill press) and figuring out how to seat the collets into the inner chop perfectly in line with the outer chop holes.

Simple, right?

JPG

The Journey to a New Workbench…

…begins with a single cut.  In this case, some 8/4 hard maple. The main bench should be about 9″ deep (not including front vise chops) and 48″ long.  For comparison, my current workbench, a Milkman’s Workbench, has a main bench 6.5″ deep and 30″ long.

48 inches of 8/4 hard maple will form the main part of the bench.

The Nobex Champion 180 miter saw makes rather quick work of it.

While it will clamp onto my dining table with angle iron just like the Milkman’s Workbench, instead of wooden screws the new bench will have a beefy moxon-style front vise using two veneer press screws that have been kicking around the workshop for a while.  I’ll also re-purpose the Veritas inset vise from the planing slab to avoid having to make a carriage vise.

The action on these is surprisingly smooth

The action on these screws  is surprisingly smooth.

One other serious deviation from the Milkman’s Workbench is that no part of the new bench besides the front vice chops will overhang the table.  This should increase the chopping surface significantly.  A major flaw of the Milkman’s Workbench is the unsupported area under the dog holes (which can be springy) and I intend to fix that flaw this time around.

I intend the front vise to have at least 24″ between the screws, and I think it makes sense to run two sets of dog holes down the length of the workbench so I can use a Veritas planing stop (in both tail vise and front vise configurations).

There isn’t much twist in the boards (less than 1/8″ over the 48″), so I’m hopeful the final thickness will be at least 1.5″ (and most likely 1 5/8″) when planed to final thickness.  Time to sharpen up!

JPG

Updated “About” Page

I’ve spent the week getting settled into my new law firm and haven’t had much time for woodworking.  I did, however update the “About” page to more accurately reflect the state of The Apartment Woodworker.

Regular posting should resume next week!

JPG

Maker of Replacement Totes and Knobs for New Planes?

Because I think this reaches a wider audience than my current twitter following, does anyone have a recommendation for someone who makes replacement totes and knobs for planes? 

When I first started woodworking, I purchased a brand new, generic Stanley No. 5. It’s lightweight and I plan to tune it for general work, but I hate the molded plastic tote and knob. I’d love to replace them but I don’t have the experience (or the desire) to make the replacements myself.  So if anyone knows of a woodworker who makes custom totes and knobs and wants a paying customer, please send their contact info my way.

Thanks much.

JPG

Glossary of Terms

There are so many woodworking terms. For joints. For tools. For techniques.  Where does a person begin?

Before I took up woodworking a few years ago, I didn’t know a damned thing about it.  I started on YouTube and worked backward. Wikipedia was helpful, as was my first woodworking book (Working Wood 1&2 by Paul Sellers). Now over three years into my apartment woodworking sojourn, my knowledge has grown along with my vocabulary.

I have recently been made aware that woodworking jargon can create a barrier to entry. Knowledge that I take for granted is not universal.  So going forward, in an effort to make the site more approachable – and because I think it will be fun – every defined term appearing in a post will be included in a new page entitled “Glossary of Terms”.

The page went live yesterday.  Please feel free to critique my definitions, as most are from memory.

JPG

Unveiling the “New” Workshop

Last week, I was lamenting the spatial constraints of my apartment woodworking shop, and I decided to do something about it.  Behold, the reorganized workshop!

P1000020

It’s like one of those “spot the difference” games in the local newspaper.

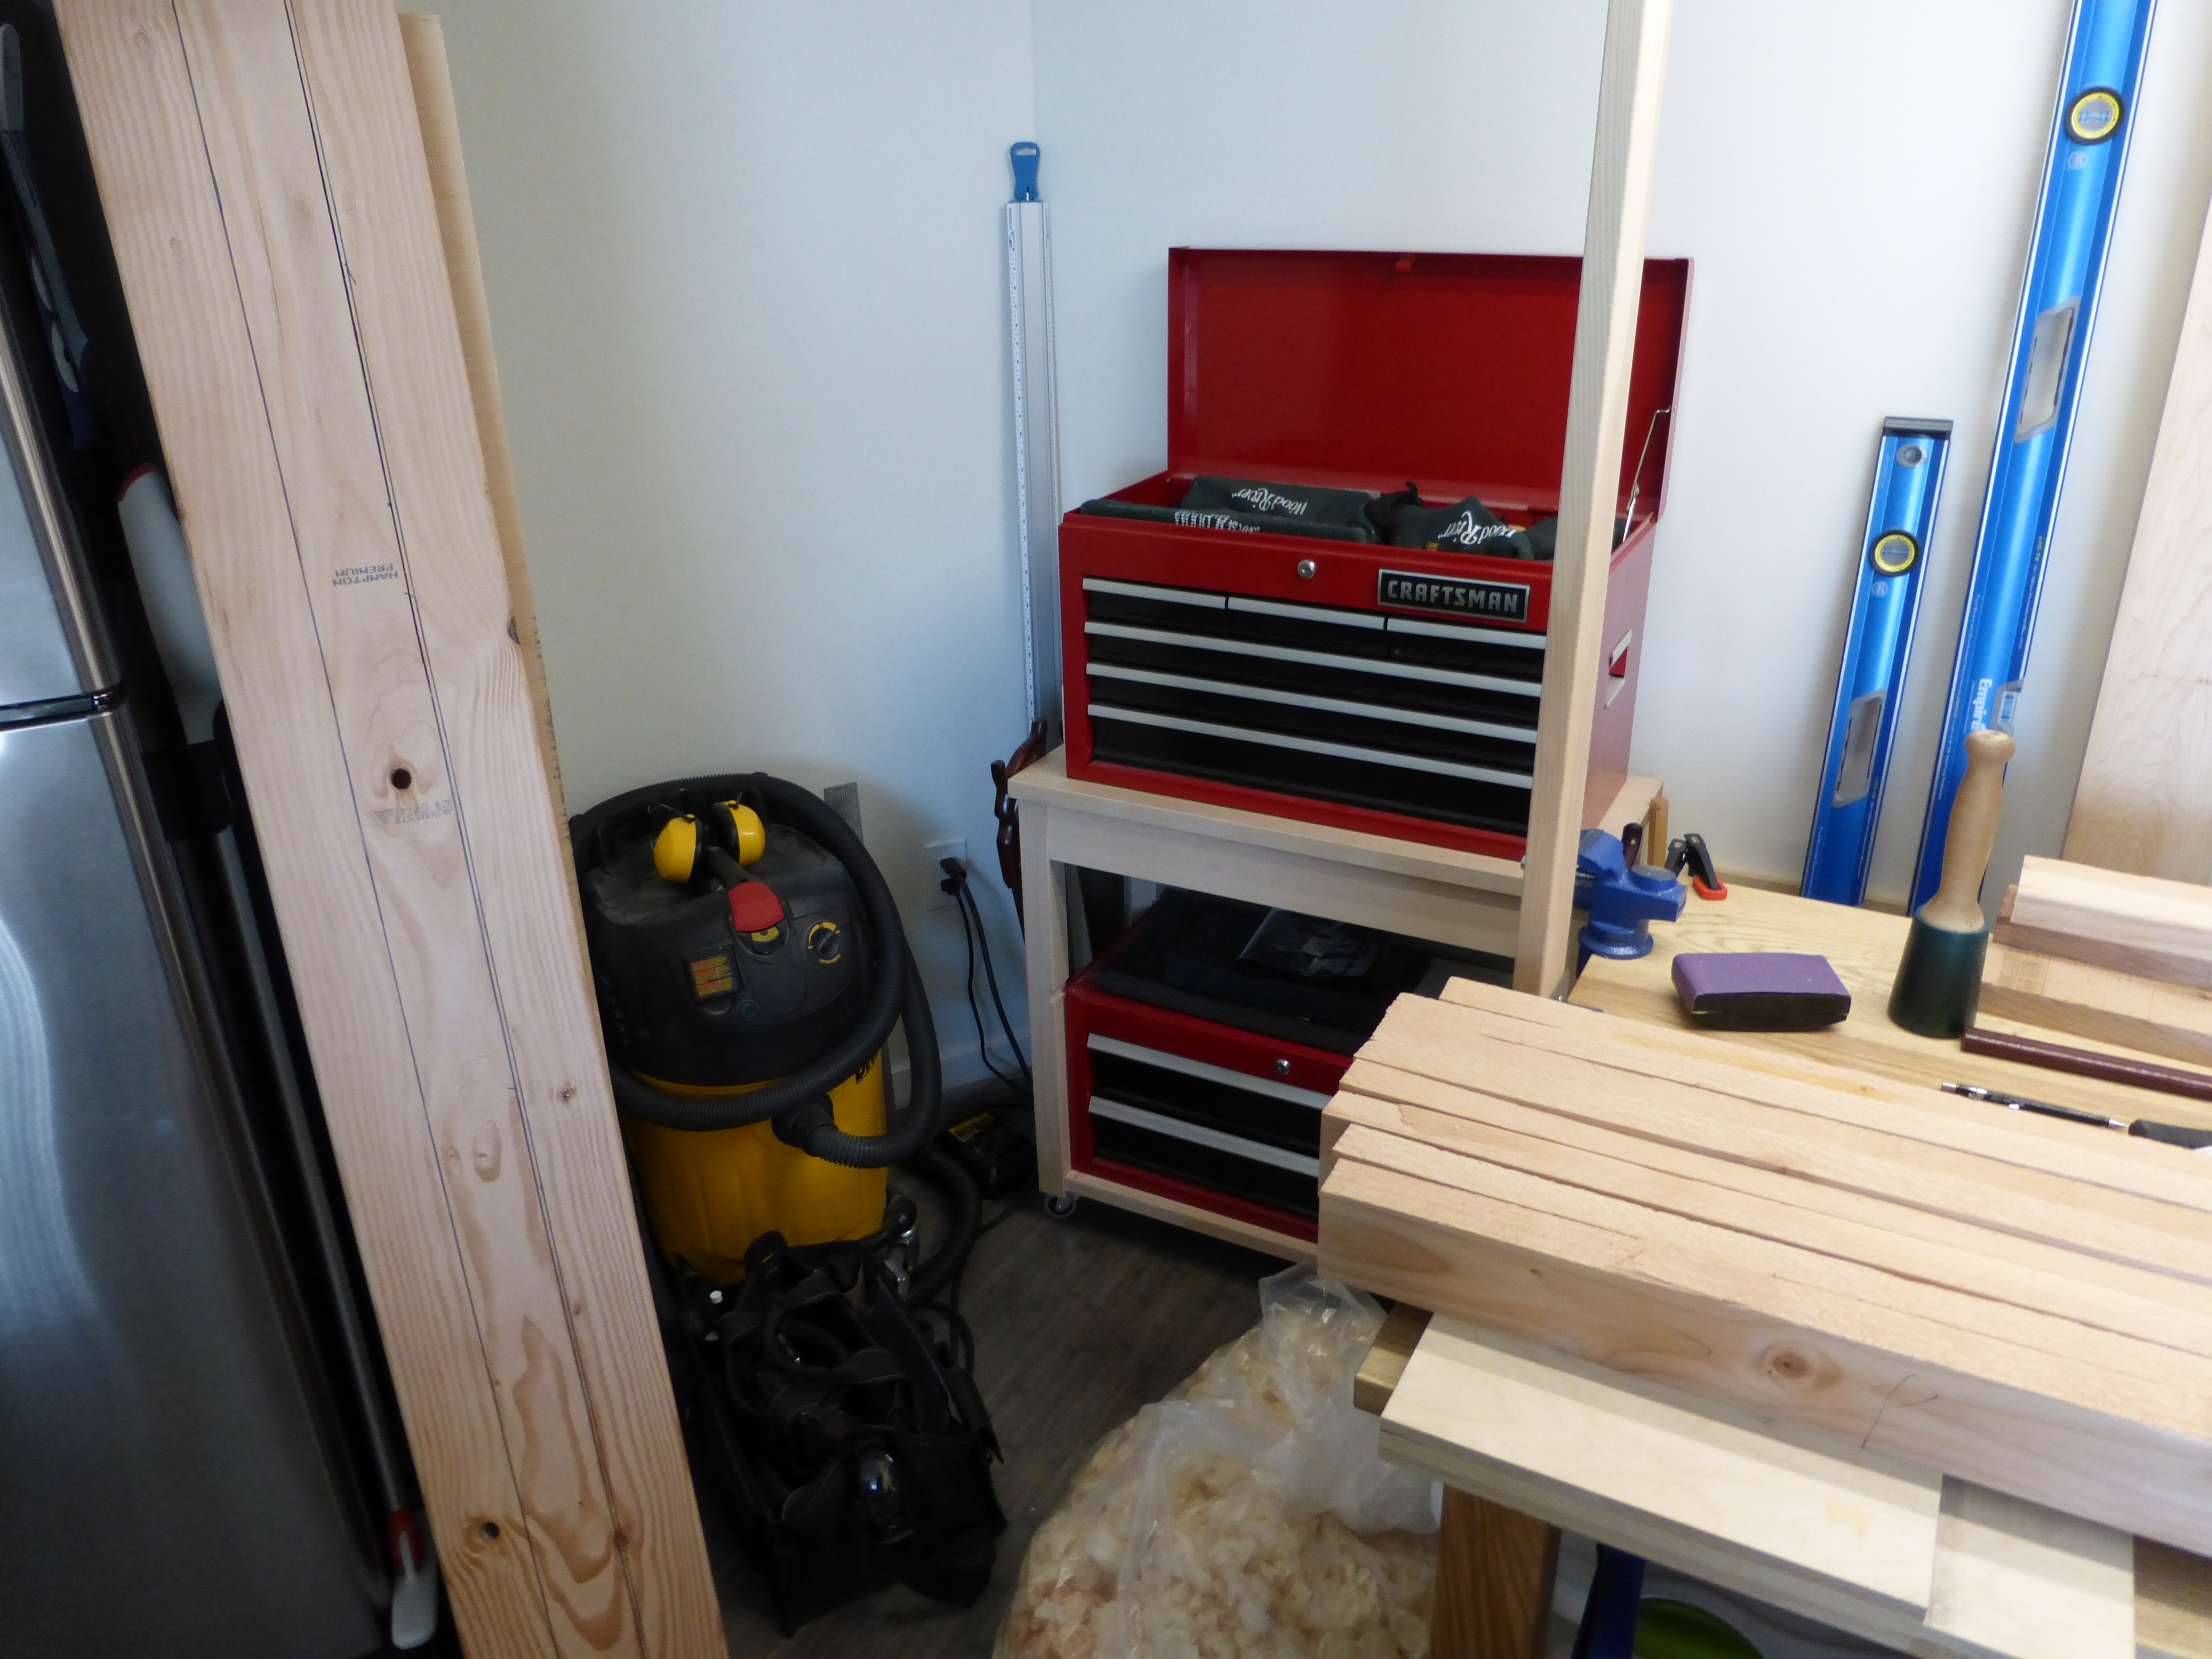
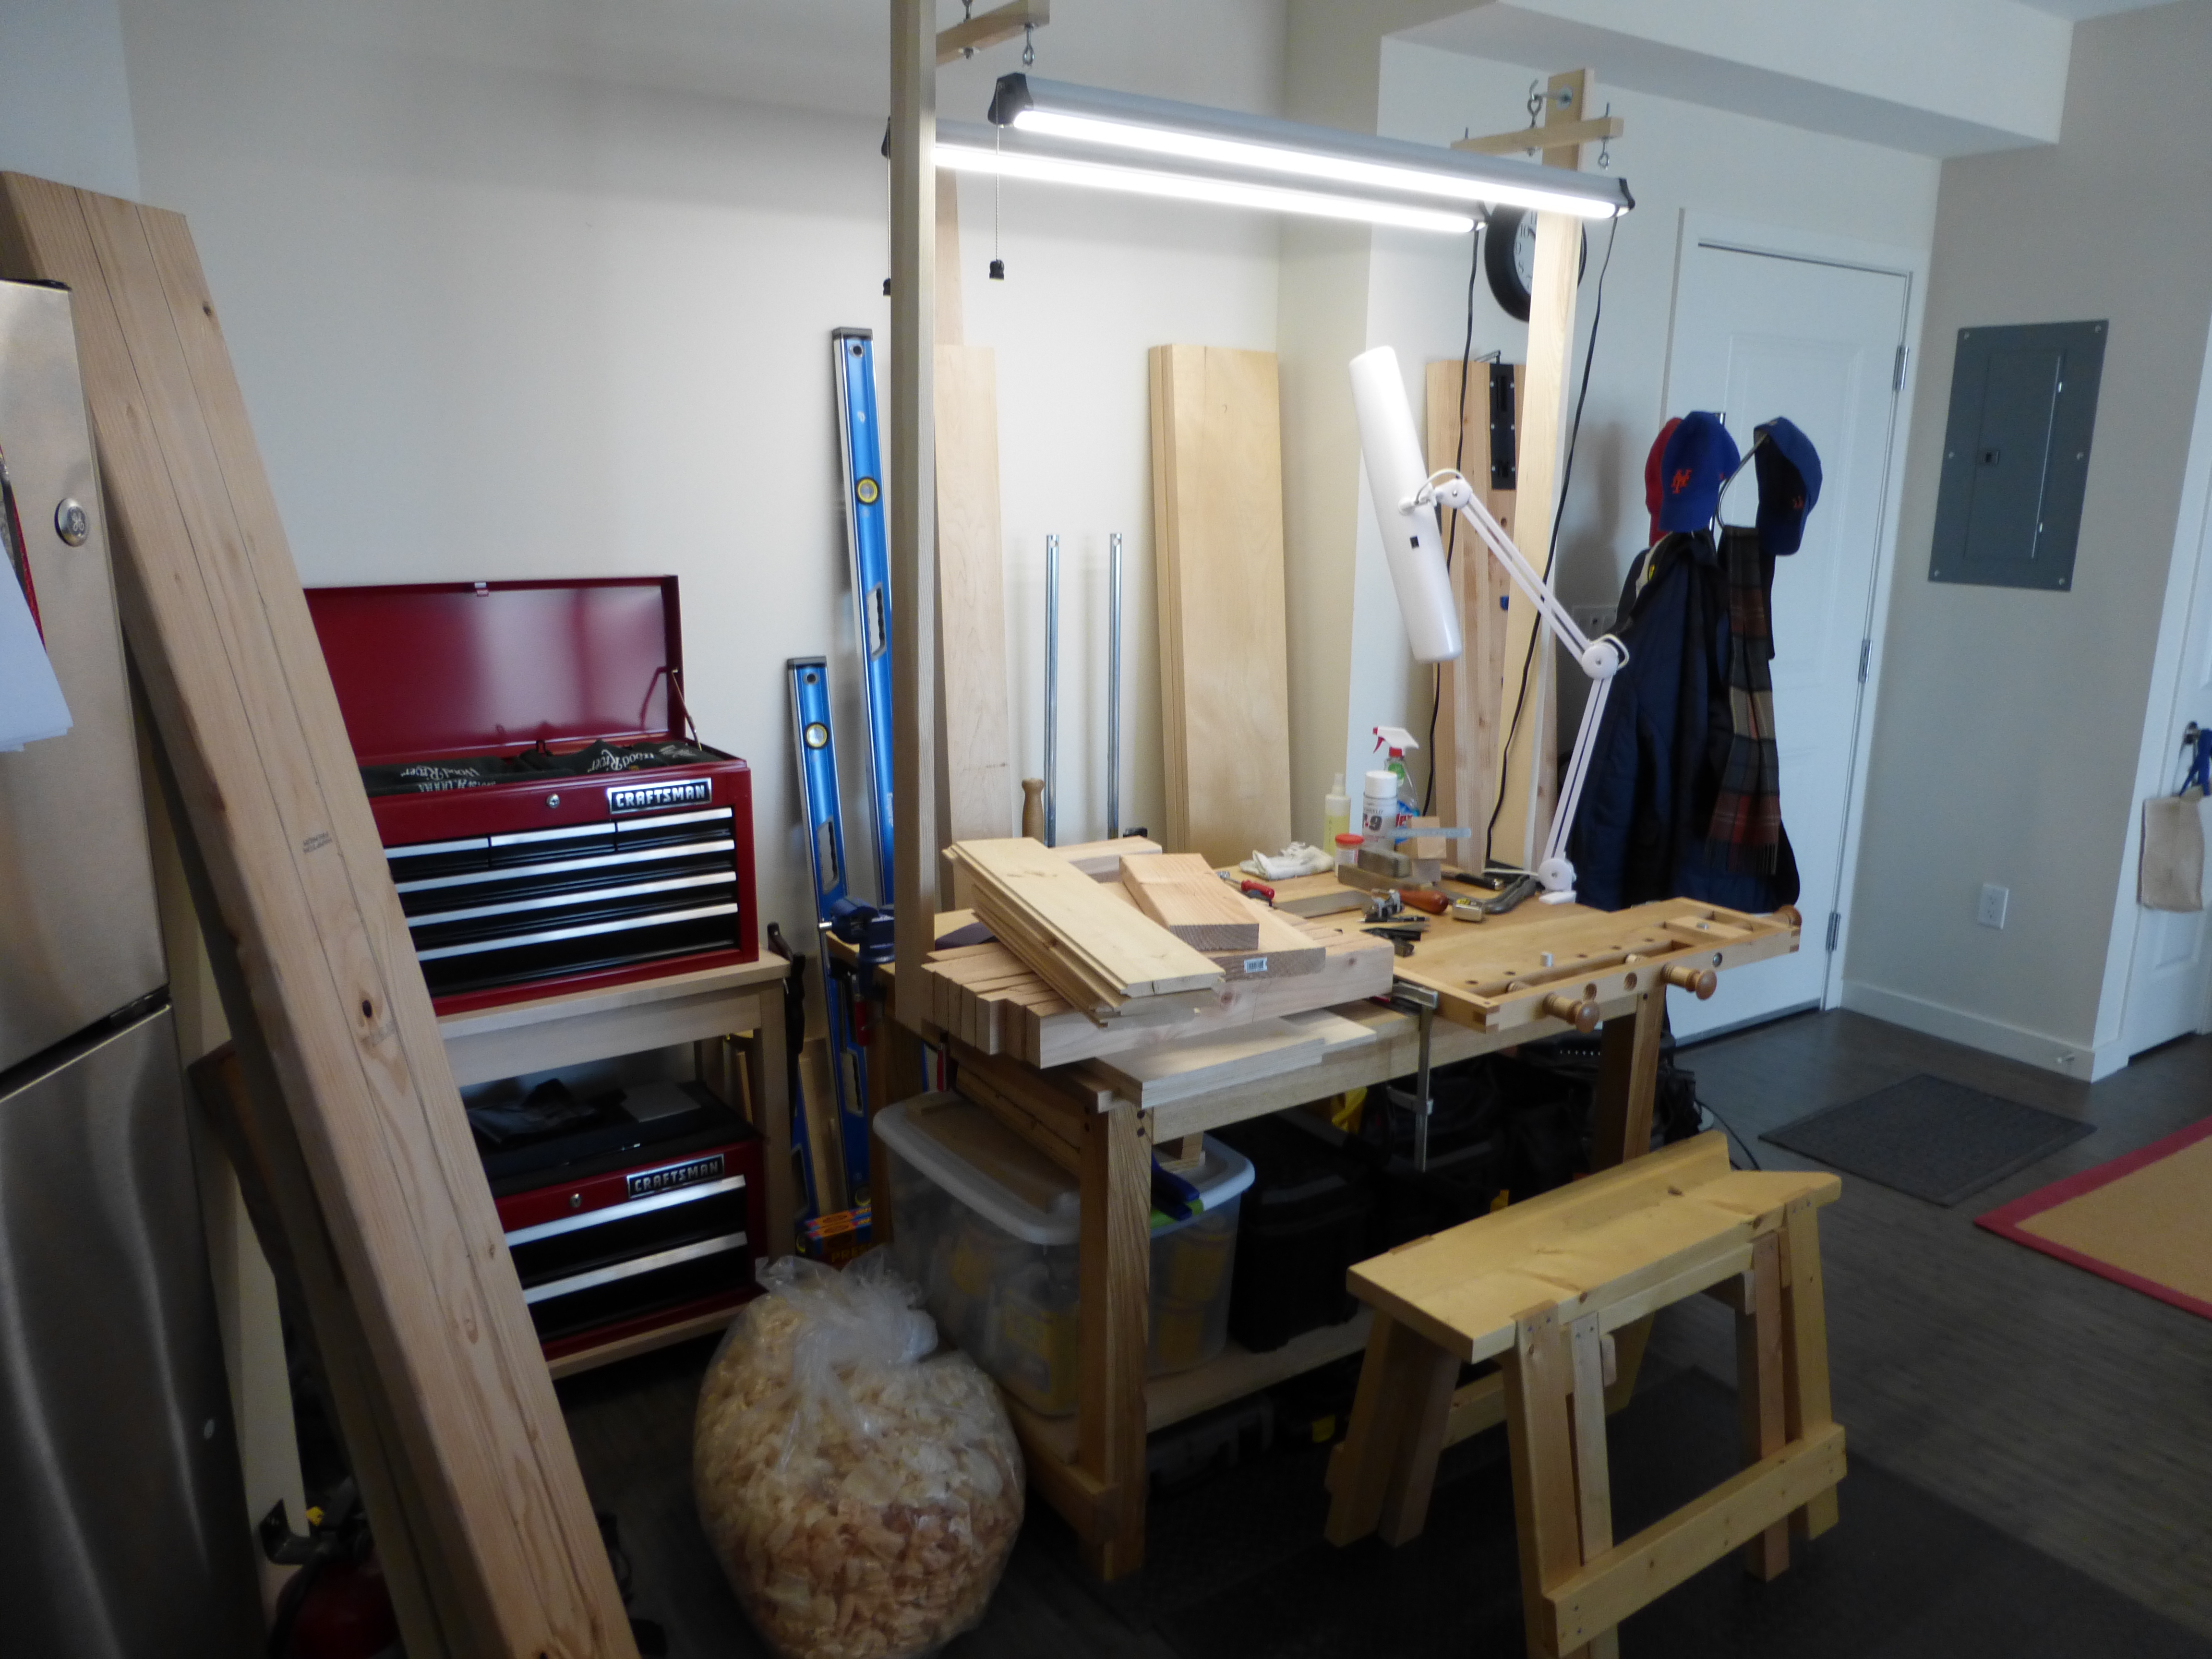
The biggest change was the location of my tool chest.  When I first moved into the apartment, I noticed the corner of the dining nook fit the tool chest pretty well. It did fit, but the angle always felt weird in relation to my normal working location. With the tool chest now adjacent to my work table, I have a better reach angle, plus I was able to hang my panel saws off the sides of the rolling table that holds the tool chest.  I put the dust extractor in the corner where the tool chest use to be.

Ruined as furniture!

Ruined forever as furniture!

The second real change was to move the table another 12 inches or so away from the back wall, which served two functions.  I now have more storage space for clamps and wood behind the workbench area.  I also am no longer tripping over the shop vac when in my normal planing position.

Seen on the right.

Plenty of clearance, seen on the bottom right.

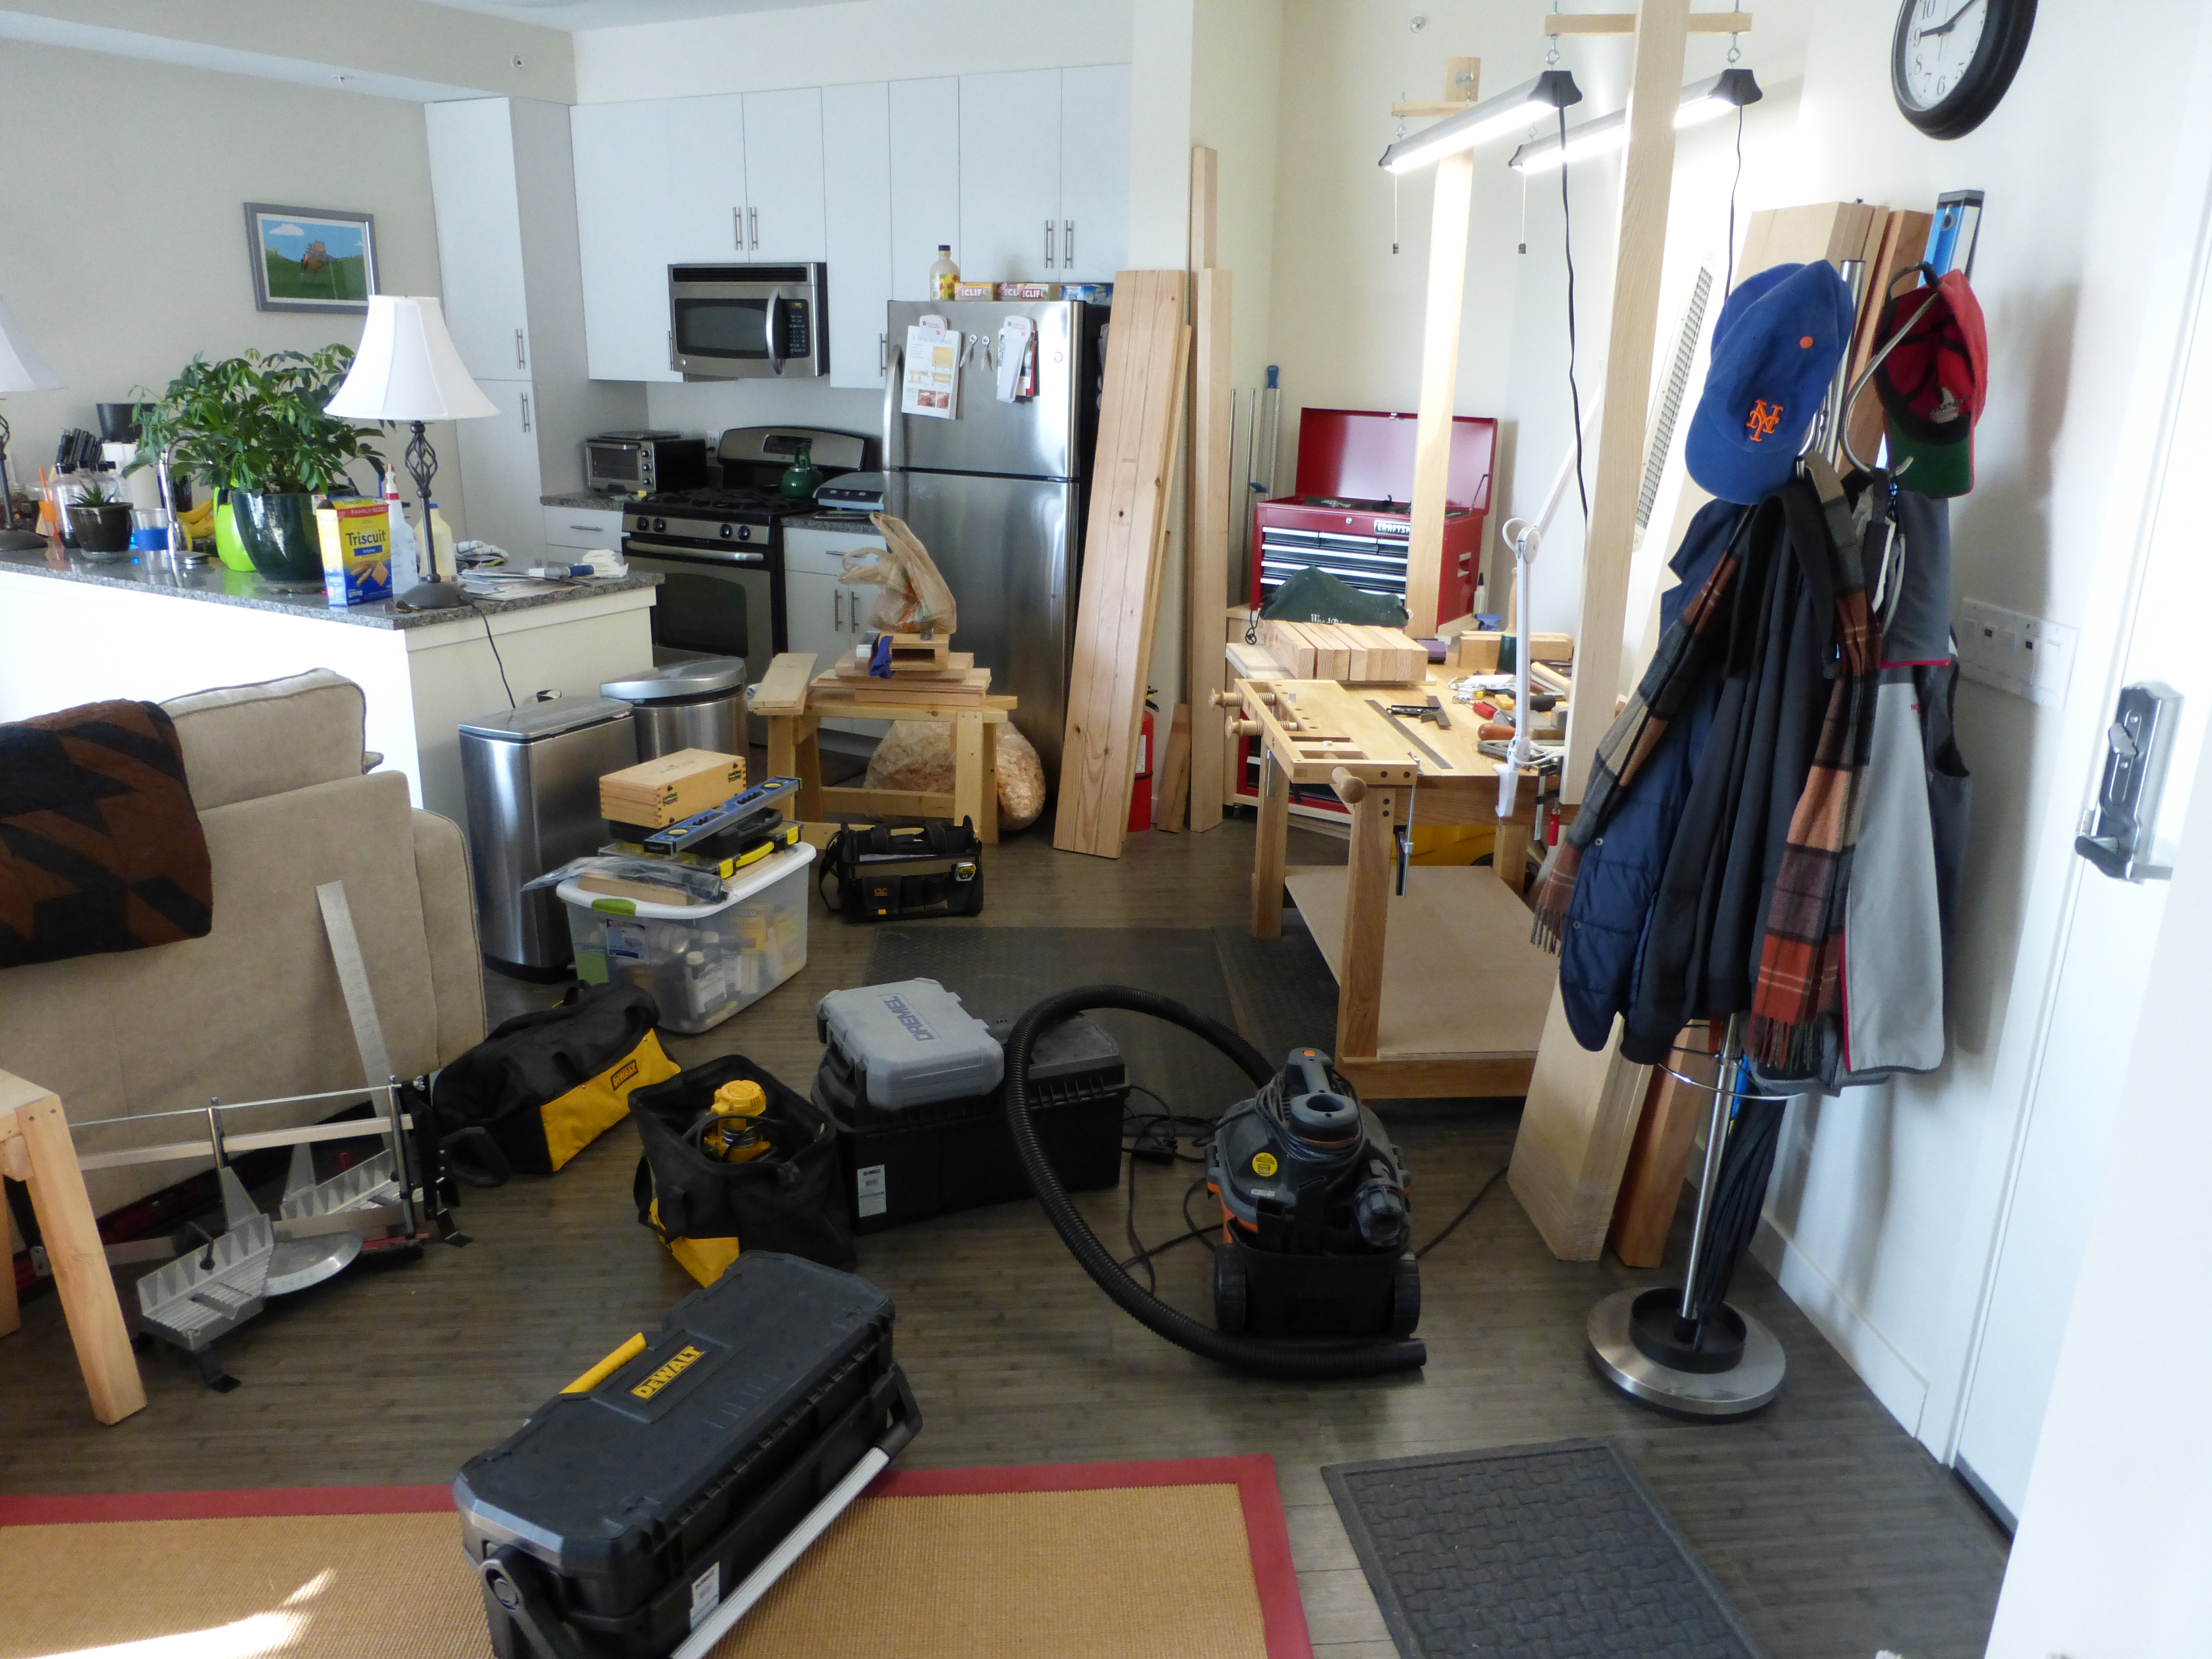
Finally, because I know it’s the only picture anyone would care about anyway, here is the shop, fully unpacked and just before I started moving things around.  I had forgotten that I never made a bottom shelf for the table and there is just a sheet of 3/4 birch plywood under there.

P1000016

Let’s Go Mets!

And one more shot of the workshop from the opposite angle, too.

P1000022

Oft unseen.

It’s been working out well so far.  I haven’t noticed any impact on the travel lanes in my apartment, which is the most important part. Now to actually make something…

JPG