apartment woodworking

More on Cauls

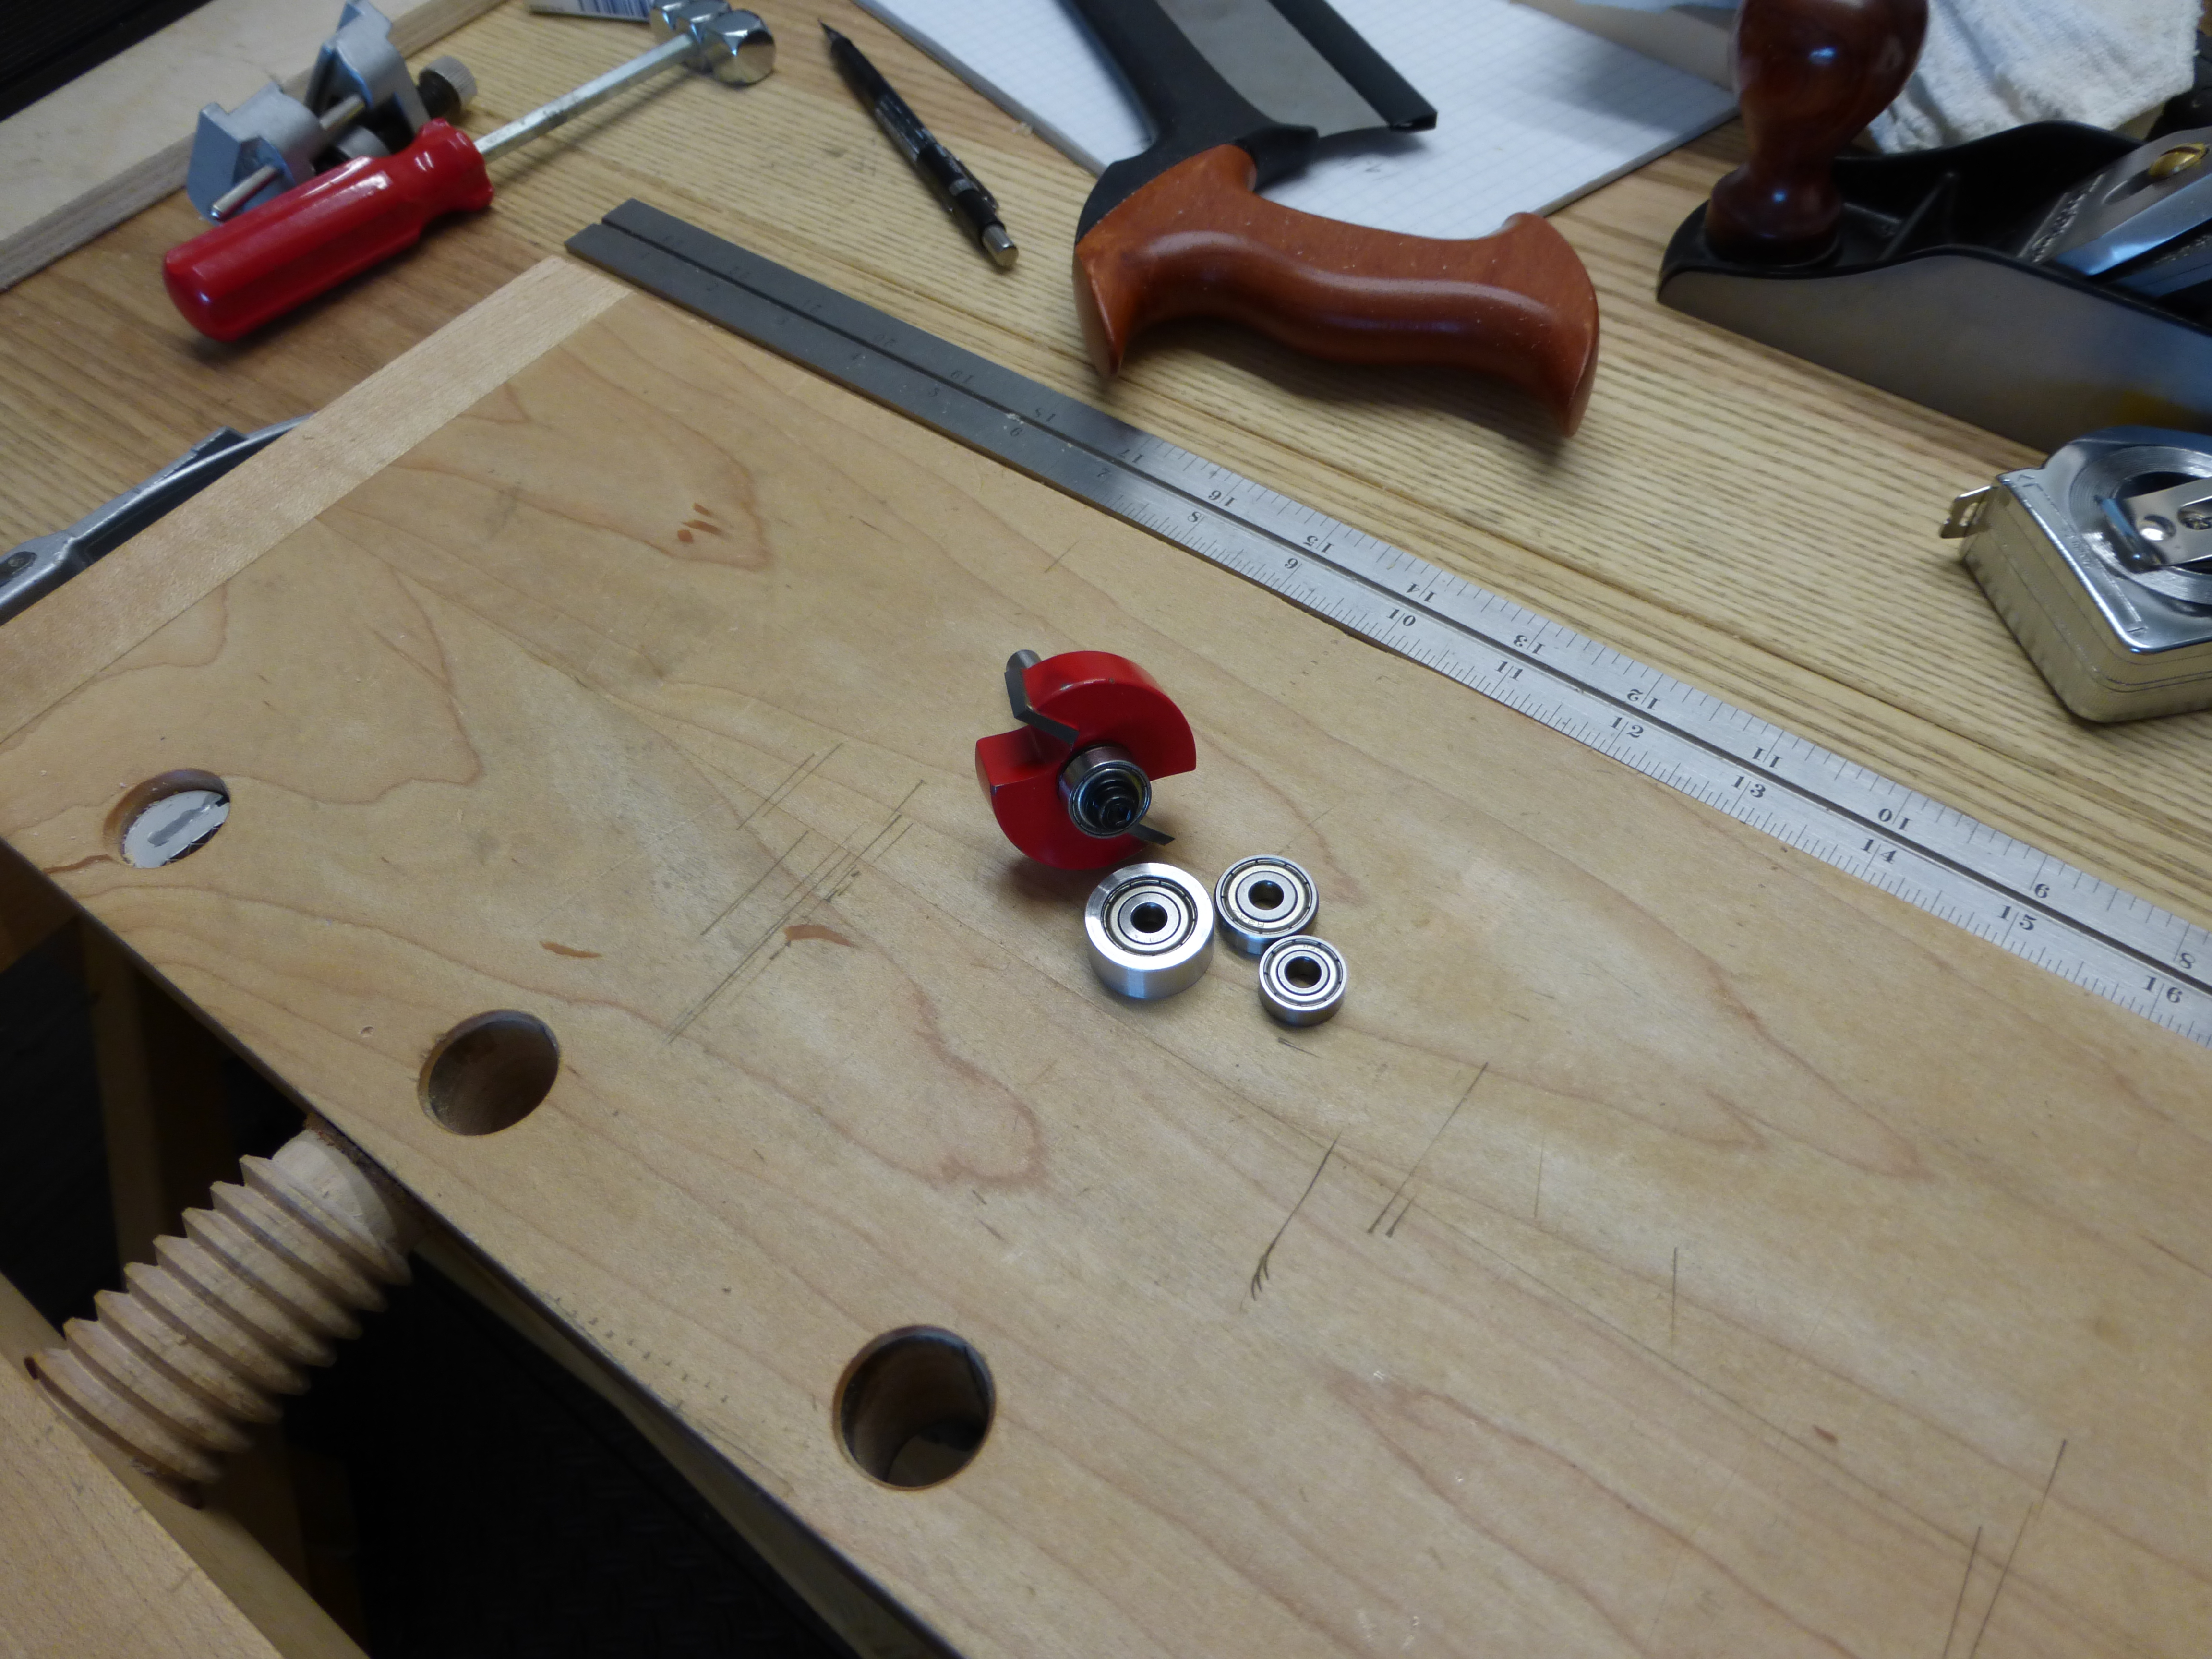
Jigs are not as important in the hand tool woodworking shop as they are for avid power tool users, but I took some time yesterday to make some extra cauls for the tool chest glue up.

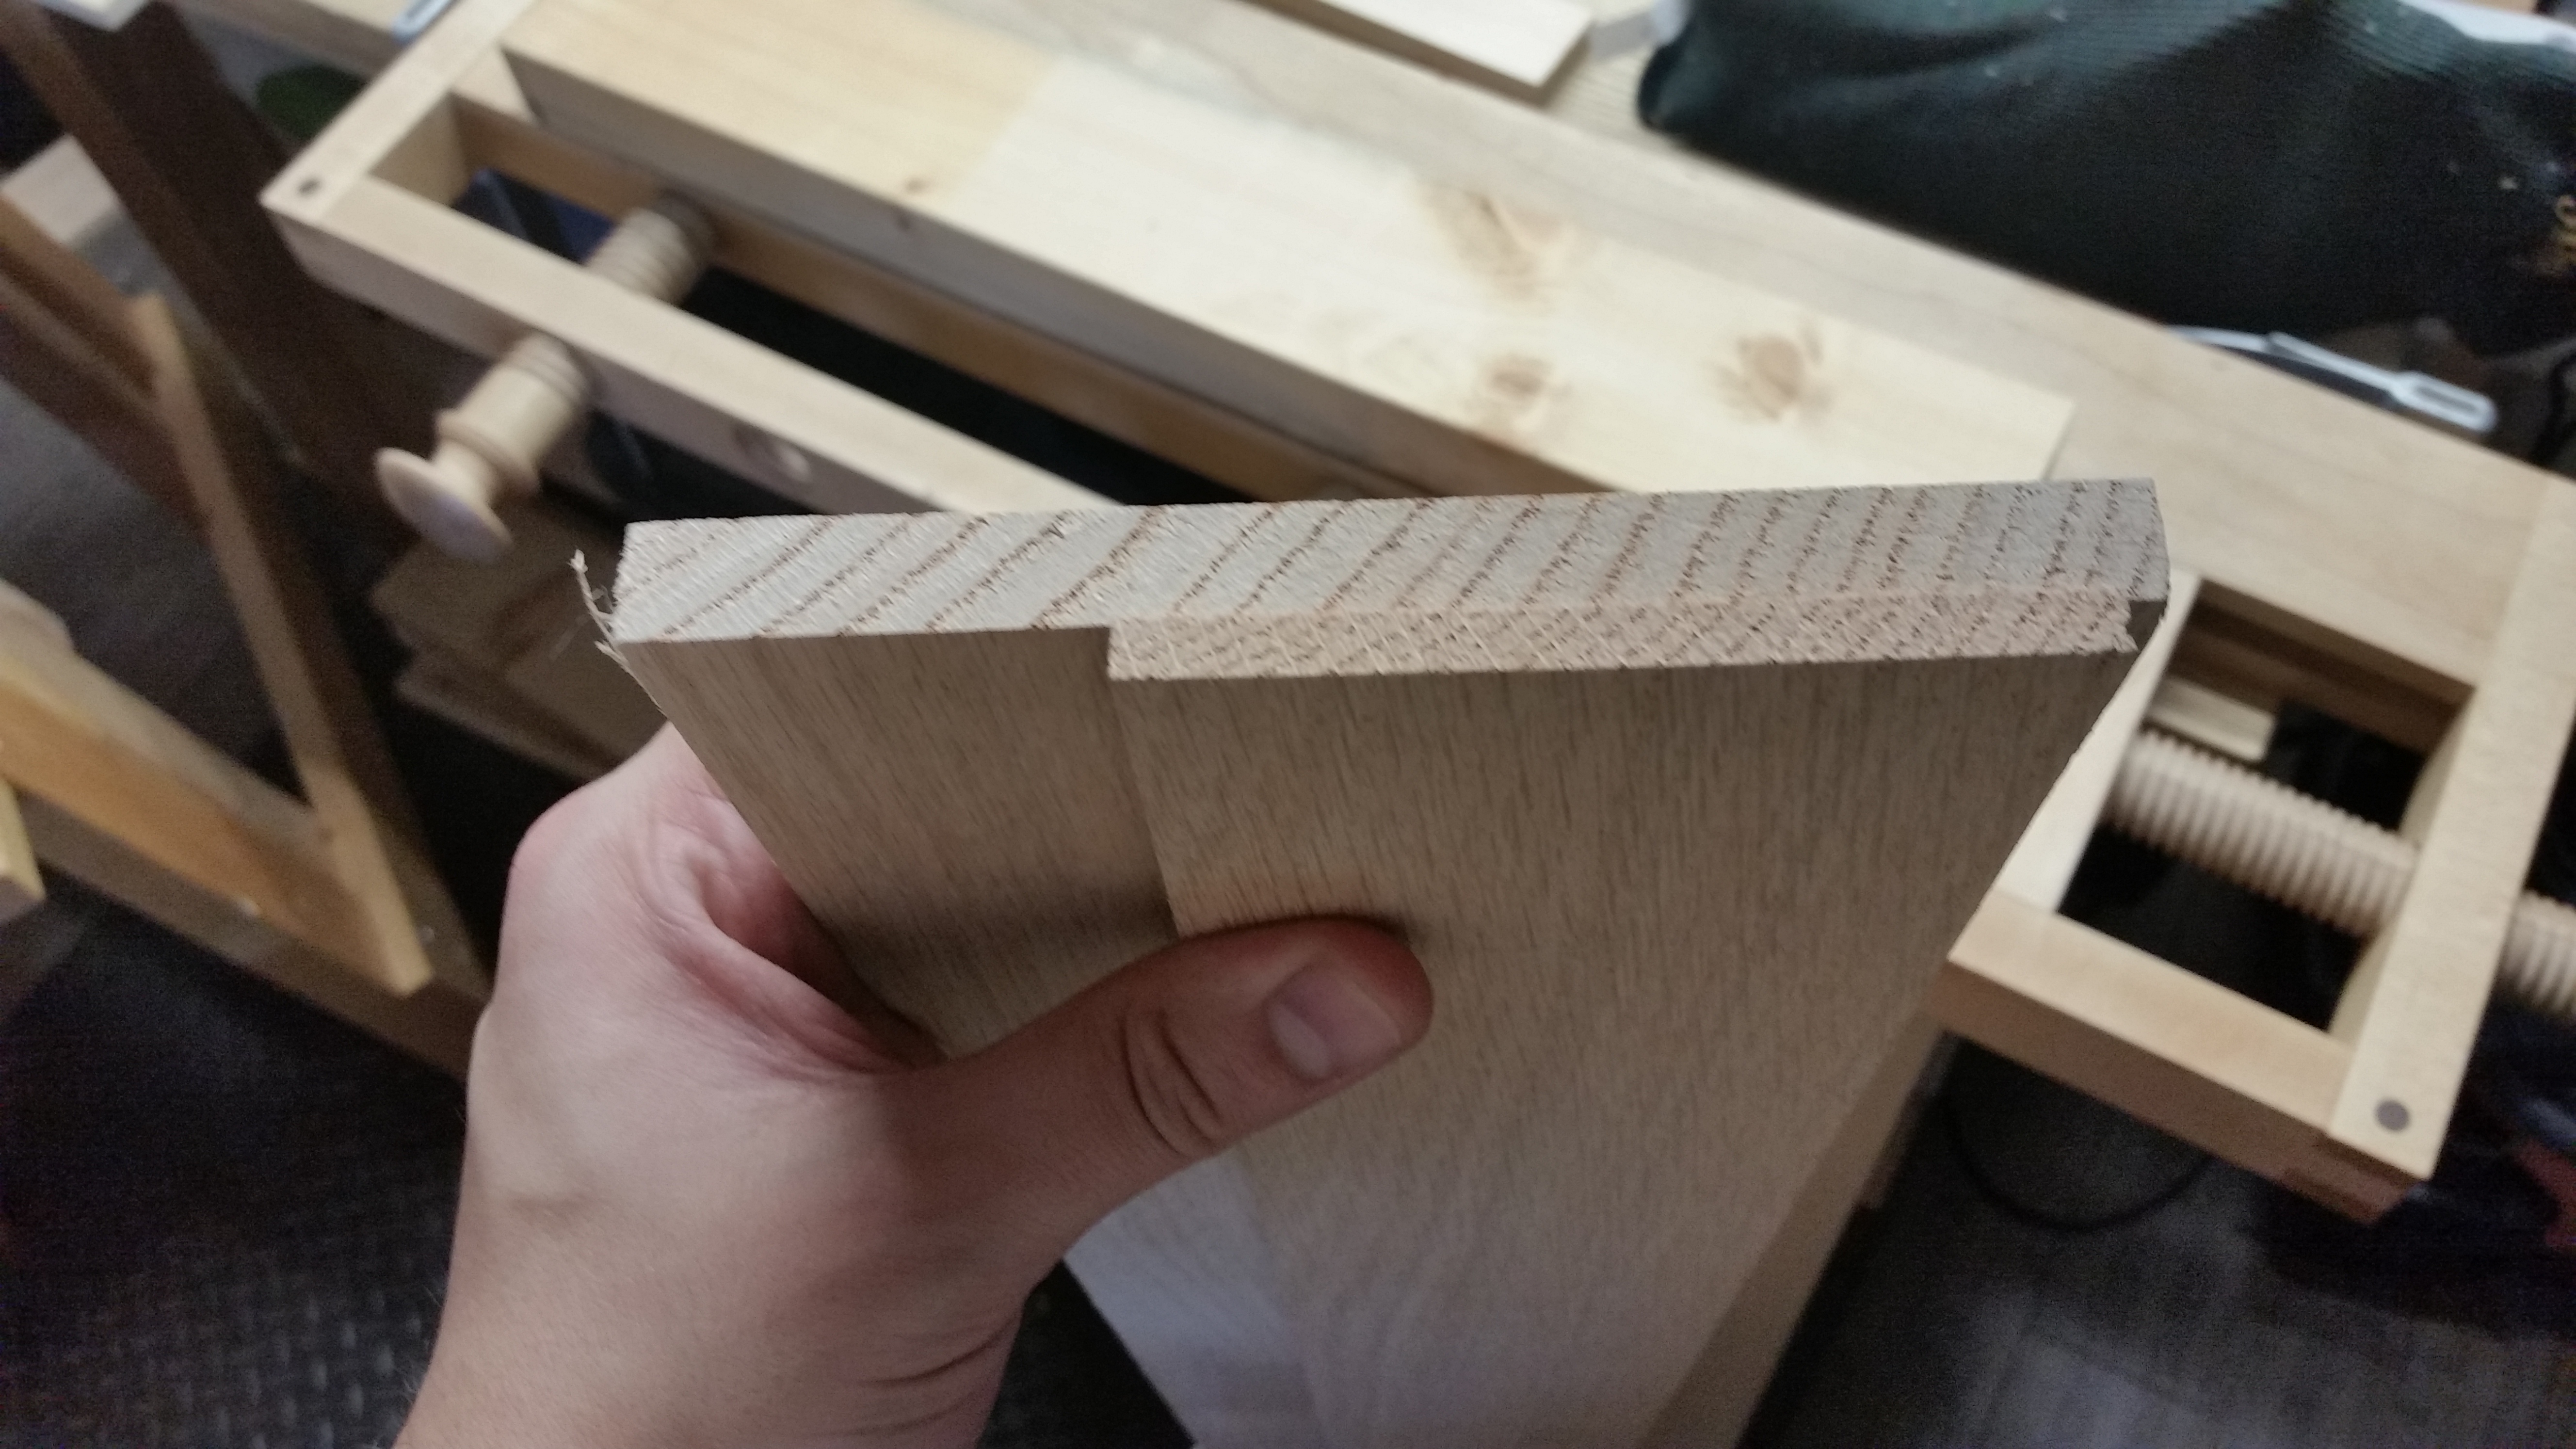
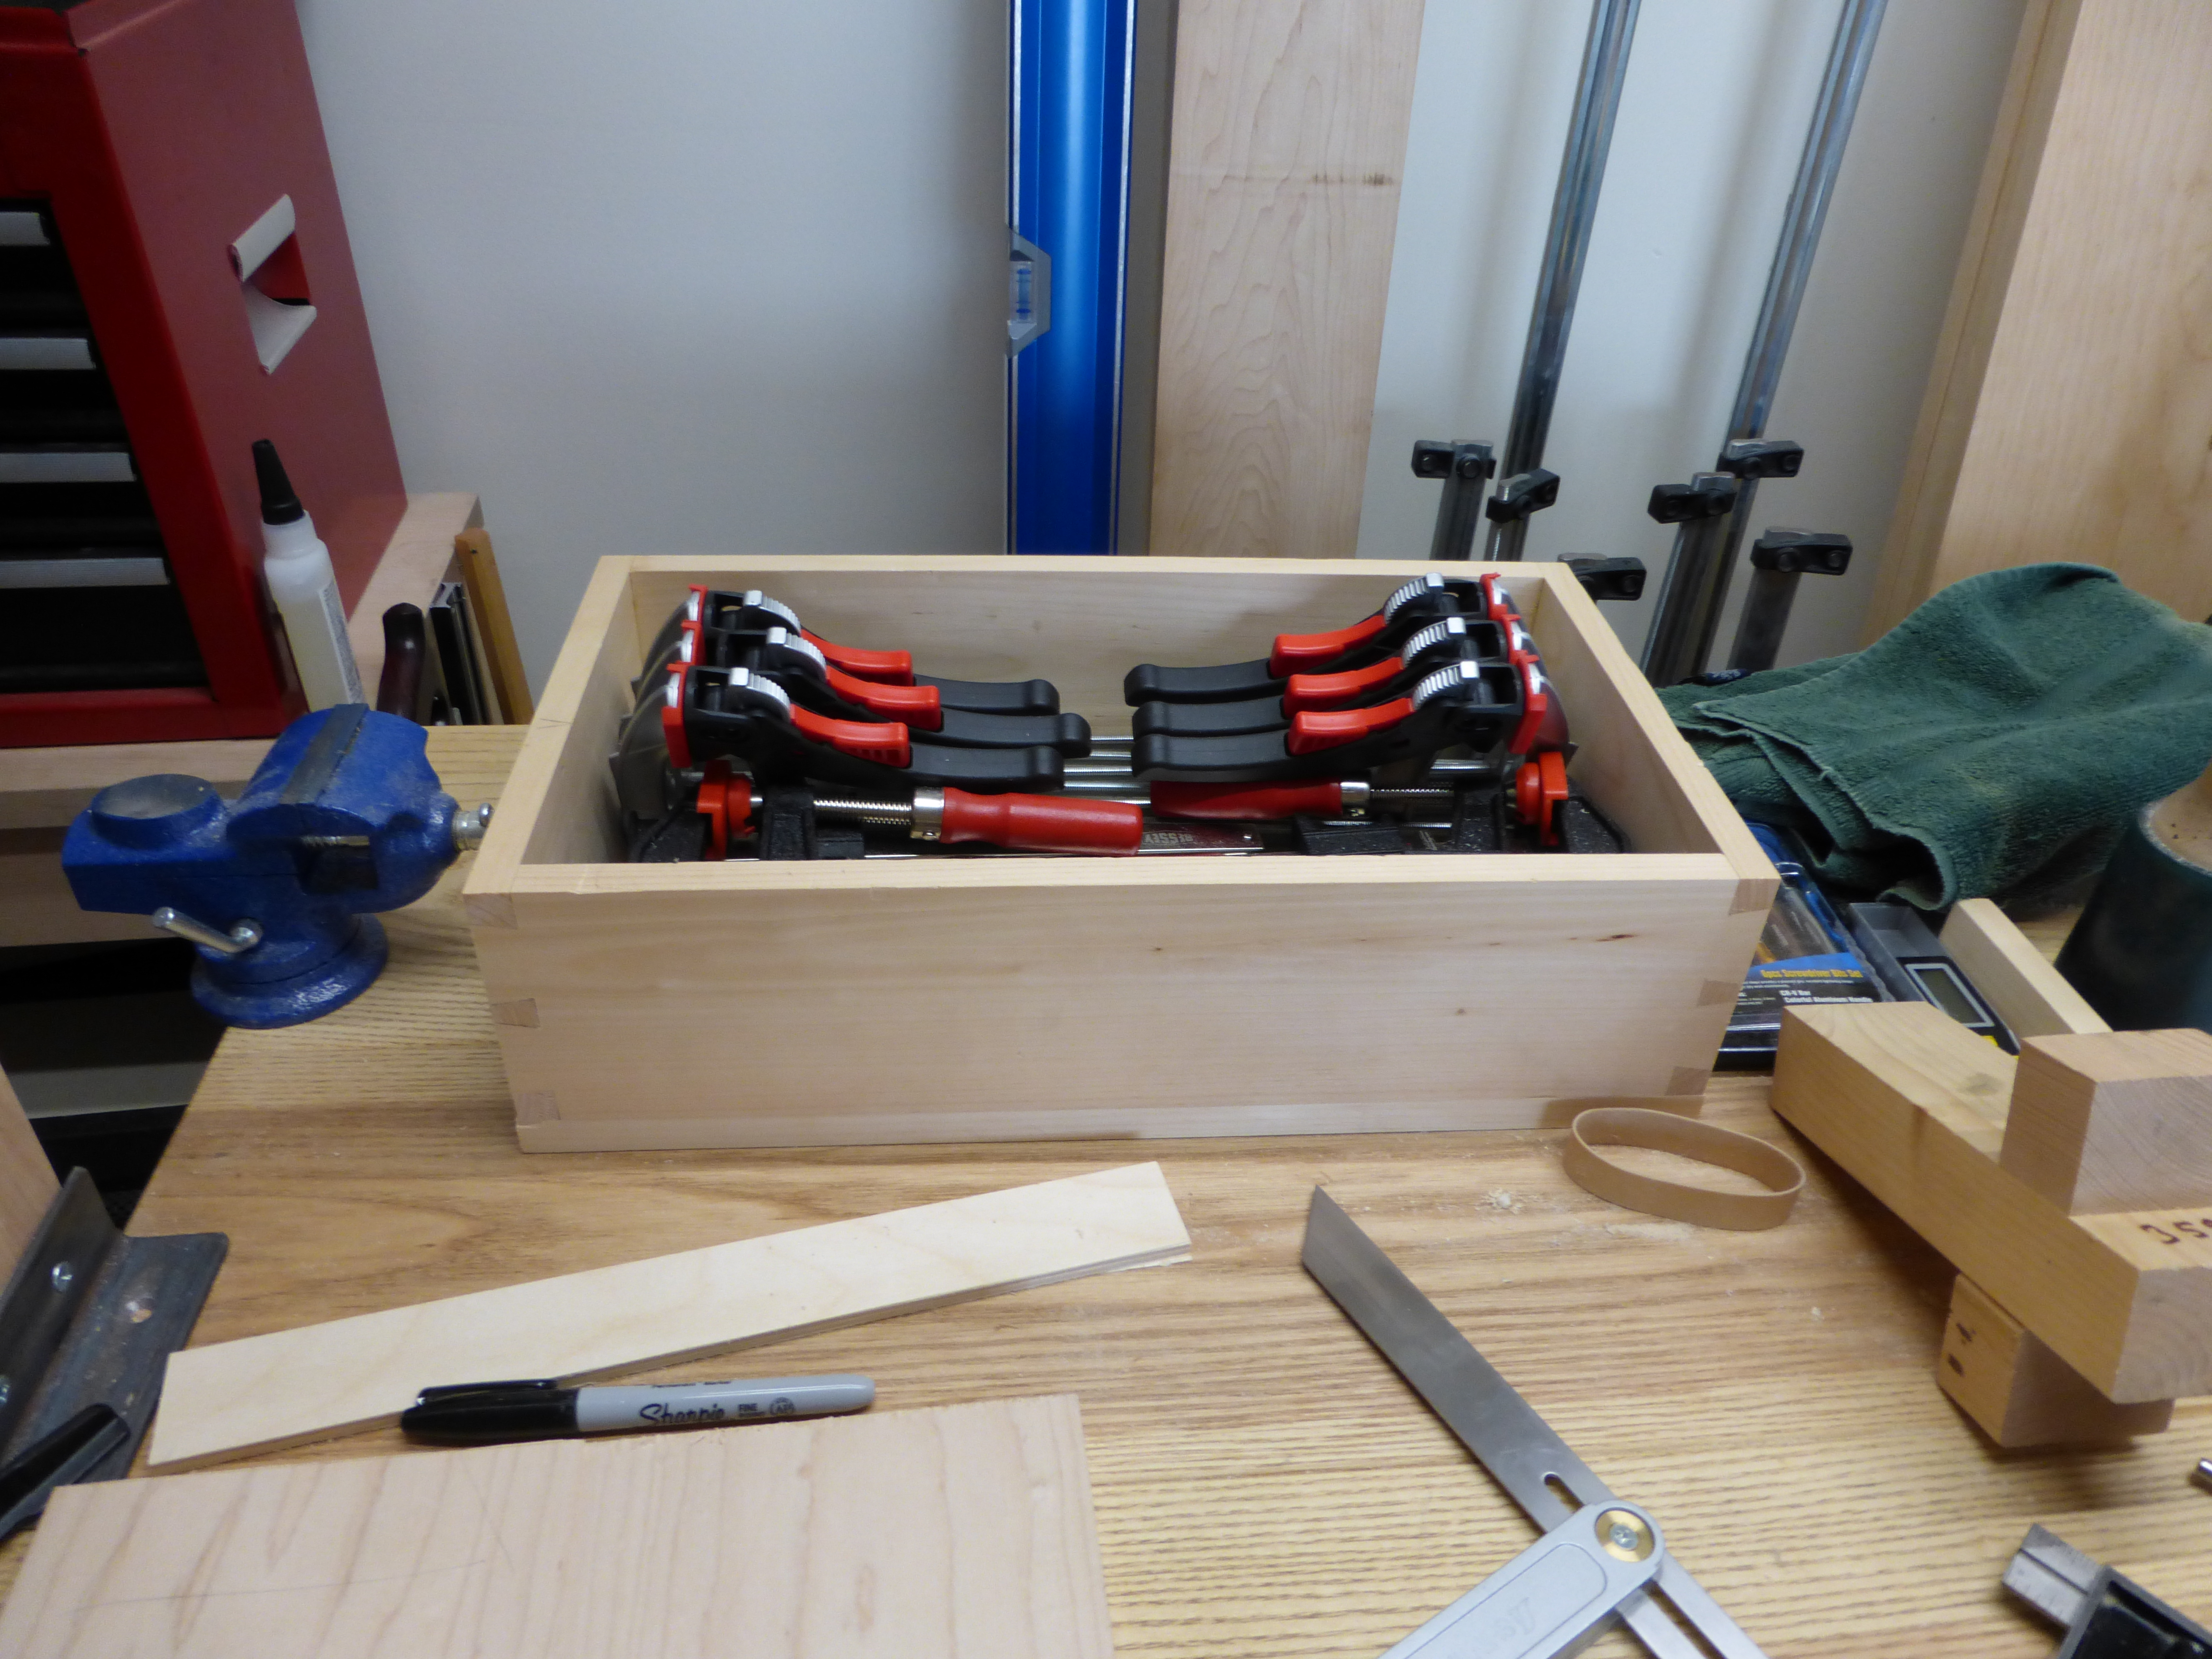
On the advice of someone who would know about such things, I cut some pretty tight dovetails for the tool chest carcass.  In order to ensure the tails seated properly into the pin recesses, I attached (with double-sided tape) individual cauls onto each tail prior to clamping.

P1000156

Pre-clamping.

That way, the parallel jaw clamps applied consistent pressure directly onto each tail, seating them nicely.  I forgot to take a picture of the full glue-up, though.  And the clamping pressure crushed the cauls to the point where they cannot be reused.

On a side note, the tails were so tight that there was a bit of splitting on the tail boards. Fortunately, I keep a supply of cyanoacrylate glues of various viscosity.  A generous bead of medium cyanoacrylate will seep into the cracks and should stabilize them for the life of the tool chest.  I haven’t yet flushed the joinery on the carcass, so I can still plane off the excess glue with an extra pass or two.

The same trick works to stabilize a knot.

The same trick works to stabilize a knot.

The floorboards for the tool chest are dimensioned (S3S), but still need a pass them through the thickness planer before I cut the ship-laps.  I might wait to flush the tails and pins after I’ve attached the floorboards, because I do not have a full workbench around which to wrap the carcass.  We’ll see.

JPG

Doing the Unthinkable

I haven’t used a power router for anything other than chamfers/roundovers and the occasional flush trim in a very long time.  However, for the floor of the medium tool chest, it might be time to bust out the rabbeting bit for cutting some ship-lap joints.  I don’t own a fillister plane and I only need to cut a few rabbets, so why not?

P1000149

Hello, old friend.

I’ve always liked the concept for a rabbeting bit, even after I switched to hand-tools.  Much like the flush trim bit, you still need to joint a square, straight edge on a board to run the bearing along.  Although a bit messy for apartment woodworking, but with only four rabbets to cut (as the tool chest floor will consist of three boards total), I’m pretty sure the cleanup after rabbeting by power router will be manageable.

I’ll put a simple chamfer on the tongues of the ship-laps with a radius plane (a tool I don’t use nearly enough) to finish the joint.

Hello, other old friend.

Hello, other old friend.

JPG

All the Live Long Day

I am nearly finished dovetailing the carcass of the medium sized tool chest (just two sets of pins left), so it was time to hit up my local box store for some common pine and hobby oak.  As usual, I got weird looks from the contractors and floor staff as I dug through the 1×12 common pine boards for the flattest, clearest stock.

That's enough for floorboards, trays (other than bottoms) and runners.

That’s enough for floorboards, trays (other than bottoms) and runners.

After about 30 mins, I had uncovered 24 board feet of common pine that otherwise would qualify as select pine but for some small live knots here and there.  One board has some pith in it, so I will rip it down to glue up a quarter-sawn lid for the tool chest.

This is the worst board of the four and will do just fine as floorboards.

This is the very worst board of the four and will do just fine as ship-lapped floorboards.

I never knew my local death star sold 1/4″ and 1/2″ red oak boards.  Best part is, if you’re thorough, you can find quarter- and rift-sawn pieces for the same price as the flat-sawn BS that makes up most of the package.  Stable and straight, with no thicknessing required.

The best part is no thicknessing.

These are destined to be the middle and top tray runners.

The other thing on my agenda is an outdoor bench for a buddy of mine.  I’m using off-cuts from dimensional pine 2×4’s for the frame and will probably use a piece of leftover 1×12 common pine for the seat.  We’ll see.

JPG

Tiny Mortises (Part 2)

Does anyone own a 1/4″ mortising chisel?  I sure don’t.  Chopping tiny mortises for the breadboard ends of a marine cutting board for my father’s boat was a bit of a chore with only a 1/4″ bevel-edged chisel.

P1000148

They are done, at least.

The worst part was the inability to lever out the waste between chops.  A 1/4″ bevel-edge chisel is just too flimsy for aggressive levering, so I ended up using a square awl to clean out the waste between chops.  Definitely slowed down the process.

I also had to lengthen the mortises after they were initially cut, but that wasn’t too bad.  I just sawed down the walls (as if I were cutting a haunch) and then banged out the waste with heavy chisel chops.

Now it’s time to cut the tiny tenons.  I wonder, though, will drawboring work with an elongated hole the same way simple doweling does?

JPG

Solving Problems

Making a marine cutting board with breadboard ends and don’t own a plow plane?

Solution: tiny mortises (with drawbores).

Yes.  It's a mortise and it is tiny.

It’s a mortise and it’s tiny.

Two down.  Two to go.

JPG

The End of All Things (and the Beginning of Others)

Today is my last day at the only law firm I’ve known so far. I have called this firm home since 2008 (plus the summer of 2007), and the leaving is bittersweet.

On the one hand, I am leaving behind some wonderful, brilliant and caring people who have accepted me and my quirks for most of a decade. On the other hand, it was time to make a lifestyle change – the hours at a large Manhattan law firm are arduous and I’m looking forward to more time in the shop.

There will be a whole lot more of this.

There should be a whole lot more of this.

Once I join my new law firm in August, I should have a bit more time for woodworking and certainly added time for writing about woodworking.

Thanks for being a part of the Apartment Woodworker family.  Small changes and big things are ahead.

First thing tomorrow, I’m hitting up the lumber yard for some tool chest carcase pine. But for now, it’s time for a nap.

JPG

There is no magic

Any sufficiently advanced technology is indistinguishable from magic.

I would daresay this adage also applies to craftsmanship. What I can do with a plane or a saw or a chisel would be, to 25-year-old me, a miracle. What some people can so with carving tools or a lathe is, to 33-year-old me, absolute witchcraft.

And that is why we practice and toil. So that we can be the sorcerers of tomorrow.

JPG

Some Rando Dovetailing

In prep for the medium-size wooden tool chest project, which I plan to knock out starting next week, I’ve been practicing my dovetails.  Some benchtop tool storage was far overdue, so I took the liberty of knocking together a few dovetailed boxes.

P1000140

Some “every day clamp” storage.  Don’t laugh at the bulk on my sharpening angle guide.  It’s super wieldy.  

And a "benchtop miscellany" tray (which will eventually be a benchtop chisel tray.

And a “benchtop miscellany” tray (which was specifically built to be a benchtop chisel tray for my eventual full-size workbench).

I don’t own a plow plane, so in each case, the bottom is simply glued and nailed to the tray frame (wire brads, until my cut nails arrive in the mail).  Don’t give into the hype: a heavy stone and a flat surface is sometimes all the clamp you need.

A heavy stone and a flat surface: sometimes all the clamp you need.

The lip is so the tray can be spring-clamped to my worktable top.  I’ll rip it off at some point and re-purpose the tray.

I’ve found the pre-sized, 1/4″ birch plywood you can buy at big box craft stores (e.g., Michael’s) is perfect for drawer bottoms.  Off the shelf, it has much less warp than a full 5′ x 5′ sheet from the lumber yard.  Plus, the inevitable offcuts make great battens and holdfast cushions.

There is also a 12.5″ x 18″ x 4″ box (corner detail seen below) that might actually end up being a drawer for something.  I’ve been experimenting with different pin sizes and techniques for hogging out waste (I’m back to the coping saw method) and they are the tightest I’ve ever cut dovetails thus far.

P1000137

Practice makes better.

Even if I opt for the rabbeted and nailed version of the tool chest, I’m glad to have gotten the dovetailing practice.  In addition, each of the boards used in these boxes was 100% hand-prepared.  No thickness planer for once.

Happy Bastille Day everyone!

JPG

The Importance of Hypocrisy

Handtool woodworking is awesome.  It’s relatively quiet and significantly dust free.  In fact, most of the time, “by hand and eye” is far faster and more accurate than “by power and jig”.

Except when it’s not.  Like when trying to square a glued-up panel that is too large for your shooting board.

For my time and effort, this is still the fastest and most accurate way to square a panel.

For my time and effort, this is still the fastest and most accurate way to square a panel.

No purest am I.  I’ll use whatever tool makes the most sense under the circumstances.  In my opinion, nothing beats a carpenter’s square, straight-edge clamp, trim router and flush trim router bit for squaring end-grain on a large panel.

Give it a try.  There is a reason my trim router (and dust extraction unit) has survived every power-tool purge in my shop thus far.

JPG

Medium-Sized Wooden Tool Chest

I just purchased the August 2015 issue of Popular Woodworking (the issue with Christopher Schwarz’ Traveling Tool Chest on the cover) and can’t wait to start work on the tool chest.  First, I need to fetch some 3/4″ pine from the lumber yard for the carcass and the trays.  From there, I’ll figure out additional materials for the rest of the pieces on a rolling basis.

I like my Craftsman Top Chest set up and plan to continue using it as long as I’m in my current apartment.  But I haven’t ever built a wooden tool chest before and would like to give it a try.  The wooden tool chest will probably find a permanent home in my next shop.

I think I should build that benchtop bench first, so I have a moxon-style vise for gang-cutting the dovetails.  I’m sure the Milkman’s Workbench is up to the task, but that might require double-sided taping the boards together because the screws on the Milkman’s can shift the work during tightening.

JPG