It’s no secret that I like me a sliding tray in a toolbox. See here. Or here. A pull out tray that covers the whole well is well and good if that’s your thing. I have a vintage craftsman metal toolbox that’s built that way. But I find it gets in the way on the bench.
As shown by the links above, I’ve made a few traveling toolboxes in my day. Any tool storage solution should be customized to tools it will hold, of course. Though much trial and error, I’ve settled on the perfect size (using 5/8″ pine for the case) being roughly 22″ long x 11″ wide x 9″ high. This gives plenty of room in the well for a No. 6 Stanley (my preferred “single” plane), a saw till for a small panel saw (the BTC hardware store saw is shown below, but any small hardpoint saw will fit too) and combination square, a short sweep hand brace and bits, and an eggbeater drill, plus a hammer and a sharpening stone. If the chest were taller, I’d probably add a tool rack to the back wall of the well.
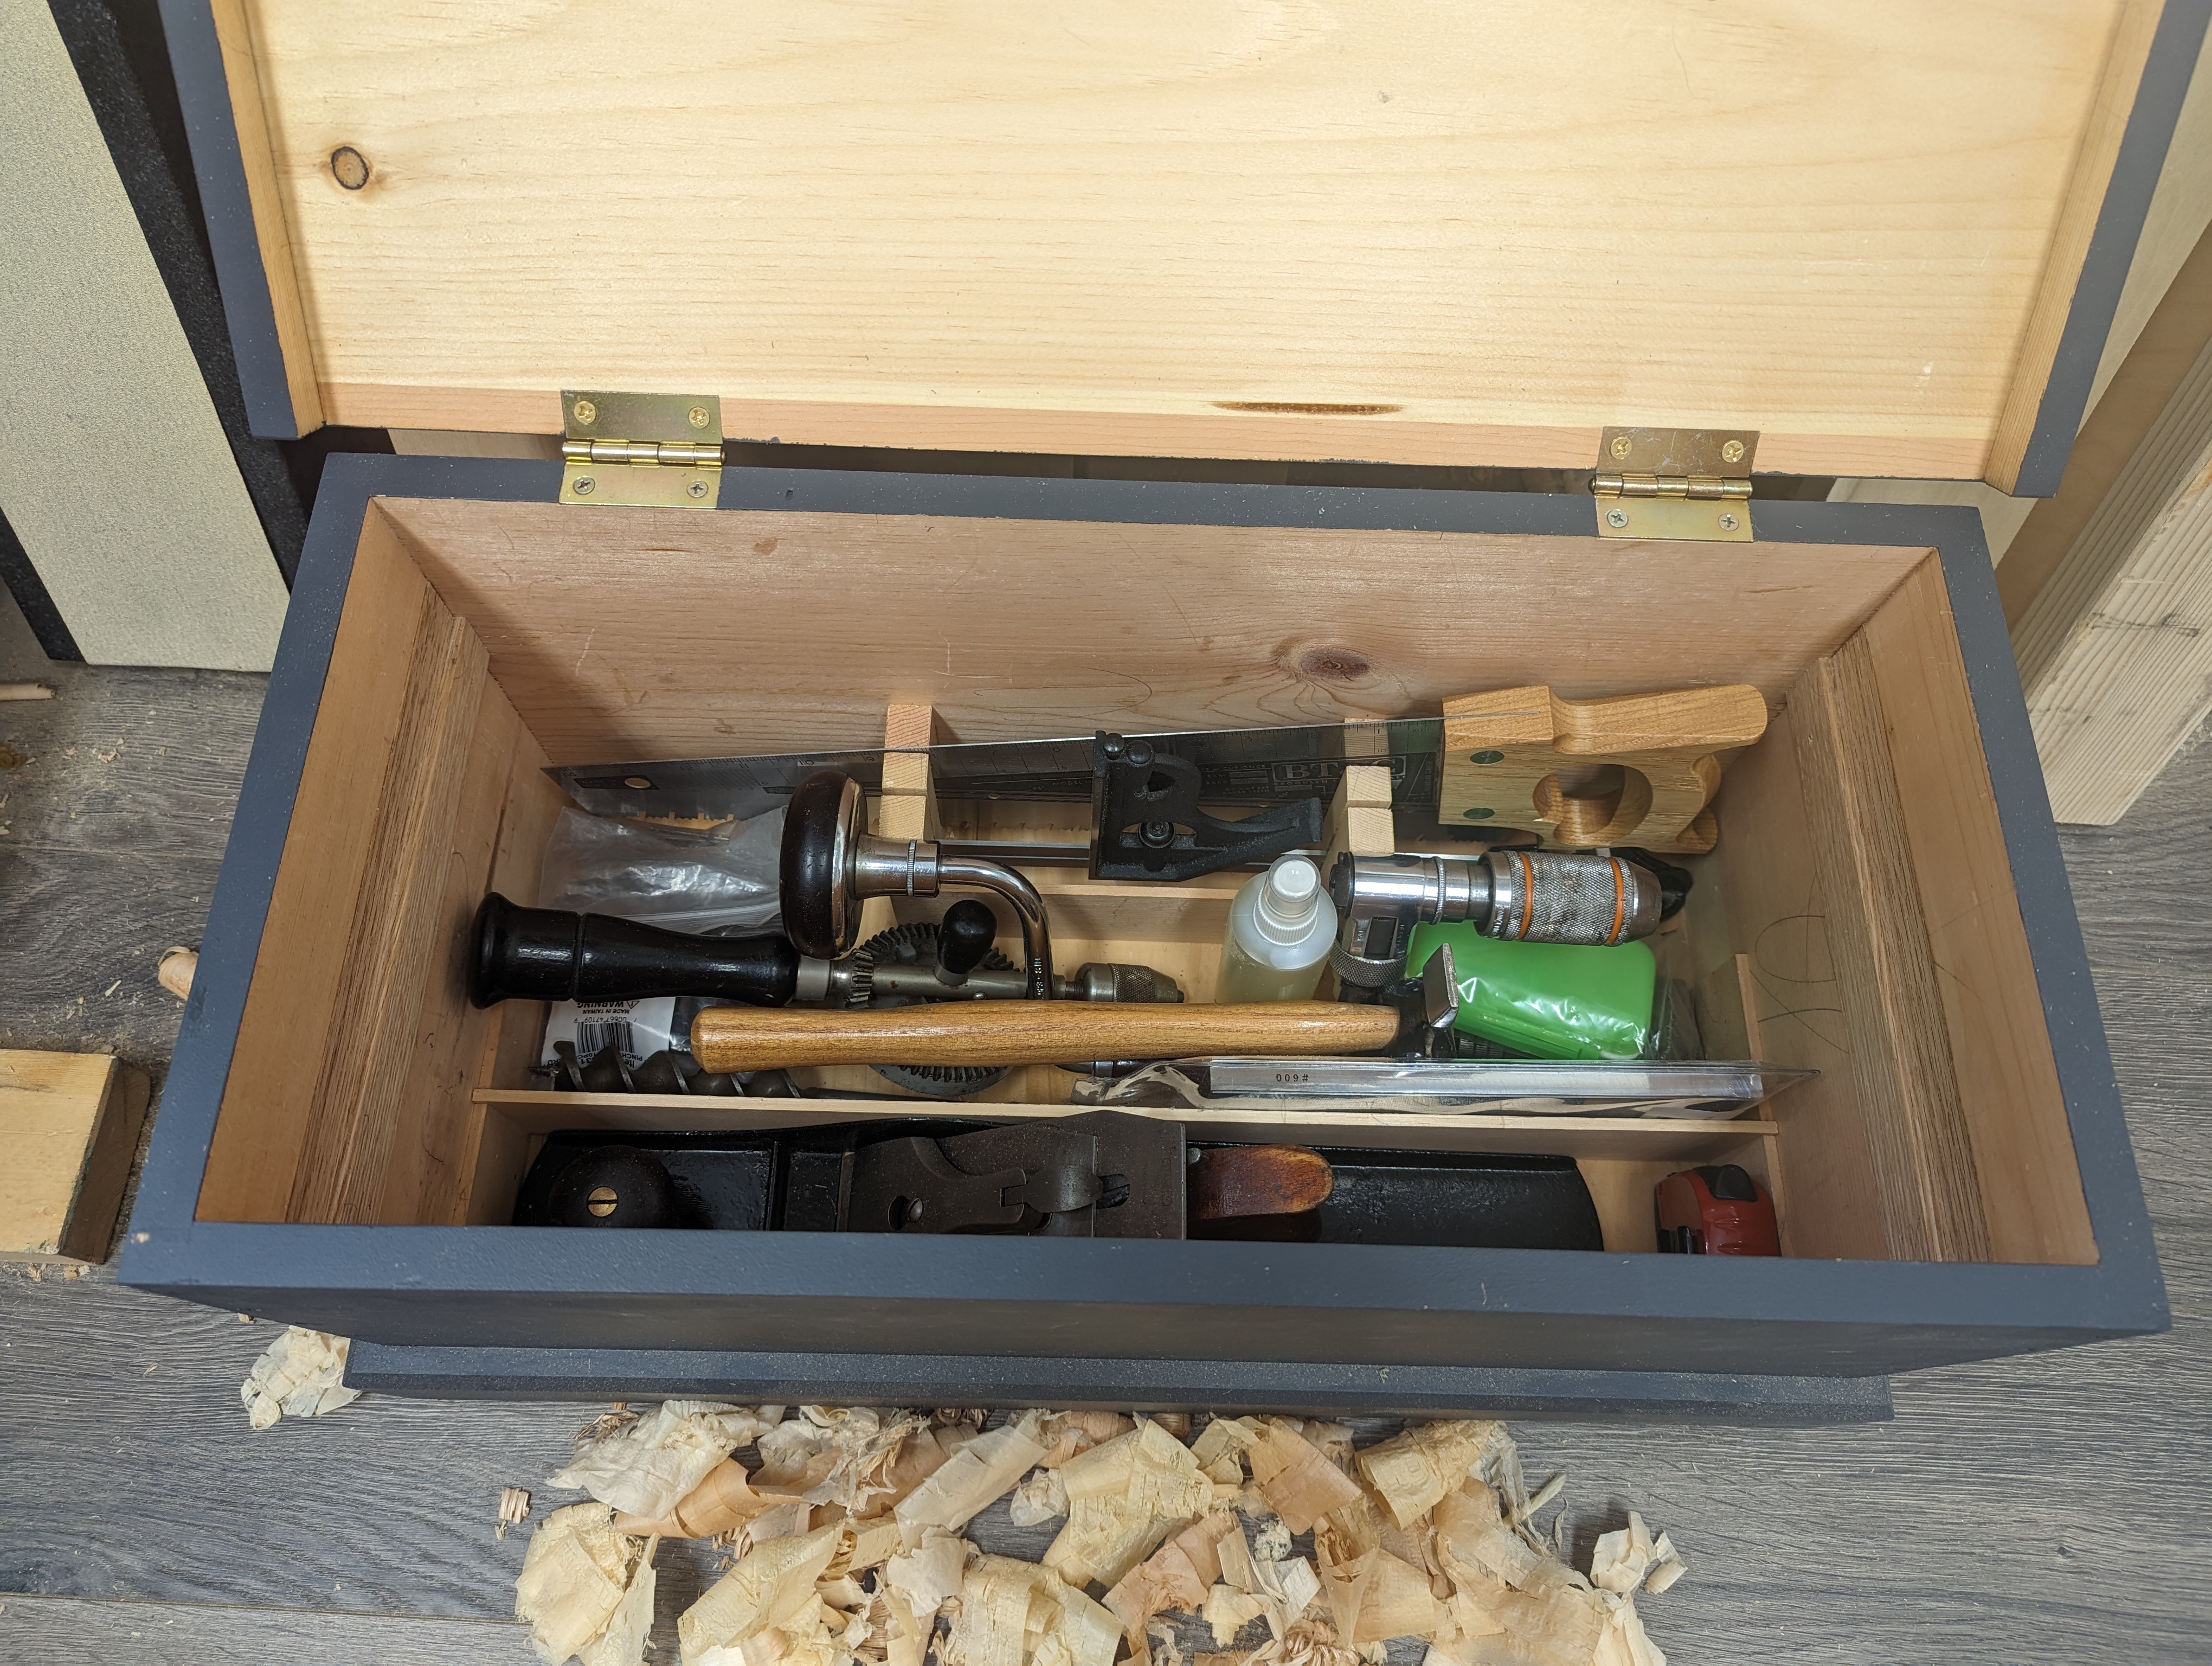
But a No. 6 is only about 5 1/4″ high, and even a panel saw in its till is less than 6″. What do do with the other 3+” of well space? A sliding tray, of course, that slides front to back and holds everything else I’ll need.
3″ is too deep for a single tray of this size. Nothing you’re carrying You’d waste a ton of space. And 3″ of height is probably enough for two tiers of sliding trays (bottom probably being 1 1/2″ deep (so 1 3/4″ with the bottom)). I’ve certainly done that before in the blue toolbox.
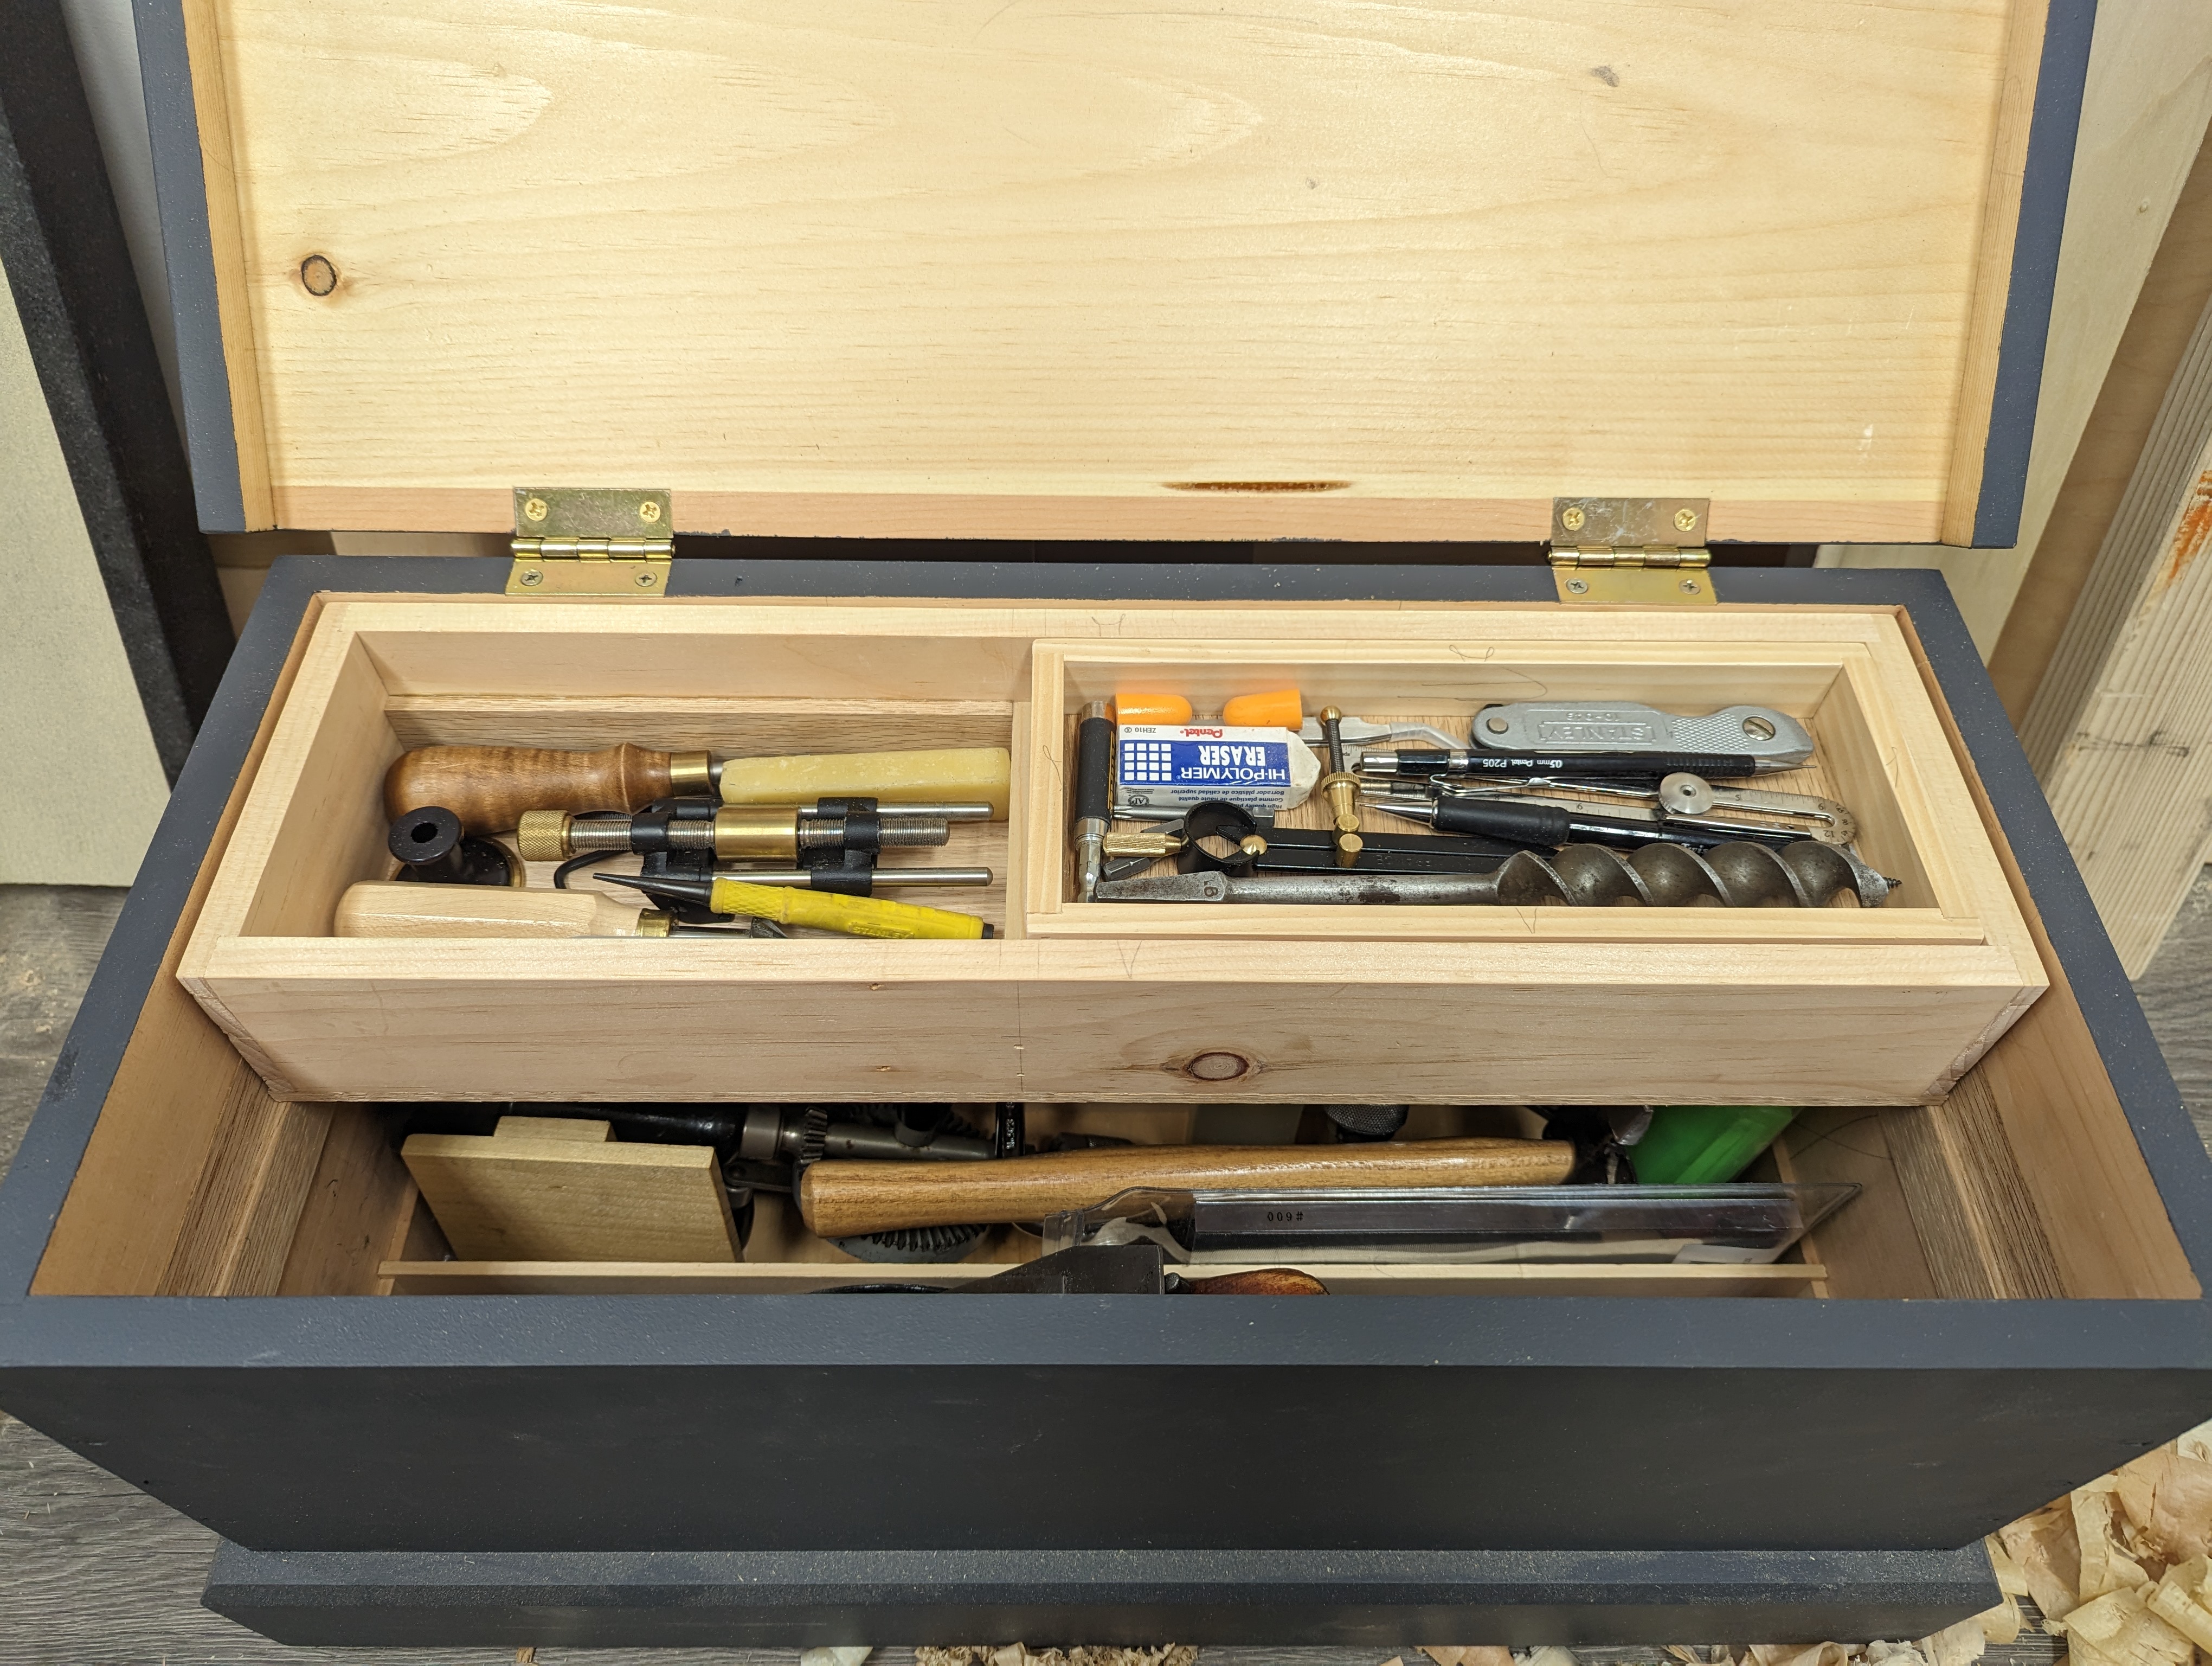
But I thought it would be fun this time to add the second tray inside the first. So I first whipped up a single deep tray with 1/2″ pine in the usual style (1/4″ oak bottom with grain running parallel to the length of the tray, nailed onto the tray) that was about 5″ wide. I also divided off a dedicated chisel compartment, since there will be lots of piling into the rest of the tray.
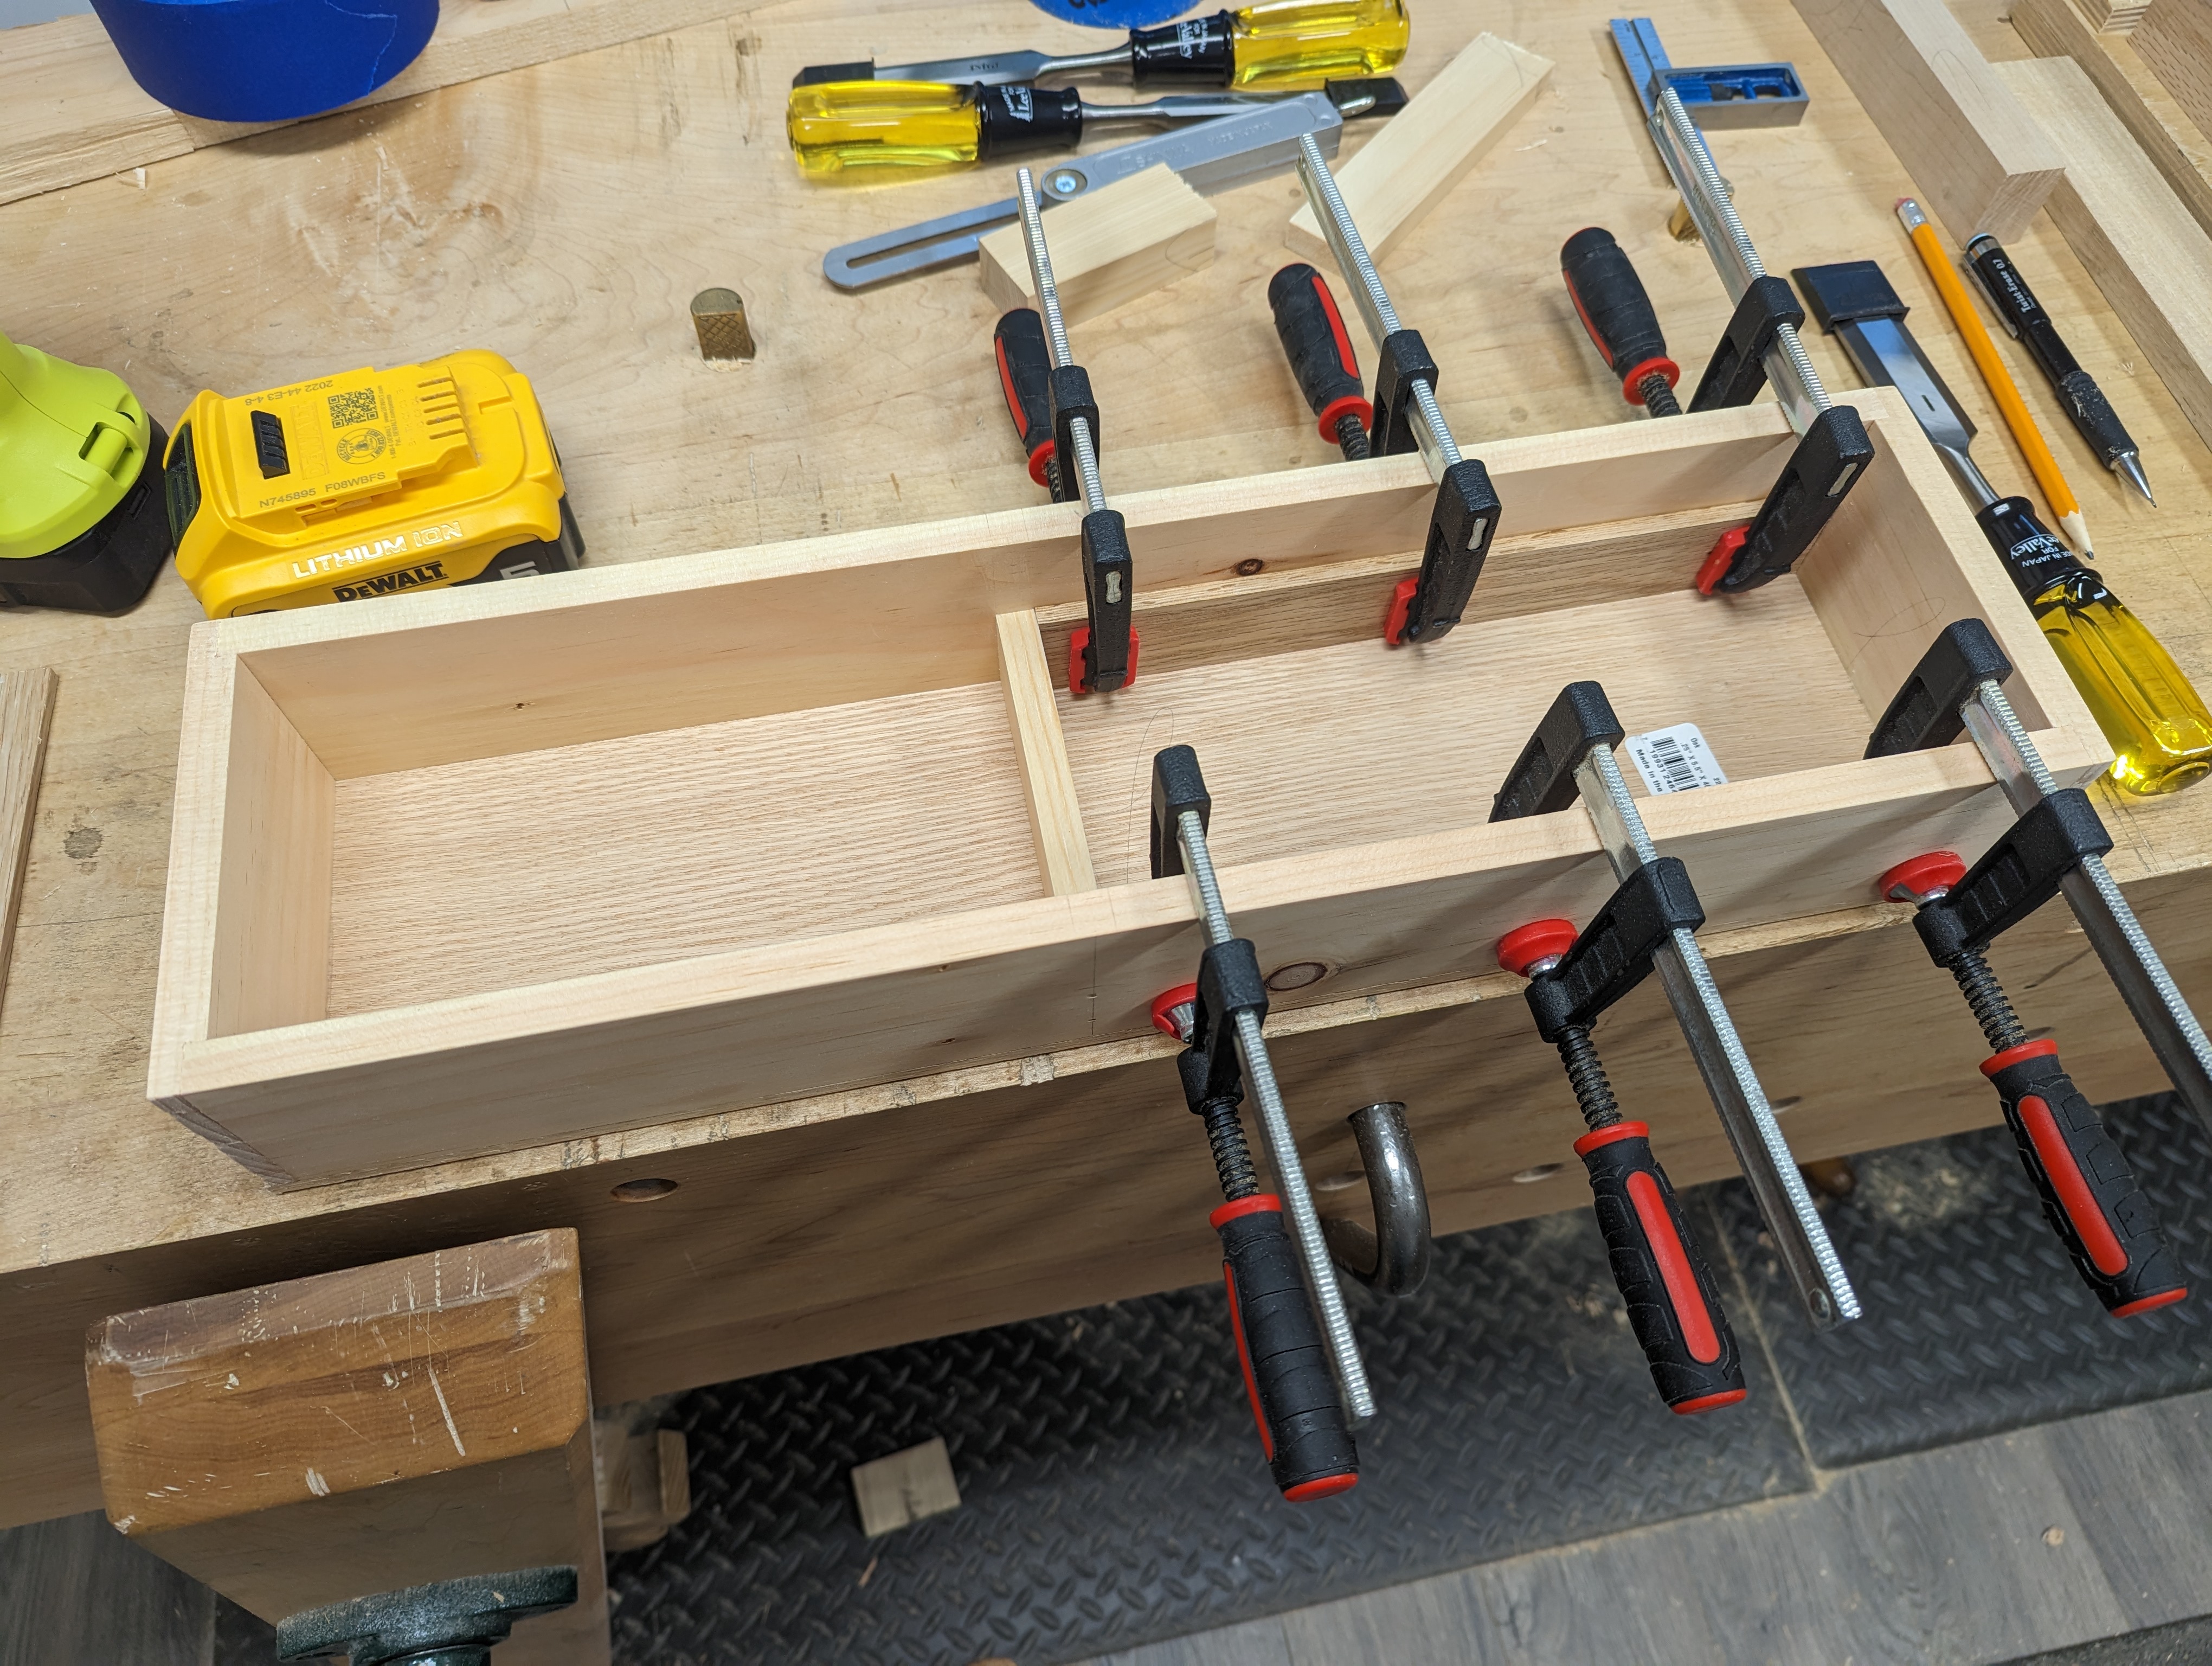
To size the inside tray, I found the tallest items that would sit in the bottom of the tray tray (which was either the stock of my marking gauge or my sharpening guide) and sized some thin oak runners to that height, plus 1/8″ (see picture above). Those got glued in to the long sides of the tray. I then knocked together another tray in 3/8″ pine that was pretty much exactly half the length tray and tall enough to fill the remaining depth of the large tray (taking into account the 1/4″ oak tray bottom). The grain of the tray bottom runs perpendicular to the length of the tray this time.

I’ve found the inside tray acts as a bit of a gyroscope when this thing is on the move. The toolbox easily fits in the back seat of the car and I’ve noticed the tray whips around less than if it were a single tray. Perhaps the inner tray shifts a bit on the x axis and takes away some of the y axis momentum (inertia?) of the larger tray. Who knows?
If you need a how-to on making and fitting sliding trays in a tool chest, I highly recommend the Christopher Schwarz 2015 Popular Woodworking article on a Traveling Toolchest (a medium chest that is still big enough for a hobbyist woodworker’s set of tools). Go to the “Interior” section of the article.
This setup works so well, I also added a sliding inner tray to the drawer on my hanging tool cabinet in the shop. More on that later, but a sneak preview below.

I hope everyone gets some workshop time on the holiday weekend.
JPG
