I own lots of clamps, but an unfortunately low number reside in my apartment woodworking shop. As a result, as often as I can, I turn to the rub joint.
The Rub Joint: for when literally any amount of clamping pressure will do.
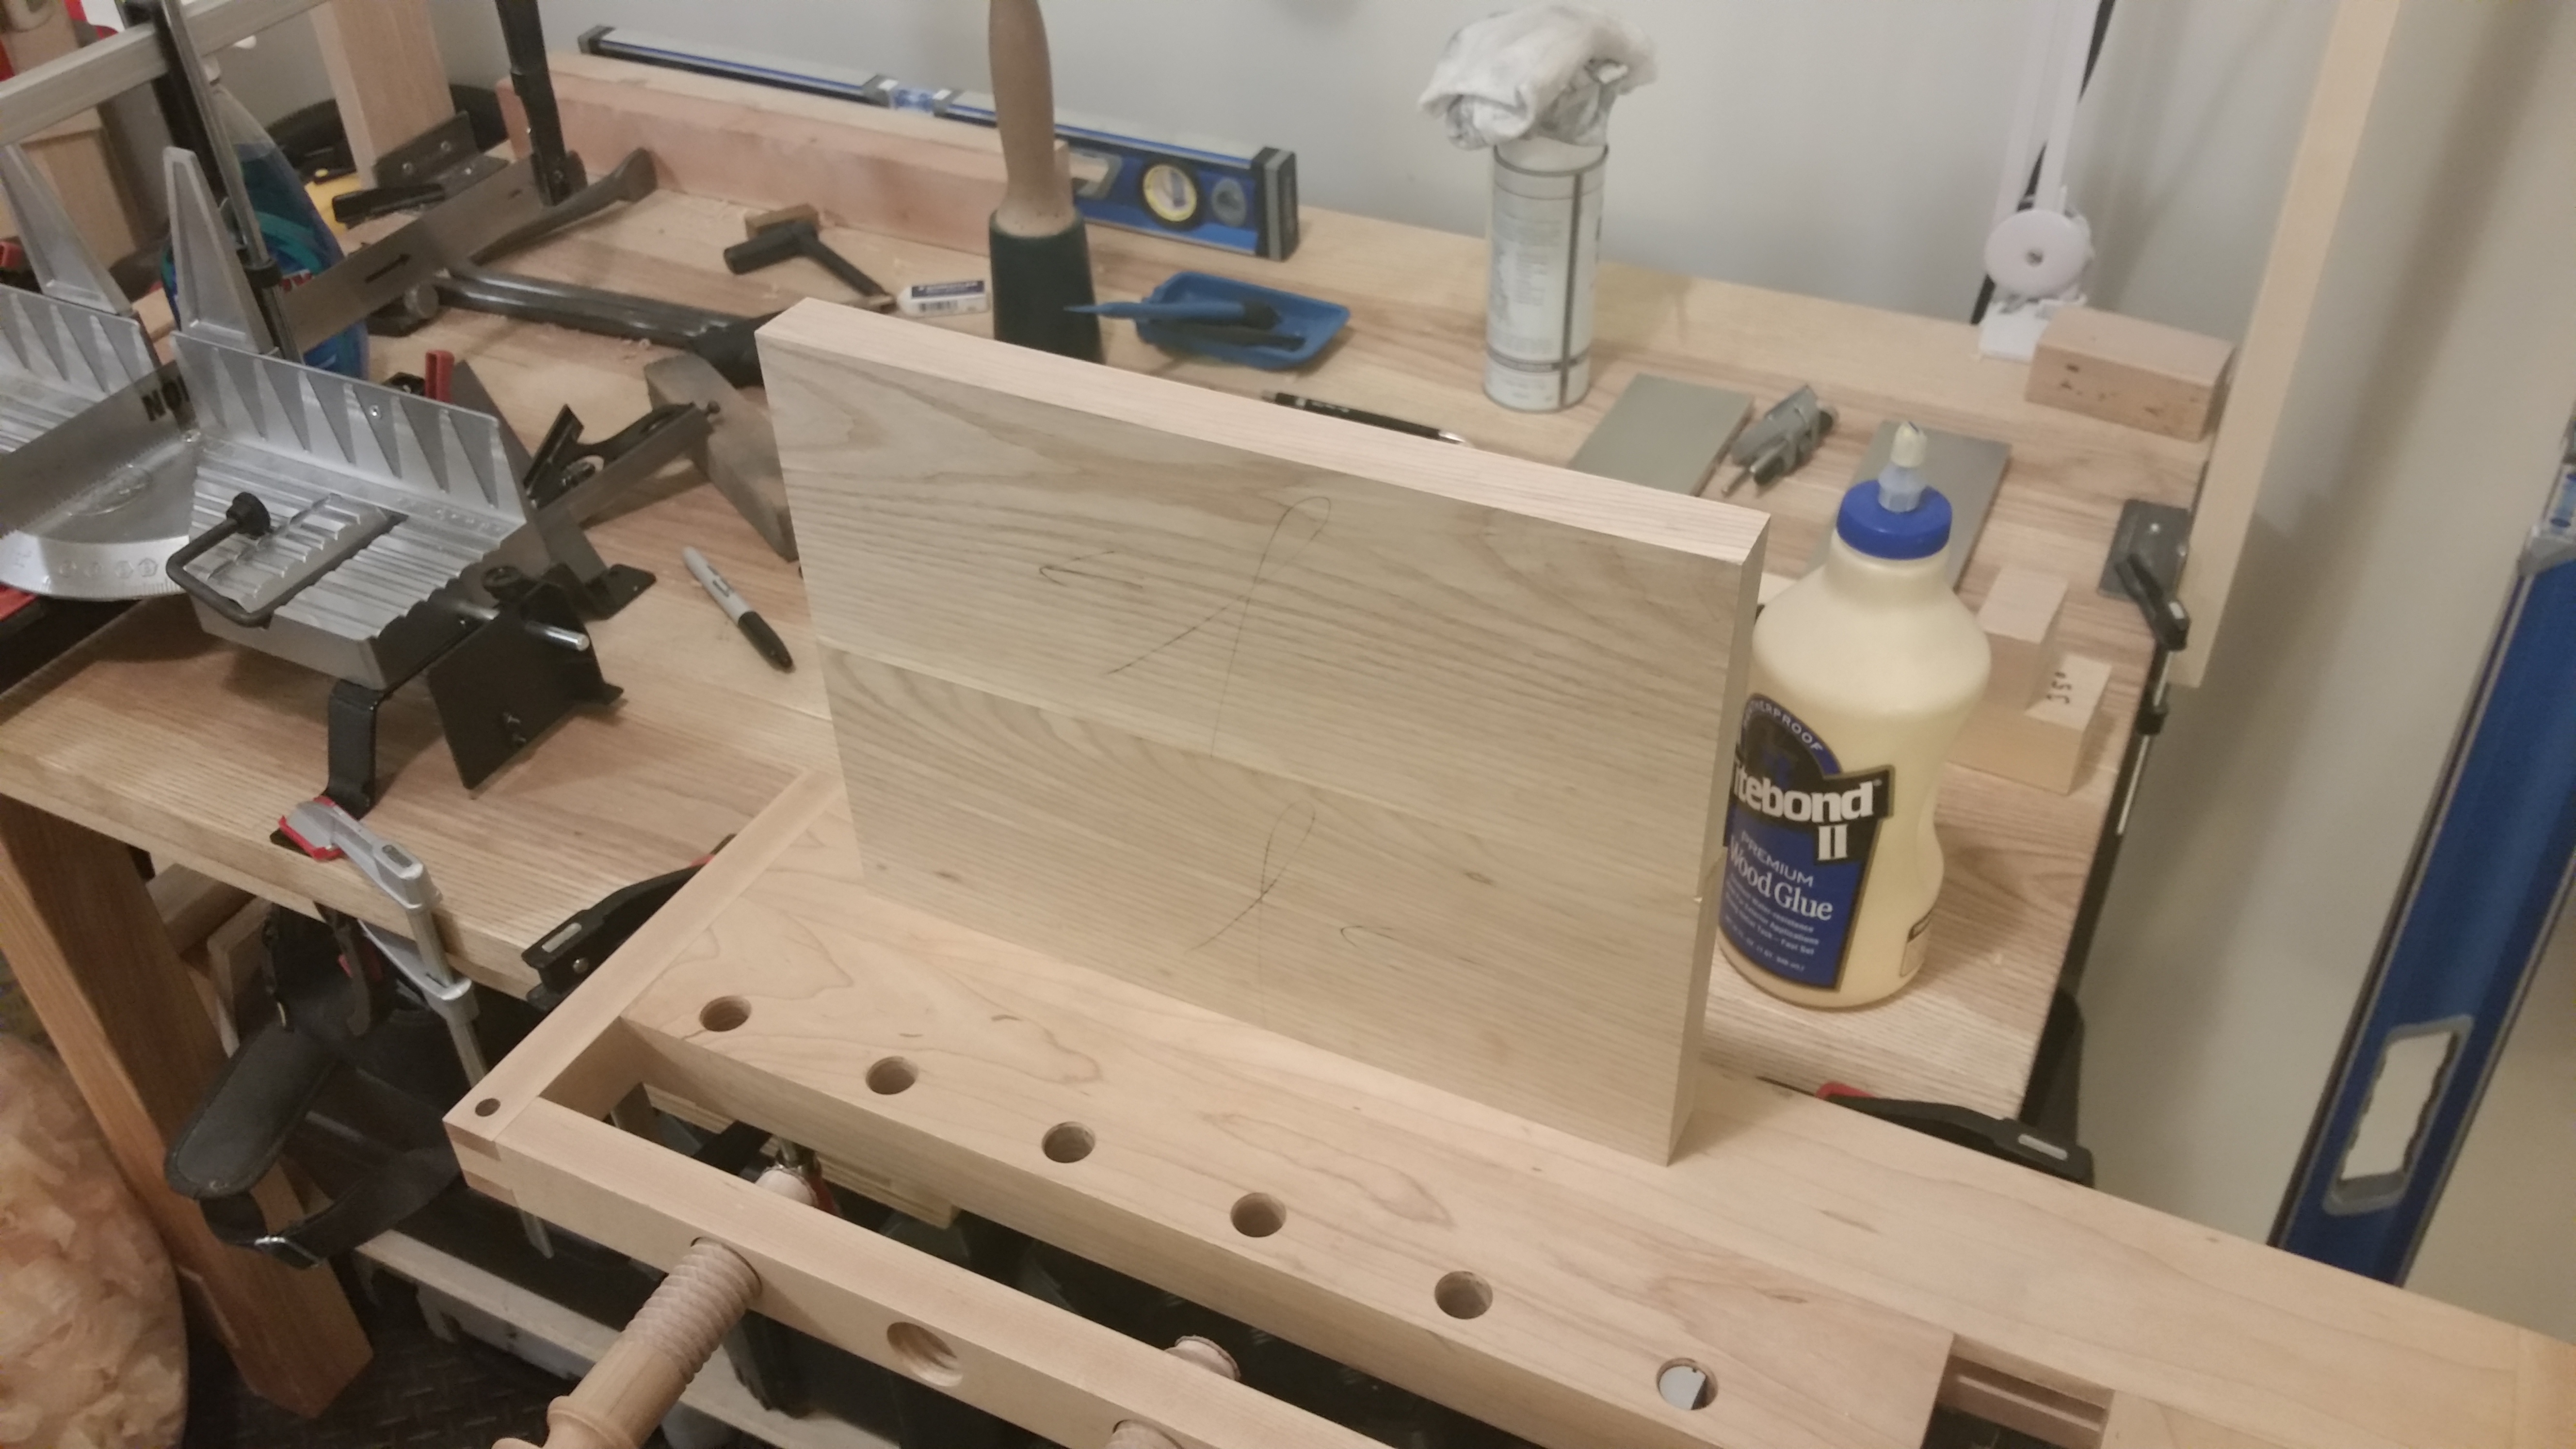
It’s a simple joint, really. A thin film of glue is applied to two jointed boards, which are rubbed together back and forth until the glue becomes grabby. The glued-up boards are then left to dry under gravity and atmospheric pressure only. It works well with other types of joints, but edge-jointing smaller tabletops (the above is for a footstool) is where the rub joint really shines.
There are three tricks to ensuring a proper rub joint, though:
First, the jointing must be crisp and square. Gaps in the mating surfaces are the bane of a good rub joint, even when using gap-filling adhesives, such as epoxy.
Two, there is such a thing as too much glue. Use only a thin film of glue, because without true clamping pressure to force squeeze out, the boards will float on a thick film of glue and the edges won’t meet in a strong, straight joint.
Three, leave the glued-up boards to dry on a flat, level surface. You’re using gravity and atmospheric pressure as your clamping force, so a flat, level surface to support the work will ensure the glue joint is perpendicular to gravity and atmospheric pressure as it dries.

A tight, strong joint achieved without clamps.
A well-executed rub joint is just as strong and gap-free as a clamped joint. Once you master the rub joint, you too may find that sometimes, very occasionally, you can have too many clamps.
Or, you know, just can just use pinch dogs.
JPG

One comment