An integral part of a leg vise is the garter that connects the screw to the vise chop, allowing the chop to move in and out as the screw is turned. Or at least that’s what I’ve been told. And when you make your own screws, it’s probably a good idea to be able to plow a 1/4″ trench around the circumference of the screw to capture the garter. But what to do when one does not own a lathe (powered or otherwise)? Improvise!
Hold your applause, please.
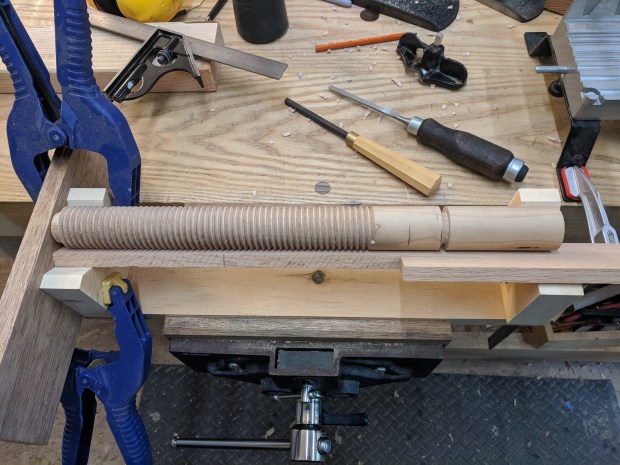
I started by sawing down the walls of the trench with my miter box. The screws are 6/4″ wide so I set the depth stop to about 3/16″ and was careful to keep all the saw kerfs in alignment. Then I used a 1/4″ chisel to hog out most of the waste, using the saw kerfs as the depth guide. After that was done, I took a mortise float and spun the saw around while holding the float steady: first in the direction of the cut to get it close, then in the opposite direction to burnish it down to a perfect cylinder. The inner diameter ended up being a bit over 1″.
The garter plate will be made from a 1/4″ x 4″ square of quarter-sawn hard maple (the same wood as the screw). If I drill a 1 1/8″ wide hole in the face of the garter plate, the kerf from sawing it in half should result in a perfectly-sized (if minorly-oval) hole when the two parts are joined together again and secured to the vise chop with slotted screws.
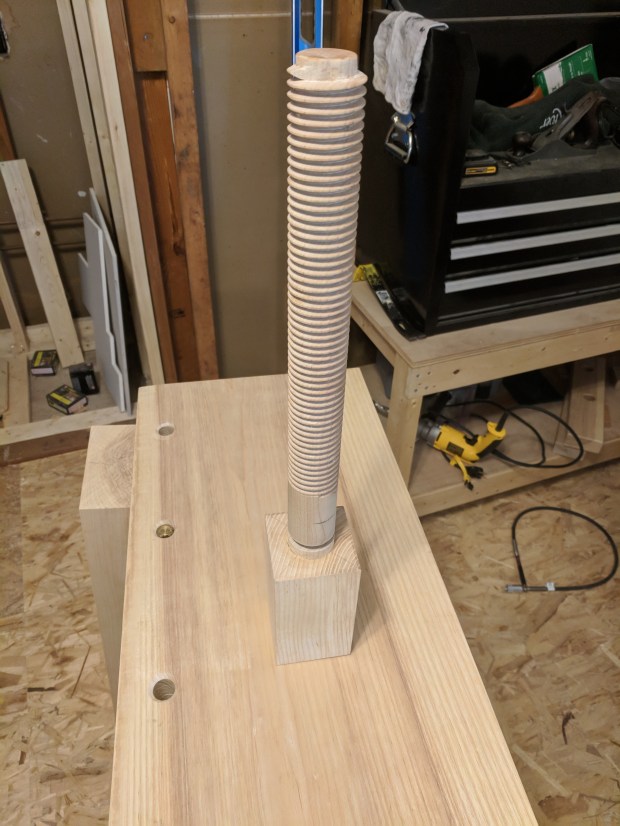
I also made an ash hub (from the same board as the leg vise chop) and glued in the screw once the garter trench was plowed. I’ll shave the hub into a something approximating a cylinder once the glue dies. I will also drive a dowel through the hub and the screw to further secure the assembly. I haven’t decided on a wood for the handle yet. I’m leaning toward rived ash (surprise!). I have some decent lengths of ash to rive into good handle, which I can shave down to round.
The screw stock is a snug fit into the hole, so PVA works just as well as epoxy.
I have not yet determined how the parallel guide should work. The leg vise chop is a 6″ wide, highly figured piece of 12/4″ ash. And because the the legs are only 4″ wide, I should be able to mortise a 5/8″ parallel guide into the chop and secure a catch to the inside of the leg (think of the catch for the lock battens on a Dutch tool chest). The parallel guide and the catch will probably also be quarter-sawn hard maple (like the other hard-wearing components). And, because very little of it is internal to the bench itself, the leg vise should, theoretically, be salvageable when I next lose my mind and make another workbench.
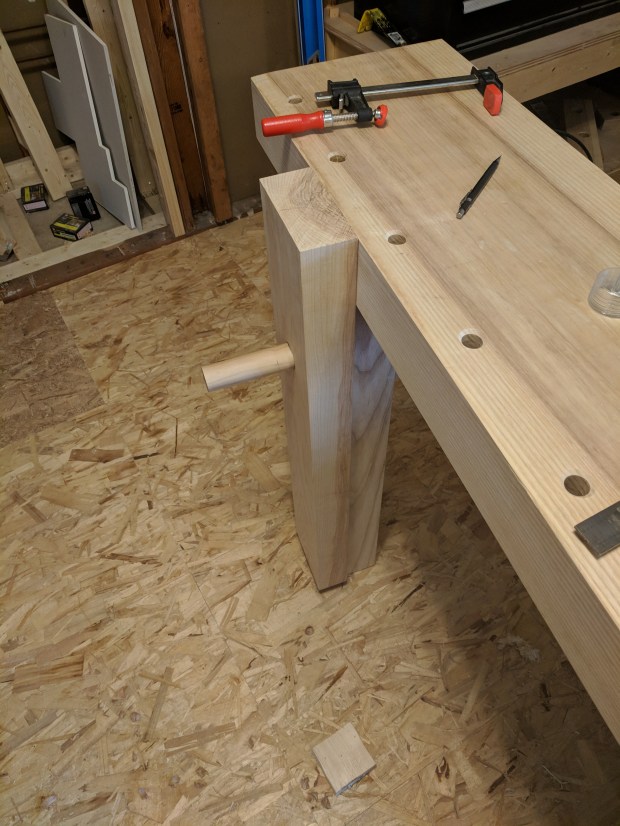
Heart-side to the bench in case it cups.
Although the parallel guide will not be perfectly centered, I might be able to get away with a pin board set-up. But I’d rather use a shim system with a few common sizes secured to the bench with twine. I am sure there is some combination of four shims that have specific dimensions in each orientation that will work for most tasks.
But it’s been a long week and I can’t figure that out right now.
JPG

1/8,1/4,1/2,1” gets you just shy of 2” in 1/8 increments. Add a few plastic laminate samples from the home center for finer gradation.
They usually come with a hole for the string.
LikeLike