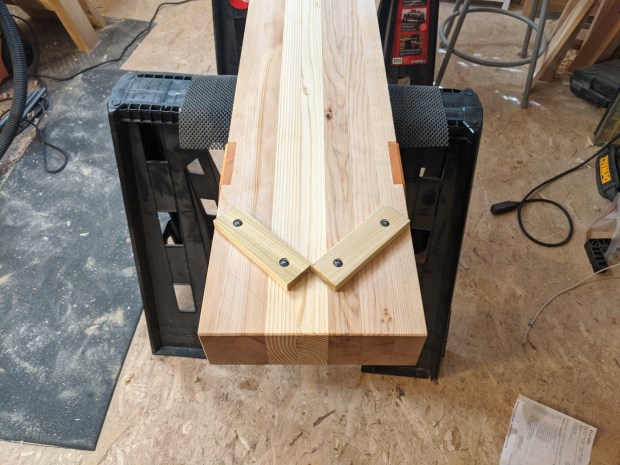
After several months of working on the low, Apartment Workbench, I’ve learned a few things. First, 90 degrees is not the right angle for a palm-style planing stop. It doesn’t hold thinner stock on edge very well, and often the mouth is too wide to grip boards on their face. 60 degrees seems much better.
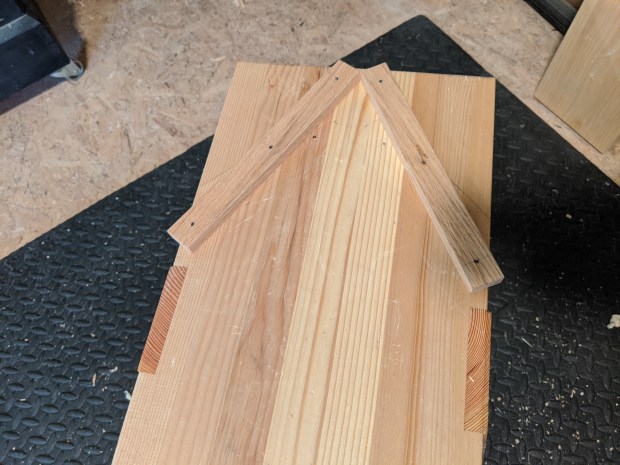
Compare the old palm arrangement:
In fairness, it’s more like 92 degrees.
To the new arrangement:
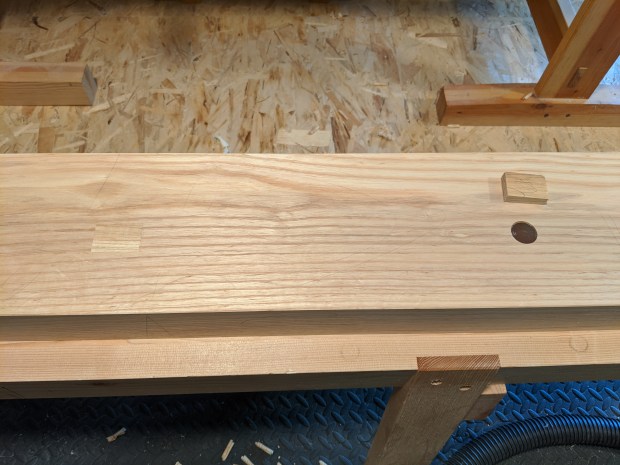
3/8″ still seems about the right height for these, though.
In addition, 9 inches of benchtop overhang beyond the vertical legs is not great. It’s fine in the front, where the palm interferes with things that might accidentally tip the bench forward. But on the back, in practice, it prevents one from sitting all the way back on the bench, effectively shortening the working area of the bench when planing. Even crosscutting on that end is precarious because of tipping.
The solution is either to move the legs further back (maybe 3 inches from the end of the bench would work) so the leverage is less OR, if you’re so adventurous, cant the legs forward so they sit at compound angles to the benchtop.
Speaking of which, that’s harder than it looks:
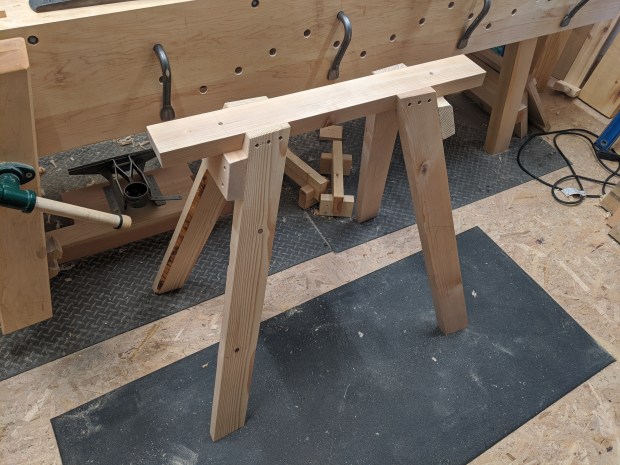
This reminds of a deer, for some reason.
It’s not so much the cutting of the compound angle on the leg that’s difficult. That’s pretty much just extending the usual saw bench birds-mouth joint with an extra angle on the shoulder. And then some fiddling after to make sure everything is crisp.
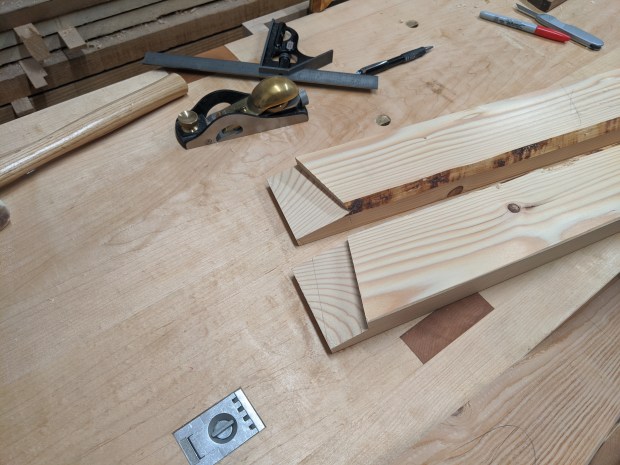
There is more to it, but this isn’t a how-to.
What presented more difficult was leveling the feet. After the initial cuts marked out with the 4×4 of justice, tweaking the legs to be perfectly flat alluded me. Perhaps it’s because it was saw horse height, and I couldn’t track the jointer plane off the other leg. Or perhaps because of tolerance stack the compound angles resulted in something that didn’t quite match the reference angle.
But it was good practice. And the net net on these compound angled legs is that I’m ready to move onto a proper Chinese-style low bench with compound leg angles. I plan to take significant advantage of rasps and floats the first run at it, as the legs will be mortised in (not affixed to the outside) And I have just the slab for it, too.
Reclaimed from the back wing of the old ash workbench.
But more on that soon.
JPG

Look forward to seeing your work on the Chinese-style bench, and how you tackle the compounded square legs. Do keep us posted!
LikeLike