After a decent hiatus, I’m back and exactly the same as ever! Seriously, I have one big project in the queue (a replacement dining table since my mother absconded with my old one), but instead I’ve been dicking around with the Moravian Workbench.
My first try started with a simpler design that any apartment DIYer with a miter saw and a basic set of tools (saw, chisel, drill driver) could build from home center 2×4’s. Having a basic Apartment Workbench would help, but it’s not really necessary. Just laminate the slab for the top first and use it as a worksurface.
I planed and squared the pieces before laminating, but you could get by with just sanding a bit as long as the stock is relatively straight and untwisted. The angled, through mortises for the tusk tenons were laminated into the legs as I went, which worked really well.

To keep things manageable, the crossrails on each leg assembly were lapped in and secured with screws, rather than mortised in. This worked well on the lower and middle stretchers, but it was a bit dicey on the top stretcher and I think the bridle joint used in the original Moravian Workbench design would have worked better. In retrospect, I think using Spruce (instead of Douglas Fir) for the leg assemblies would work better for this DIY approach. Spruce is a bit softer and lighter, but still very stiff, and somewhat less prone to chipping out.
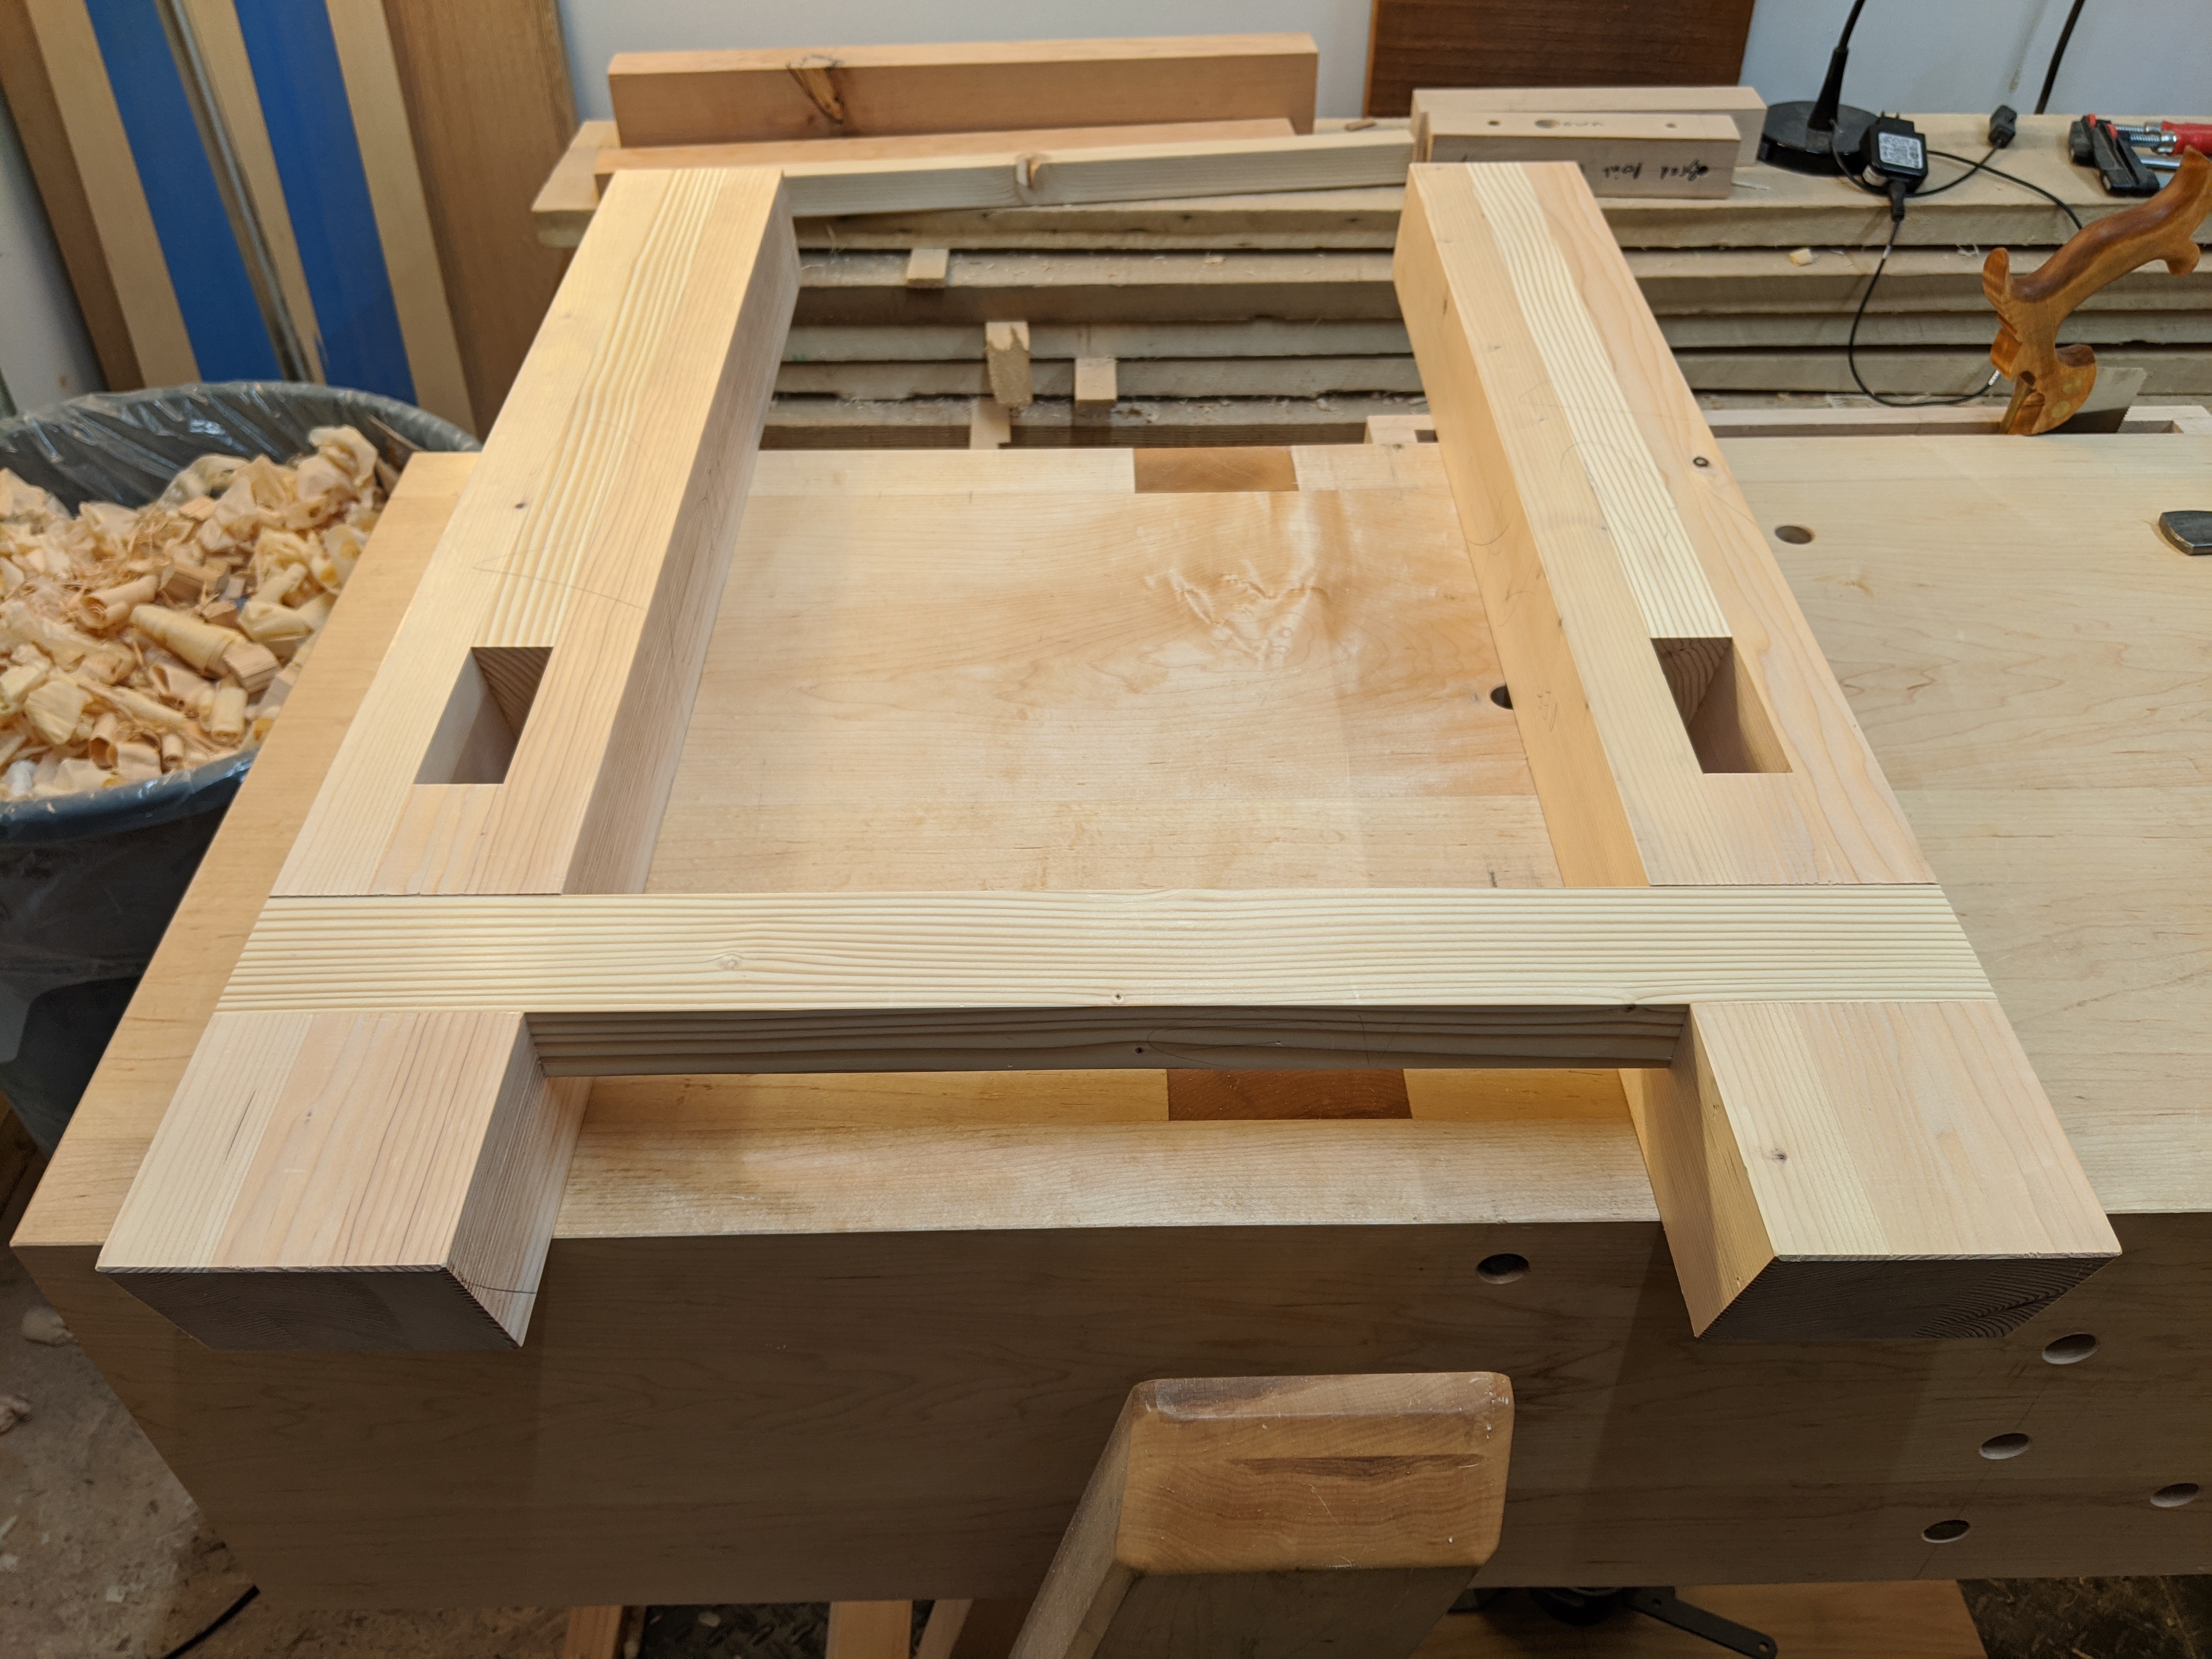
Like the leg assemblies, the joints on the long stretchers were formed with a longer middle piece to form the tenon and two shorter pieces with the angled shoulders pre-cut. Just use the same angle setting as you used for the leg assemblies. The only real joinery in this version of the bench are the mortises for the tusk tenons. I used a brace and bit, boring in from each side and paring down to the lines, but chopping is just as easy.

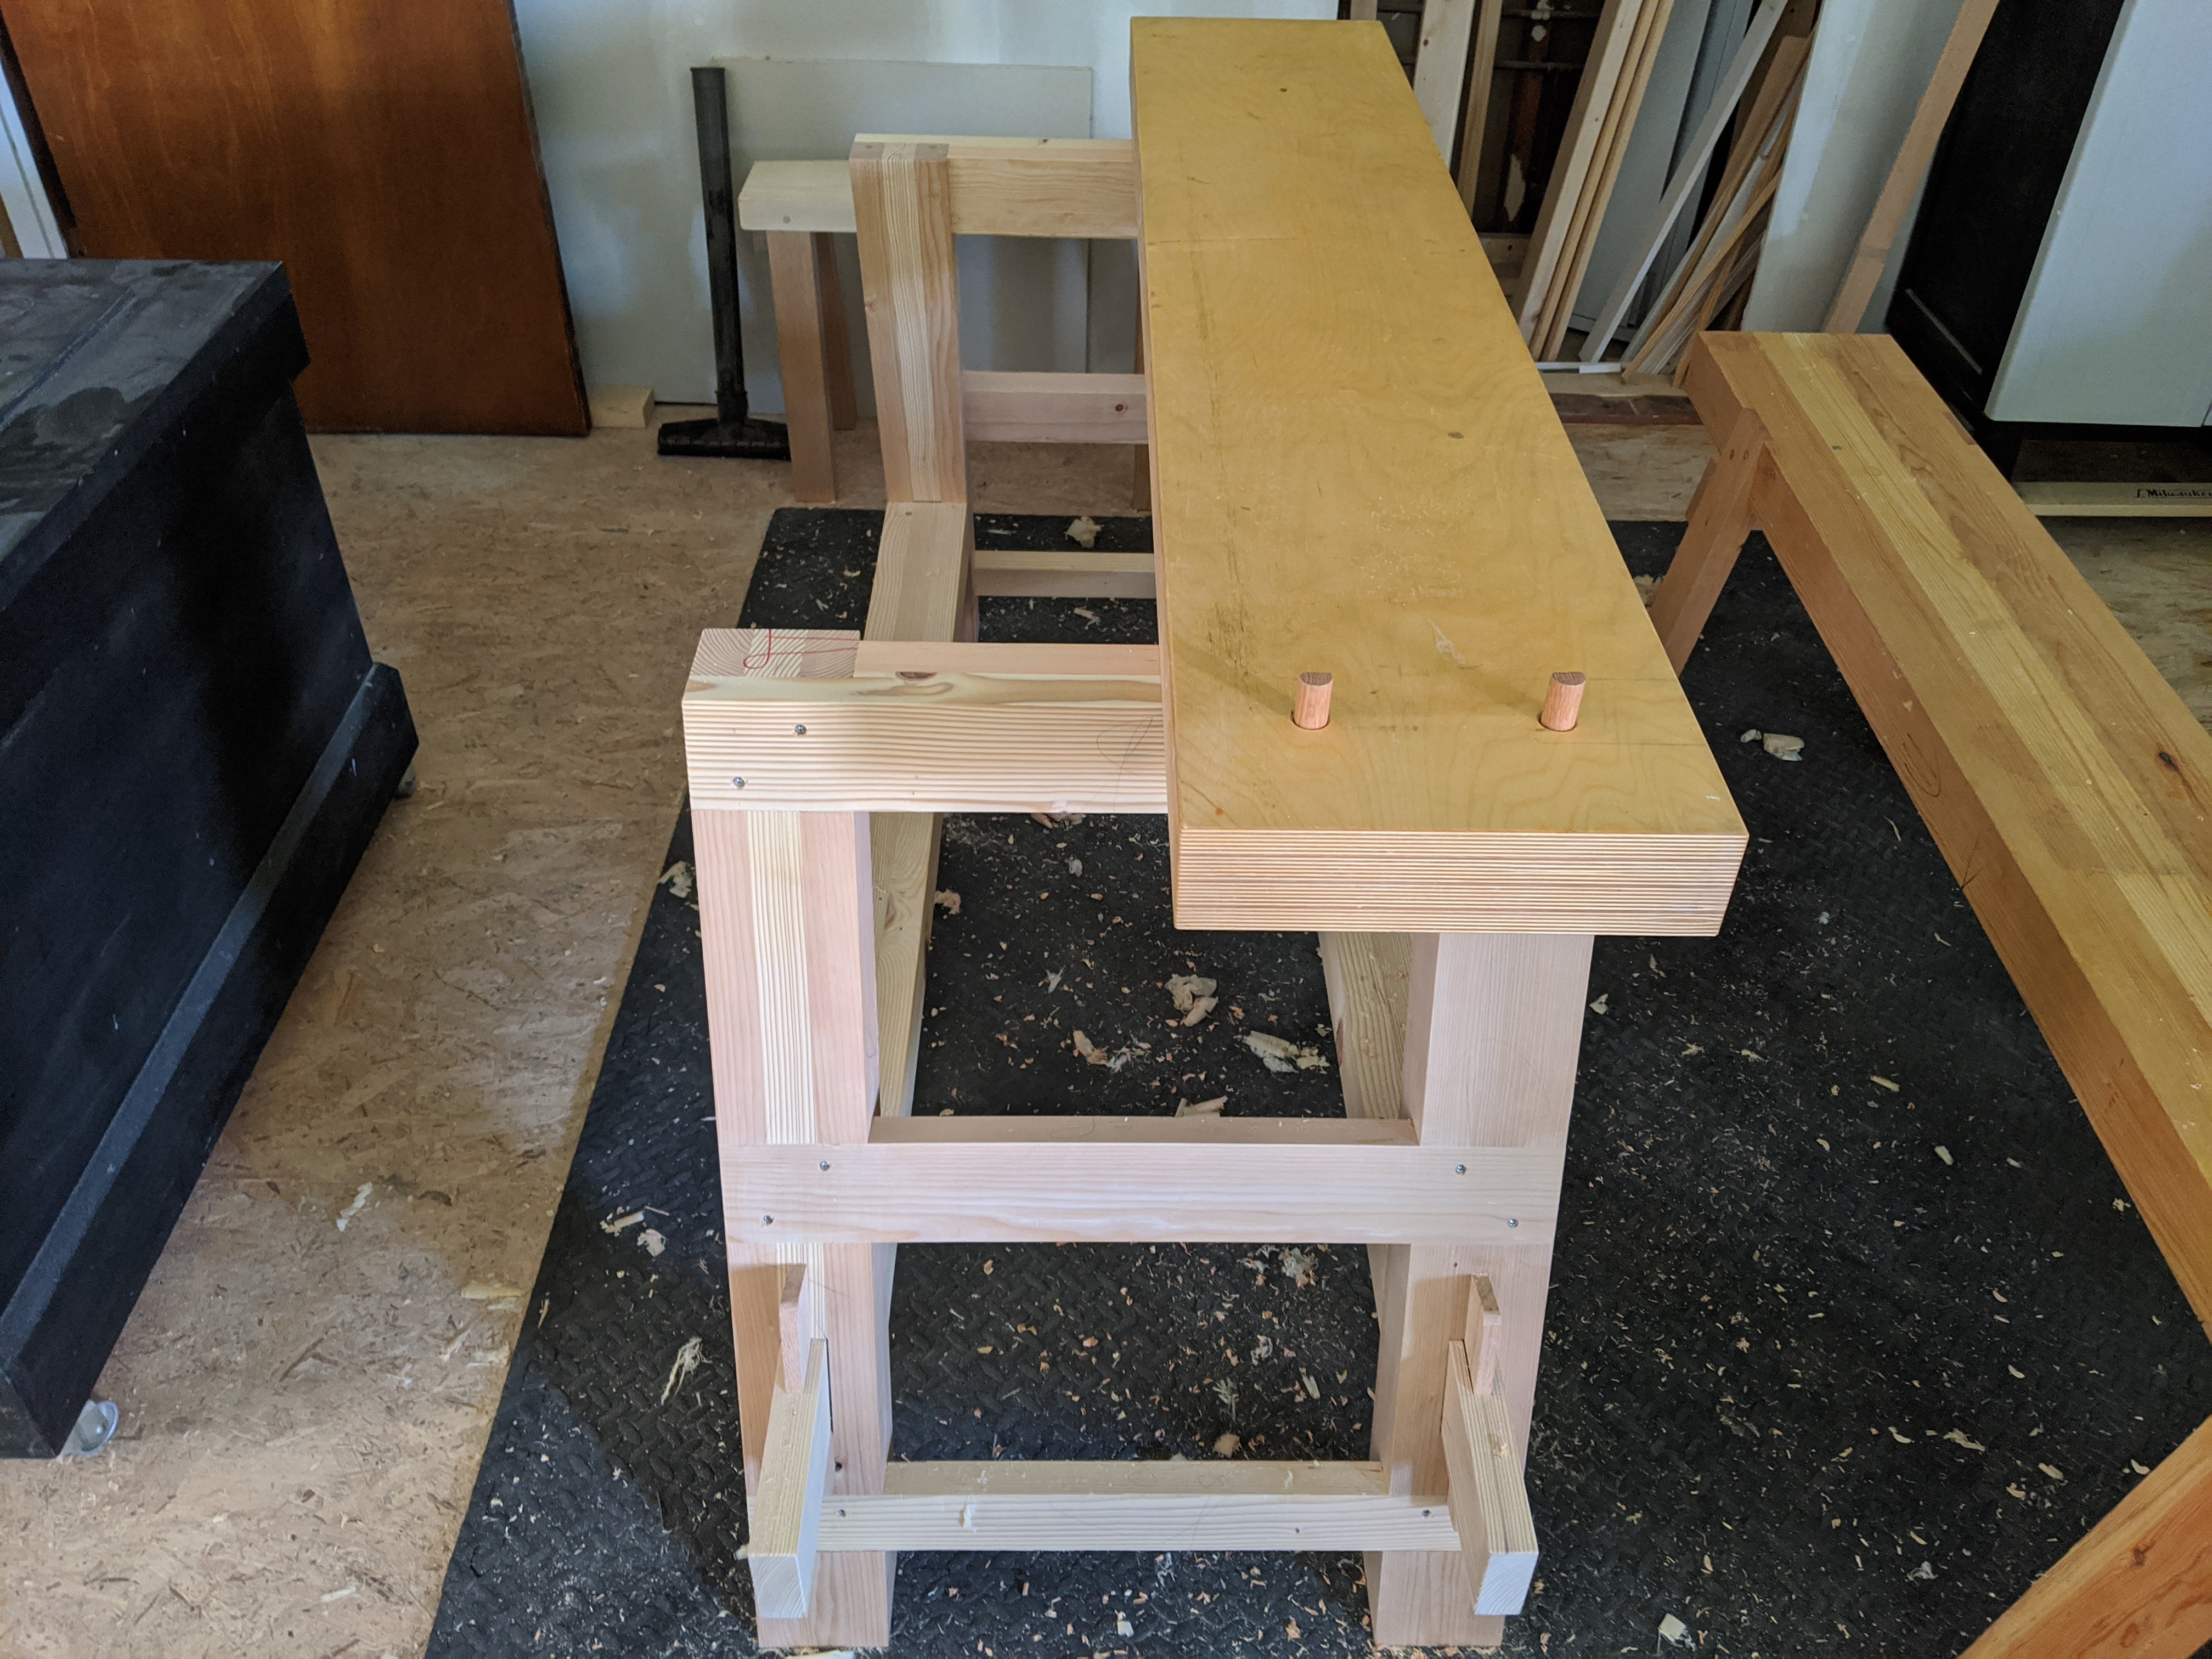
I didn’t end up laminating a new top for this. I repurposed the plywood slab from the Plywood Roman Workbench. This bench will live in the garage of a friend who has recently gotten more into DIY, so I may have gotten a bit lazy near the end. I didn’t make the back shelf, as my buddy has a kreg pocket hole jig and some extra plywood. It can be his first project on the workbench. I also didn’t make a leg vise for the bench. He’s got clamps.
So, all in all, this worked out just fine. It allowed me to explore the Moravian Workbench form without worrying about wasting more expensive lumber while I experiment.
And this practice served me well, as I make a second version that follows the actual design more closely.
But more on that next time.
JPG

The versatility with it being a knockdown is excellent. Both for storage and transport. In addition it is a very stiff and strong bench. I use one on job sites and it sure beats working off of sawhorses if the opportunity presents itself. If you want a ready made top and glulam beams are used in construction around where you live quite long offcuts can be available for little or nothing.
LikeLike
You have described a very amazing method to make a work bench, thanks for this great post.
LikeLike