Welcome to the next installment of the Planing Slab project! Part one is here.
To make the planing slab, I opted to follow Christopher Schwarz’ advice and dig through the stacks at my local home center for the clearest, driest, straightest Douglas Fire 2″ x 10″s I could find in order to laminate a benchtop. I should mention I showed up at exactly 7am and spent over an hour garnering confused and/or disapproving looks from the contractors who were probably wondering why a stocky thirty-something with a beard and a trendy haircut was checking construction grade lumber for knots and twist in fashionable jeans, a scarf and work gloves.
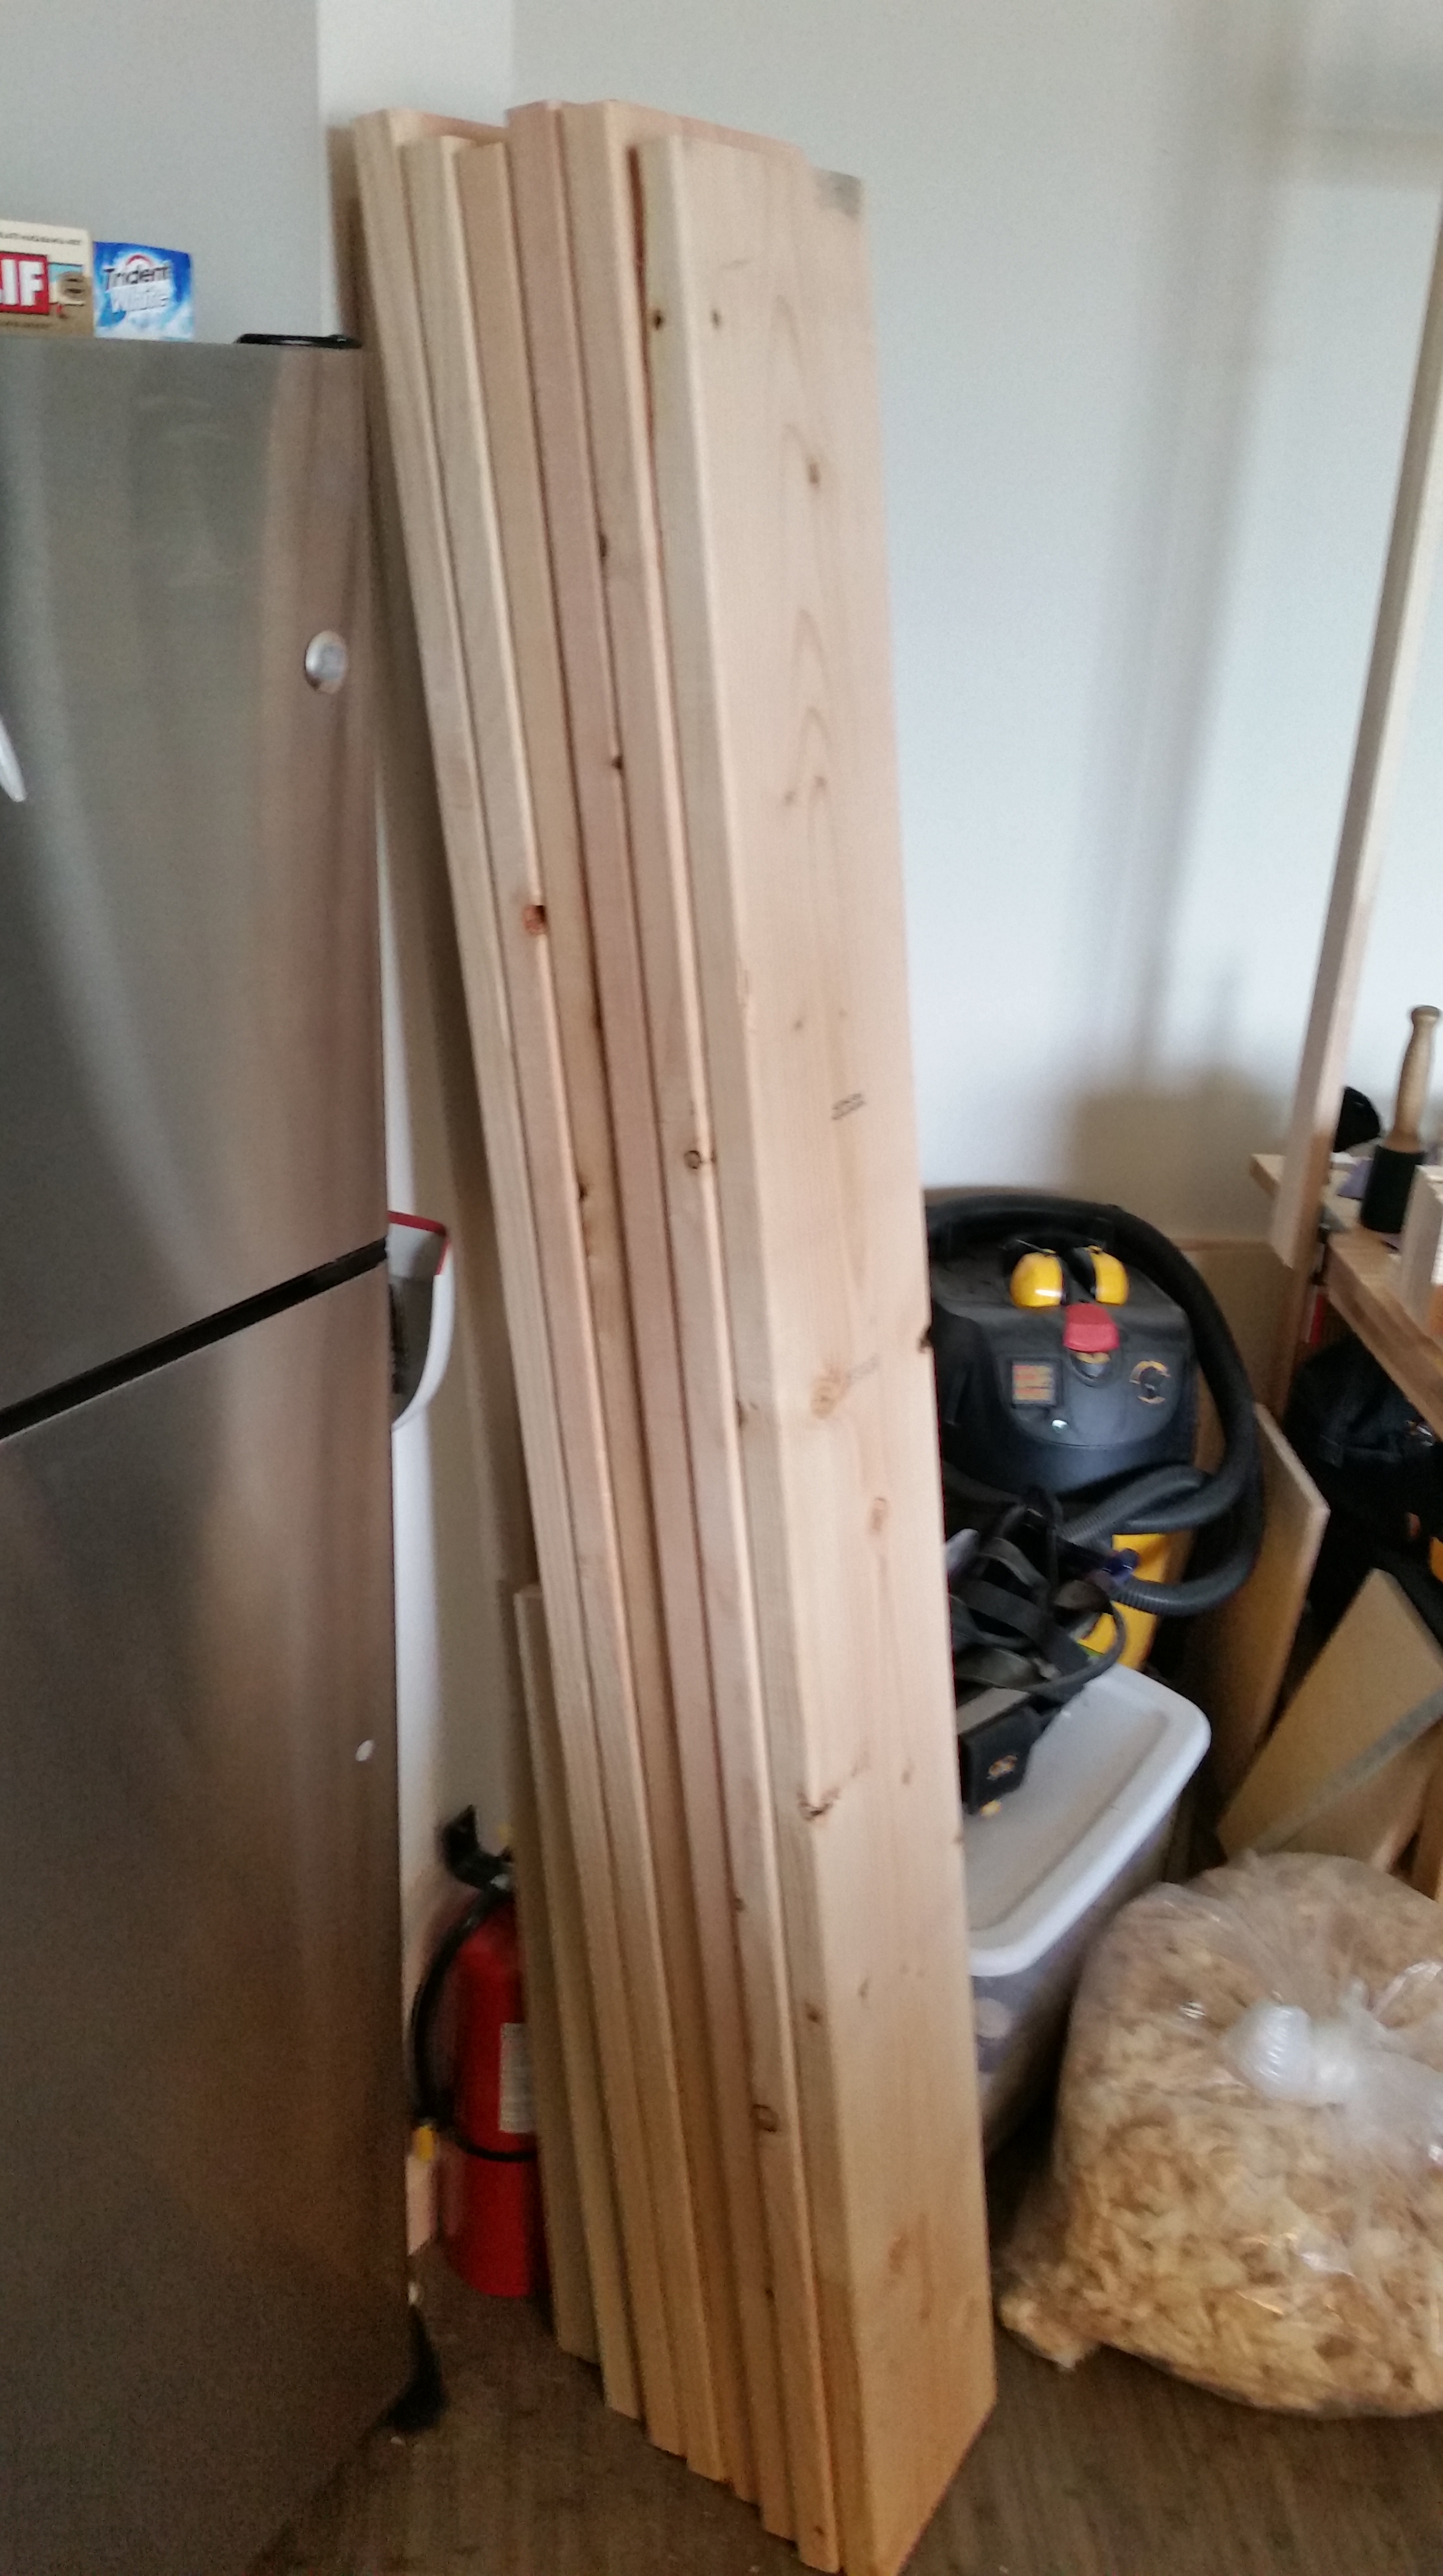
Once back at home, I left the approximately 36 feet of the aforementioned 2″x 10″ Douglas Fir (crosscut into six 6 foot boards) against the wall to dry out for 2-3 weeks, because “driest and straightest” equals not “dry and straight”.
Apologies for the grainy picture. On a side note, is it just me or is my chisel mallet incredibly phallic?
I don’t own a moisture meter, but wetter pretty much means heavier, so I used a scale to compare the relative weights of each board over a couple weeks. When there was no change in the weight of a board over a 7 day stretch, I knew it was dry enough to be ripped down. I will spare everyone the play-by-play on hand-ripping nine 3″ wide lengths of Douglas Fir, but suffice to say, I had to resharpen my 8 TPI panel saw after rip seven of nine. It also became much easier once I built that second saw bench.

Not sure if I ever posted a picture of my Lie-Nielsen-style saw vise.
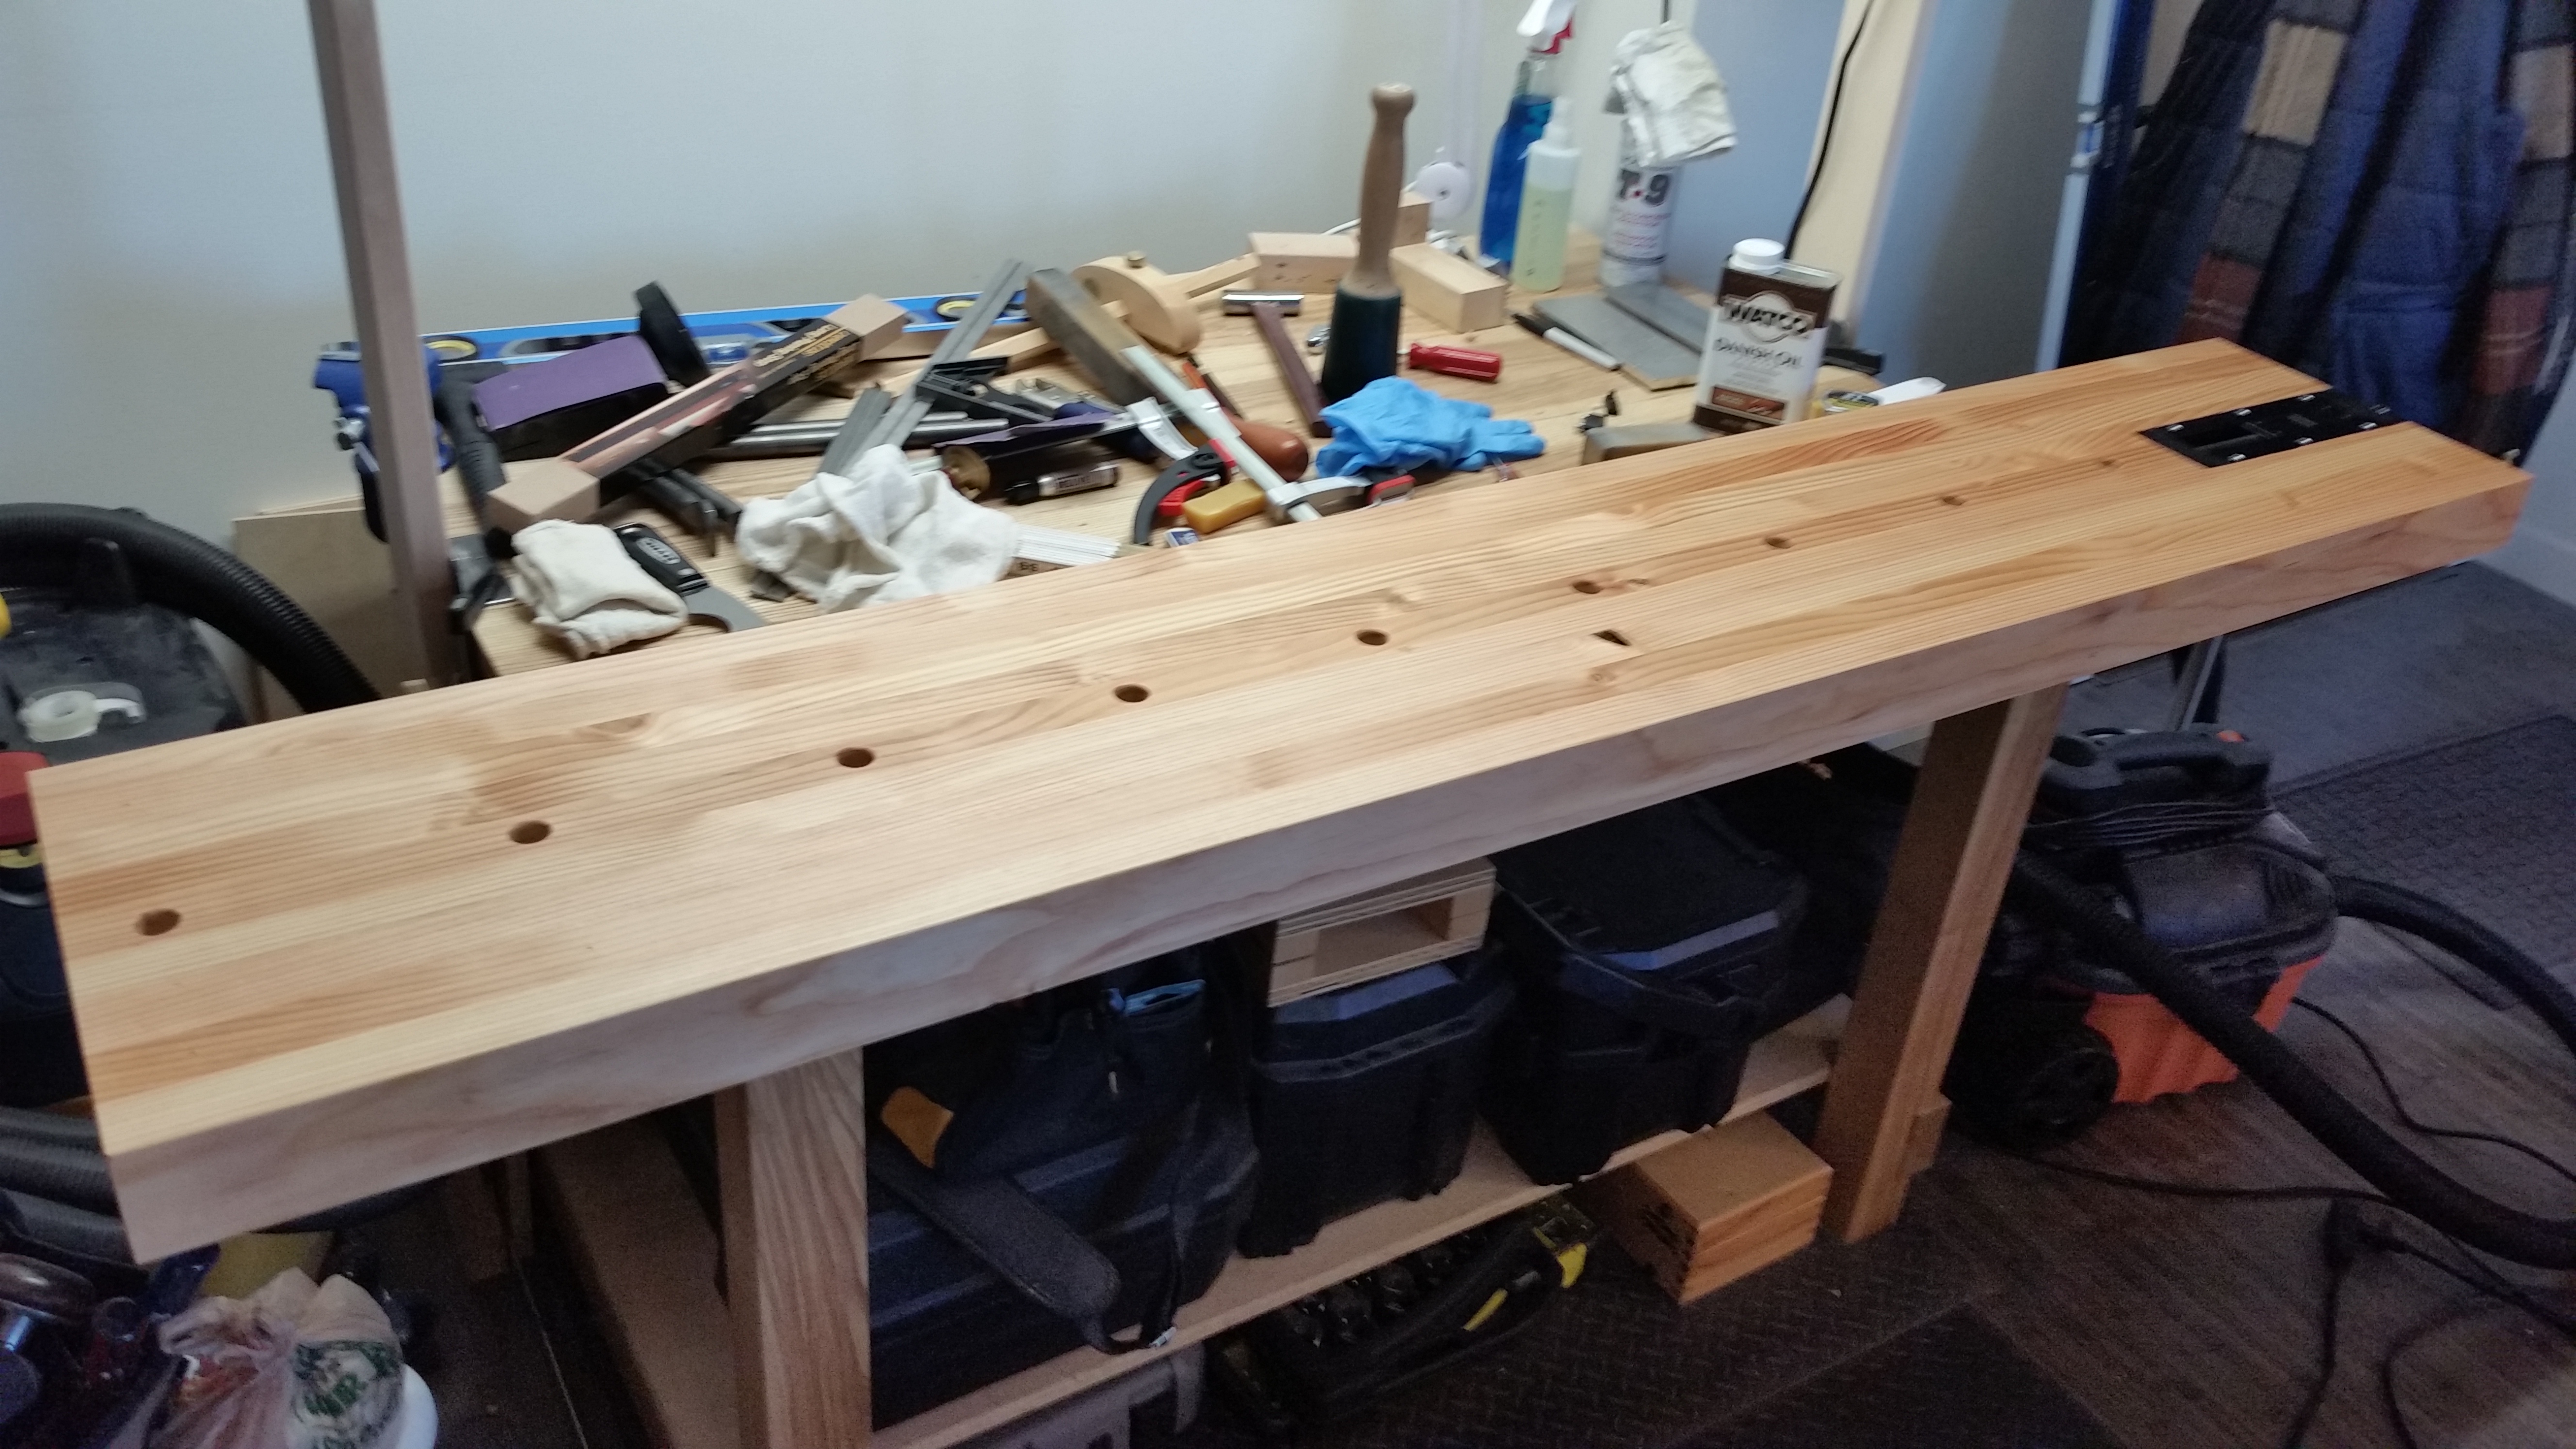
From there, it was all ripping, surface planing and glue-ups when I could find the time (usually one board every three or four days). After a couple weeks in total, I had at long last a little more than 72″ x 13″ x 3″ of lamination.

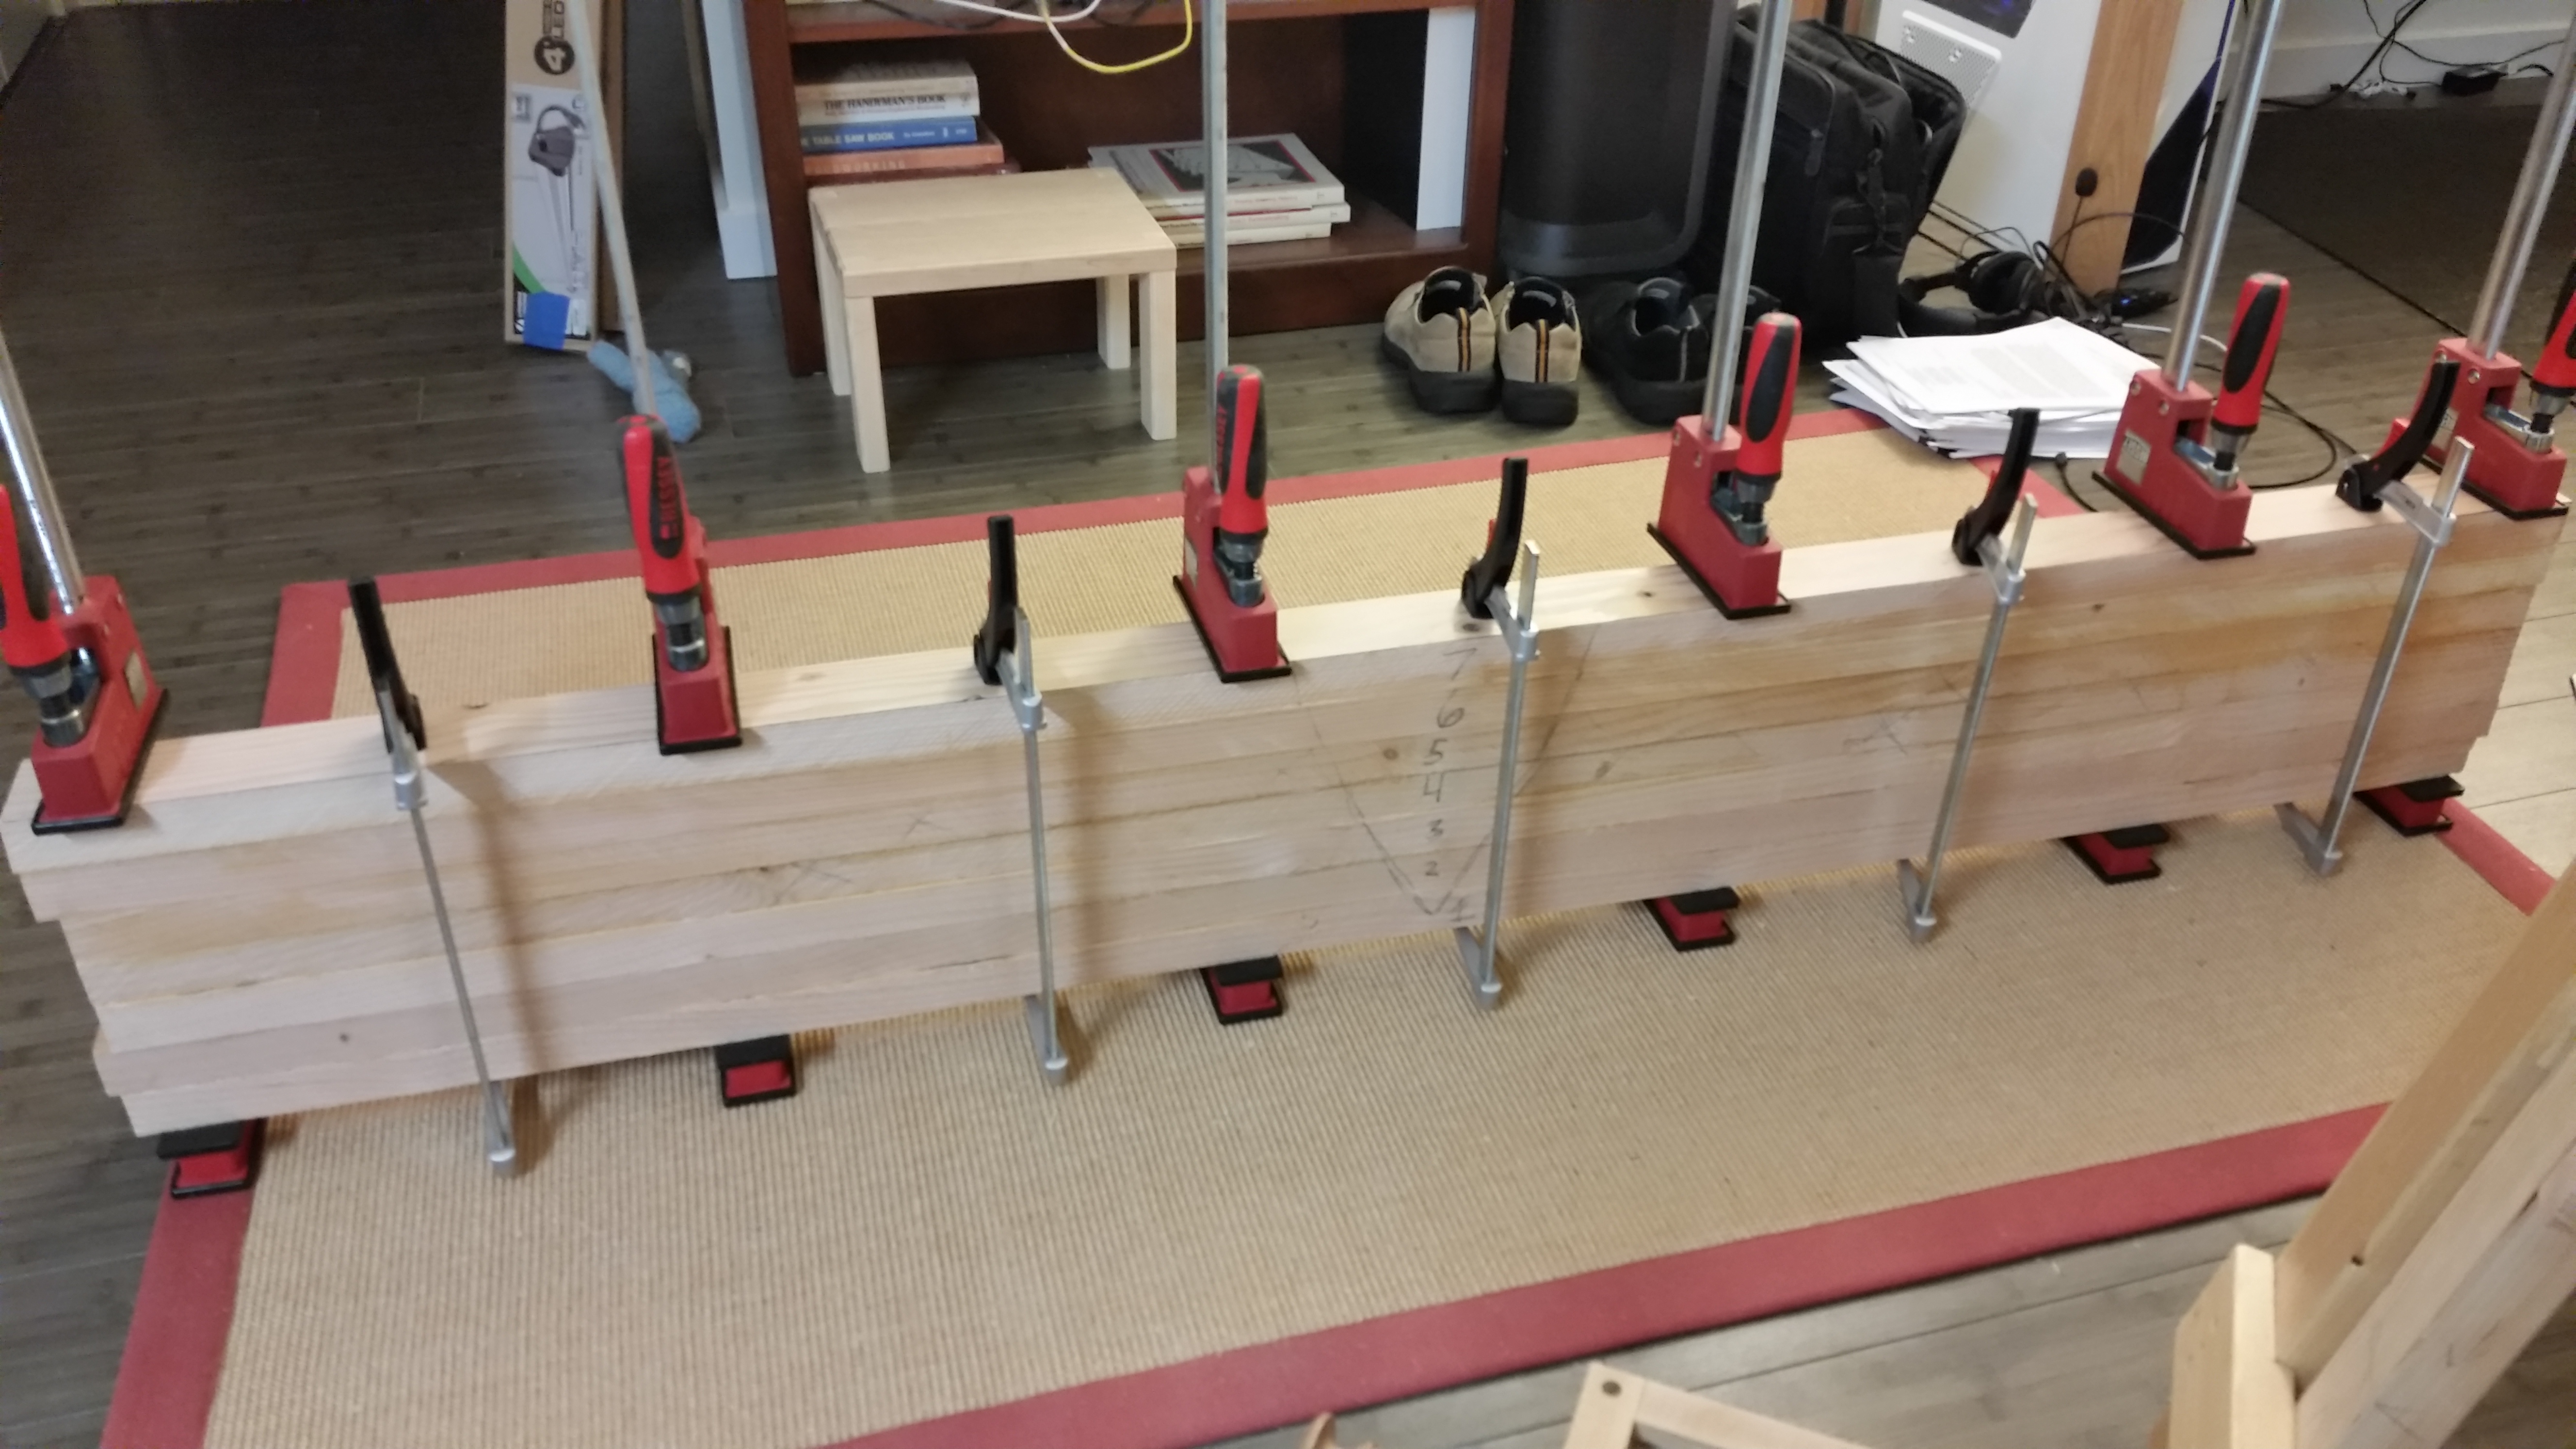
I had to grab all of my parallel jaw clamps from my parents’ house.
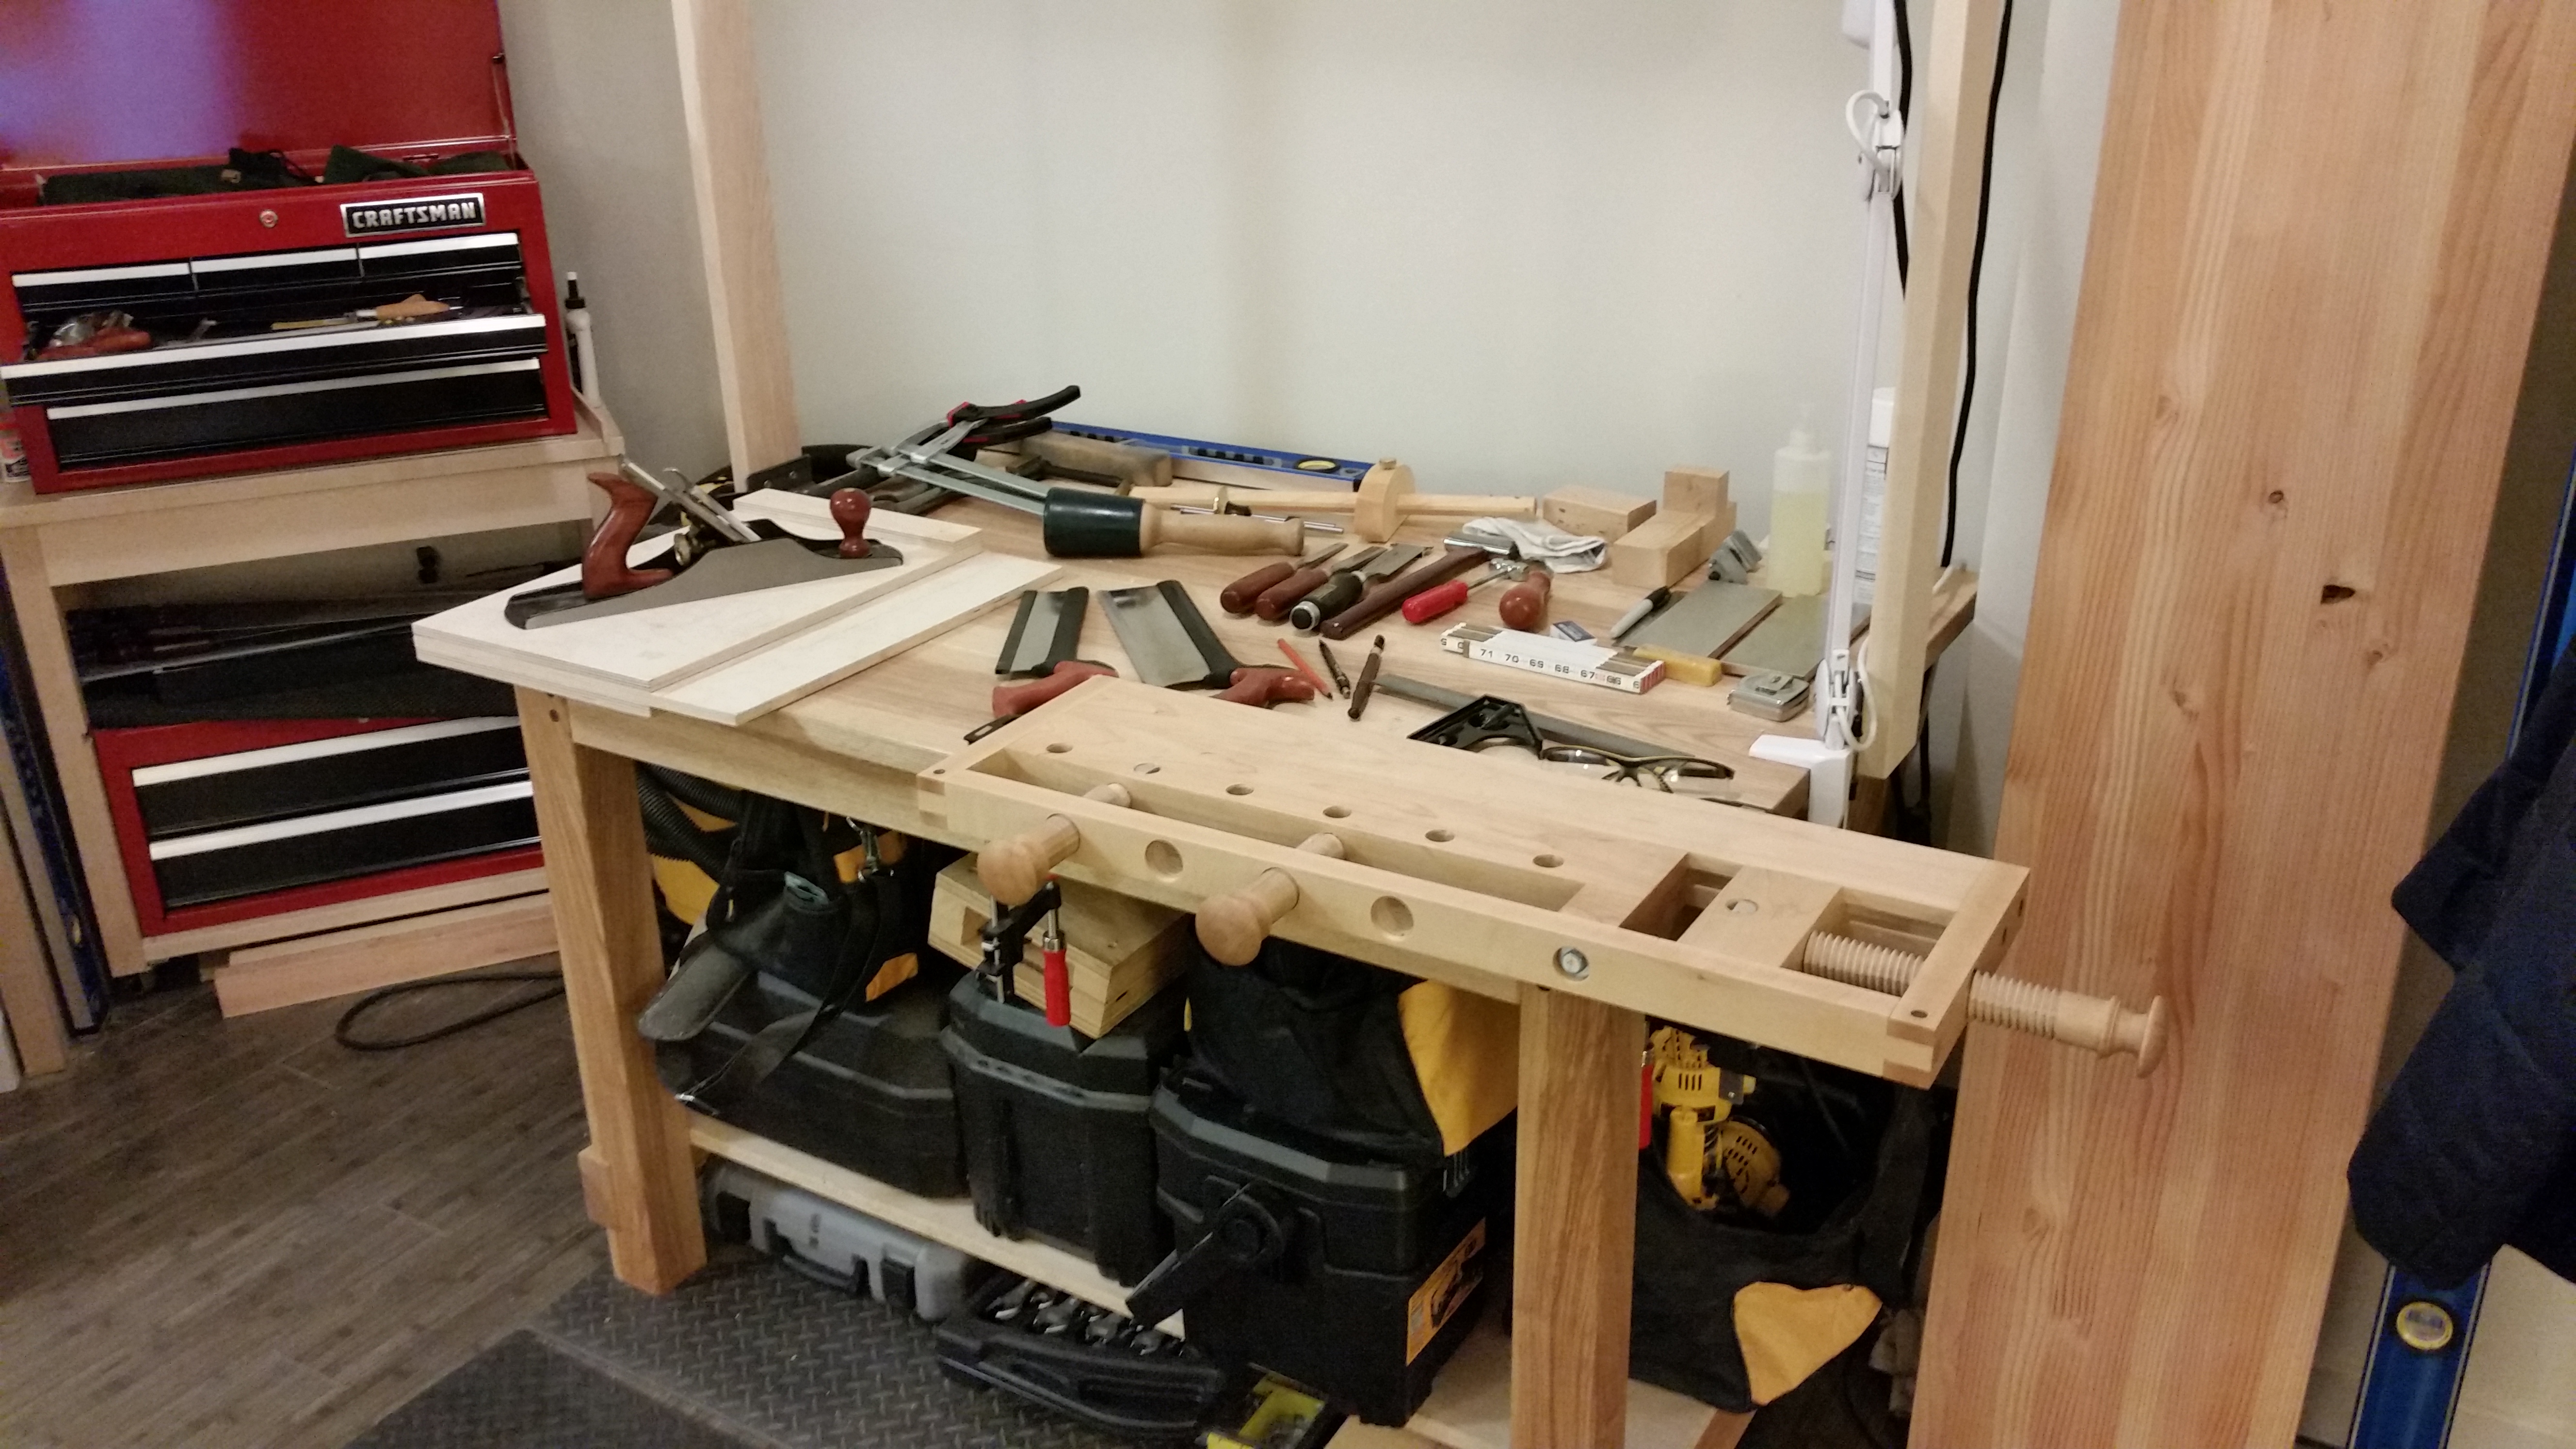
That’s all for this installment. In part three, I’ll cover flattening and final dimensioning, while part four will take us through installation of the Veritas inset vise and dog holes and final surfacing of the completed slab.
JPG