If you haven’t picked it up yet, I highly recommend Roman Workbenches, published by by Lost Art Press. I don’t have a suitable board at the moment, so I plan to scour the home center for a nice 2×12 (either 14 or 16 feet) and give one a try. I’ve never made a staked bench before, but after the Mortise and Tenon Magazine roman workbench build along, I’m inspired.
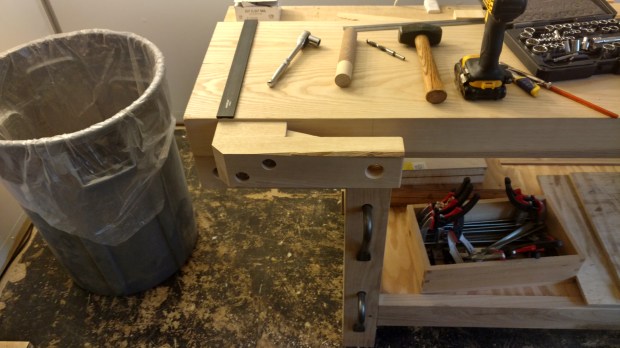
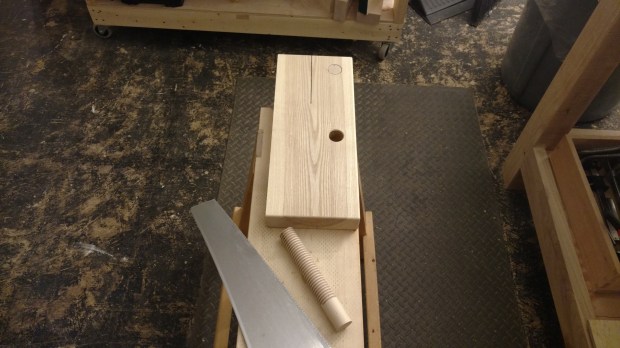
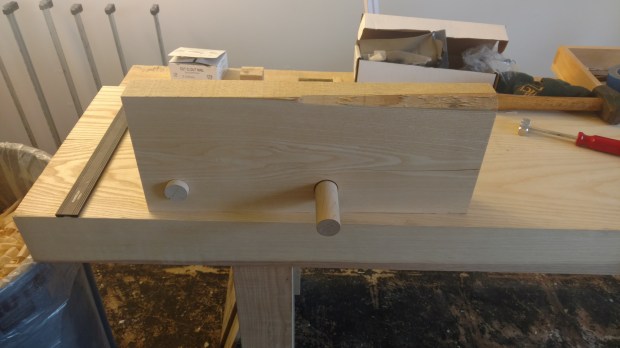
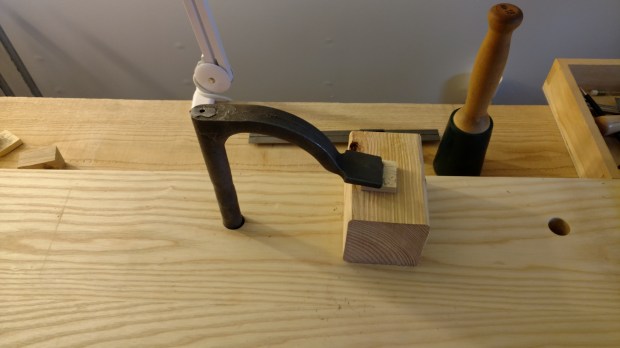
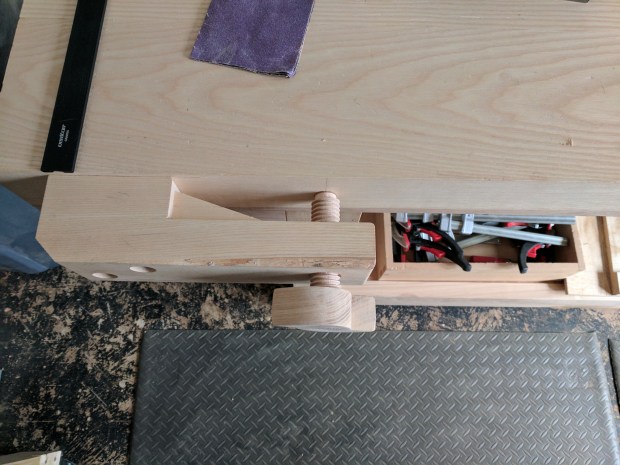
In the meantime, I did add a little Holy Roman magic to my existing workbench, in the form of a hurricane nut for the crochet screw.

I never did remove the old vise nut from the failed face vise.
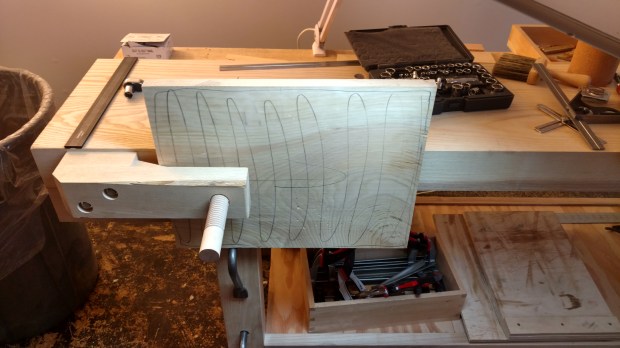
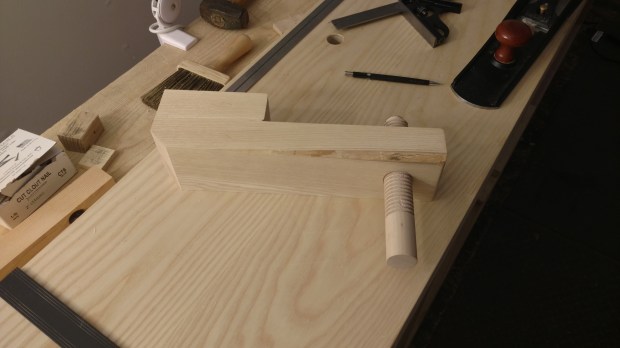
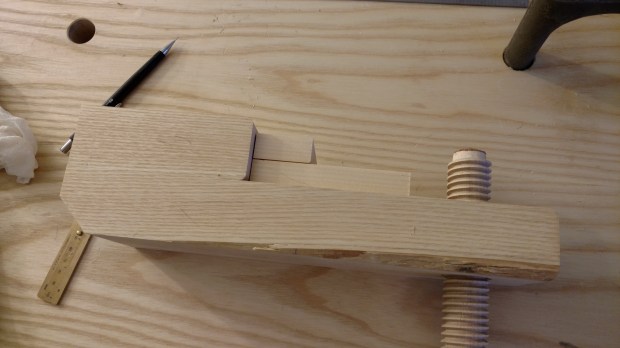
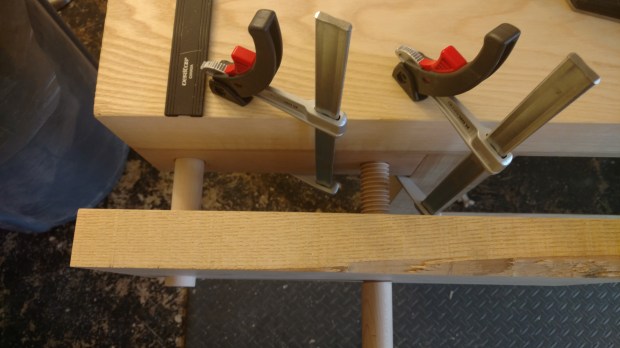
It was a fun exercise in shaping, and it’s pretty symmetical. All while posing a smaller chance of damaging my nether regions. The screw spins freely (with a generous helping of beeswax) and clamps down tightly. I’ve actually been using it as my main vise for some small dovetailing.
Way less pokey.
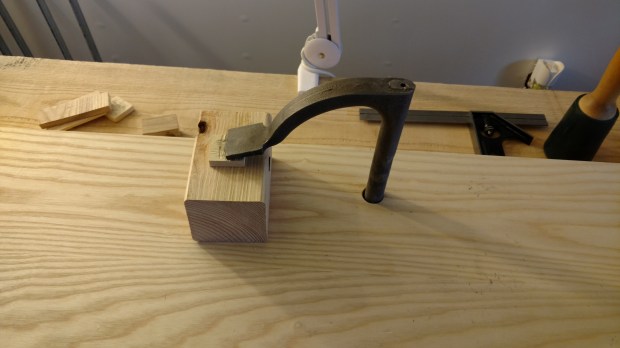
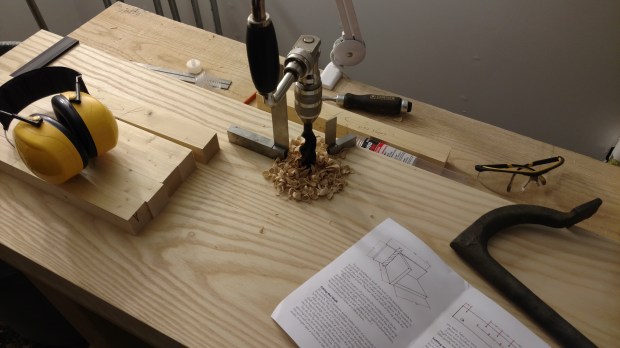
Also, the bullet catches for the DIY bench dogs finally arrived, and although I was a little off in my drilling, they work just fine. Using the dogs, though, made me realize that I need one more holdfast hole, on the far left of the bench. I conveniently have one more bullet catch and some extra dowel. Crazy how that works out.
But more on that another time.
JPG