My main set of tools has been overflowing from my 26″ Craftsman top chest and middle chest for a while now. It’s very clear I needed a single storage solution and my first and natural thought was “build it myself”. But after making a few medium and small tool chests by hand, as much as I would love to build a custom, proper woodworking tool chest, there just isn’t the time. Unless I went the plywood route, I’d never finish it on a timeline I’d be happy with. And then, Sears had a sale and my dilemma went away.

But now I need to build a new rolling cart.
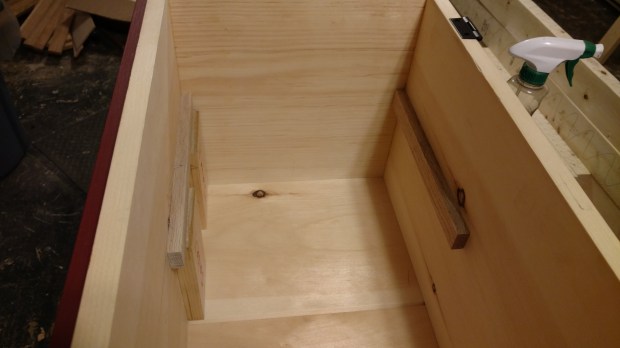
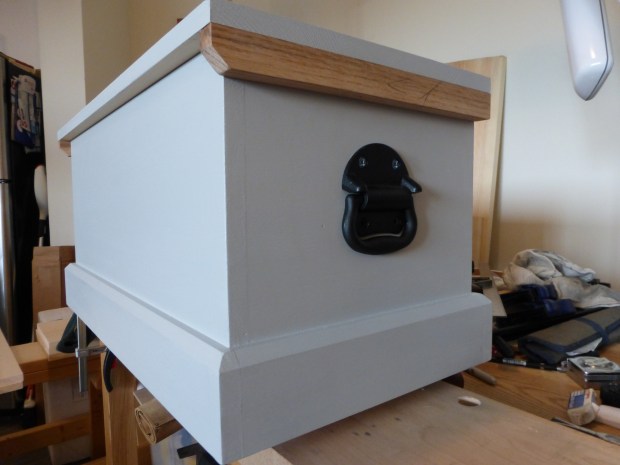
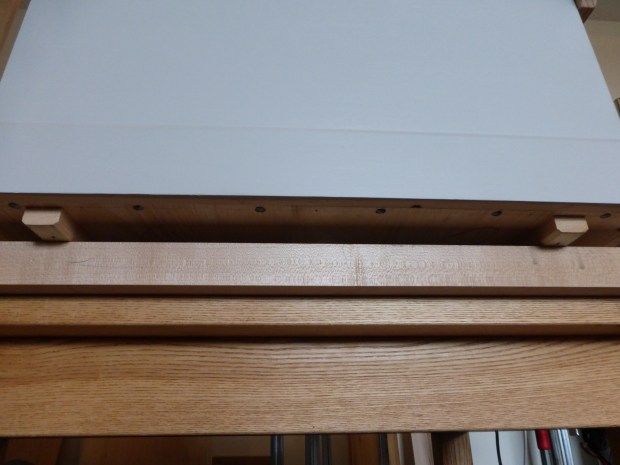
When I first saw this top chest, it instantly reminded me of a hybrid English and Dutch tool chest. Like a Dutch tool chest, the top well is deep and my planes can stand on their soles. It’s clearly meant to hold rechargeable power tools (hence the power strip on the inside right), so there is plenty of room to also attach a panel saw rack to the underside of the lid (with rare earth magnets).
Overall dimensions of the top chest are 41″, 24″ x 16″, which is pretty close (albeit slimmer) to a full-size English floor chest. The drawer space is expansive, but not so much that I could be cavalier about tools I rarely use. Those will stay in my old tool cabinet, tucked away for rainy days.
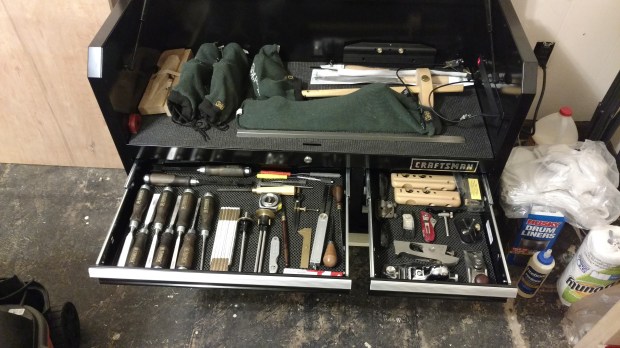
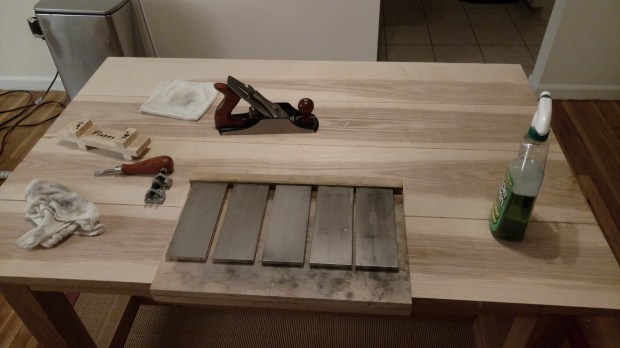
Outside the leather roll, it feels like too many chisels.
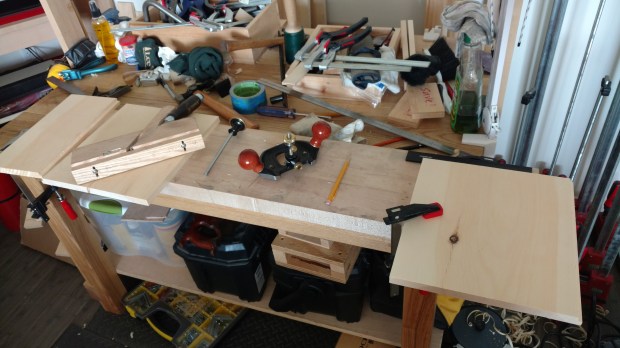
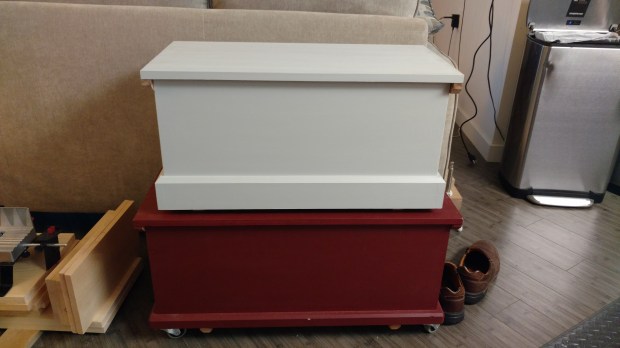
The rolling cart on which this new tool chest sits will be (once the casters are attached) 48″ x 24″ x 24″, with two shelves to house the balance of my everyday woodworking accoutrements. Things like my sharpening stones, machinist granite slab and small clamps. There may even be plans for a drawer or two in a future retrofit. And that will bring everything up to a comfortable height.
And with the 60 shop hours or so I saved myself by not building an equivalent English floor chest, I can get back to actual projects. Like a wall rack for fasteners or a crochet for my workbench.
JPG