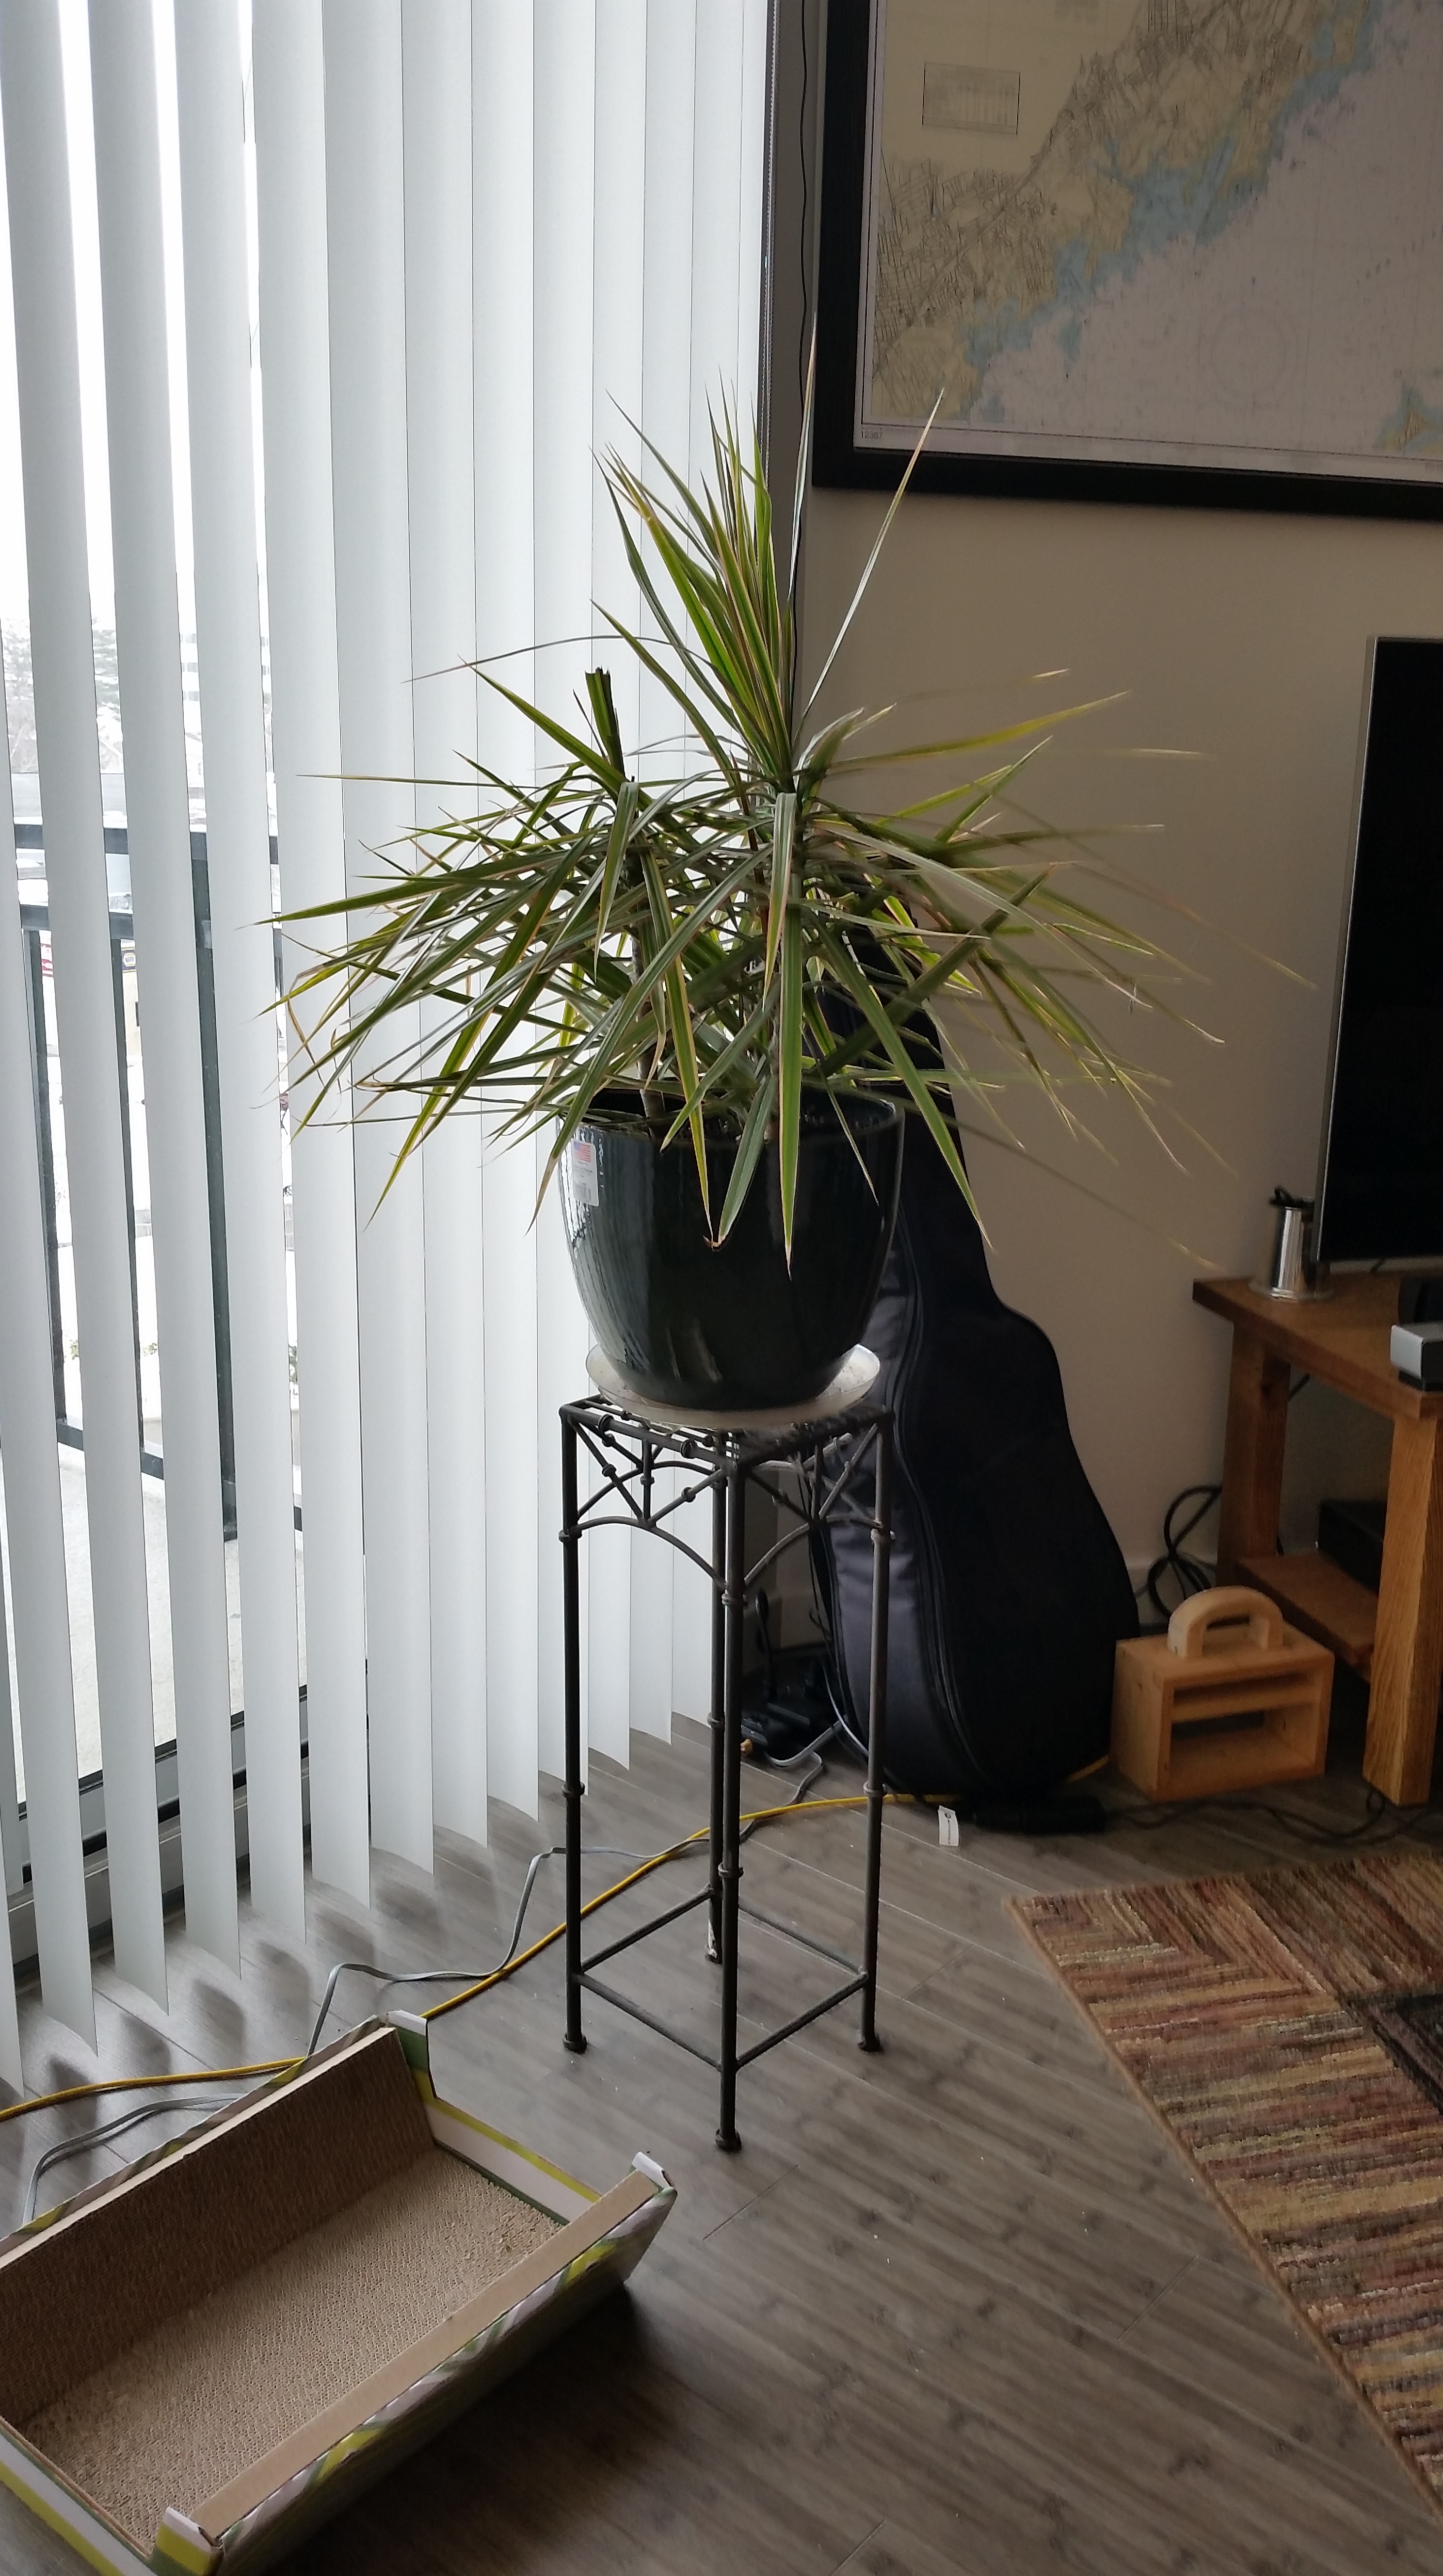
Having finally cleared a couple projects from the queue, I can now get around to that plant stand I designed a few months back. Its lower priority was due to the presence of a suitable placeholder, certainly, but also because of a personal flaw I often struggle with. I find it difficult to focus on a single project from start to finish. I get distracted regularly, sometimes to the detriment of timeliness.
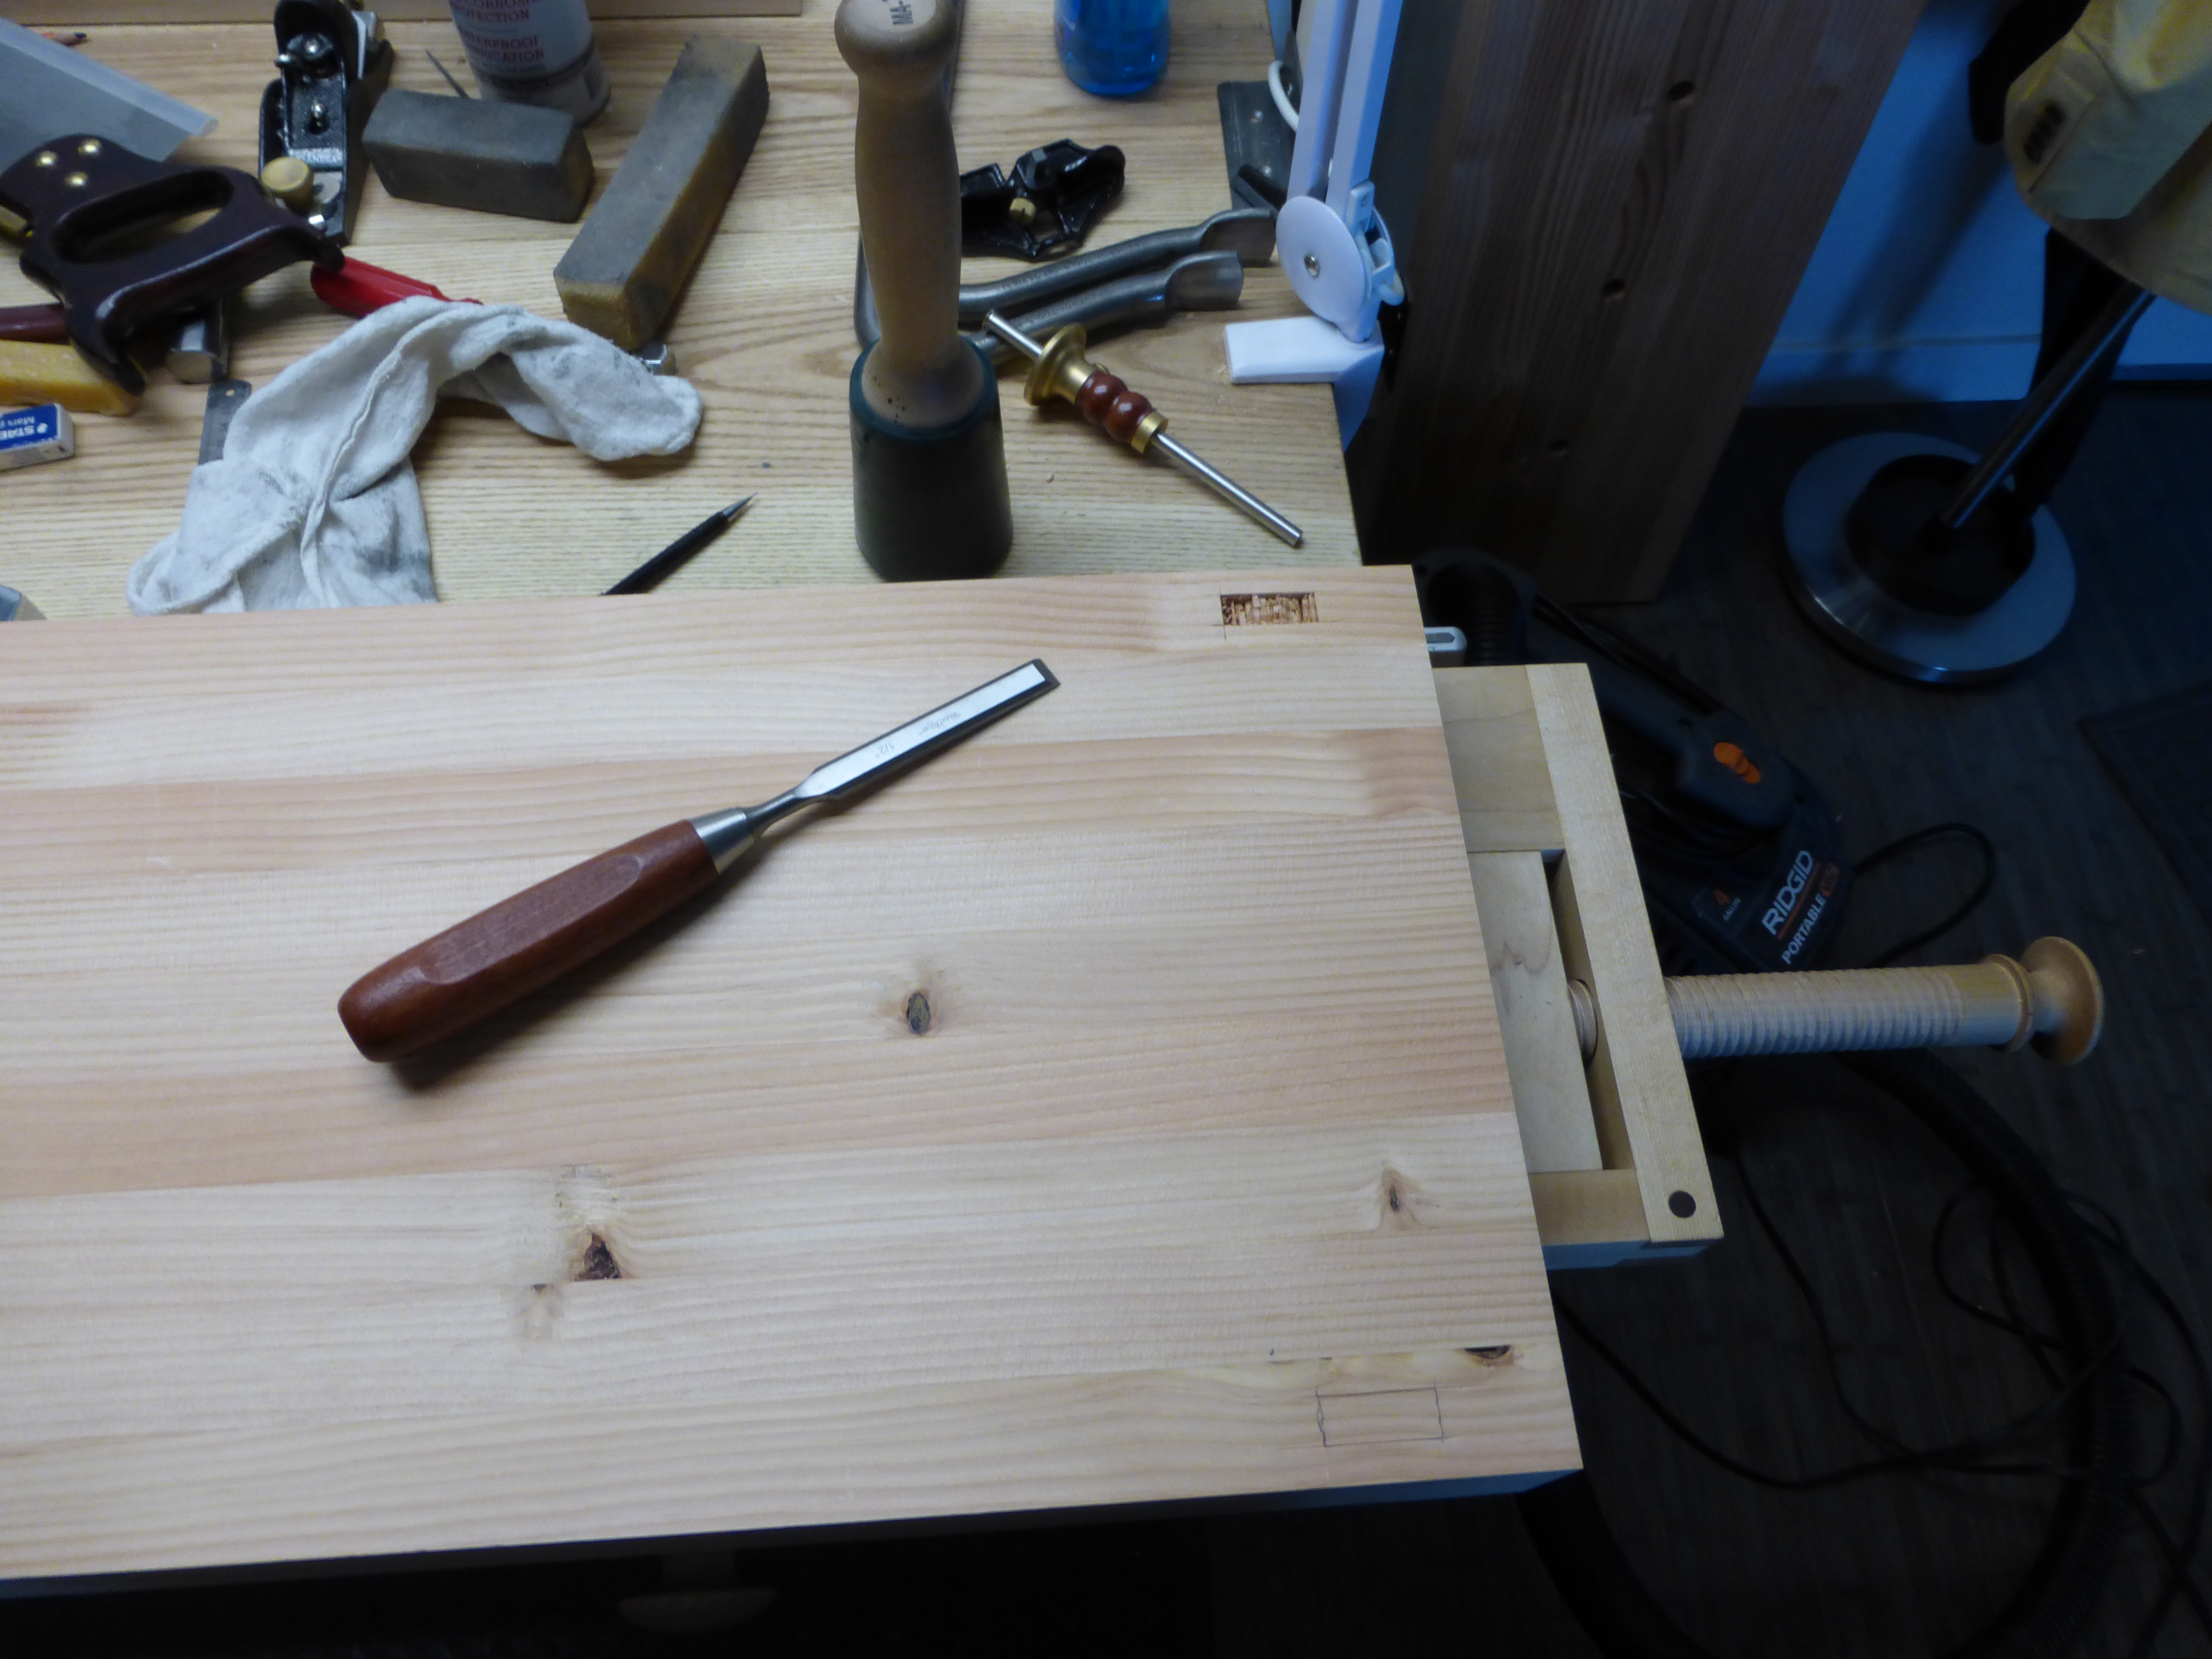
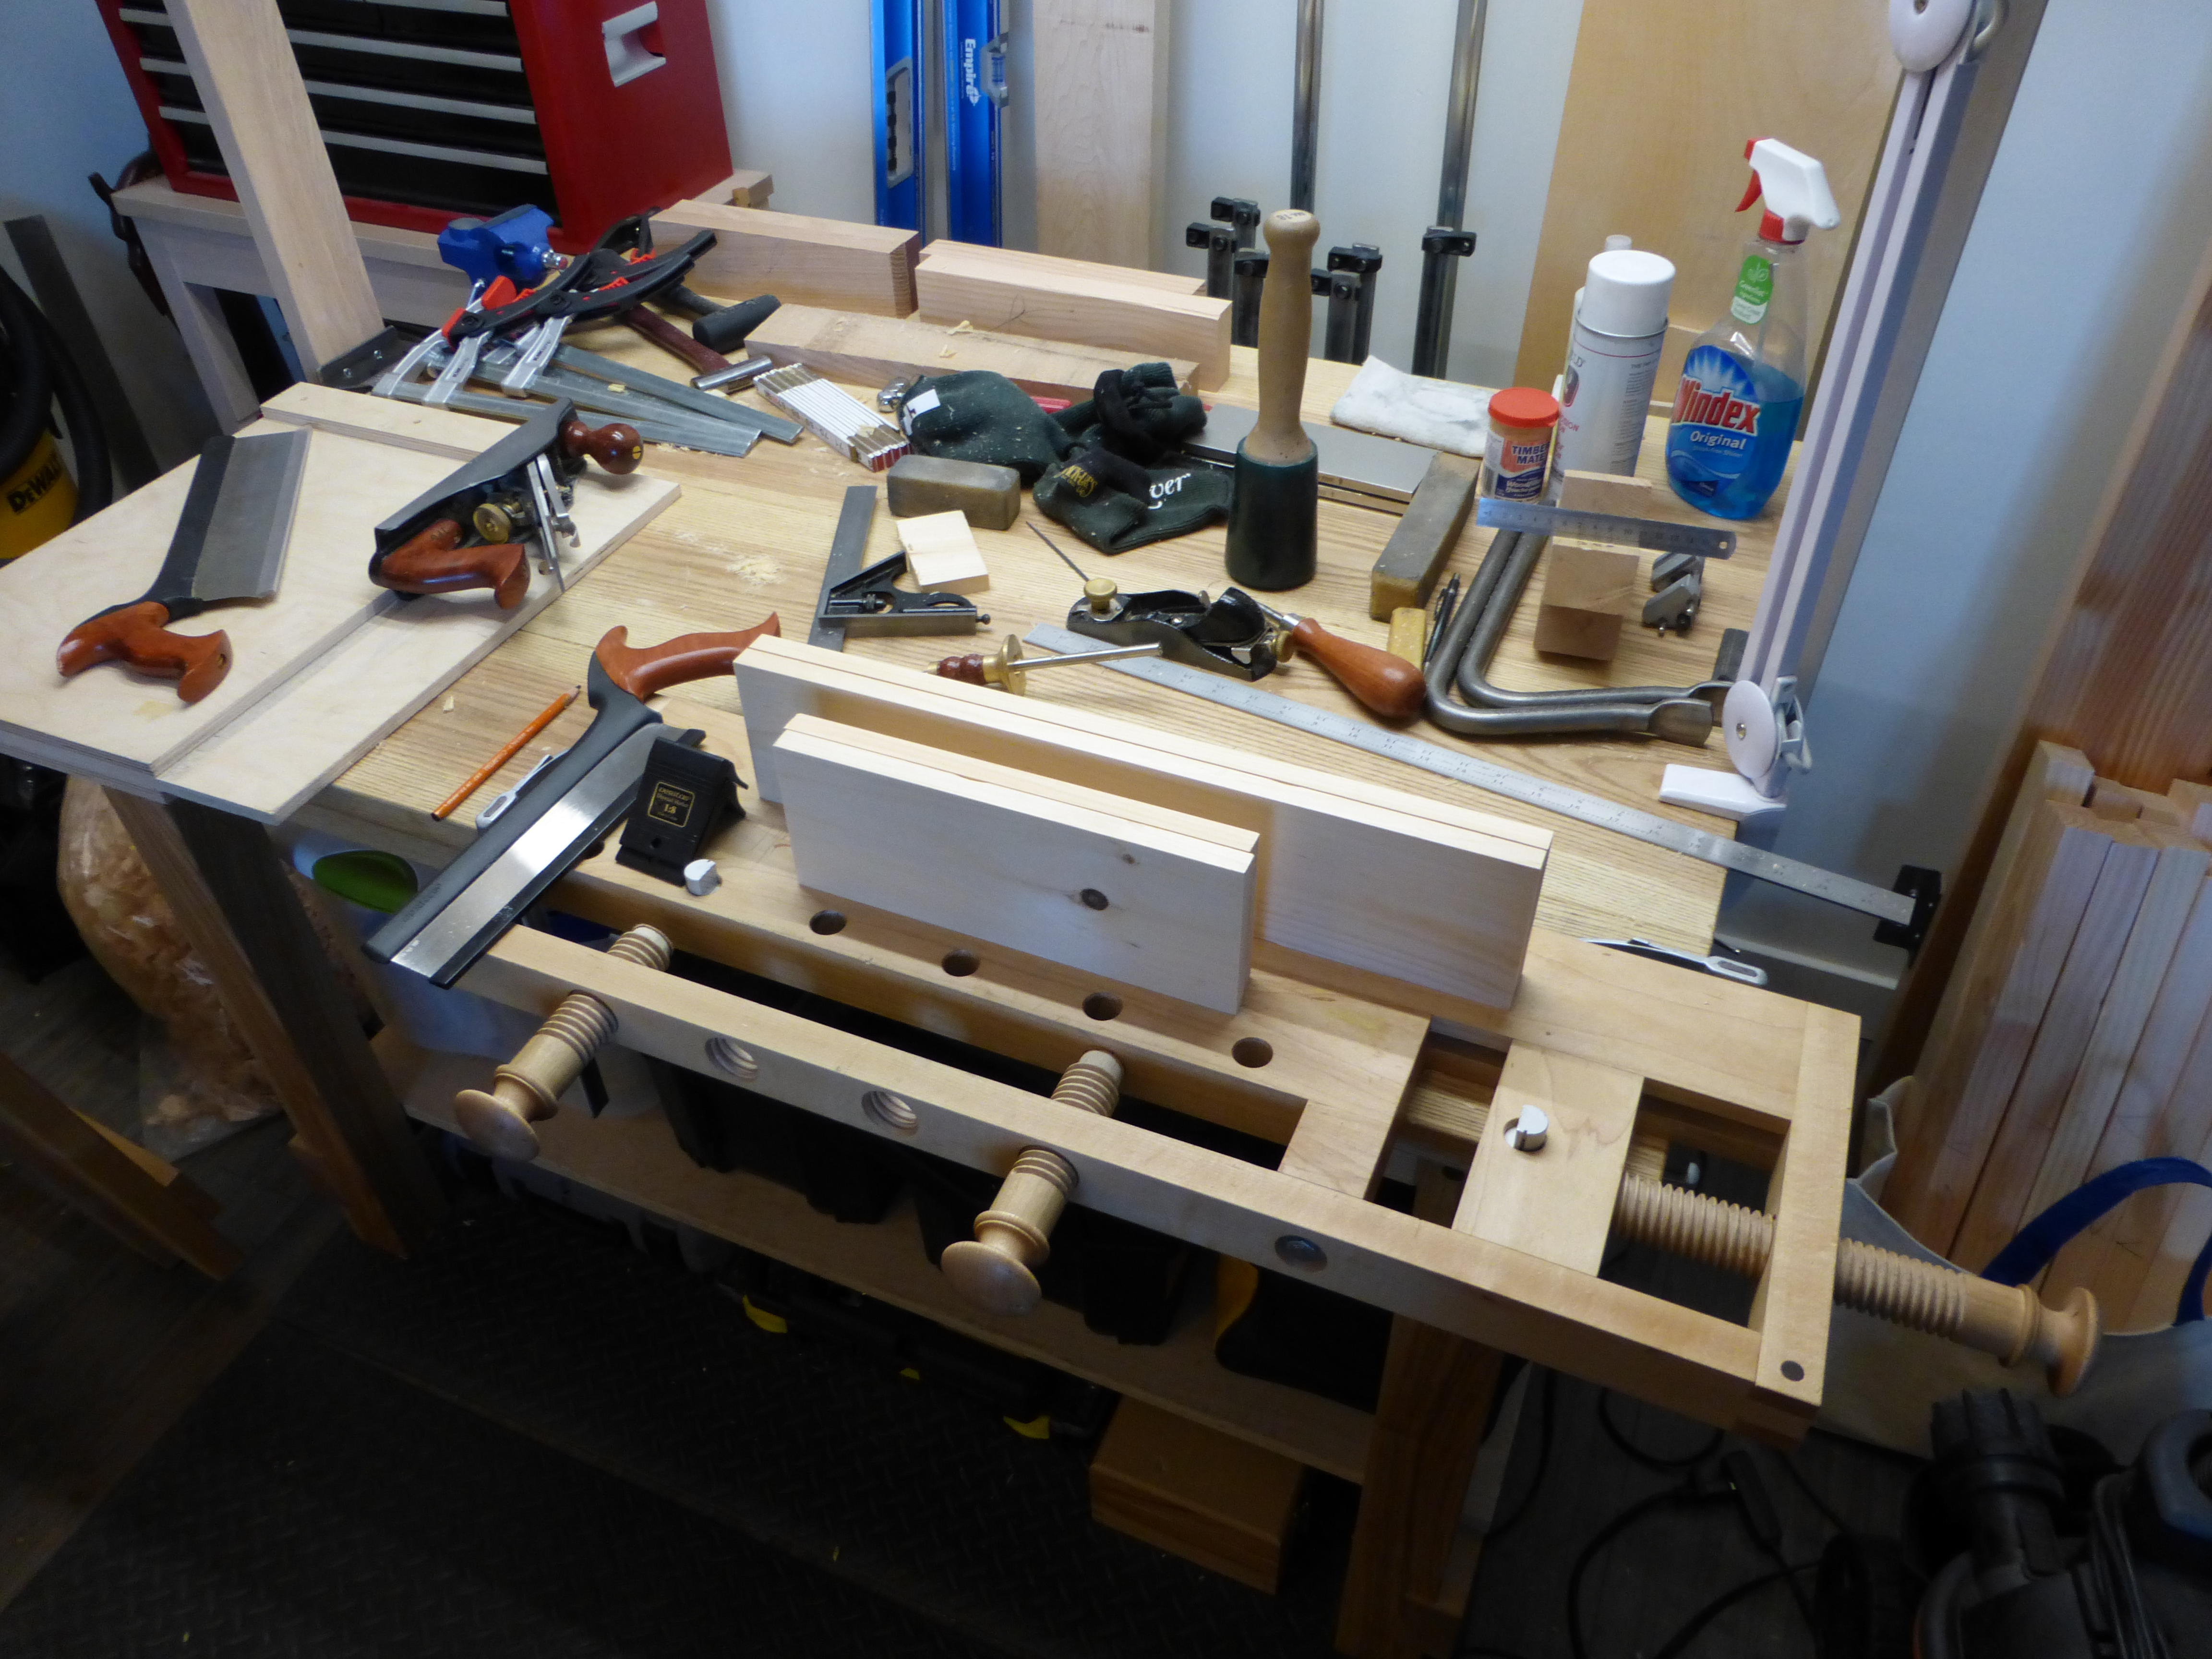
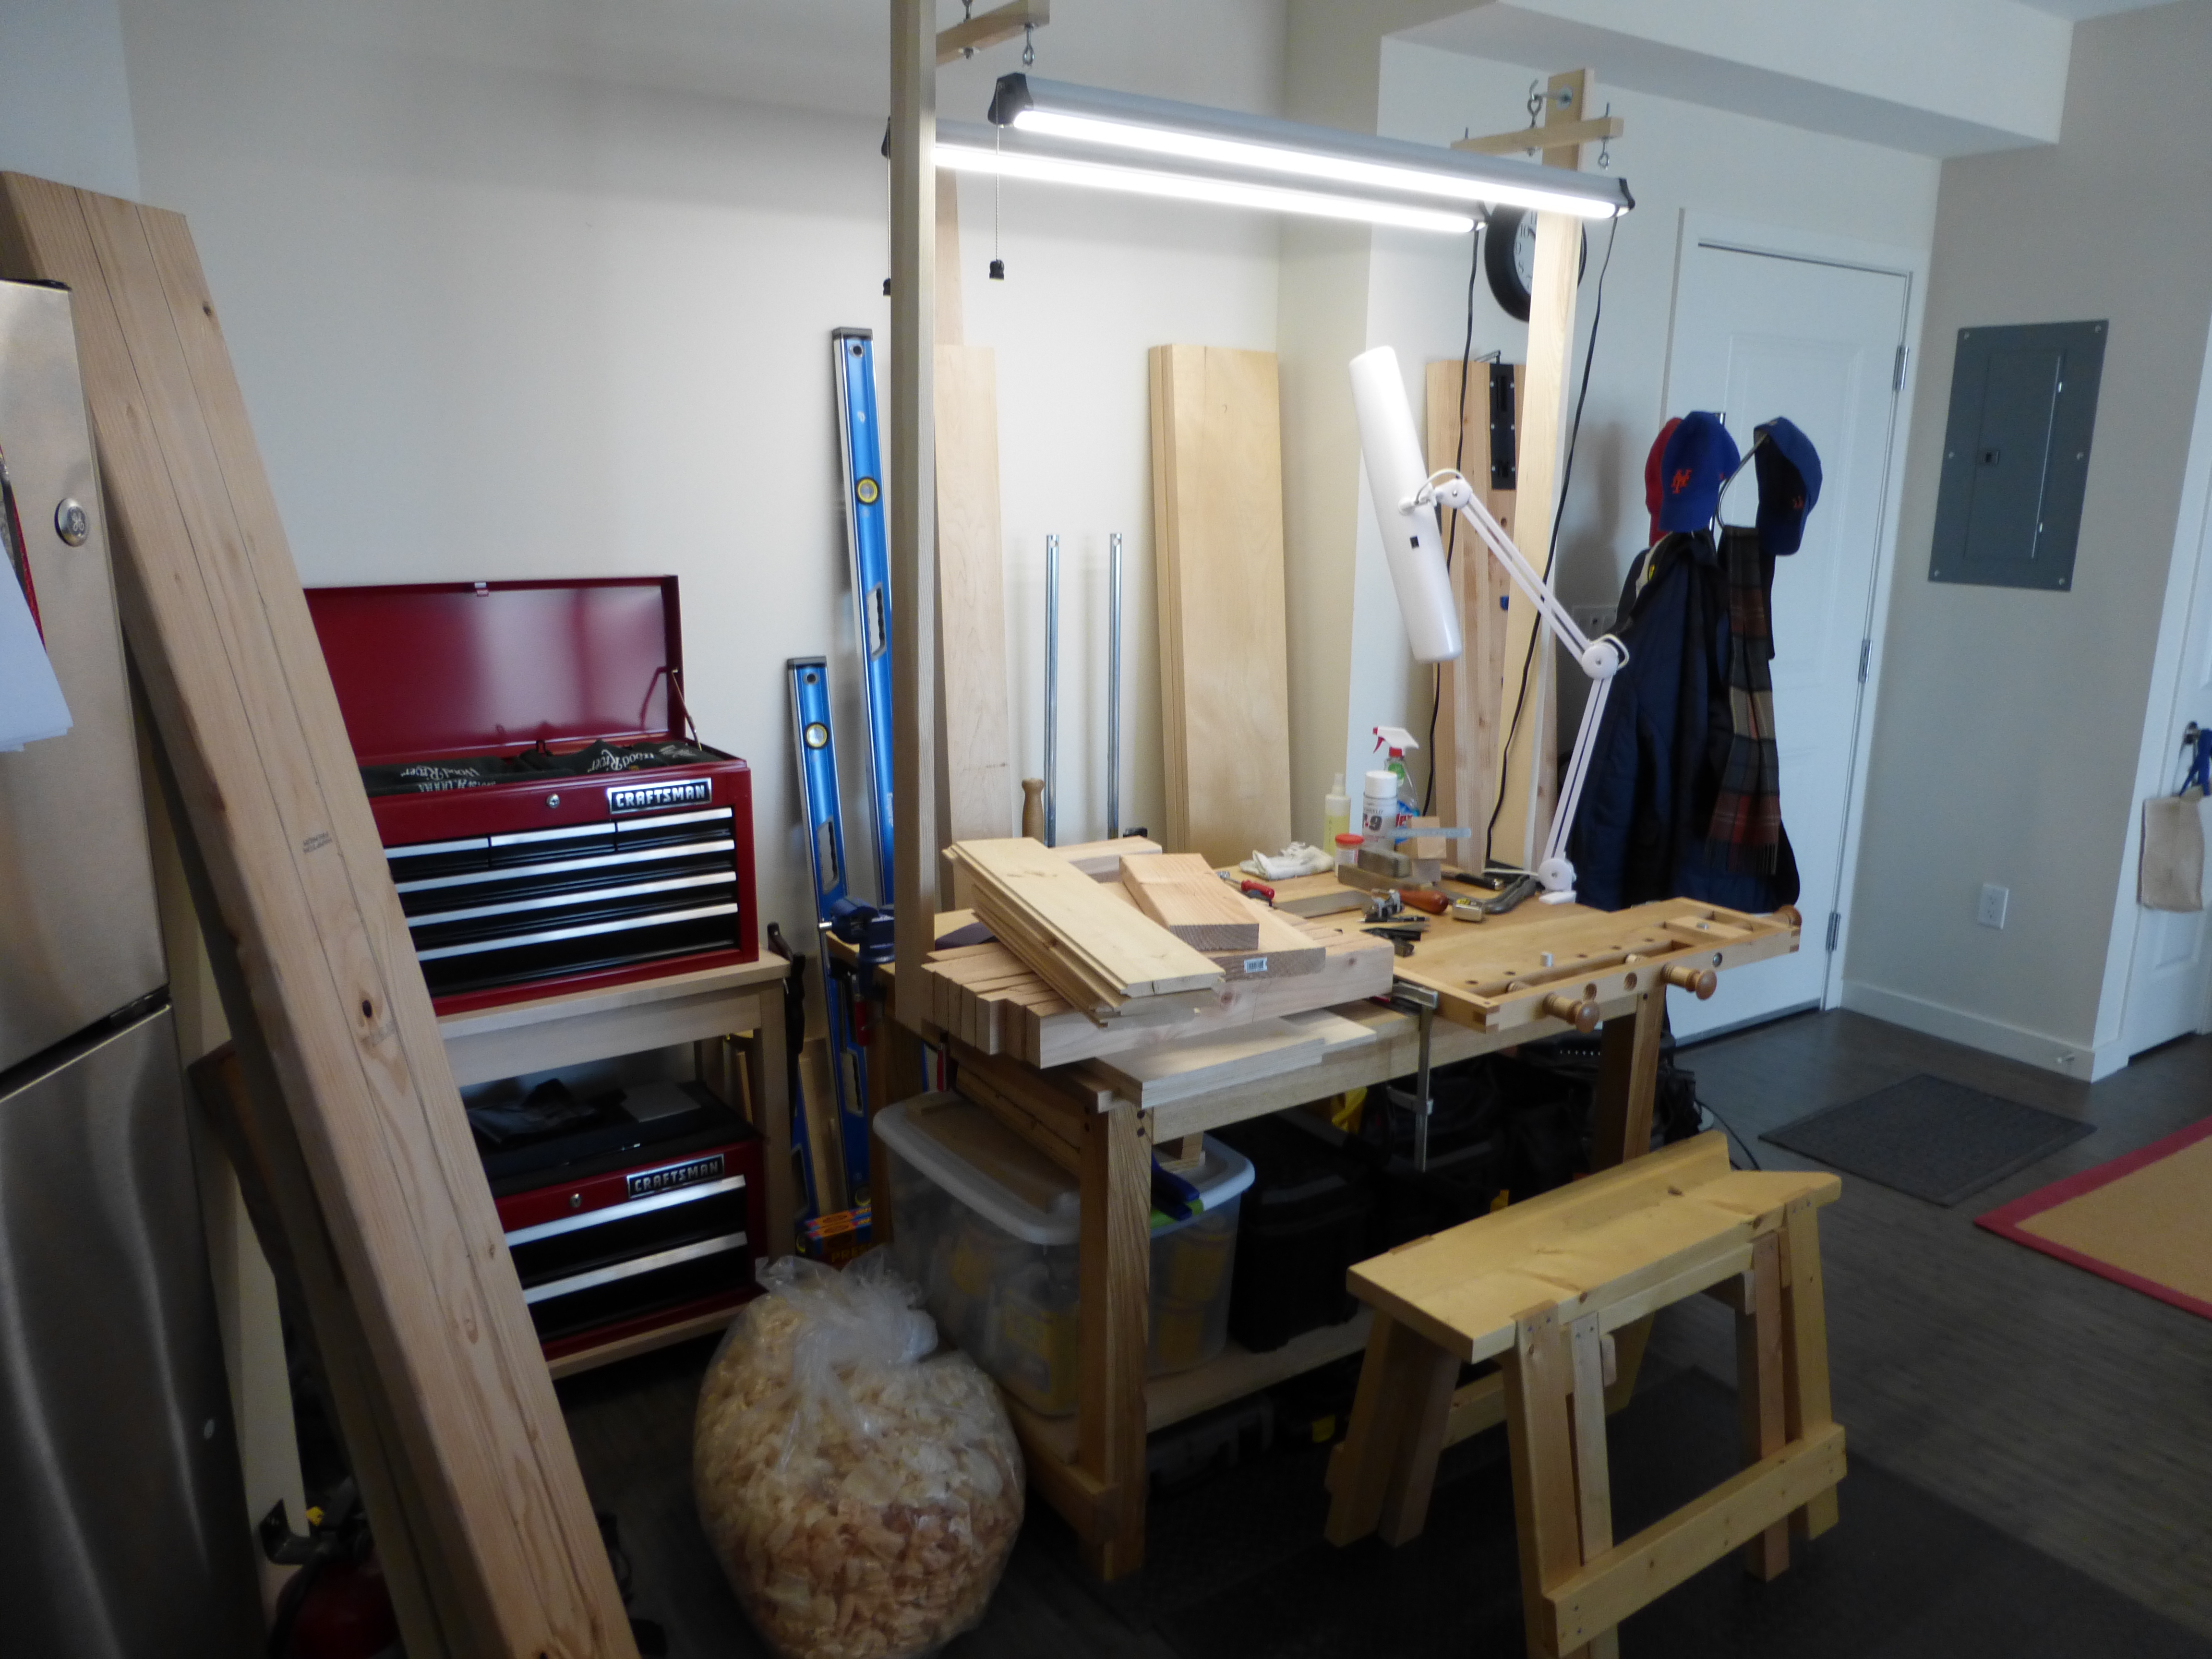
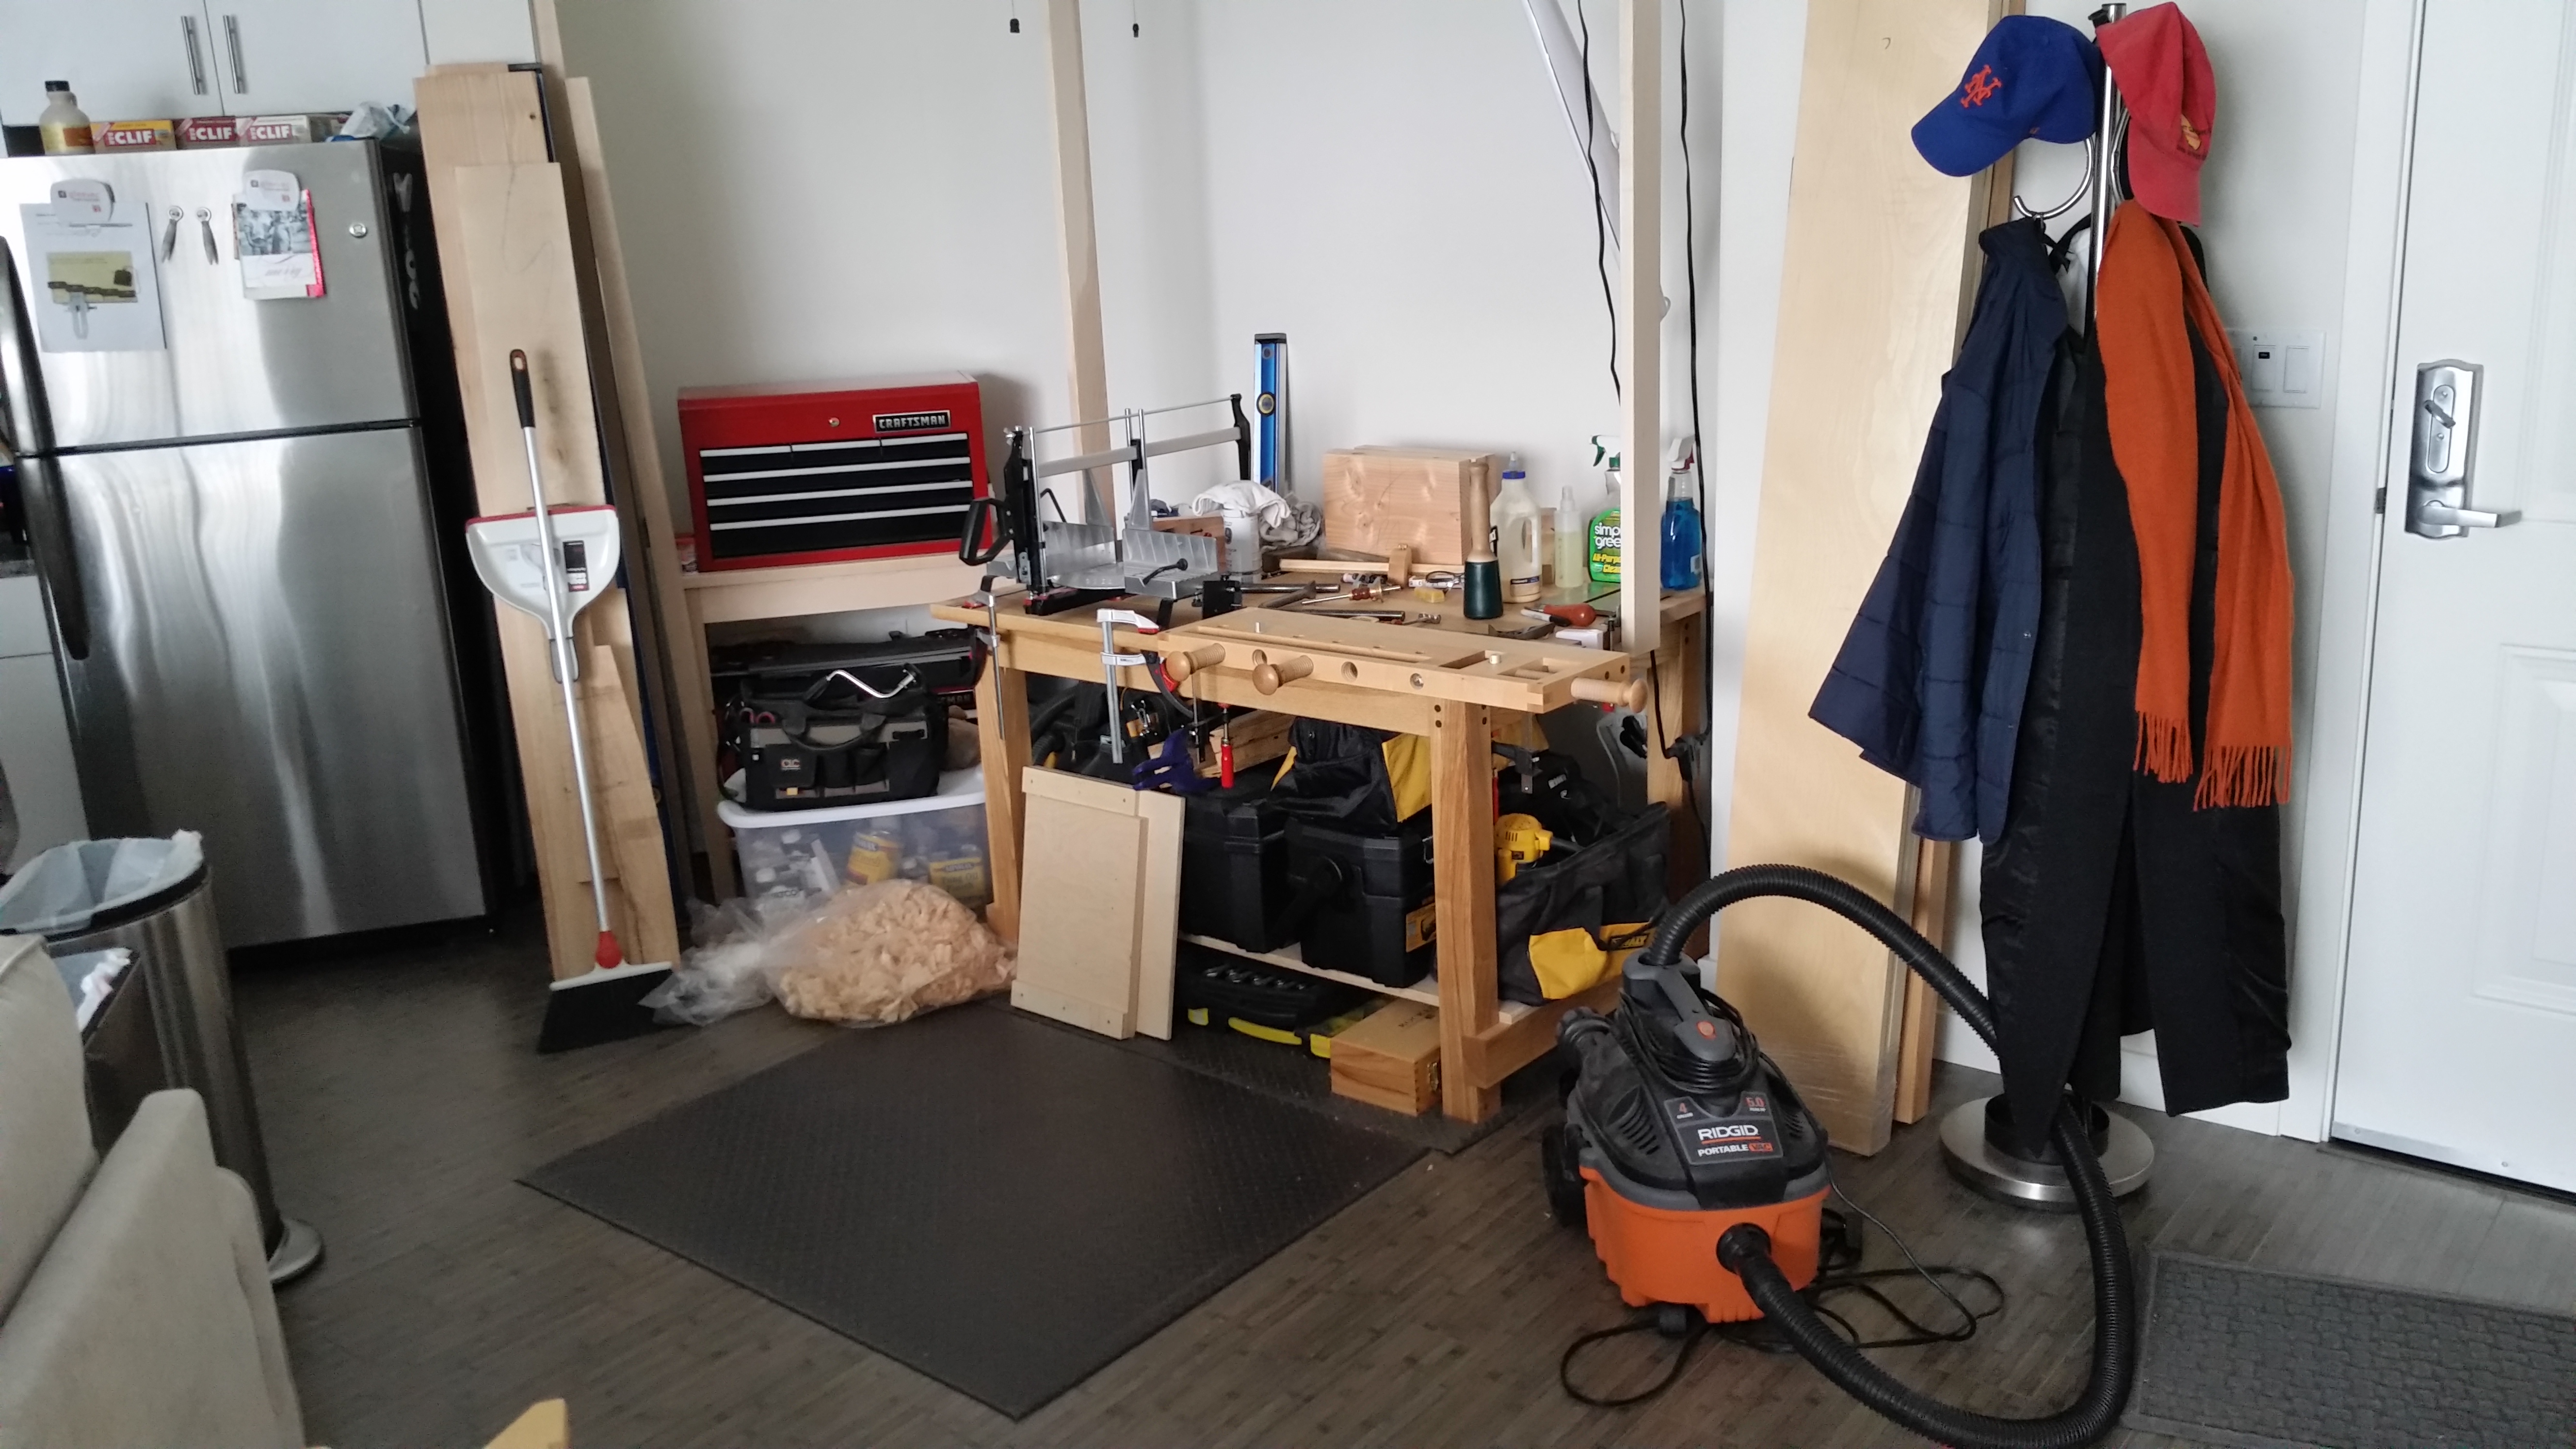
The rough stock for the plant stand was ripped quite a while ago. The design, with some minor tweaks from the original, has been locked off for almost as much time. But things kept coming up (work, life, other projects) and the build was always delayed. But now I’m back on task – for now, anyway. A couple more hours of planing and I’ll be ready to hit the thicknesser and move onto joinery. As a bonus, I used the planing slab for the first time in a while. The planing slab is still flat, which is nice. And that Veritas Inset Vise is such a joy to use.

I think I need to tweak the orientation of the planing slab to the work table.
Also, I’ve said it before, but hard maple is hard. Especially the stuff for this project: air-dried, riftsawn, tight-ringed Vermont sugar maple. After only S2S’ing these boards, I sure am grateful for my thickness planer.

A jar of Vermont Maple Syrup died so that this plant stand may live.
JPG