small space woodworking

Christmas in June?

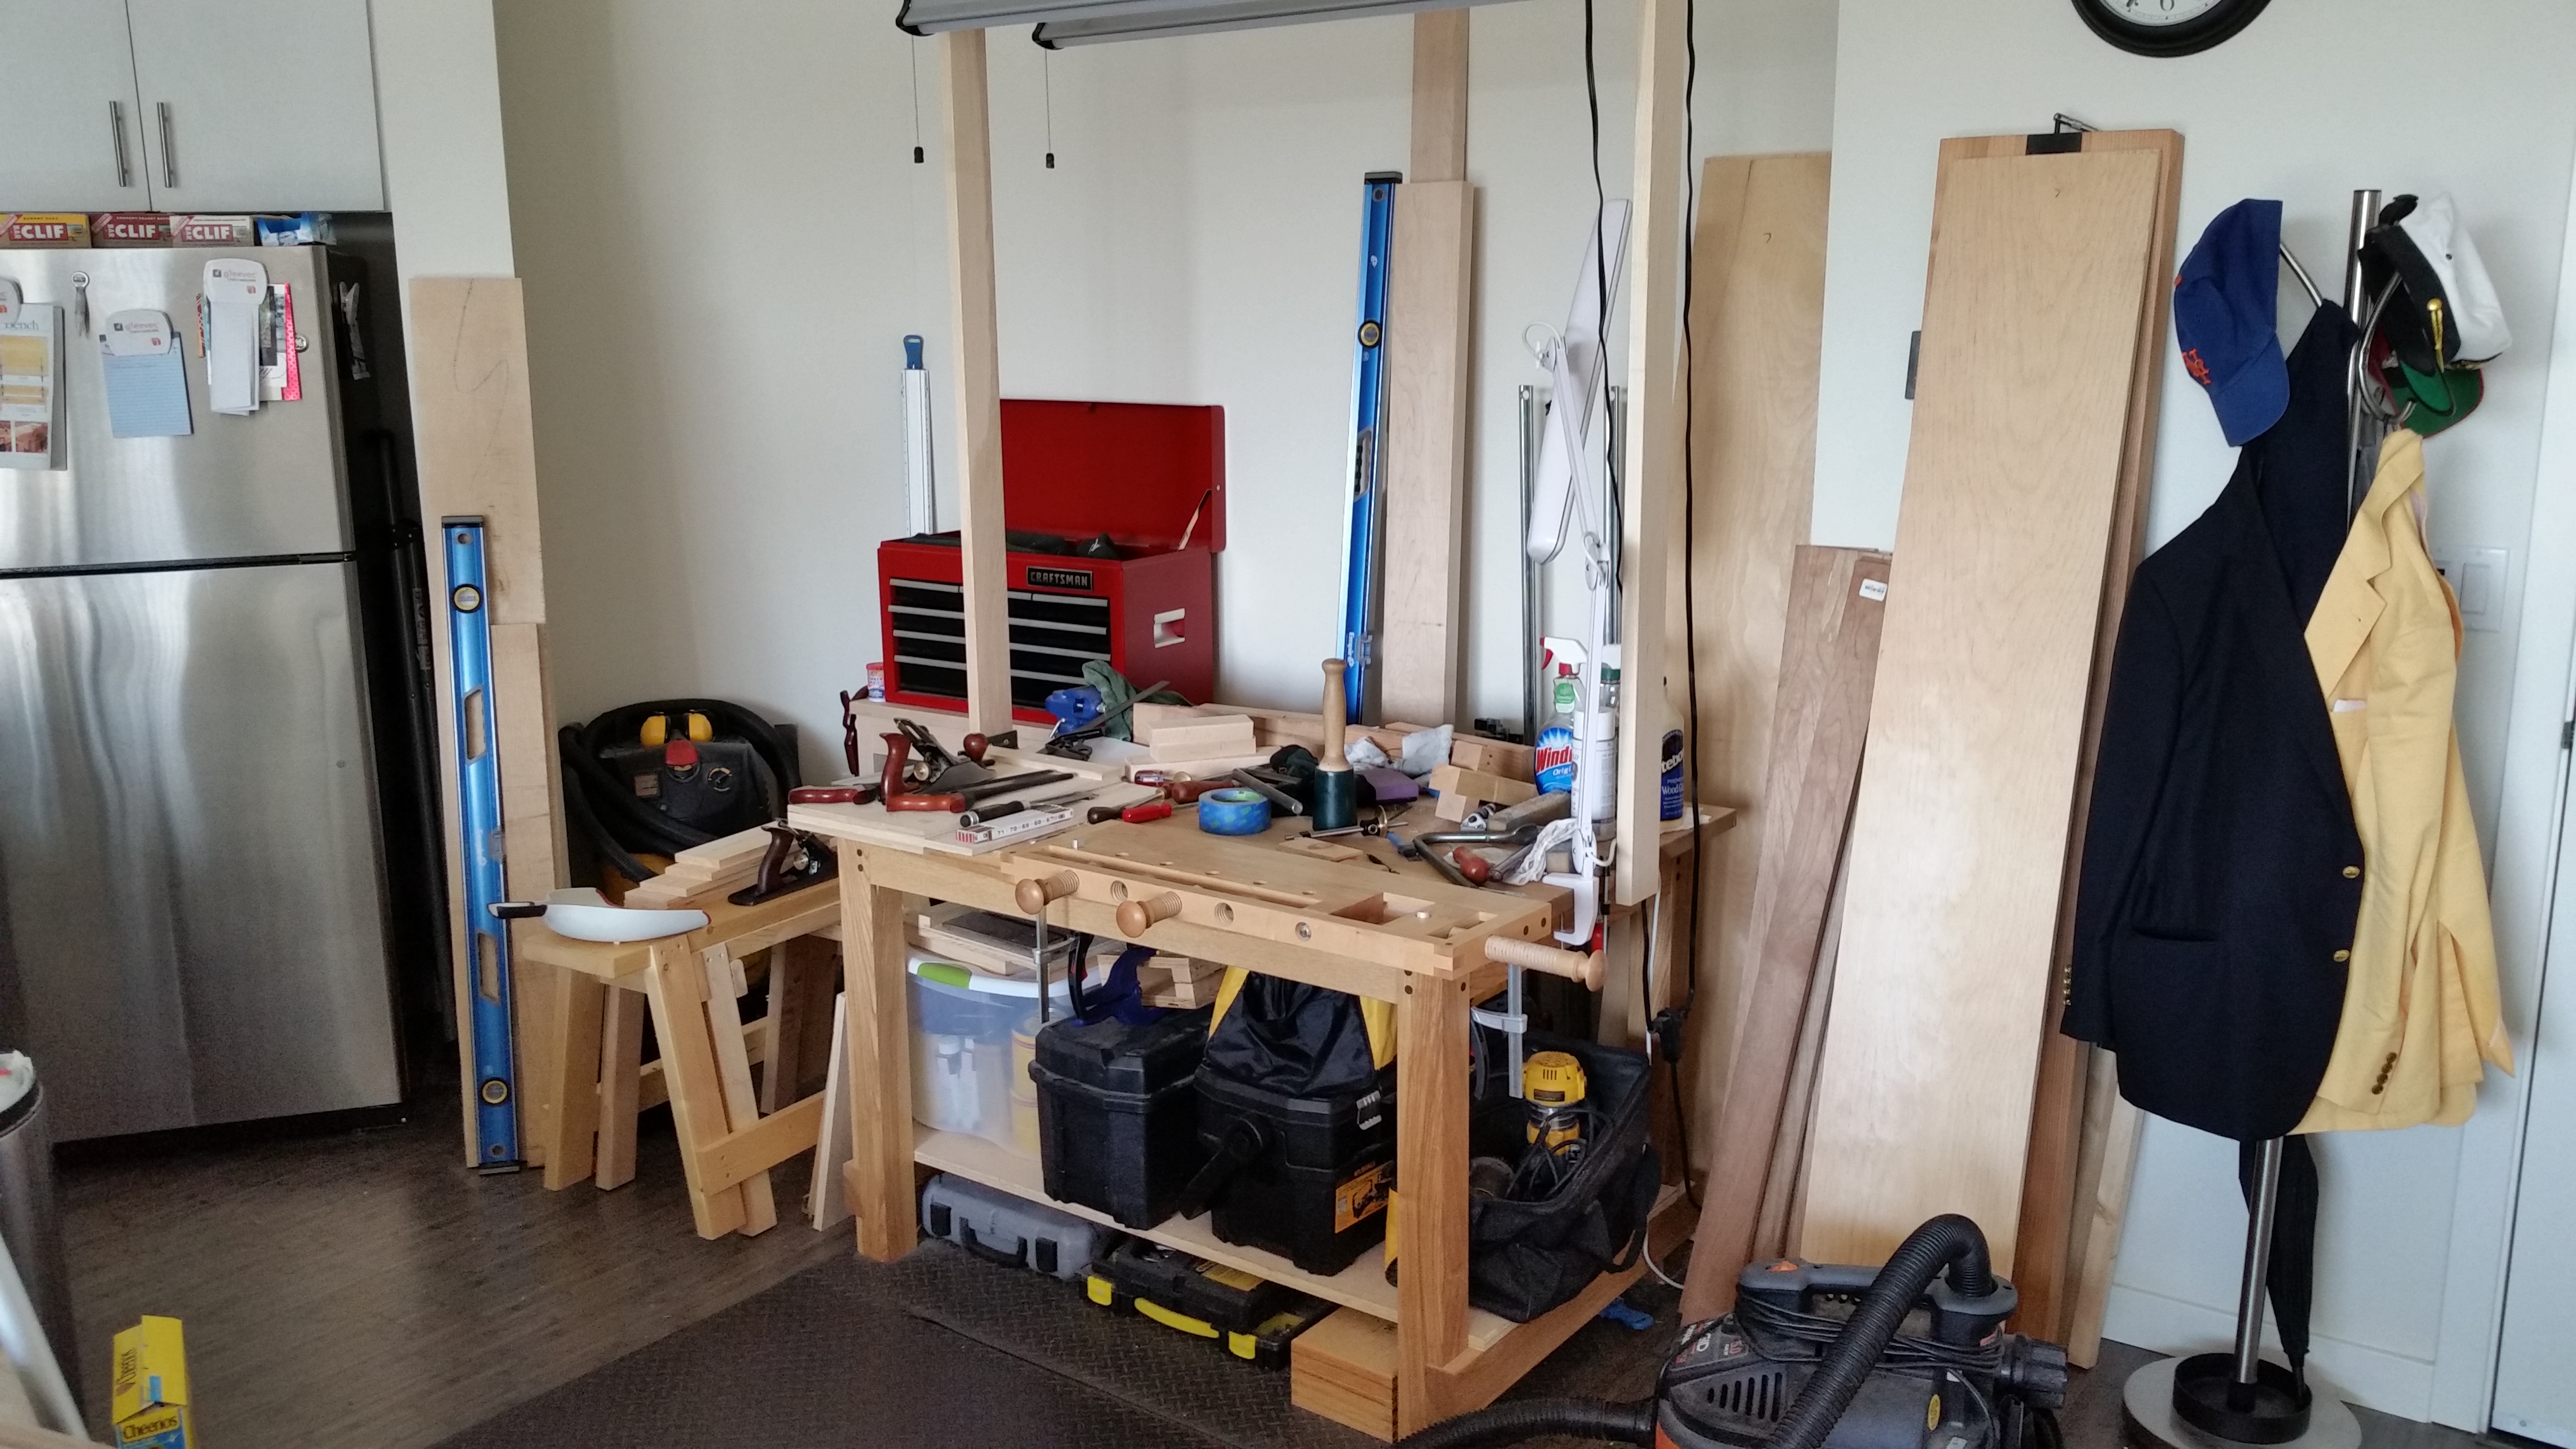
The Woodworking Masterclasses video course on the housing joint carrying tote is one of my favorites.  Not sure if it’s Paul Sellers in a santa cap or the beautiful simplicity of the project, but I’m a big fan of this particular set of videos.  I watched it the other day, so one of the techniques Paul Sellers teaches in those videos was fresh in my mind and of use today.

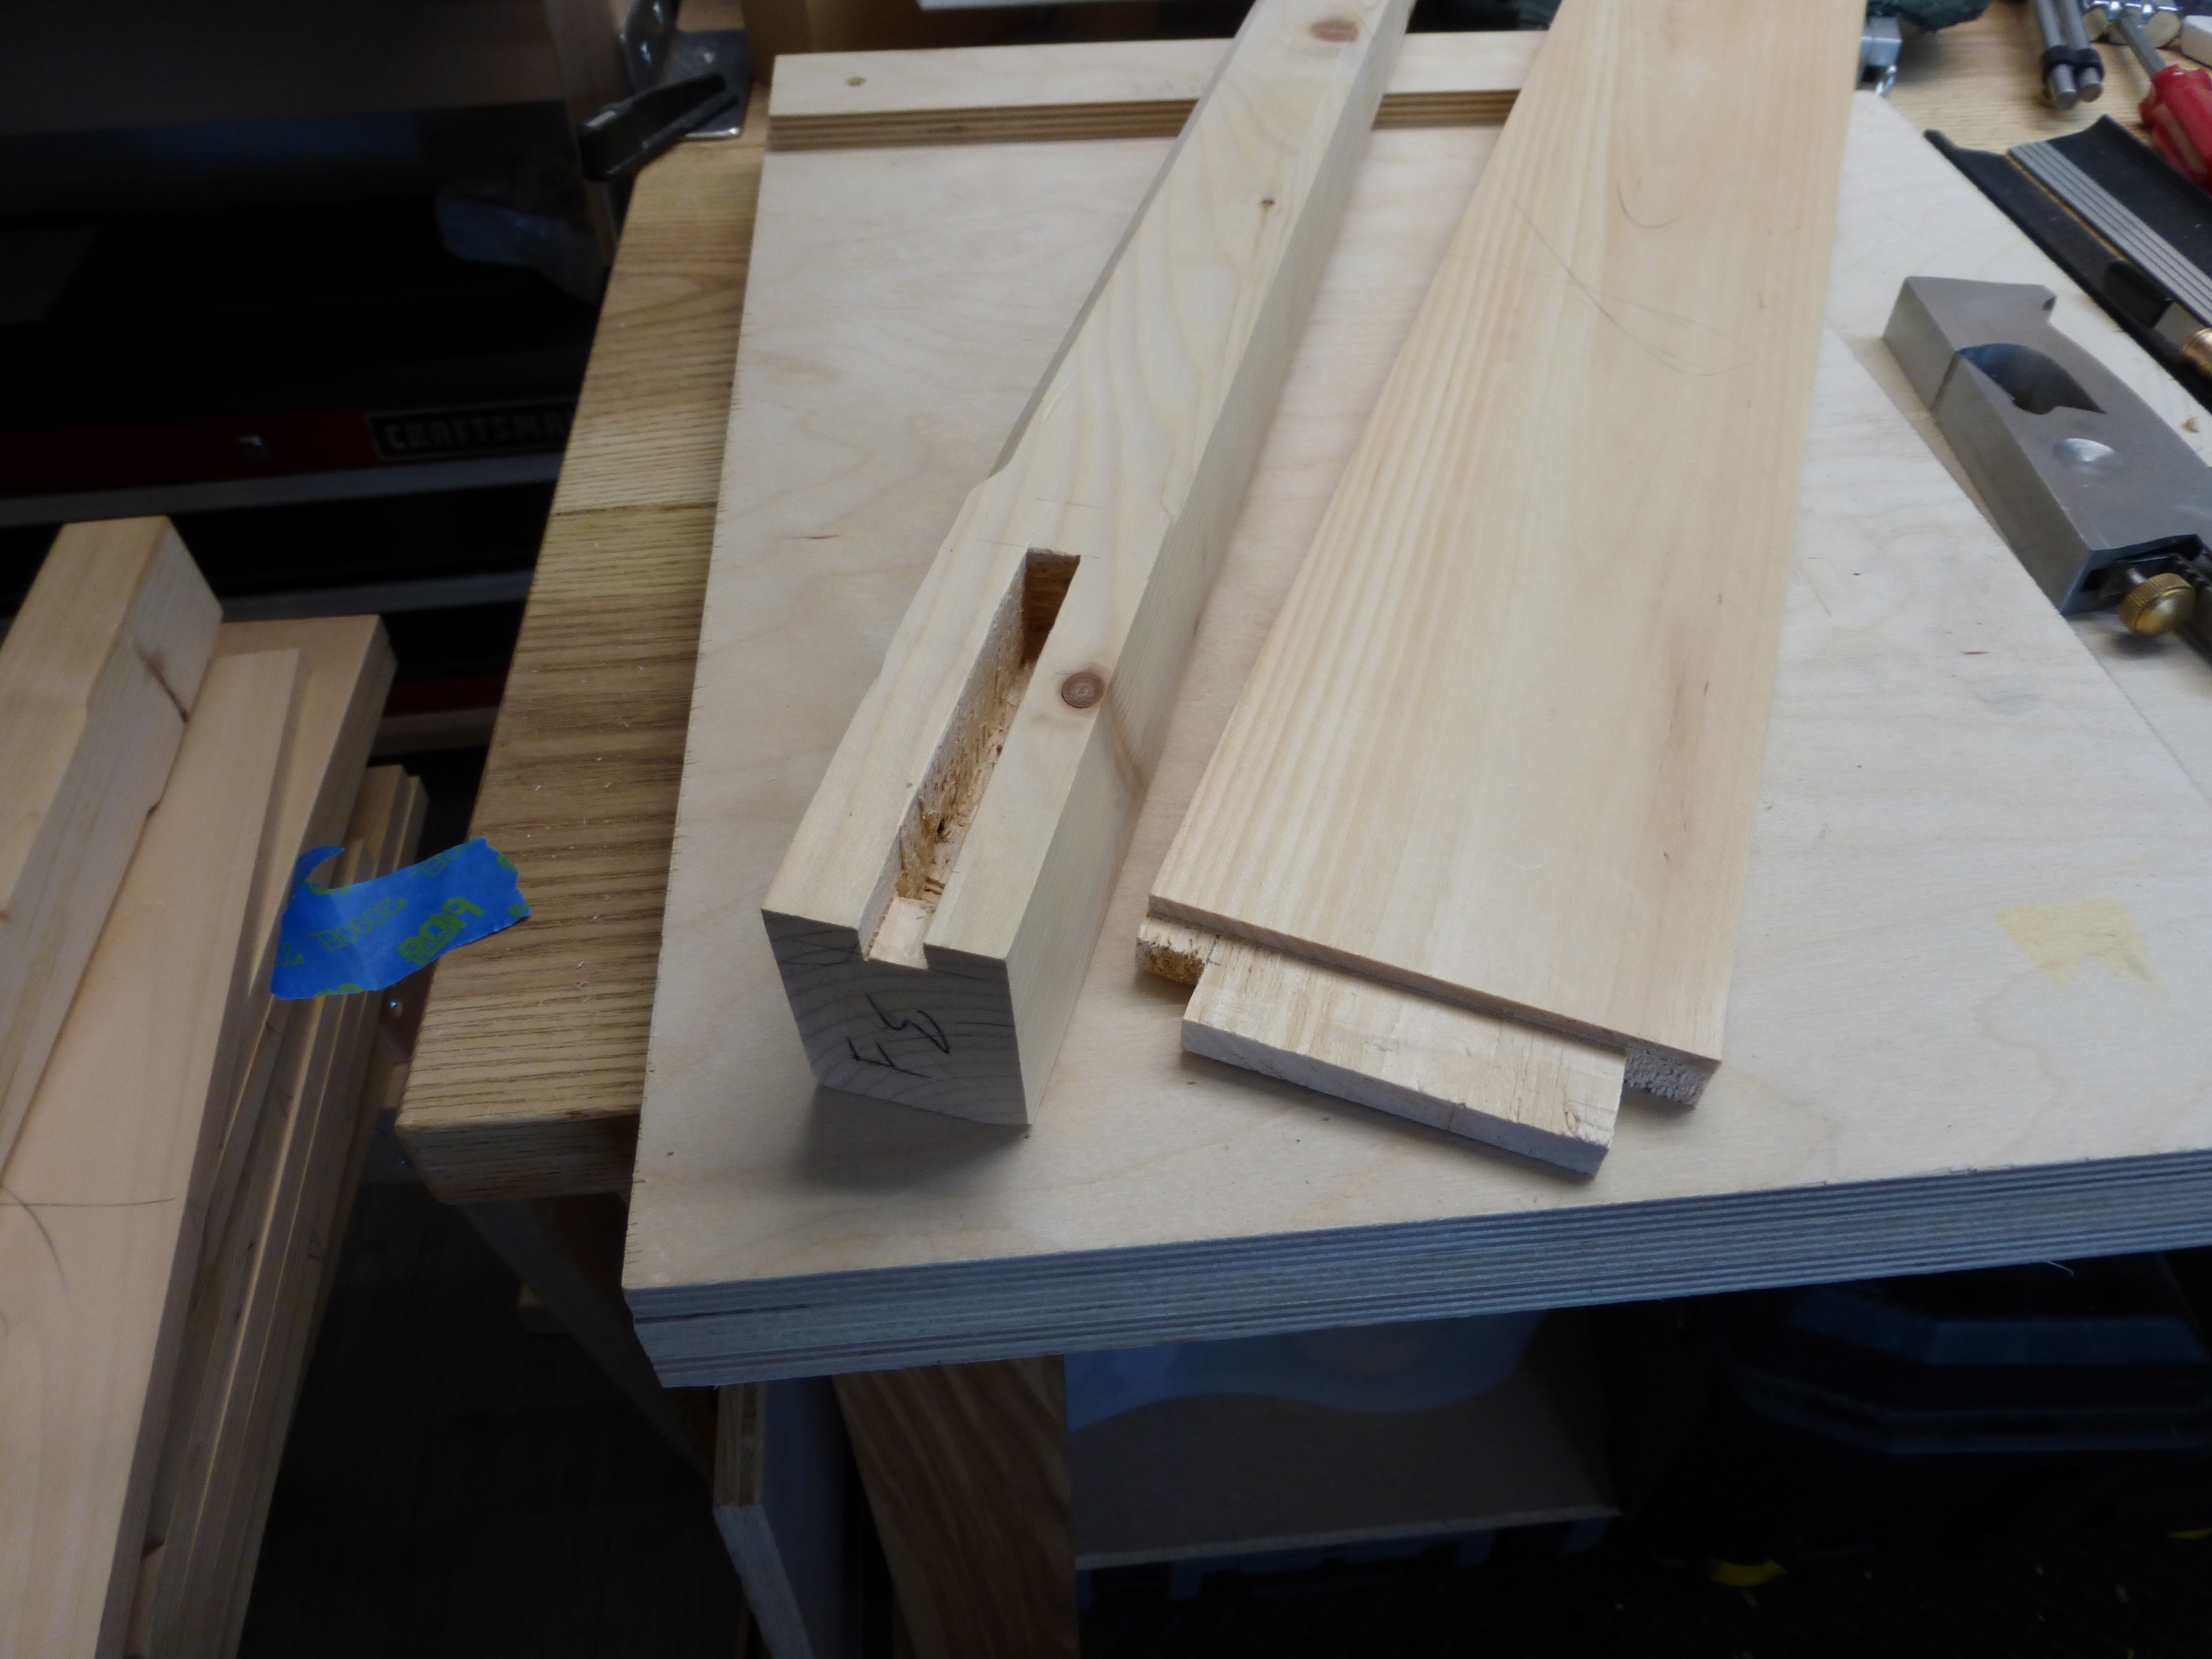
The tabletop for the angled leg side table will consist of two 24″ x 12″ boards cut from the same piece of 1″ pine.  As a result, I can use the double knifewall method shown in the housing joint carrying tote video.  By sawing between the scribed lines, each end has its own knifewall to plane down to, guaranteeing square ends and eliminating chipping from the saw cut.

I haven't used this knife in a while.

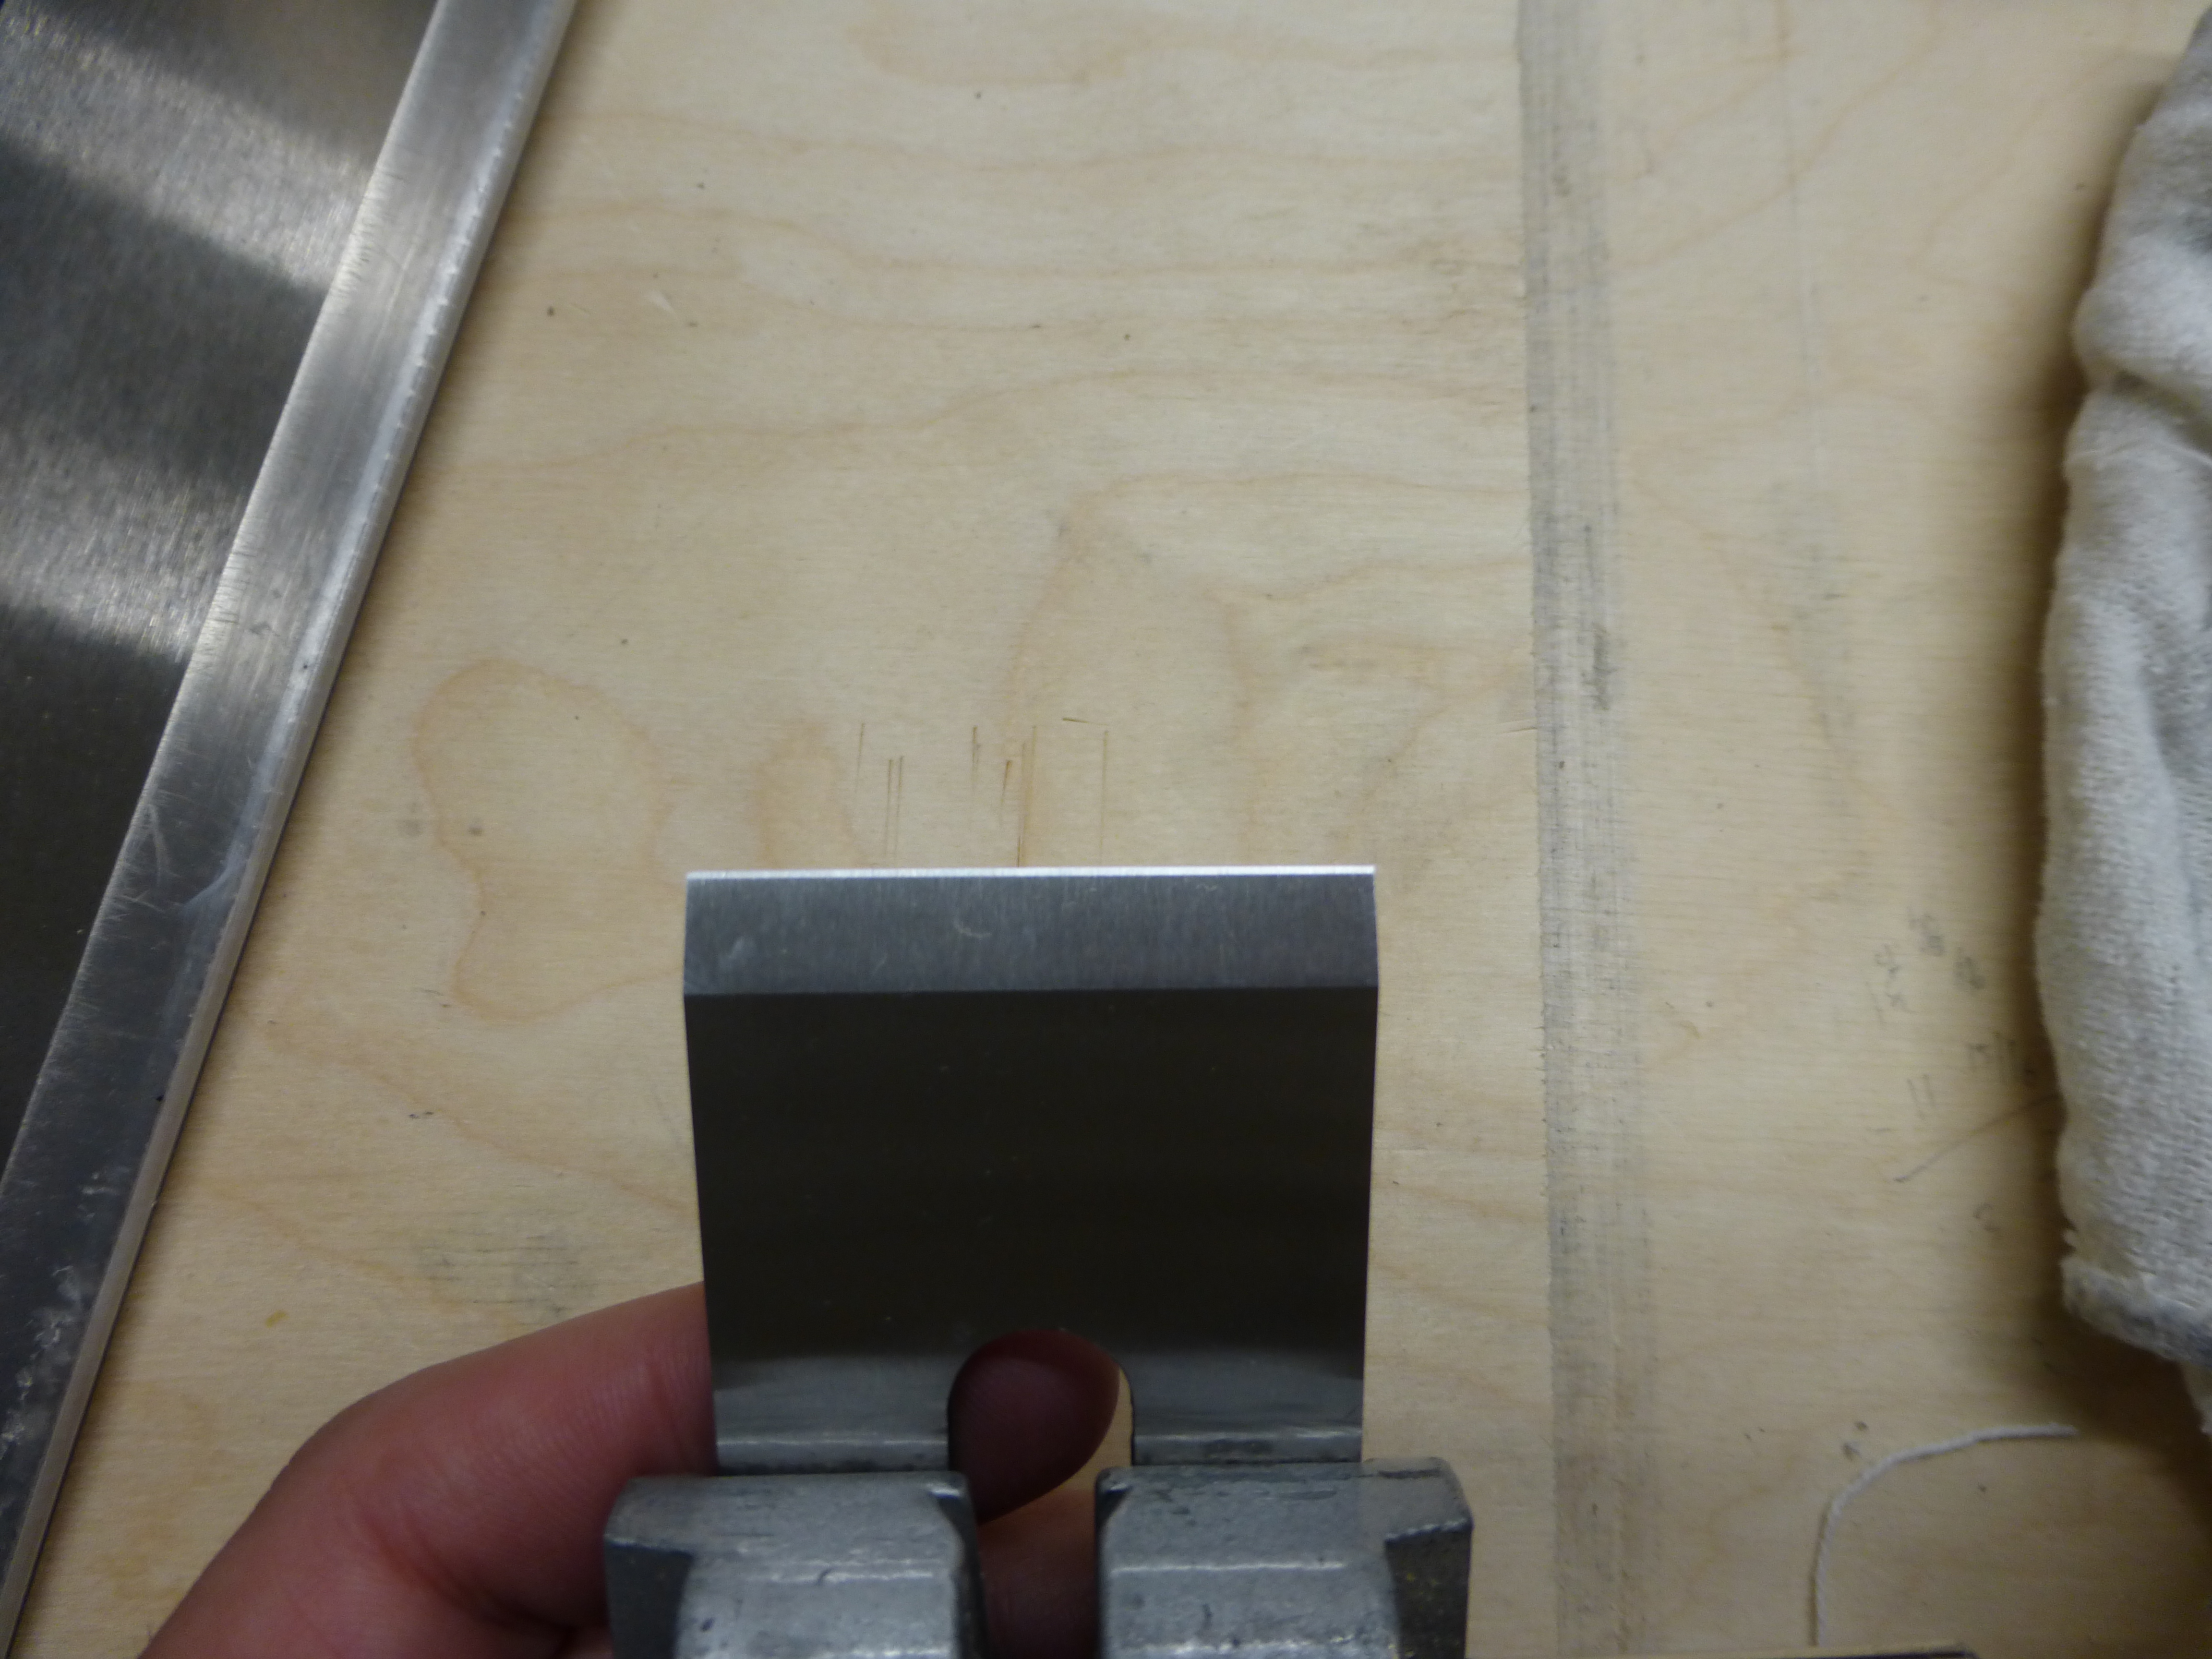
I haven’t used this marking knife in a while, either.

I don’t crosscut boards this wide very often, so it was nice to use my 22″ crosscut panel saw and some saw benches for a change (instead of my usual carcass saw and bench hook for smaller crosscuts).  Using my least twisted, flattest piece of premium pine for will hopefully mean there won’t be a ton of mill work to be done once the boards are cut to length.

Mid-cut, for illustrative purposes.

Mid-cut, for illustrative purposes.

On a side note, the table will end up overall 1/4″ shorter than it is wide/deep, which will allow me to use those felt furniture pads to get it back to cubed overall.

JPG

Angled-leg Side Table

Cards on the table, I’ve been almost done with this table for about two weeks, just needing to prepare the tabletop and do a quick smoothing before glue-up. The tabletop should only require two boards, so it will go quickly once I get some time to go back to the project.

It's been blocking traffic for a while.

It’s been blocking traffic for a while.

In the meantime, though, I learned an important lesson during this project. I had shaped the angled legs over a year ago, removing rough stock by hand and then cleaning up the profile by trim router with a plywood pattern and a pattern bit.

Although they are pretty close, none of the legs is identical to any other (except for height, which is remarkably close for being cut on a chop saw). Each leg varies slightly in rake and, after some straightening, thickness. Sending them back through the thickness planer would mean also redoing the stopped chamfers, so I figured there must be a way to keep the table square and straight without making the legs identical. Turns out, the basic principals of marking were the solution.

I had always planned for the top to overhang the frame a bit, so as long as the frame was square, I could hide any variations due to the legs. In theory, as long as I marked from the same edges on each leg, and the parallel rails were identical in length to the shoulders, any variation on width or depth would be purely cosmetic. So I took great care to size the rails perfectly. Then I assembled the frame and, while the frame overall was square, one of the rails didn’t seat squarely.

This confused me, because I had marked everything from the same reference edges on each leg. However, the front and back rails were marked from the outside, not the inside like the side rails. Because of the varying thickness of the legs, this added extra length between the mortises for the front and back rails on one side. I ended up having to take down the inside thickness of one leg by hand to fix it.

The moral of the story is: there is more to consistent marking than using the same reference face. When parts are not identical, there is also a correct reference face. To be safe, while marking mortise layout, if you can, reference your marking gauge only on the faces where the mortises will be.

JPG

Another Benchtop Appliance

The wood is acclimated and the veneer press screws were delivered a while ago, so I think it may be time to finally make that bench top joinery bench. I’ve always liked the plans and I think there is some room left in a corner of the shop where it can live when not on the bench.

Maybe

Maybe

I wonder, though: is it worth including any storage underneath?  I think I’d add a drawer (or maybe just a sliding tray) to hold my dovetail saws and coping saw (and spare blades).  Not sure it’s practical to store anything else in a mobile joinery bench.

Either way, my “clamp-on worksurface” collection might be getting out of hand.

JPG

The Sound (of Mallet Blows) and the Fury (of the Neighbors)

A close second on the overall list of questions people ask me about small-space, apartment-based woodworking is, “Don’t the neighbors complain about the noise?”. I get the question frequently enough to warrant a full post response.

Woodworking, even the hand-tool-only variety, is noisy. The thud of the chisel mallet echoes down a long hallway just as the whirr of the plunge router does. The wheeze of hand-sawing is unmistakeable to even the most casual aural observer.  And other more muted work, such as hand-planing, can nonetheless audibly rattle bench-top accoutrements.

So what can you do, if you want to make furniture in an apartment or a side room and not also accumulate noise violations or the scorn of your family members?  Each situation is unique, but there are some tricks that I employ. And since chopping mortises is the loudest thing I do other than a quick orbital sanding (rarely, if necessary), I will use that as my basic example:

  1. Don’t chop mortises during quiet hours. Apartment buildings usually have a range of hours during the business day where loud noise is tolerated.  So keep your loud tasks to the daytime hours and generally be cognizant of what you’re doing.
  2. Space out louder tasks. You’ve got 8 or more mortises to chop, I get it. Chop two at 10am and then two more at each of noon, 2pm and 4pm. Short bursts of loud banging are less likely to attract attention than sustained pounding.  Use the time in between for quieter tasks, like sawing, planing or sharpening.
  3. Sharpen early and often. Sharp tools mean better results for less effort, so trim down your total mallet blows by keeping your chisels sharp.
  4. Fully support the work.  Wood vibrates and resonates when struck.  Trying to chop a mortise in a piece of wood that’s partially overhanging the bench top is not very different from banging on an impromptu xylophone.  Fully supporting the piece over it’s entire length will reduce vibration and help deaden any resonance.
  5. Dampen outbound noise.  My walls are solid concrete, but my front door certainly isn’t.  It’s a hollow metal box that works pretty much like an amplifier into the hallway.  In a pinch, I will drape a heavy cloth blanket over my front door (not unlike the soundproofing they put in music studios).  There are commercial sound-dampening tapestries that work even better, if you care to spend the money.

Some combination of these tricks will go a long way toward keeping your neighbors and loved ones tolerant of your furniture-making.  And time spent disputing noise complaints or apologizing to your family is time not spent in the workshop.

JPG

Tangible Progress

Every now and again, I can feel myself leveling up at something.  Today was one of those days, when I cut what I consider to be the best-fitting joint I’ve ever cut.

wpid-20150530_112737.jpg

This angled-leg side table project is turning out quite well.

The feeling of a hand-cut joint coming together tightly and snugly is such a rush of accomplishment.  Mistakes are often made in the shop, but when everything works right, that’s what keeps me coming back.

JPG

Tenon Details

Mortise and Tenon joint is the first woodworking joint I learned to cut.  At first, it was tenons by hand and mortises by plunge router. Closed mortises, roughly half the material deep, and stub tenons, with four shoulders. Everything co-planar and nothing fancy. Words like “reveal” and “haunch” were unknown to me.

Even the picture is poor quality.

One of the first joints I ever cut.  Even the picture is poor quality.

After a few months of voraciously consuming woodworking scholarship (mostly via YouTube) and much trial and error, I knew enough to plan a specific reveal for a joint. A nice roundover leading to a slight reveal can make a world of aesthetic difference and can be accomplished by simply varying tenon shoulder depth.

This is a vanity sink I built for my brother's first house.

The vanity sink I built for my brother’s first house.  That’s the matching footstool on the right.

Later, I learned to always cut mortise and tenon joints to align the long-grain gluing surfaces (and maybe even do a double mortise and tenon) for maximum strength. This allows for different board orientations (and more delicate-looking frames).

Later still, I discovered the haunched tenon, and I’ve been using it as much as I can ever since.

They all basically look like this.

This is the angled-leg bedside table.

I understand the true purpose of the haunch. It permits maximum tenon height (for maximum resistance to twisting force) while still keeping the mortise closed at the top (and thereby stronger than an open mortise, such as a bridal joint). But I also appreciate the economy of the joint. The haunch means I have to chop less mortise overall without compromising joint strength. On a rectangular table with eight mortises (of 4 inches or so each), a half inch haunch saves me a full mortise-worth of chopping.

I also rarely do full length tenons, preferring a bottom shoulder of some depth (usually the width of the mortise, because a chisel is a handy straightedge) to hide any roughness of the mortise hole. Assuming a bottom shoulder of another half inch, that’s a whole extra mortise worth of chopping saved in a single project. And with the haunch on the top of the tenon, I’m only cutting three shoulders – maybe even only two shoulders, if the material is thin enough.

All this time savings means I get more done in the shop with less effort.  And best of all, none of these “shortcuts” ever show in the finished piece.

JPG

New Block Plane

I finally caved and replaced my box-store block plane with a slightly more upscale version.  It’s not an everyday tool in my shop, so I didn’t splurge for an ultra premium block plane.  But I was frustrated enough with the lateral adjustment capabilities of my old block plane that it was time for a change.

P1000082

I have brand loyalty because I don’t mind a little tuning.

From unboxing to finish, total honing time was about half an hour to clean up the plane (most of which was flattening on the 220 diamond plate).

P1000080

Just about done in this picture.

I’m pretty pleased with the machining on this particular tool.  The sole is pretty flat and the iron was ground square (both rarities for this brand, I will admit).  A couple swipes at 30 degrees left a razor-sharp secondary bevel on the freshly-flattened iron.

P1000081

Fastest sharpening job ever.

There is no lateral adjustment lever, but there is plenty of clearance around the knuckle cap for a hammer tap.  The new block plane is also longer and heavier than my old one (it’s about the size of a No. 1), but the knuckle cap gives it a better feel in the hand.  Overall, I’m happy so far, even if I’ve only taken a few end grain shavings to test blade sharpness.

JPG

In the Here and Now

Having finally cleared a couple projects from the queue, I can now get around to that plant stand I designed a few months back. Its lower priority was due to the presence of a suitable placeholder, certainly, but also because of a personal flaw I often struggle with. I find it difficult to focus on a single project from start to finish. I get distracted regularly, sometimes to the detriment of timeliness.

The rough stock for the plant stand was ripped quite a while ago. The design, with some minor tweaks from the original, has been locked off for almost as much time. But things kept coming up (work, life, other projects) and the build was always delayed. But now I’m back on task – for now, anyway. A couple more hours of planing and I’ll be ready to hit the thicknesser and move onto joinery.  As a bonus, I used the planing slab for the first time in a while.  The planing slab is still flat, which is nice. And that Veritas Inset Vise is such a joy to use.

P1000075

I think I need to tweak the orientation of the planing slab to the work table.

Also, I’ve said it before, but hard maple is hard.  Especially the stuff for this project: air-dried, riftsawn, tight-ringed Vermont sugar maple. After only S2S’ing these boards, I sure am grateful for my thickness planer.

wpid-20150519_074128.jpg

A jar of Vermont Maple Syrup died so that this plant stand may live.

JPG

Knot very Clear

The other morning, for 10 mins or so while I was waiting for a pair of pants to dry, I broke out the miter box and cut some boards to rough length for a couple different upcoming projects. The task at hand – digging through the pile of off-cut pine siding to find boards with clear sections of sufficient length – was a success. I now have knot-free boards aplenty, and the knotty off-off-cuts will become firewood for my brother.

wpid-20150515_203113.jpg

Perfectly burnable waste.

It got me thinking, though: what’s wrong with knots? I get it: dead knots and the holes they leave behind are a pain. But with live knots, aside from a bit of extra plane iron wear, what is the real impact, especially on the strength or stability of a board? Not much, and yet I obsess about clear stock. Everyone knows trees have knots, so what am I trying to hide?

Sometimes, though, I actually choose boards at the lumber yard specifically for their knots. A large live knot can have its own beauty, and a few small (stable) dead knots can add a rustic contrast to an otherwise modern piece.

Like everything else in woodworking, it’s a balance. Knotty wood is fine for some pieces and not for others. Knowing the difference is much more art than science.

JPG

The Immediacy of Pencil and Ruler

I commute to work, which means I spend a significant portion of each weekday on the train (up to 2.5 hours in the aggregate). Before I started woodworking, most of my train time was spent reading documents and catching up on emails.  Now, I try to bang out a new blog post (like this one) or put pencil to paper for a new furniture design whenever I can.

A while back, I started keeping a black composition notebook – like the ones for middle school creative writing class – with graph paper (instead of ruled) for my designs.  I’ve tinkered with Sketch-Up and other computer-aided design software before, but I keep coming back to the immediacy of pencil and ruler on graph paper.  That way, I transcribe the idea before the inspiration fades.

wpid-20150512_104012.jpg

The fastest design program of all!

Each design gets dated and in truth few actually get built. But it’s nice to have a tangible record of the varying levels of woodworking inspiration that hit me.  Each page is a snapshot of my small-space woodworking journey, telling the story of how my sensibilities and style have evolved over the past few years.  I may never get around to making most of these pieces, but that’s okay.  Many of my favorite or best (often not the same thing) designs are amalgamations of past ideas, gleaned from old sketches and made fresh.

A few plans are further refined before going into a binder I glibly refer to as my “portfolio”.  These designs I truly intend to revisit and execute one day.  When I free-build a piece of which I am particularly proud, I will reverse engineer a design to also include my portfolio.  In this way, I have for myself a neat repository of my best and favorite pieces.

JPG