I don’t much go in for 2,000 year old metaphors, but there is one passage in the Christian Scriptures that always made sense to me. Matthew 7:5 makes a pretty poignant point about judging others. We’re all flawed, some of us more than others, so fix yourself before you criticize your fellow man. Nowhere do I wish people lived by this concept more than in woodworking forums.
A gentleman I follow on twitter named Christopher Bowen (@abysmaljoiner) is making a beautiful side table, with a striped inlay and a curly something or other drawer front. He recently posted a picture of his burnisher laying on top of the table, with ostensibly burnished corners (something I had never thought of, as I tend to just break them with a smoothing plane). Hoping to learn more about the practice, I went to teh interwebs. The very first search result was to the forums of a major woodworking magazine. And the very first response to a question about burnishing miters was by some intractable dickbag who, instead of answering the quite-reasonable question, admonished the person to just cut better fitting joints.
Sadly, this dickholery is the norm through most of the woodworking forums out there. For every one stronghold of enlightenment, knowledge and community out there, you’ll find ten wastelands where you’re pretty much guaranteed nothing but rants from sad old men comparing dick sizes fresh off their chop saws.
The internet can be such a force for good, where knowledge, experience and advice is freely exchanged by people who care about the topic, and we’re all made better for it. But I’m sick of having to slog through pages and pages of ePeen just get a comprehensible answer.
Besides, if they were really that good, they ought to care more about helping the rest of us get to that point than about bragging and putting other people down on the internet. No one’s impressed, you incorrigible fucktards.
Happy Black Friday.
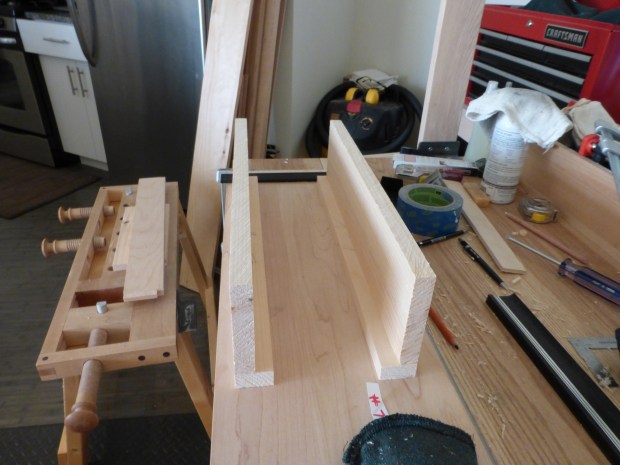
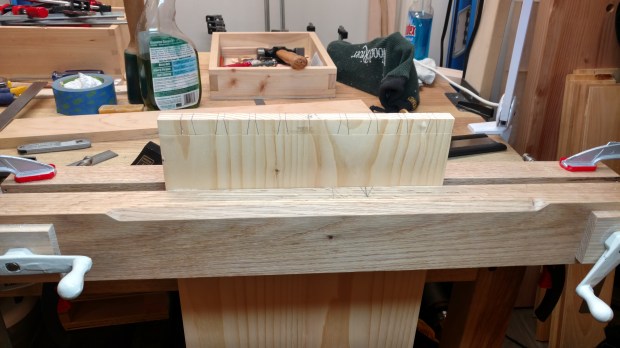
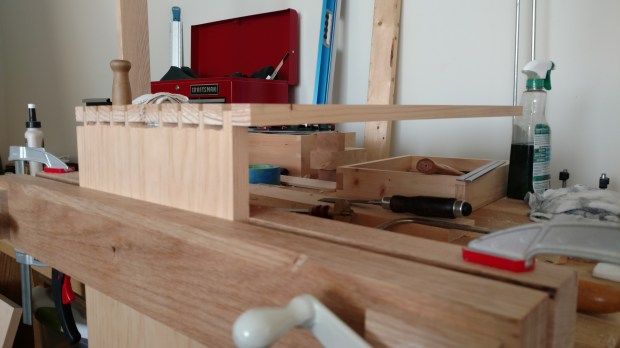
JPG
![IMG_20151122_140552322[1]](https://theapartmentwoodworker.com/wp-content/uploads/2015/11/img_20151122_1405523221.jpg?w=620)
![IMG_20151122_140531517[1]](https://theapartmentwoodworker.com/wp-content/uploads/2015/11/img_20151122_1405315171.jpg?w=620)
![IMG_20151122_142855_01[1]](https://theapartmentwoodworker.com/wp-content/uploads/2015/11/img_20151122_142855_011.jpg?w=620)