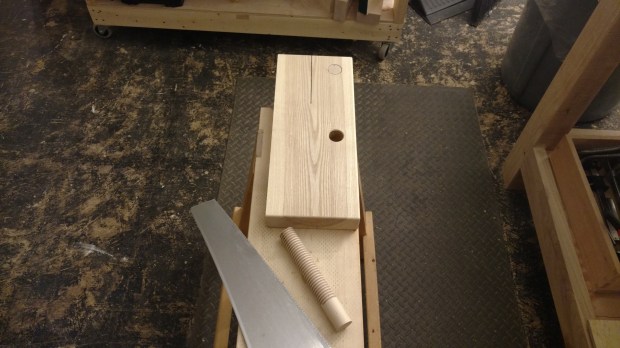
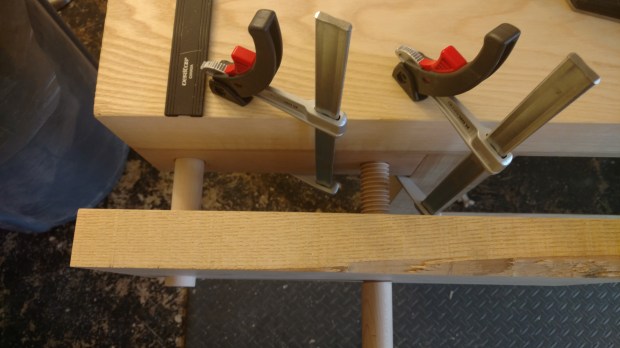
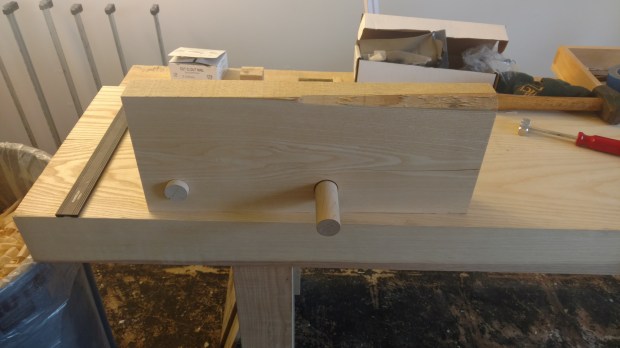
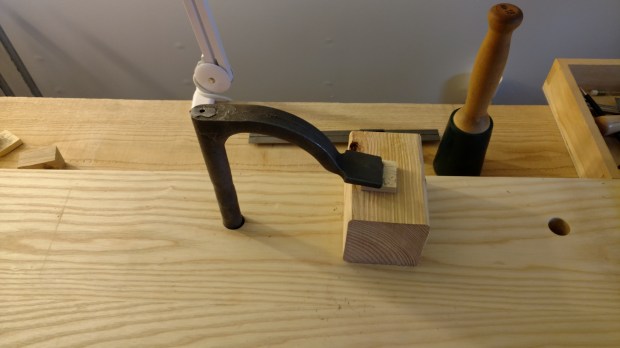
The dog holes on my workbench are 1″, to accommodate my Crucible Tool Holdfast, which I love more and more each day. Well, except the legs, which use 3/4″ dog holes to accommodate my Gramercy Tools Holdfasts. I love these holdfasts as well, but they have been relegated to deadman duty. So when it came to time to get 1″ bench dogs, I had two choices: (i) drop $100+ on four metal dogs or (ii) spend $6 on an oak dowel and follow the instructions. My woodworking budget for the week was already spent on quartersawn 8/4 white oak, so DIY bench dogs won out. Three only took about half an hour to make, and most of that was sanding to fit. I’ll add the bullet catches when they arrive this week.

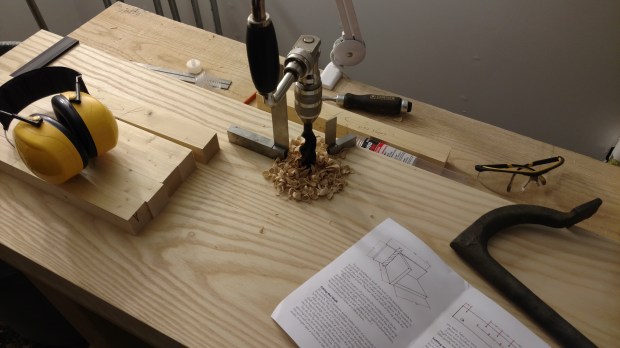
I used a bevel gauge to ensure the angle is exactly 2 degrees (not really).
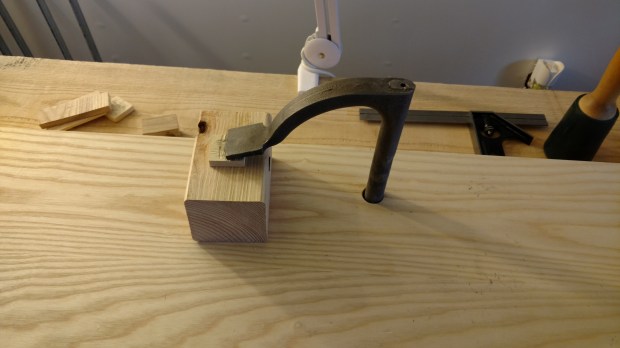
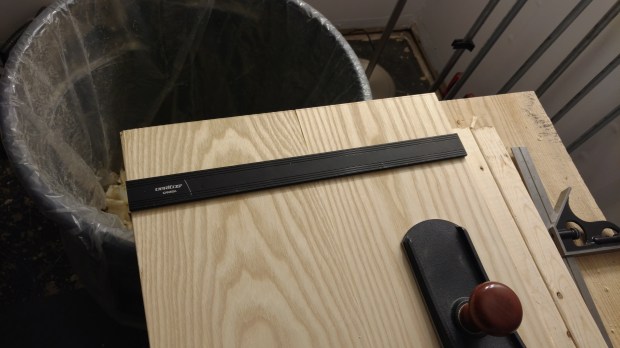
Like any good project, I bloodied myself a bit making these. 60 grit sandpaper is basically sharp pebbles glued to a piece of paper, and my left thumb now looks like a miniature Freddy Krueger came after me.
Like I always say, if you don’t bleed for (on?) the project, it’s not real woodworking.
JPG