Projects

Some Odds on the Ends

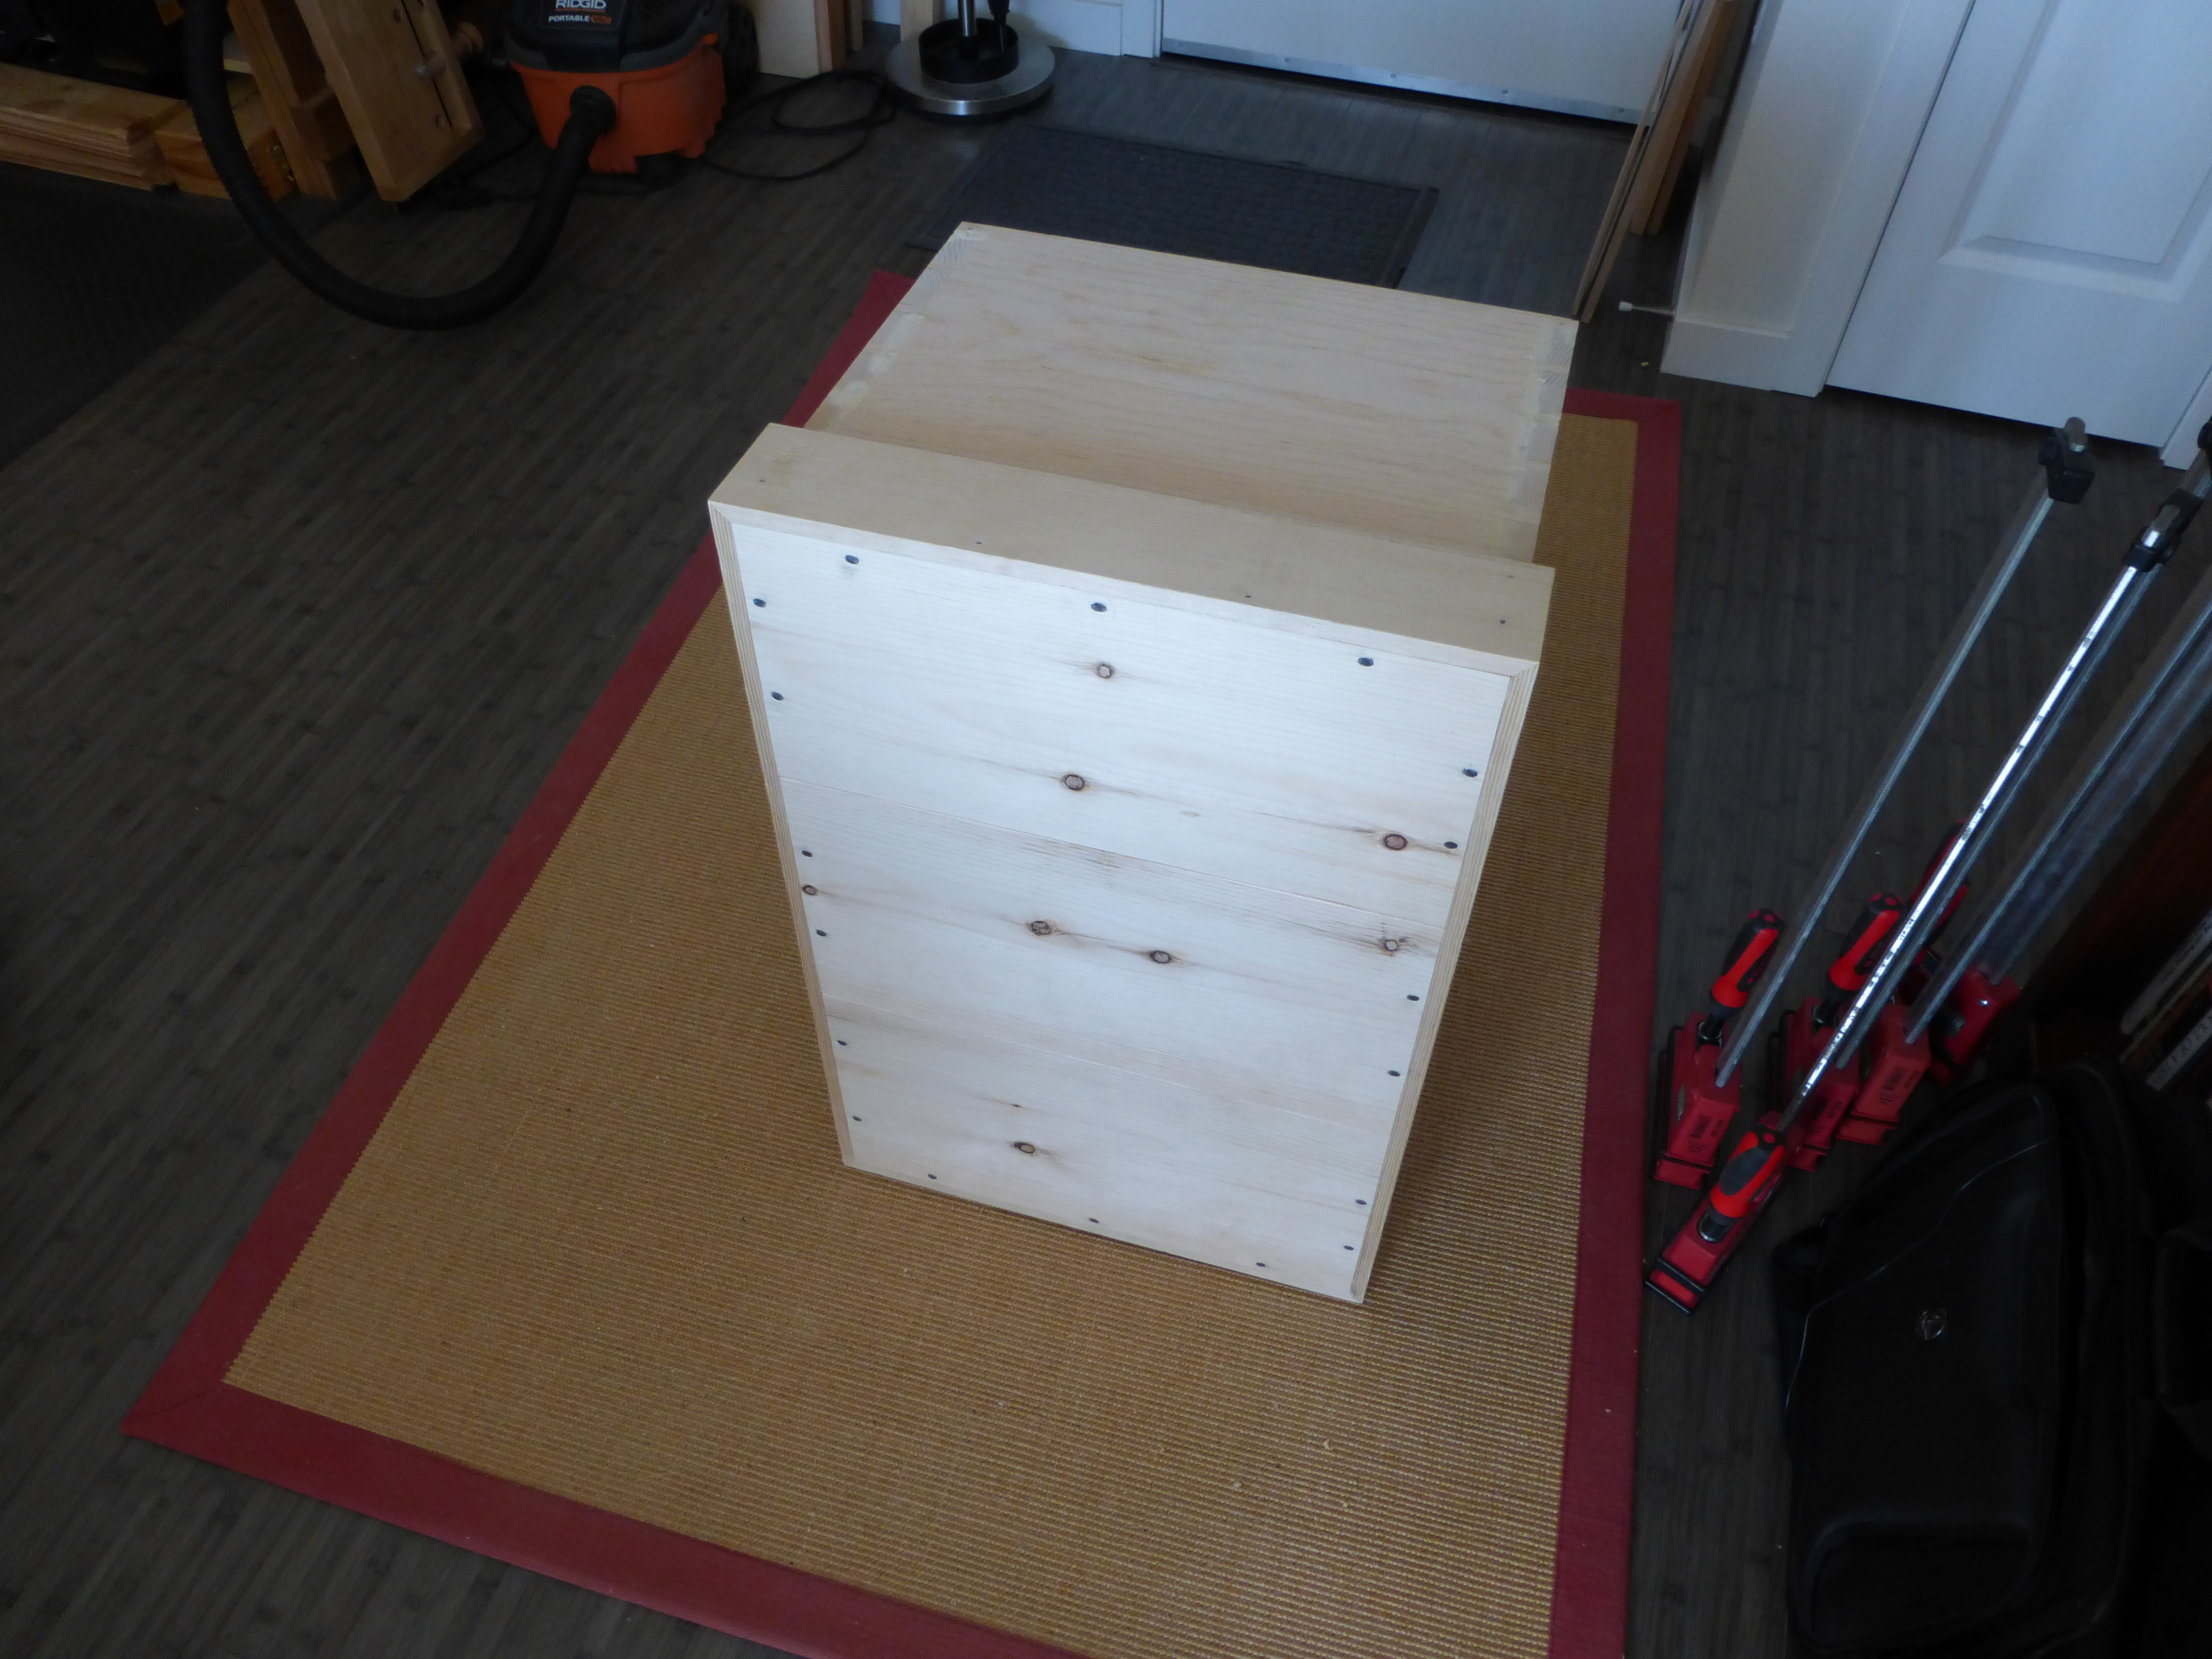
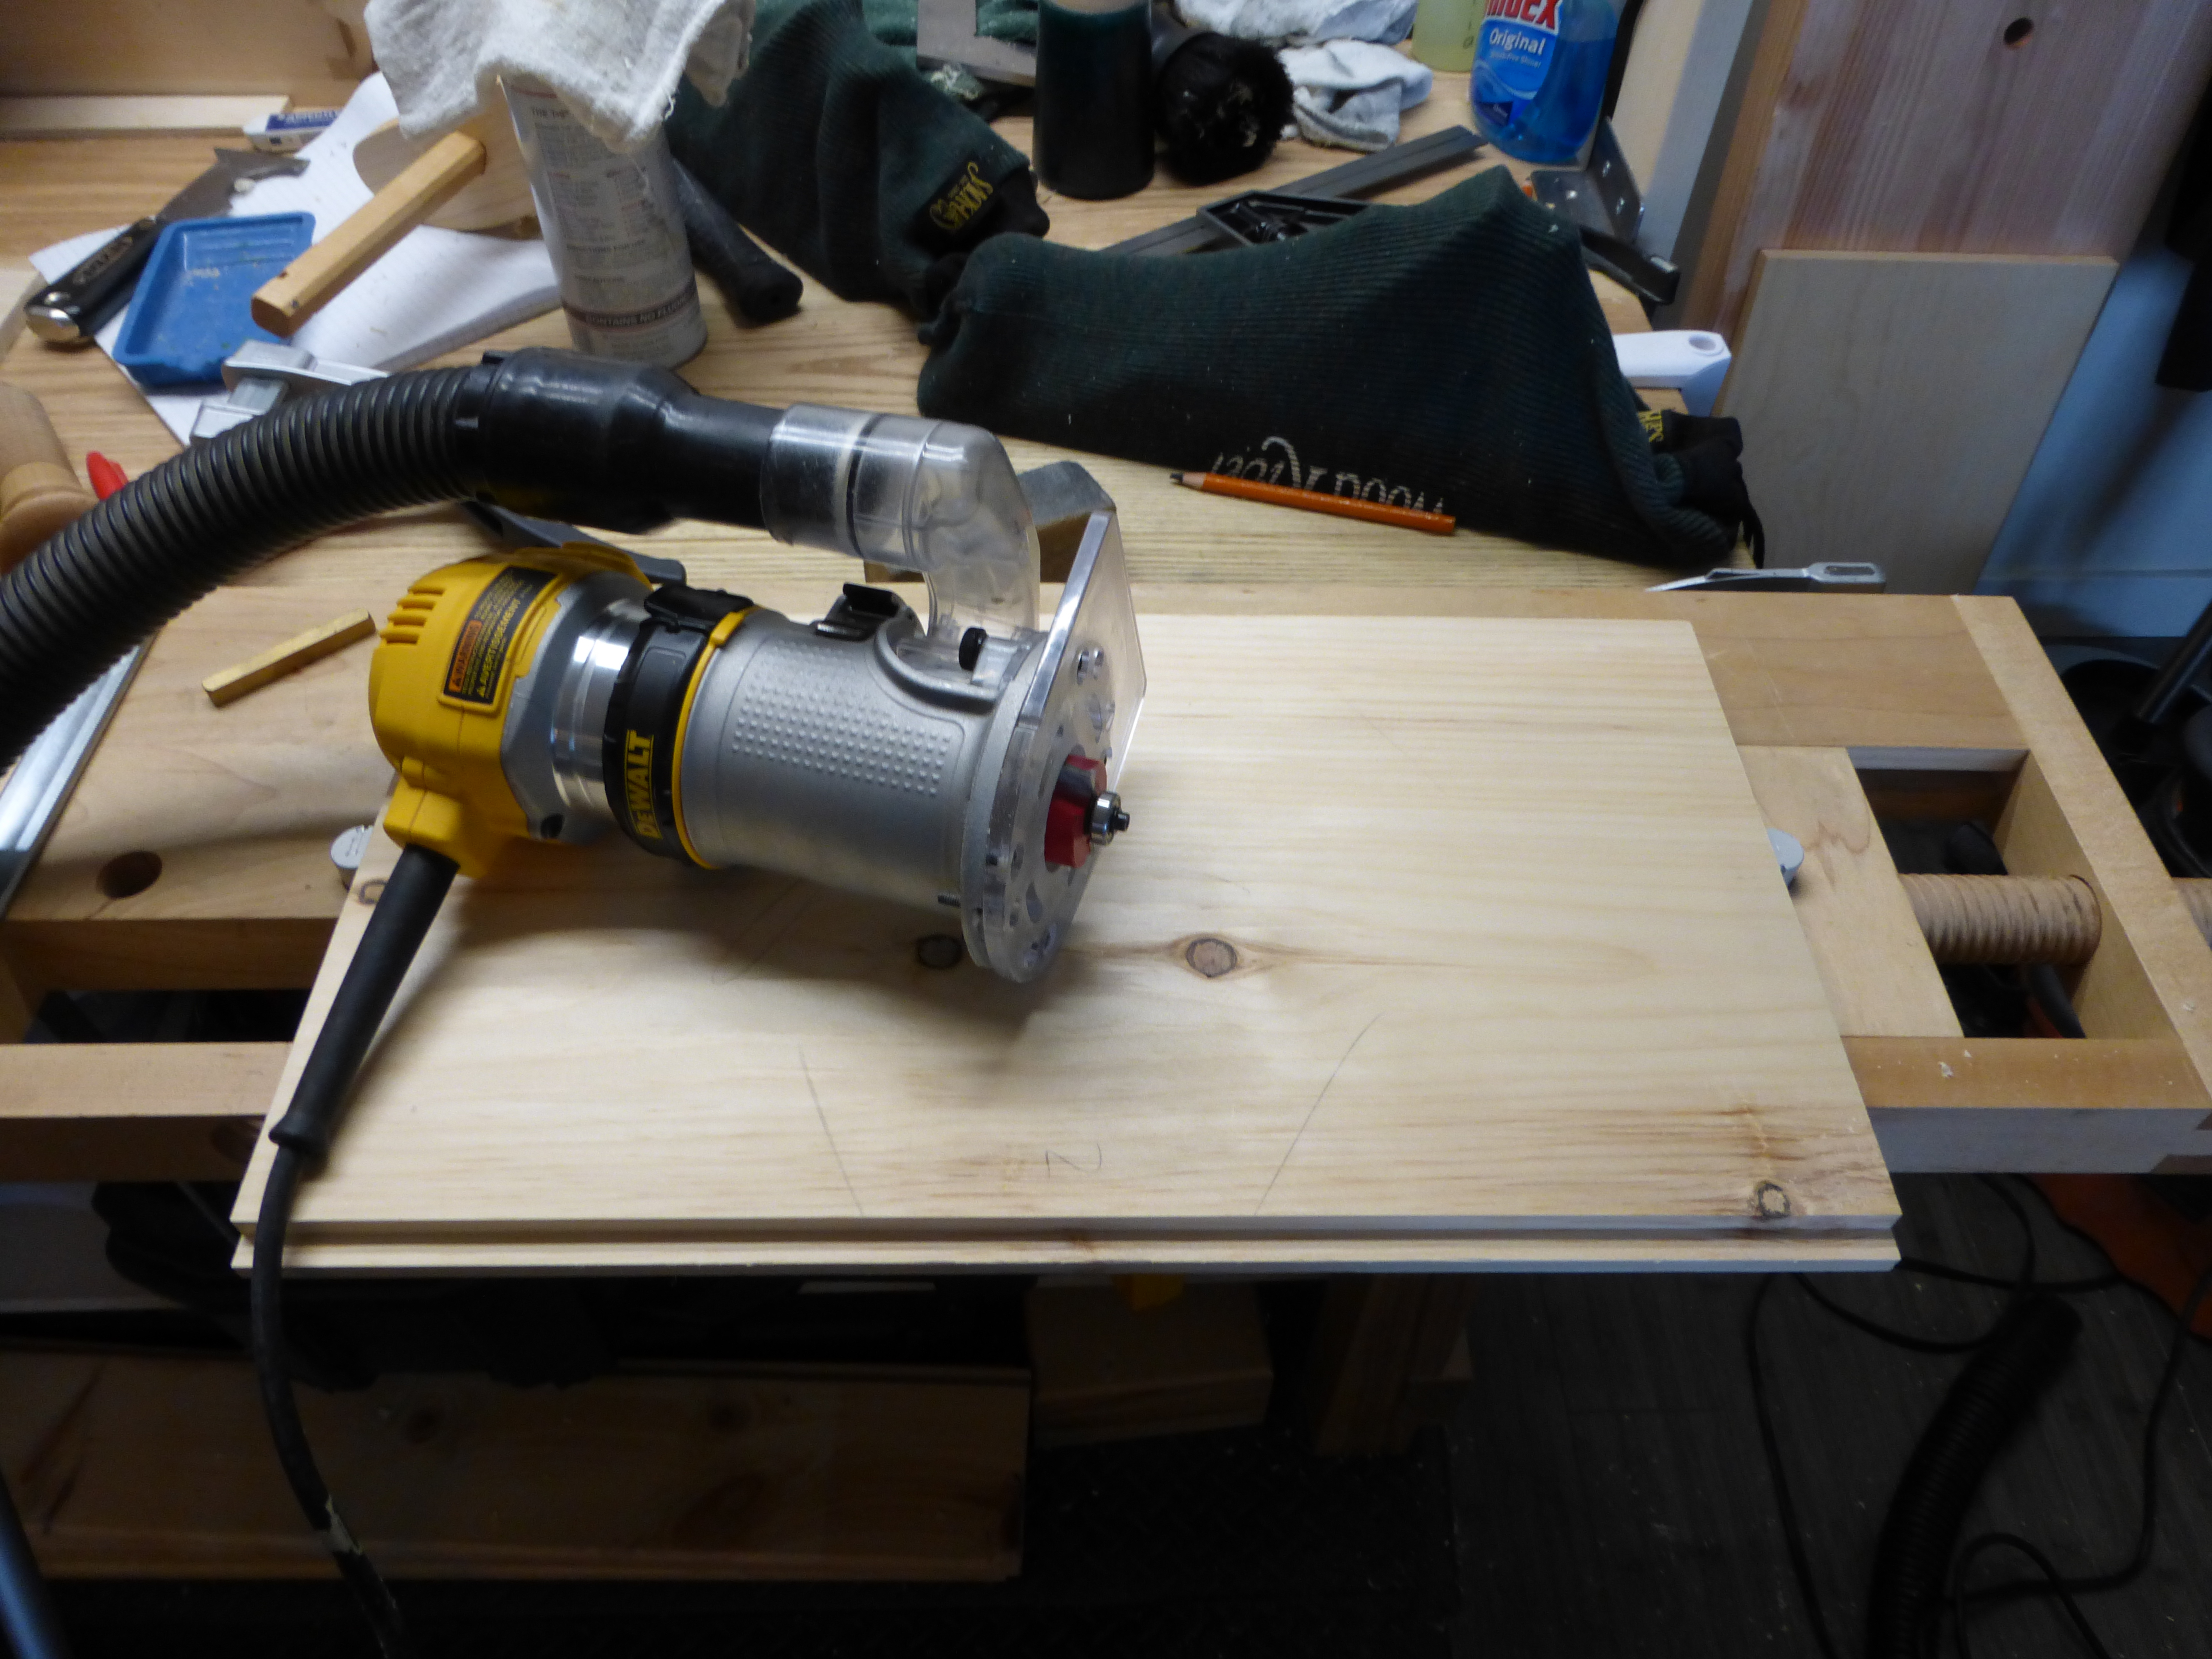
I made exactly zero weekday progress on the medium tool chest this week.  So when I woke up Saturday morning, I knew I had to get something, anything done.  So I attached the trunk pulls.

P1000198

They aren’t dogbones per the plans, but I’m no turner, either.

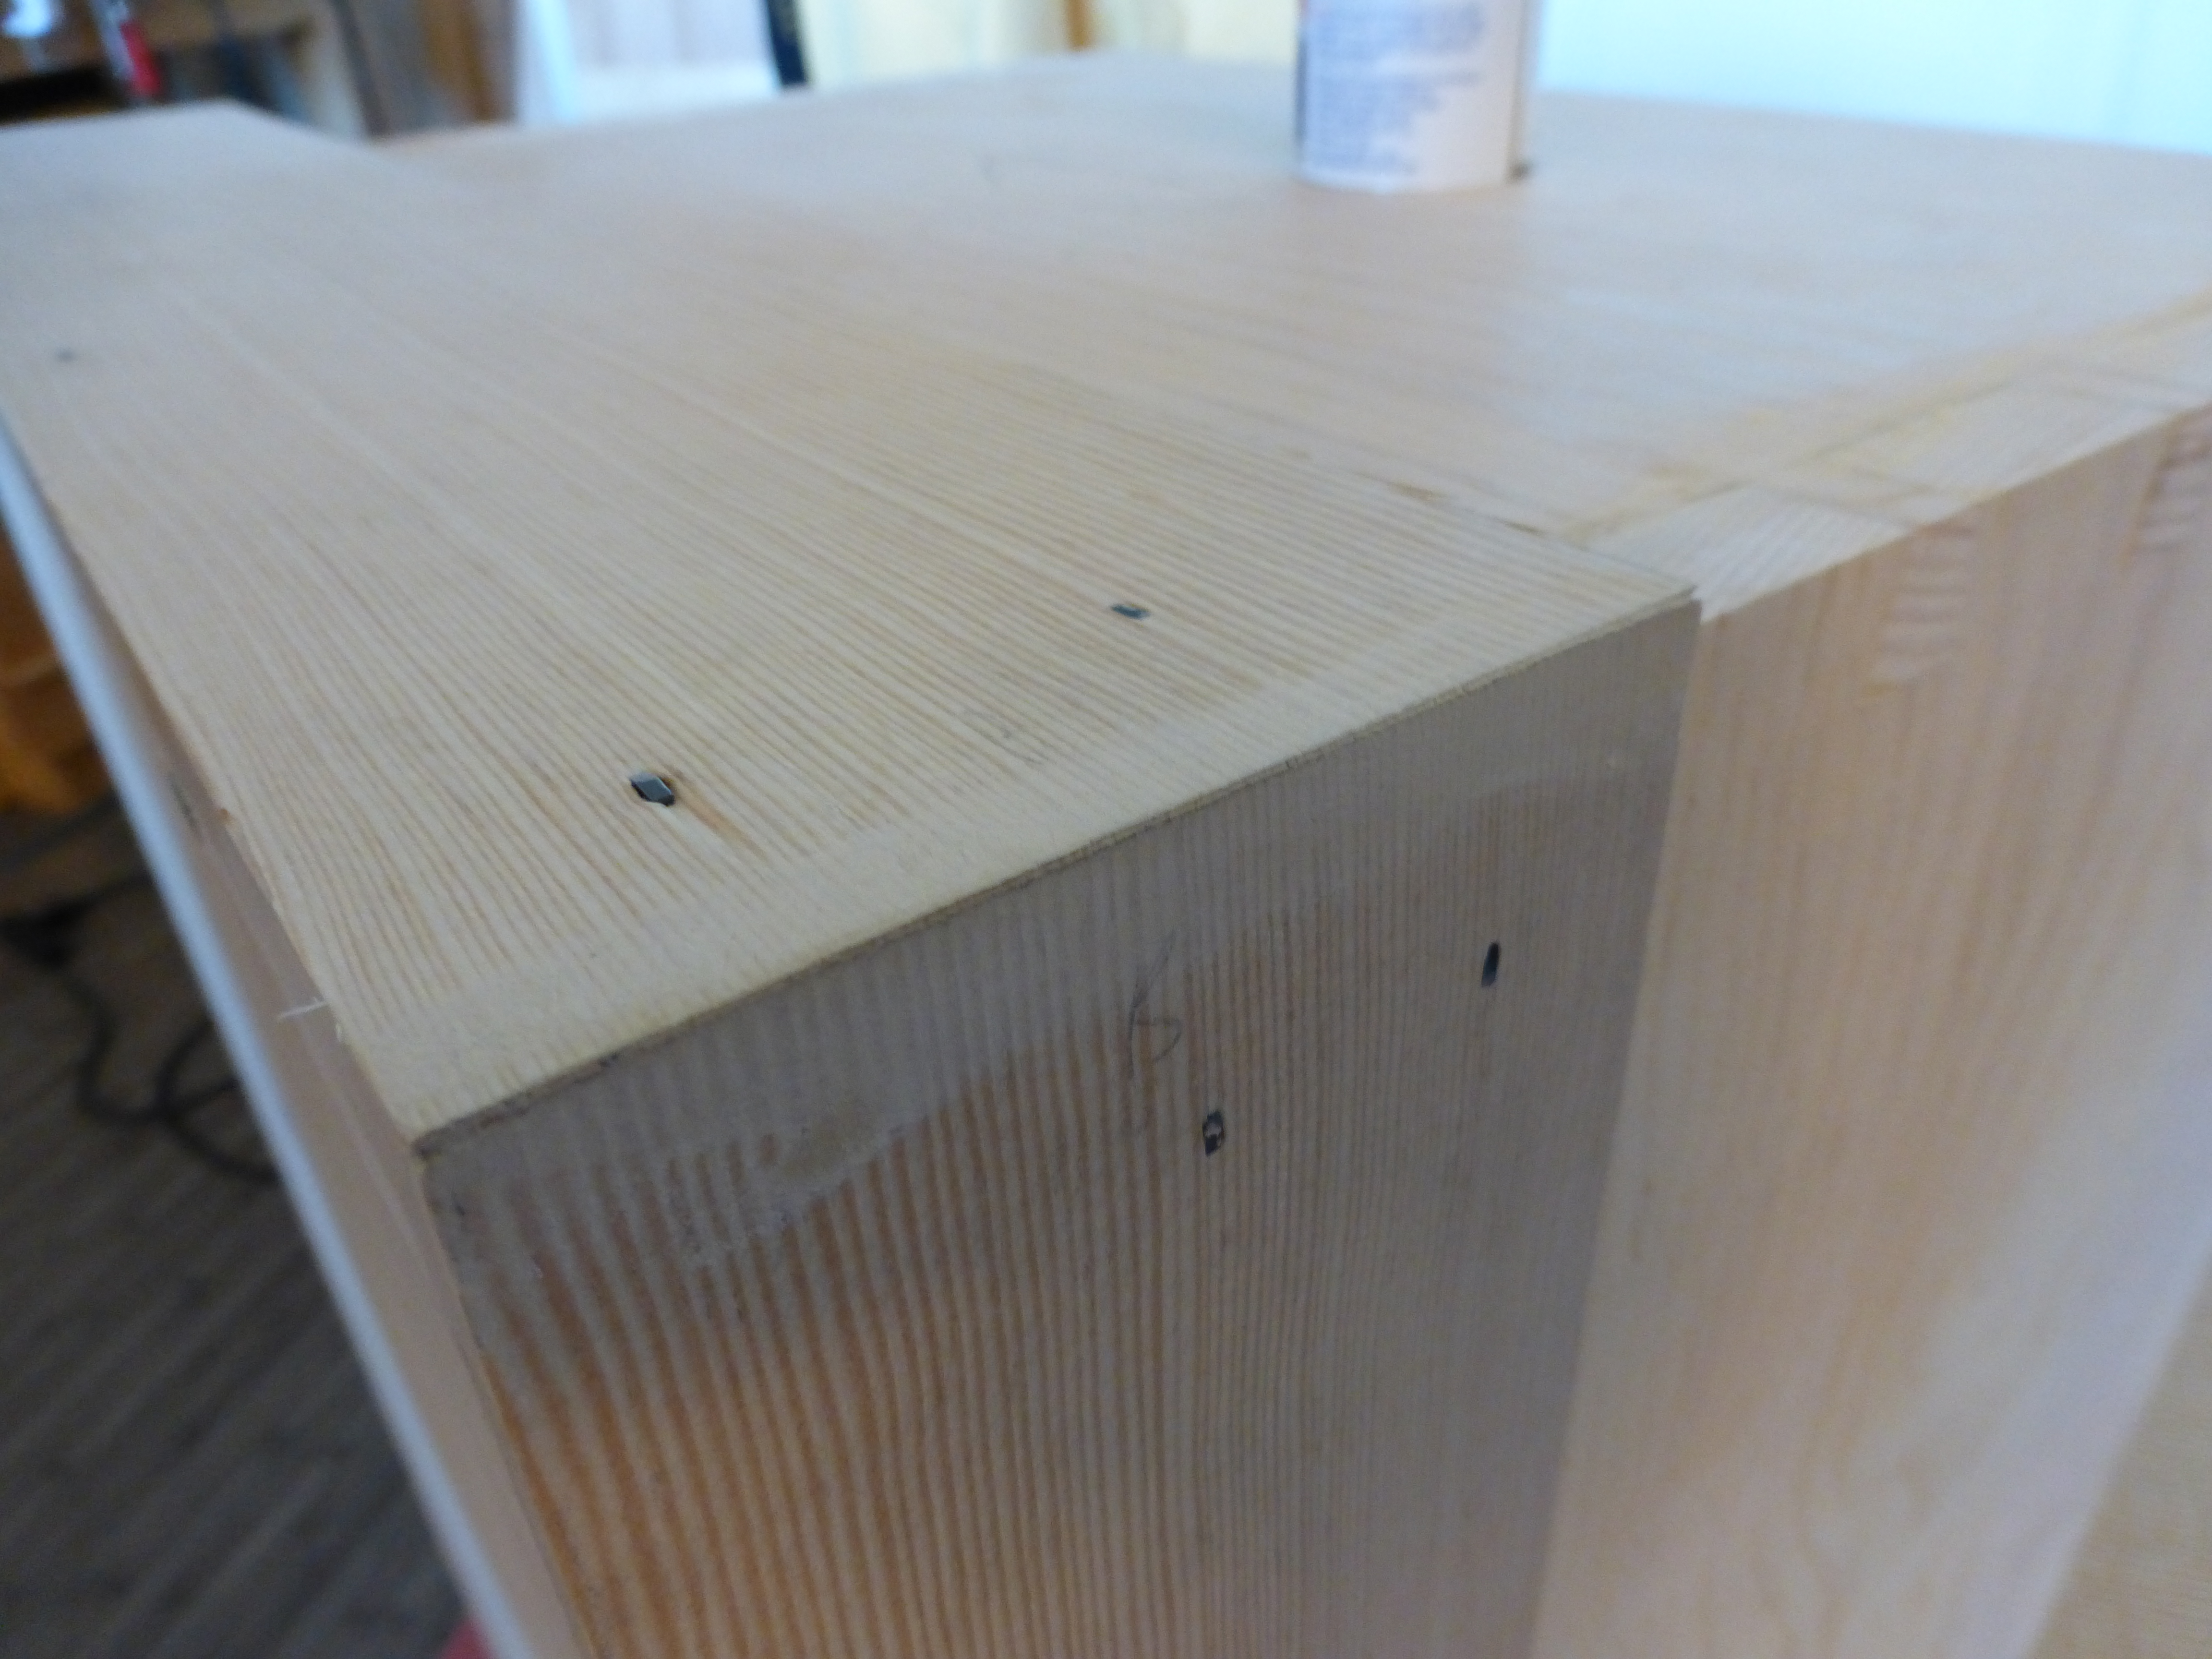
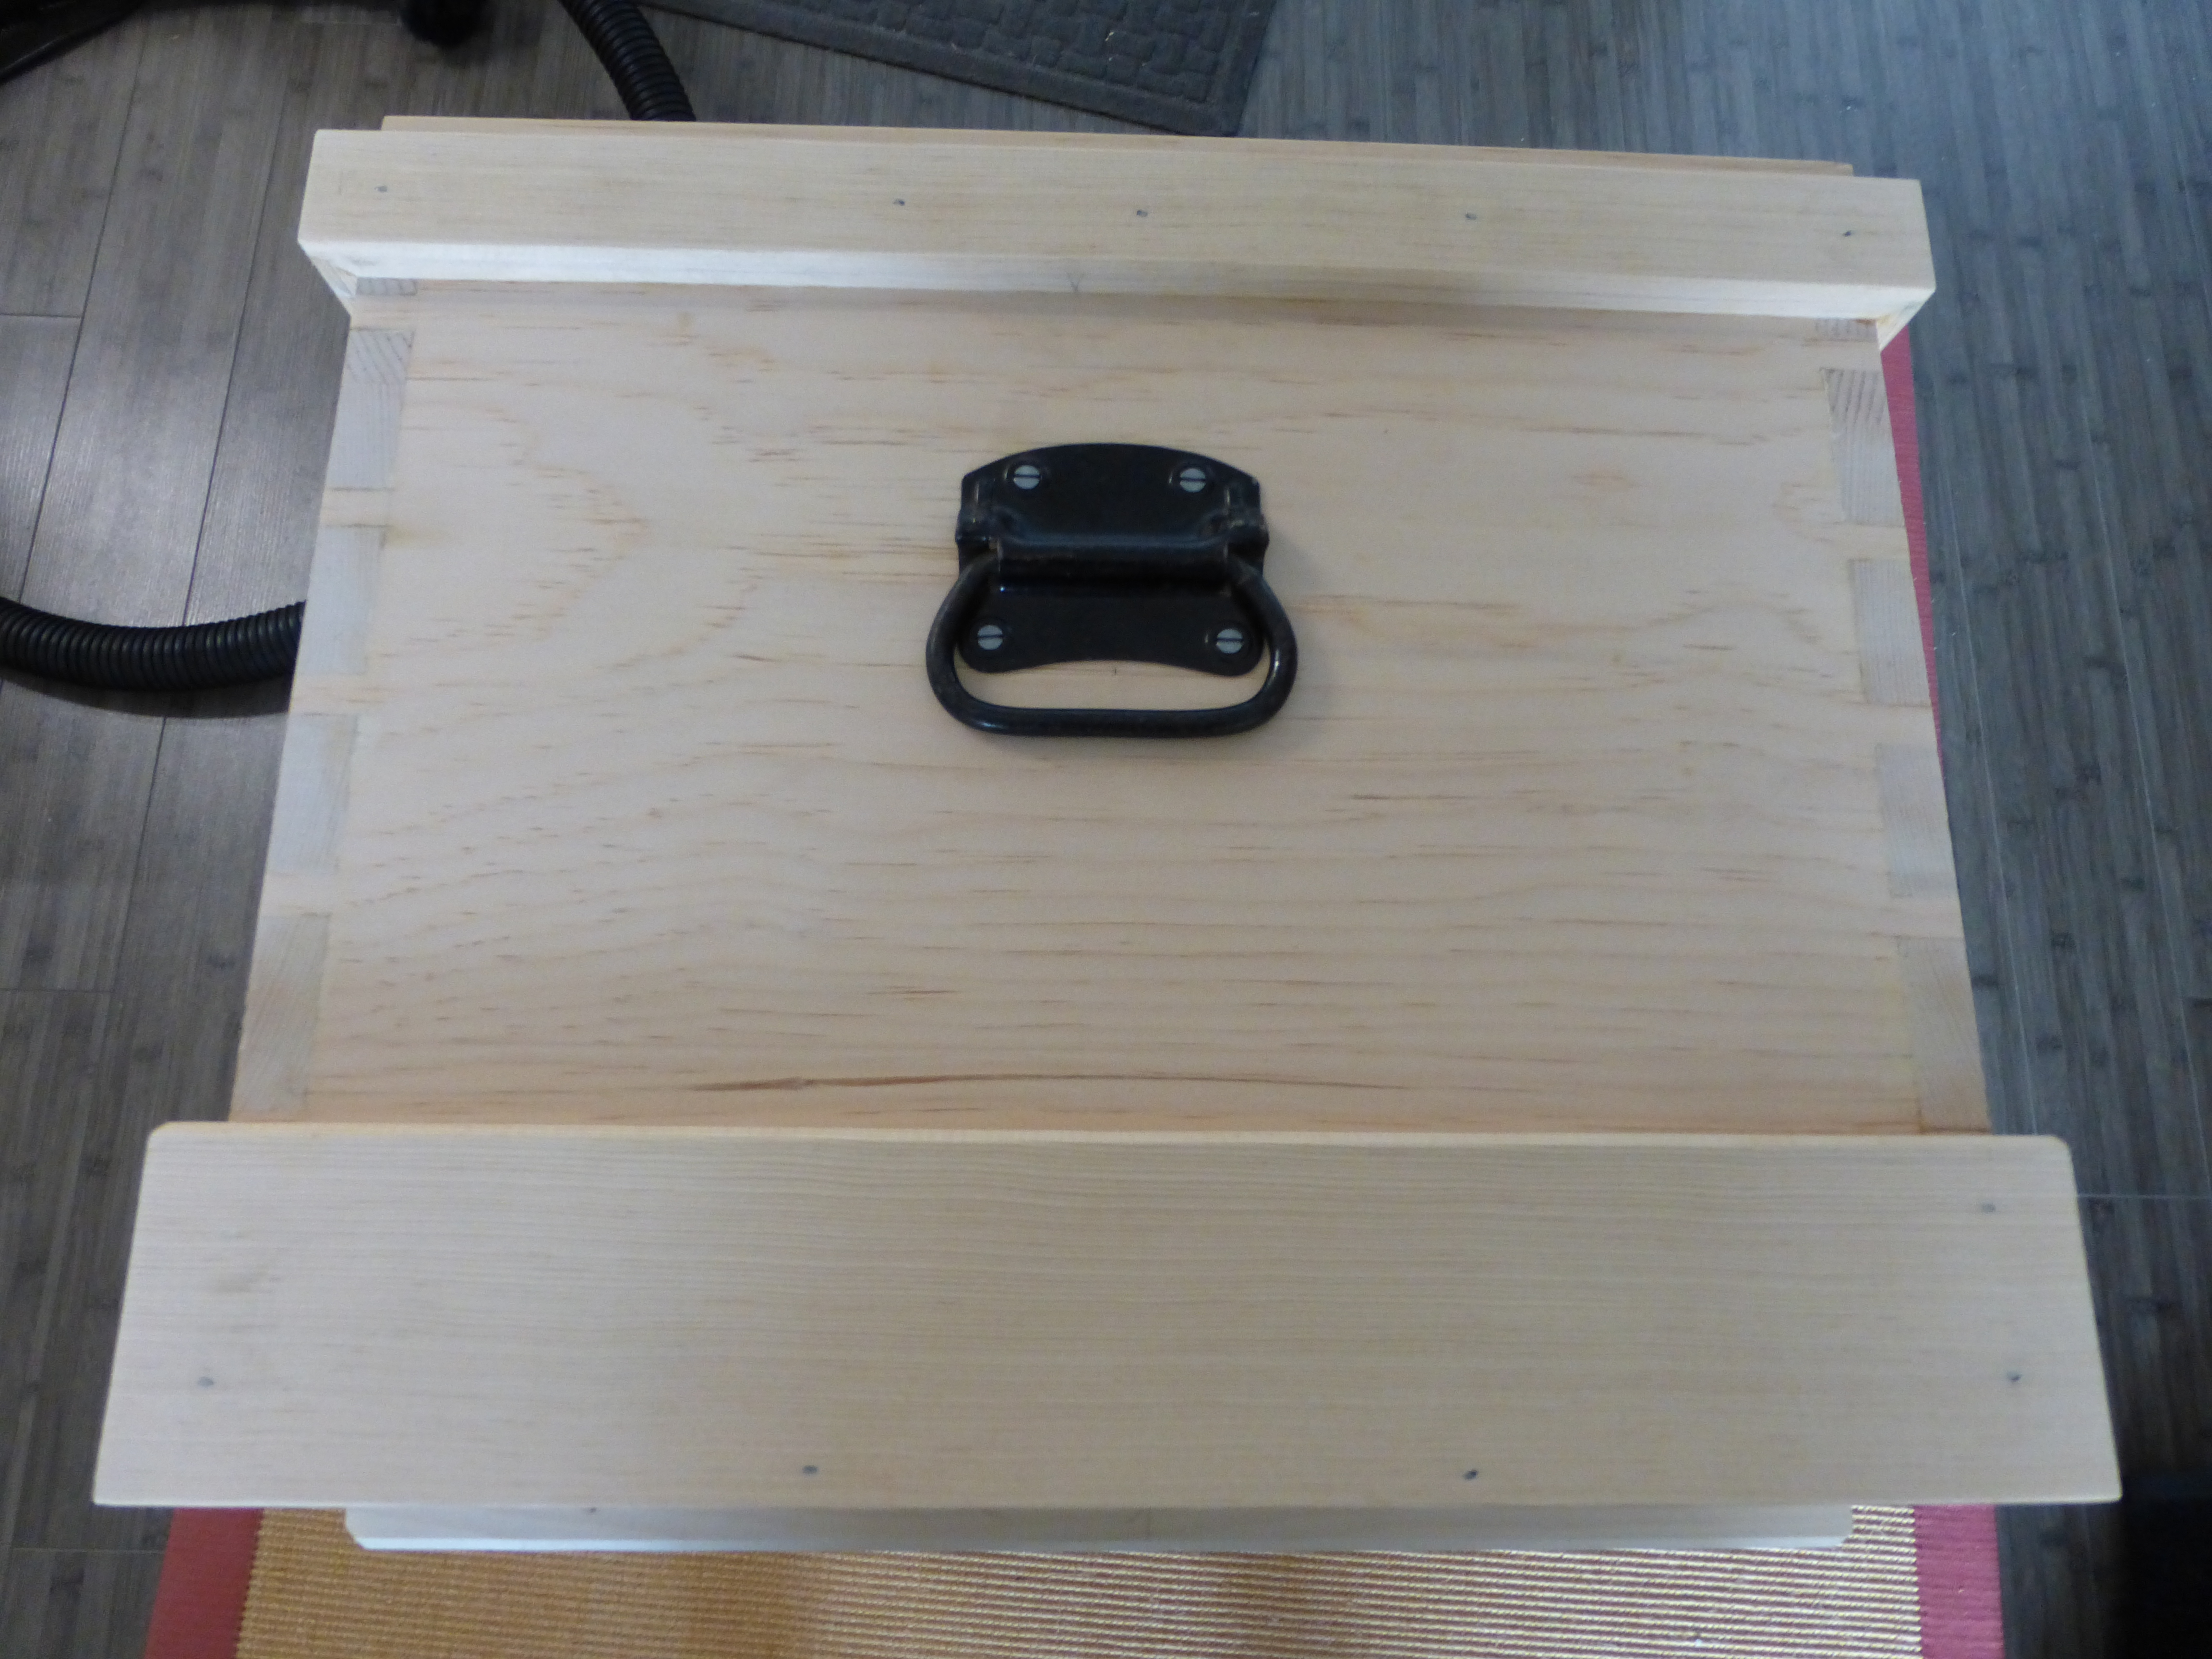
This might have been the second time ever attaching handles (and the other is on the shop stand for the thickness planer).  And the two pulls differ slightly in overall plate size.  But through careful marking and awling, they ended up as parallel and even as I could have hoped.

I even clocked the screws!

I even clocked the screws!  Thanks The Furniture Record!

Now the chest is much less unwieldy.  I plan to paint the chest on Sunday (it’s sanded and ready to go) and finally cover up all those tool marks and putty.

All in all, it’s not much, but it’s progress, which is important.  Then I will finally make the lid.

JPG

Some Paint is in Order

I hit a milestone over the long weekend on the medium tool chest project.  I am officially done with the carcass.  The skirts are fitted, the drawers are done and the saw tills and chisel rack are attached.  There is literally nothing left build-wise but the lid and dust seal.

P1000195

The second set of saw tills (for my backsaws) came out much better than the panel saw till.

The whole assembly has become a bit unwieldy, so I think I’ll pause the build process so I can paint the box and attach the handles.  I think two coats of paint on a lazy September day will do just fine.

Cards on the table, I’ve enjoyed the build, but I don’t think I’ll actually use this tool chest in my apartment woodworking shop.  It’s just not big enough for all of my tools.  I don’t own a set of moulding planes, but I definitely own more than just two panel saws and three backsaws.

That having been said, I stuffed the chest full of tools this morning, for the first and last time.

The well:

That doesn't even include the jointer plane I'm still intent on buying.

That doesn’t even include the jointer plane I’m still intent on buying.

The deep tray:

Yes, I'm a huge fan of Mythbusters.  Thanks for asking!

Yes, I’m a huge fan of Mythbusters. Thanks for asking!

And the shallow tray:

P1000194

Admittedly, almost all of this stuff (other than the small planes and the rasp) lives on my bench.

It felt almost disingenuous staging all of those tools for a couple of pictures, but I to confirm my suspicion that this was the wrong size tool chest for me.  Plus, I got some pretty good tool pron out of it.

I will still complete the entire build so I can gift the chest to someone.

JPG

What I Learned Today

I am intentionally procrastinating on the backsaw tills for the medium tool chest (the panel saw till was an interesting endeavor that I did not particularly enjoy), so next up are the rabbeted/nailed tool trays.  I started with the lower tray, thinking that any major mistakes would be hidden deep within the chest.

True to form, there are serious french marks and I split one of the ends down the middle, trying use 6d nails on the ends without (apparently) sufficient pilot holes.  After a quick reset with headless brads, the lower tray has really come together.

P1000184

The upper tray will be perfect, I swear.

Aside from that minor splitting mishap, the tray itself is actually joined together quite well.  The rabbets were easily split and cleaned up with a router plane and I was sure to size the end grain before gluing.  Four headless brads per corner cinched the carcass right up.  I can steam out most of the french marks and I’m rather happy with the cleanliness of the shoulder lines on the rabbets.

I'm rather proud of how tight the rabbets are.

You’d think I had any clue what I was doing.

The lower tray won’t be ready right away, as I still have to rip the board down to size.  In the meantime, I can attach the upper tray to its bottom and miter the the upper skirt.

Getting very close to being done with the carcass entirely.

Getting very close to being done with the carcass entirely.

Once the trays are done and the upper skirt and backsaw tills are attached, I’ll paint the carcass and affix the handles.  Then it’s just lid/dust seal and stuffing it with tools.

Oh, what I learned today was “don’t use a 5/64″ drill bit to predrill for a 6d nail”.

JPG

If It Works for Chop Saws…

… it also works for Miter Boxes.

P1000177

The ever-useful stop-block.

So much of meaningful woodworking is accurate and repeatable cutting.  Usually, this means knifewalls and careful crosscuts, followed by cleanup at the shooting board.  But why bother with the shooting board at all when each part can be perfect right off the saw?  The use of a stop-block (whether at the chop saw or the miter box) ensures that each piece is identical in length, without any of that silly extra measuring.

Speaking of silly, I found in my cabinet some of that no-run, no-drip PVA glue and used it to assemble the chisel rack for the medium tool chest.  I swear, you only get about 45 seconds of tack time before the glue grabs, and I really don’t think you need more than 15 minutes of clamp pressure before the bond is all but permanent.

P1000179

Never coming apart.

Speaking of the rack, just an FYI: there isn’t a measurement for it in the plans, but I would suggest you space the bottom of the rack no more than 1.75″ from the top of the lower runner.  Any higher and your chisel handles will protrude above the carcass line.  I learned this the proverbial hard way.

Just a test fit after adjusting the rack height.

Just a test fit after adjusting the rack height.  That’s the panel saw till at the bottom of the frame.

Lots more to do but other responsibilities call.  Hope everyone had a nice weekend!

JPG

It’s the Fit that Matters Most

After a fun couple hours of installing the red oak tray runners, it was time for fitting the red oak tray bottoms.  I hadn’t really fit any moving parts since the carriage vise on the Milkman’s Workbench.  From that project I learned the fine line between free movement and wracking.  For the lower tray bottom (pictured below), the magic length ended up as about a 1/64 inch gap when the tray is slid to the front of the tool chest (and about 3/128 inch when slid to the back, because the inside of the carcass is almost imperceptibly out of square).

Those are the vintage trunk pulls I bought for $20 off Ebay.

Those are the vintage Stanley trunk pulls I bought for $20 off Ebay.

I couldn’t get 8 inch wide red oak hobby boards at the home center, so I laminated the bottoms using 5 1/2 inch and 2 1/2 inch boards.  The smaller boards actually ended up being slightly thicker off the rack than the larger ones, so a quick pass through the thickness planer is required before I nail the pine tray carcasses to the red oak bottoms.

Speaking of the tray carcasses, I’m thinking of making the trays rabbeted and nailed (as opposed to dovetailed), because I’ve been wondering if I should have instead made the boarded tool chest Chris Schwarz posted about a couple months ago.  I don’t own a fillister plane, but I can pretty easily chisel-split some shallow rabbets and clean it up with a router or shoulder.  If I go that route (although at this point, not sure why I would), the trays would be good practice for rabbeting and nailing.

Before I go, one thing I’ve loved about this project is getting to use tools I didn’t even realize I still had, like wooden screw clamps.

P1000170

Unused since the stock prep for the now-defunct planing slab.

JPG

The Importance of Progress

“Every little bit helps,” they tell me.  In small space woodworking, that’s doubly true.  As any unfinished project clutters what would otherwise be livable space, making incremental progress on a project is paramount.  Not just from a woodworking perspective, but also from a domestic perspective.

The medium tool chest project has been hogging foyer space for a while now, but I’m hoping to make incremental process this week. The lower tray runners are in and all that’s needed to fit the middle runners is to tweak the length. My shooting board is getting a great workout on this project.

image

Because I’m a massochist and I love bearing my soul for the internet, there is a broken off 1/16 drill bit stuck in one of the lower runners. I went too fast with my eggbeater drill and the bit snapped. Because nothing in this universe is ever perfect (or there would be no universe at all). Also, now I need more 1/16 drill bits.

I should probably steam out some nigh-invisible french marks, because I’m still not very good at driving nails but always very good at neuroses.

image

After the middle runners are fit, I will add the upper skirt. That way, there is enough backing to take the headless brads for securing the 1/4 inch upper runners.

Then it’s just saw tills, plane chocks and chisel rack before the carcass is done.

Anyone have a recommendation for heavy duty trunk handles? Sans lathe (obviously), I cannot turn my own.

JPG

Doing the Unthinkable (Part 2)

I made excellent progress on the medium tool chest last weekend.  It now has a ship-lapped bottom and a lower skirt (with a simple chamfer).

My miters aren't perfect, but because it will be painted a dark blue, I can fix gaps with water-based filler.

My miters aren’t perfect, but because it will be painted a dark blue, I can fix gaps with water-based filler.

I cannot describe what a joy it was to use the clout nails and headless brads from Tremont Nail.  I had never used real nails before and am amazed at how well they are holding.  I messed up the spacing a little bit when driving the the clout nails into the floorboards, but I’m not worried.  And the headless brads were mostly for anchoring the corners of the skirt (with hide glue giving the real holding power).

Putty...

Putty and french marks.  What a hack job…

As for the shiplapping, it went exactly as planned.  I used a rabbet bit (with 7/16 bearing) in my trim router and made a huge mess, but the laps were crisp and fit well.  I left 2 business cards worth of space between each board when fitting them to the carcass.

P1000158

Habitual blasphemy!

Next on the to-do list are are the rot strips, drawer runners and laminated lid.  I have several pieces of now-acclimated box store common pine from which I can rip out some quarter-sawn strips, which should make the laminated lid very stable.

That will have to wait until the weekend, though.

JPG

All the Live Long Day

I am nearly finished dovetailing the carcass of the medium sized tool chest (just two sets of pins left), so it was time to hit up my local box store for some common pine and hobby oak.  As usual, I got weird looks from the contractors and floor staff as I dug through the 1×12 common pine boards for the flattest, clearest stock.

That's enough for floorboards, trays (other than bottoms) and runners.

That’s enough for floorboards, trays (other than bottoms) and runners.

After about 30 mins, I had uncovered 24 board feet of common pine that otherwise would qualify as select pine but for some small live knots here and there.  One board has some pith in it, so I will rip it down to glue up a quarter-sawn lid for the tool chest.

This is the worst board of the four and will do just fine as floorboards.

This is the very worst board of the four and will do just fine as ship-lapped floorboards.

I never knew my local death star sold 1/4″ and 1/2″ red oak boards.  Best part is, if you’re thorough, you can find quarter- and rift-sawn pieces for the same price as the flat-sawn BS that makes up most of the package.  Stable and straight, with no thicknessing required.

The best part is no thicknessing.

These are destined to be the middle and top tray runners.

The other thing on my agenda is an outdoor bench for a buddy of mine.  I’m using off-cuts from dimensional pine 2×4’s for the frame and will probably use a piece of leftover 1×12 common pine for the seat.  We’ll see.

JPG

Tiny Mortises (Part 2)

Does anyone own a 1/4″ mortising chisel?  I sure don’t.  Chopping tiny mortises for the breadboard ends of a marine cutting board for my father’s boat was a bit of a chore with only a 1/4″ bevel-edged chisel.

P1000148

They are done, at least.

The worst part was the inability to lever out the waste between chops.  A 1/4″ bevel-edge chisel is just too flimsy for aggressive levering, so I ended up using a square awl to clean out the waste between chops.  Definitely slowed down the process.

I also had to lengthen the mortises after they were initially cut, but that wasn’t too bad.  I just sawed down the walls (as if I were cutting a haunch) and then banged out the waste with heavy chisel chops.

Now it’s time to cut the tiny tenons.  I wonder, though, will drawboring work with an elongated hole the same way simple doweling does?

JPG

Solving Problems

Making a marine cutting board with breadboard ends and don’t own a plow plane?

Solution: tiny mortises (with drawbores).

Yes.  It's a mortise and it is tiny.

It’s a mortise and it’s tiny.

Two down.  Two to go.

JPG