Had to remove the lower tray but it’s in a safe place.
Done and done.
JPG
It’s always the small projects that cause the most trouble. The projects that most often remind me of a certain adage about the relationship between haste and waste.
My brother and sister-in-law asked me to create a mounting board with a simple moulding for a brass clock and matching barometer. It’s a rather nautical setup, and having no mahogany or teak on hand, I opted for some cherry. Simple enough, and a great opportunity to use my white charcoal pencils.
Instead of ripping down two strips from the same piece for the best color match, I thought I might be able to color match and laminate one wide piece and one thin piece. The color match is good, but not great. Once the seal coats of dark walnut Danish Oil are set, I’ll blend the color further with a coat of dark paste wax.
I have exactly no idea how they plan to hang the thing on the wall. I have a keyhole router bit if needed, but I would think a better way is hanging wire and rubber pads.
I’ll post a picture on Twitter once the clock and barometer are mounted.
JPG
I didn’t keep track of how many build hours the Medium Tool Chest took, but I can’t imagine it was more than 75 (not including travel time to and from my thickness planer). I enjoyed the making, but as you all probably know, I won’t be using the chest for my woodworking shop. It’s just not the right size for my set of tools.
I think, though, I’ve caught the tool chest bug (slightly more manageable than the workbench bug?). So my next tool chest will be a custom size more like to the Anarchist’s Tool Chest than the current one.
I learned quite a bit from the project, though. Some of it is apropos of an apartment woodworking shop, and the rest is just a workbench confessional. Here goes:
1.) Cut Nails are awesome. They hold well and look great. I think my previous aversion to metal fasteners was mostly because I’d never used real nails before. I still dislike screws, though. Even flathead.
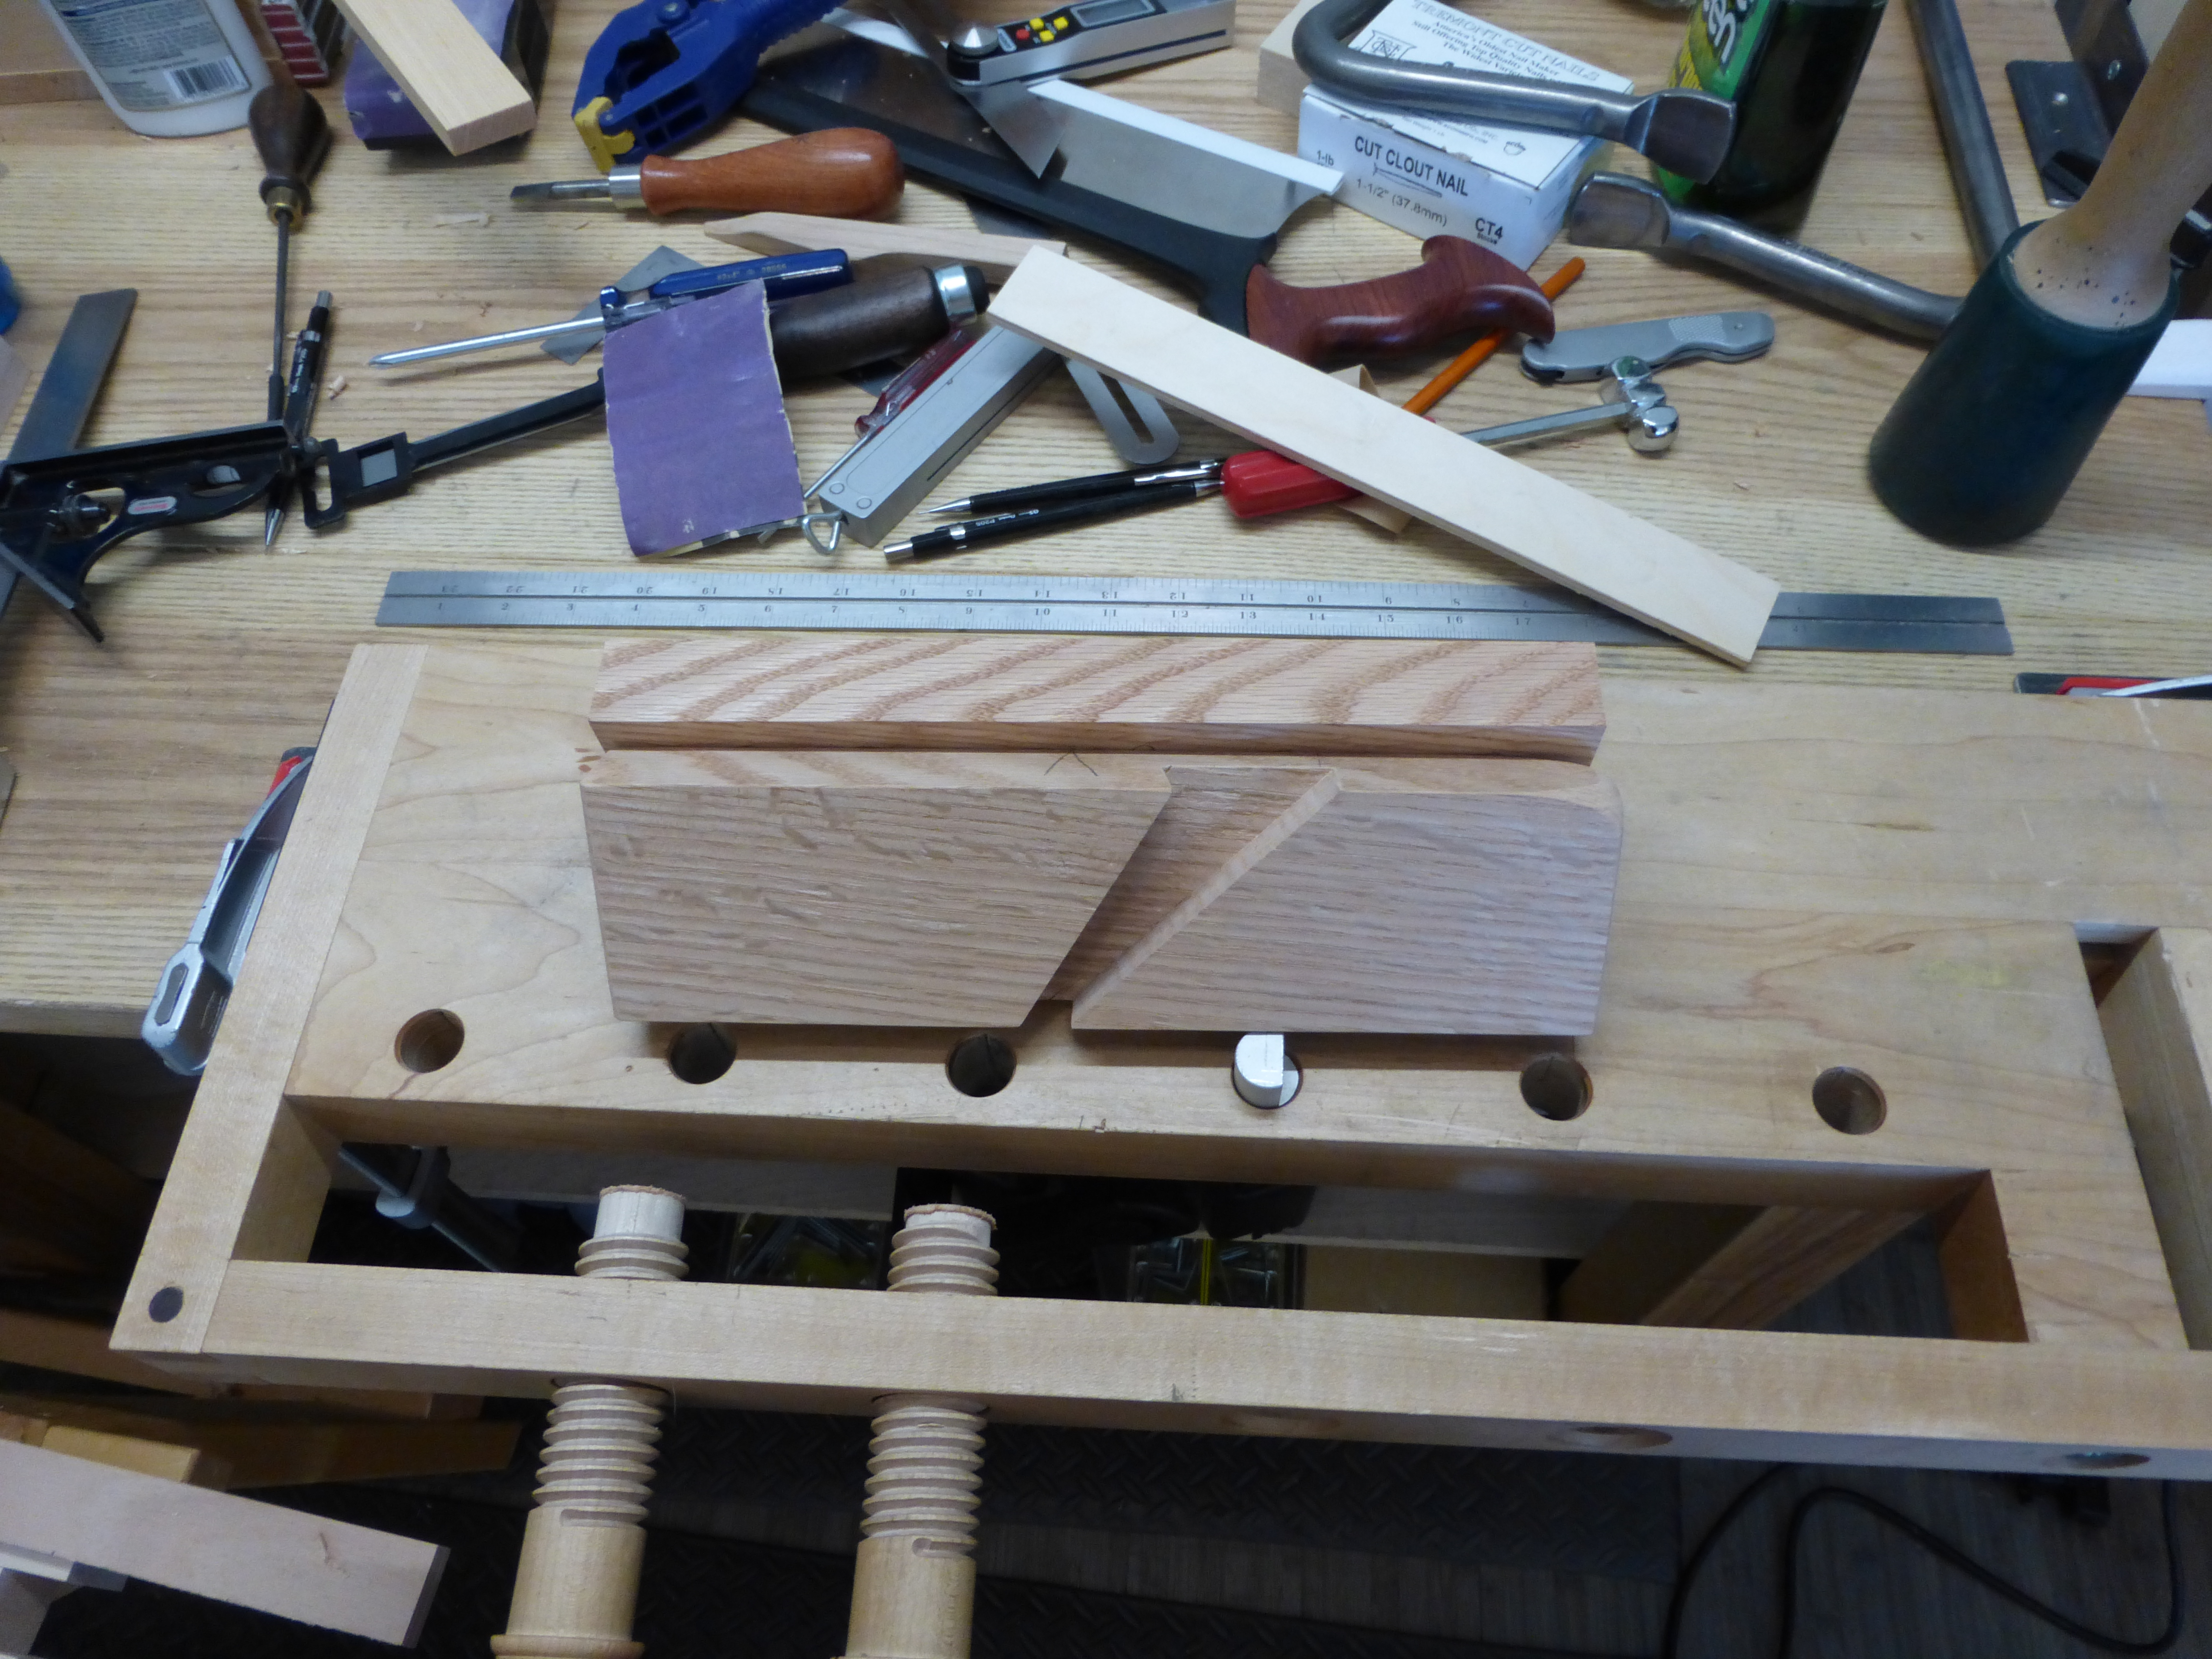
2.) Hand-cut Rabbets are fun. The tool trays are both rabbeted/glued together (because I’d had enough of dovetailing by the end). I didn’t own a fillister plane at that point, so I ended up splitting the rabbets (just like you’d split a tenon) and then fine tuning to depth with a router plane. End result: parallel, uniform rabbets all around.
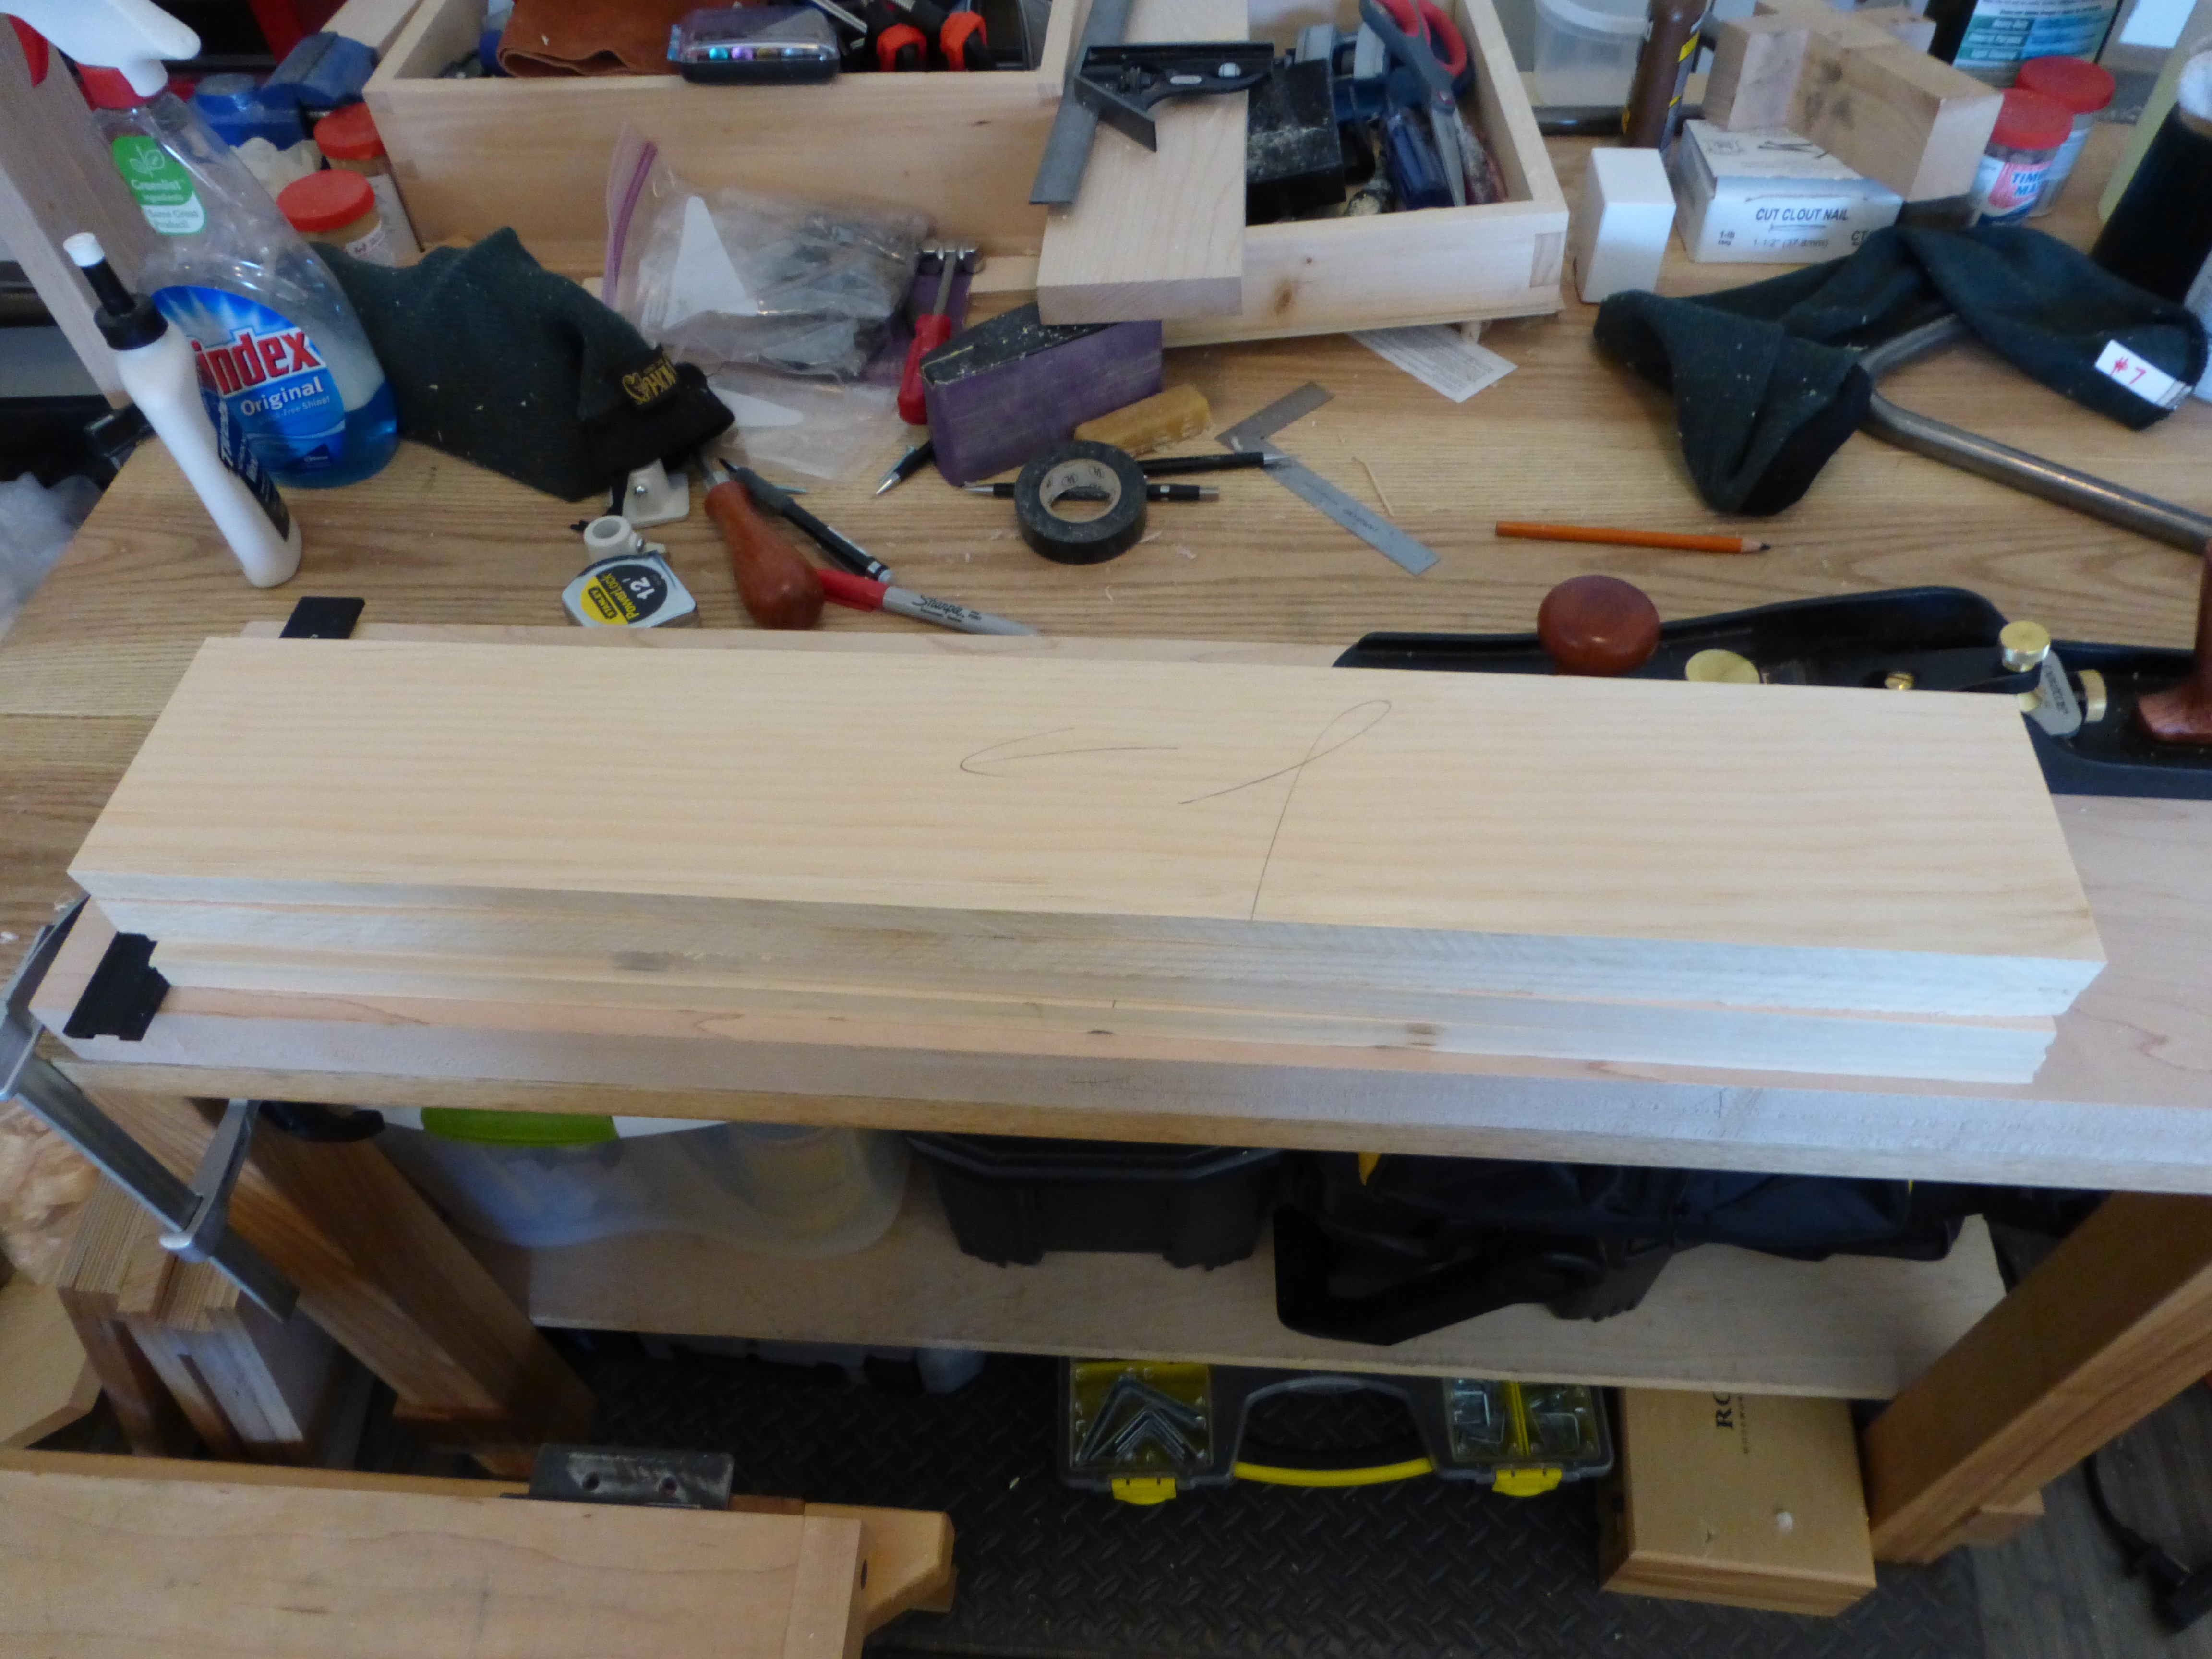
3.) Never skimp on flattening. I thought the oak bottom for the lower tool tray would pull the tray carcass into wind, but I was wrong. 7/16″ oak just isn’t rigid enough to straighten out 11/16″ pine. I should have flattened and/or thinned the tray carcass boards before joining. As a result, the lower tray rocked, even when full of heavy tools, which took some flattening.
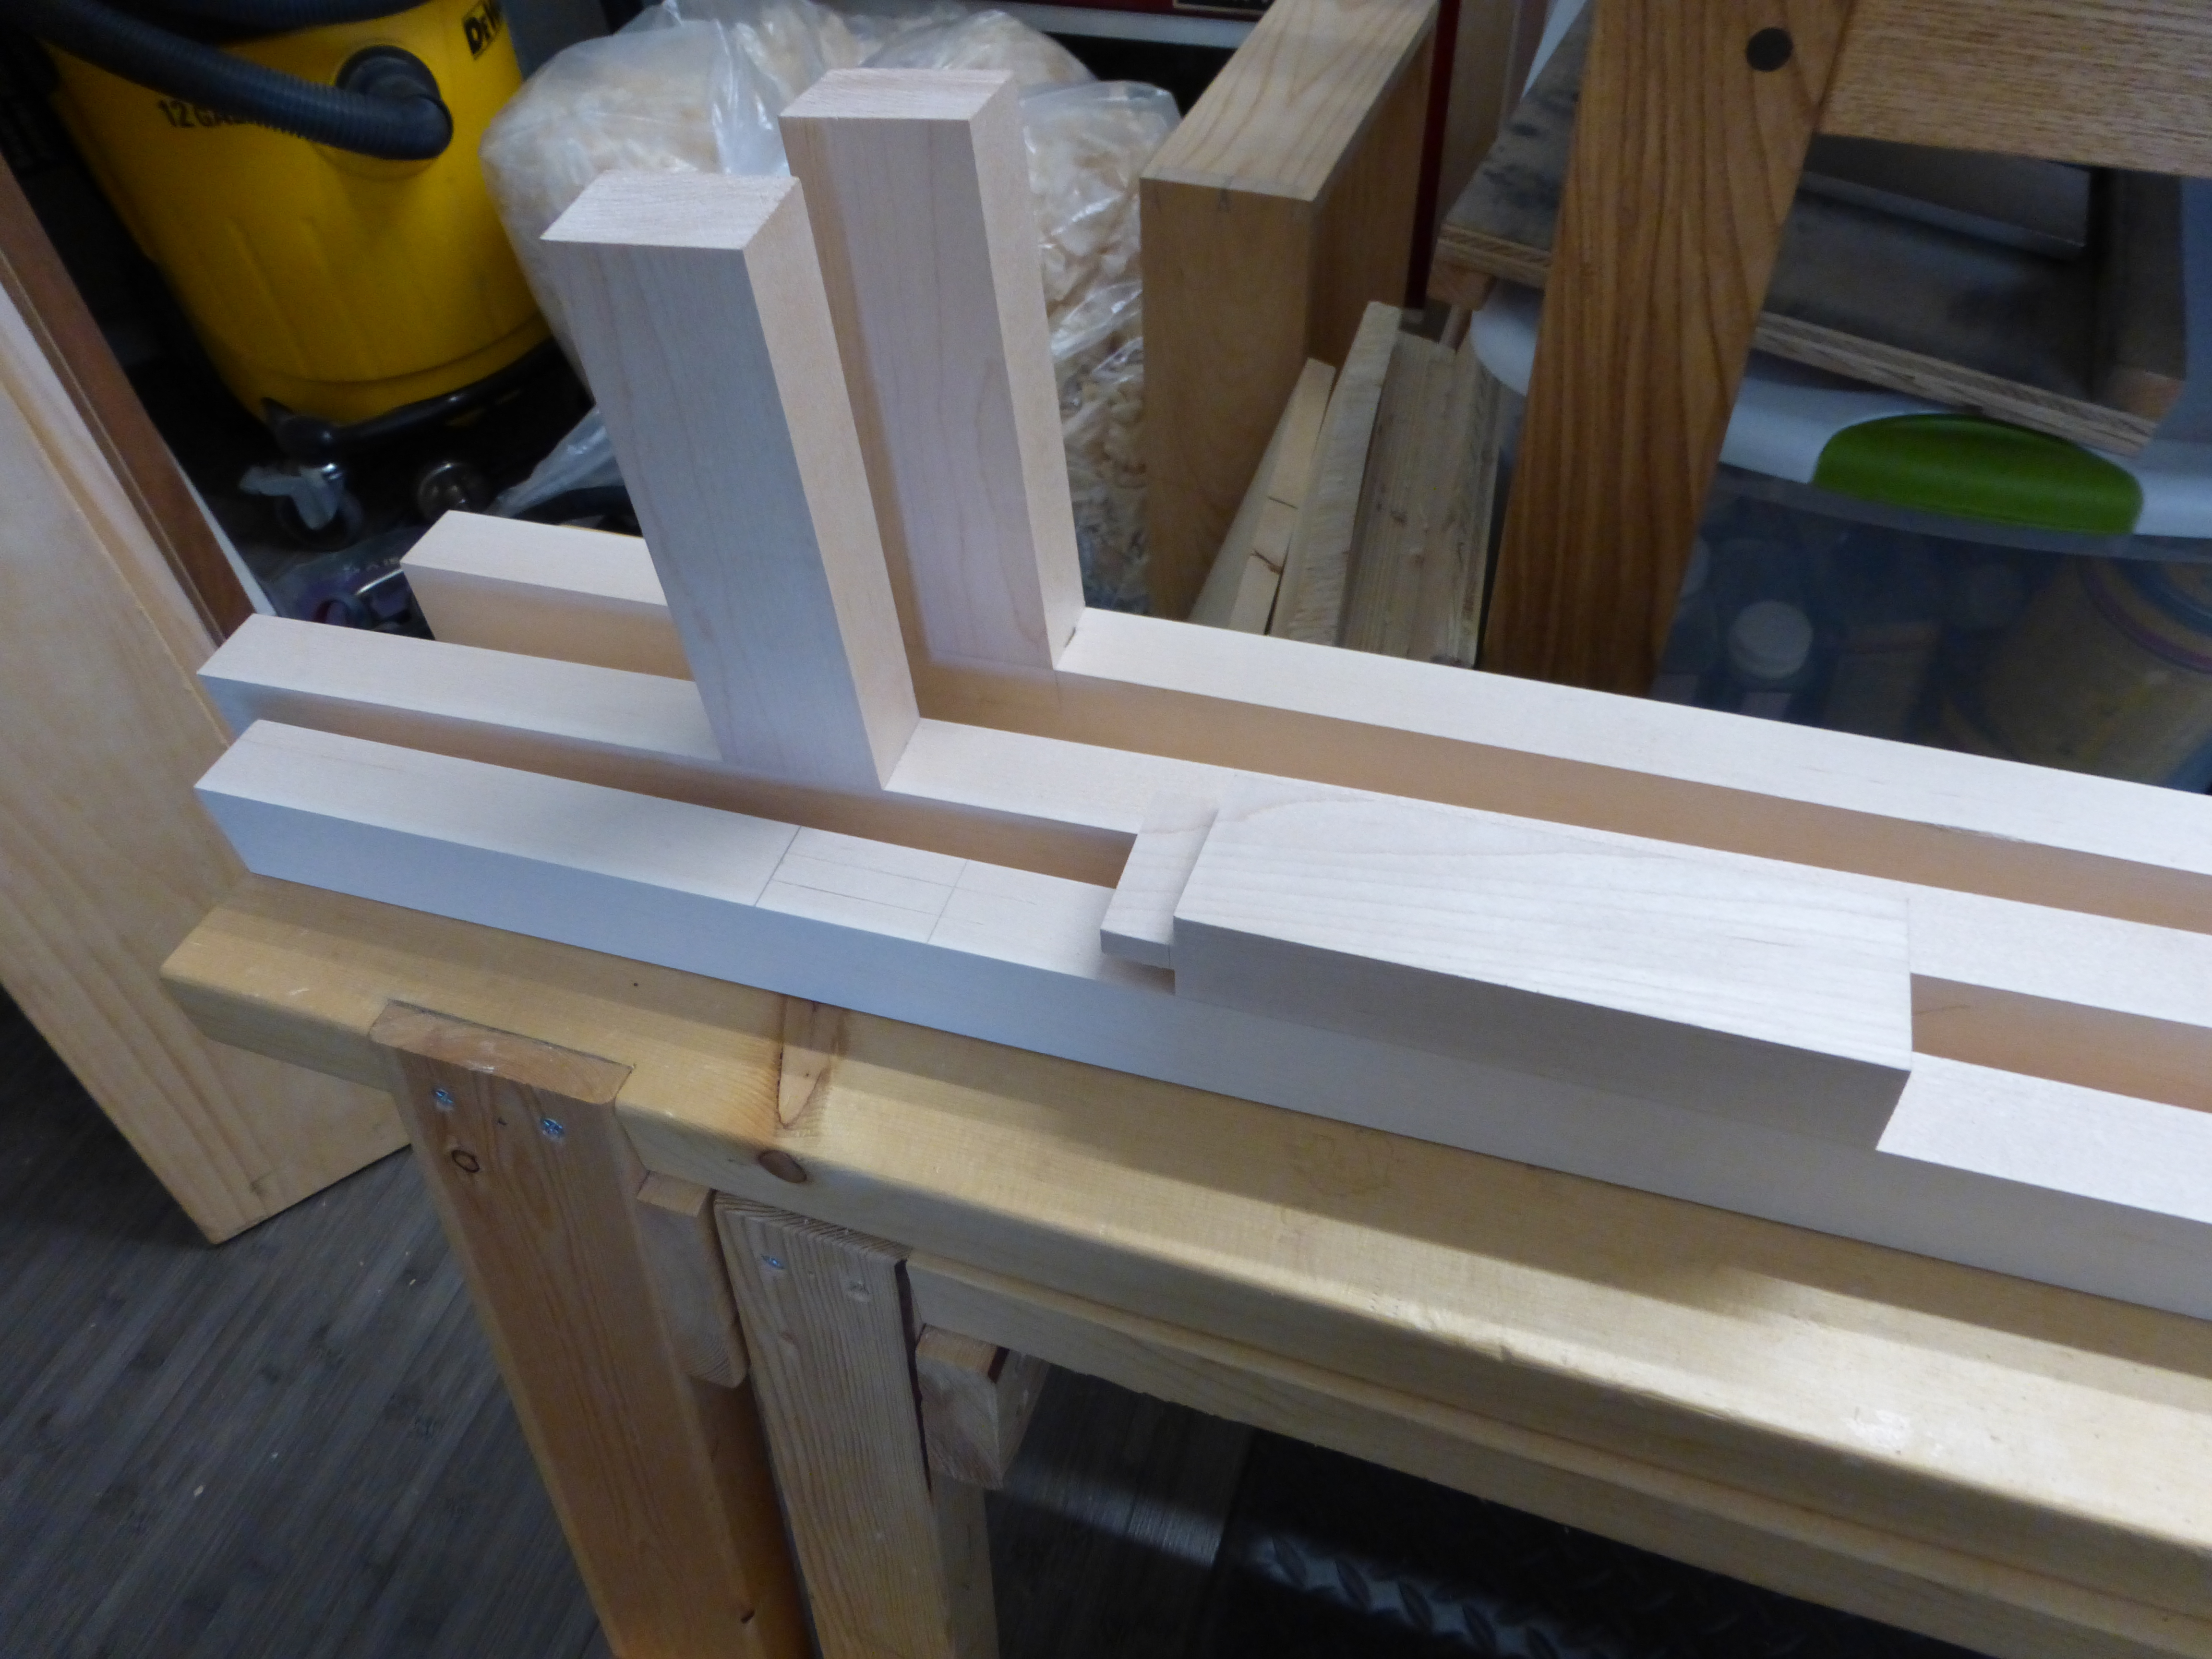
4.) Measure twice – cut once. The upper runners for the tool trays are 1/4″ shorter than they should be. Because and only because I set my combination square wrong and didn’t check it again before ripping them down. Sometimes we all need a reminder of the oldest woodworking adage.
5.) I really do need a larger workbench. The Milkman’s Workbench is great, but I made the transitional slab (with Veritas planing stop) to handle the longer stock in a (sort of) vice-less approach. It’s worked well so far, in conjunction with a DIY moxon vise.
Like I always say: now what?
Attaching the fence to the right-hand rebate plane wasn’t nearly as difficult as expected. I approached it like I would a drawbore, by first drilling the pilot holes in the fence, then using the same brad-point bit to transfer those holes to the body of the plane. After that, everything came together nicely.

I did drill all the way through the backer board into the dining table, but that kind of thing happens once in a while.
The above photo shows the fixed fence at max extension (5/8 inch). I am yet to elongate those holes to permit the fence to adjust to take a narrower cut, but that is just a question of marking and chopping out two slots in the fence. After the fence is fitted, I’ll recess the scoring spur and the whole thing will be ready for a coat or two of Tung Oil.
I did take some quick test cuts with the fixed fence and was quite pleased. I’m assuming the slight slope at the edge of the rabbet is due to my unfamiliarity with proper fillister plane technique.
I hope to start work on the left-hand plane this weekend.
JPG
I don’t usually do tool recommendations, but I have been very pleased with my new Warrington Pattern Hammer. It’s nothing special, just a $25 dollar amazon find, but it’s worked well so far.
I may have lucked out, but the hammer is well handled and straight, and the balance of the 12oz head feels good in my hand. If you’re looking for a relatively cheap woodworking hammer, you could do worse.
JPG
When I deepened the recess on the set of poor man’s rebate planes to accept a 5/8 inch bench chisel, the initial 1/2 inch wedge for the right-hand version became useless. This presented two issues: (a) the bed angle itself was sized against the old wedge, so the new wedge must be custom fit; and (b) there had to be an easier way to get the correct bevel than just starting from a four square blank and planing down.
In addition, there was the problem of not having any 5/8 stock, but I fortunately had enough remaining quarter-sawn red oak to resaw some wedge blanks. Plus, the waste from the resaw, at just over 1/2 thick, is probably usable for something else.
The initial recess was marked against a 1:4.5 angled wedge (as recommended in the Paul Seller’s video), but after all the trimming and refinement of the bed, I think it’s now closer to 1:4. Also, I tried marking the actual bevel angle directly on the blank and rip down along that bevel. This gave me matching right and left wedges (for the matching right-hand and left-hand planes) that need less work overall in refining the fit.
I’m excited to finish up the fence and put the right-hand plane to work (after I figure out the best way to attach the scoring spur). I might even buy a second 5/8 inch Narex chisel so I don’t need to swap back and forth once the left-hand plane is done, but we’ll see. Here’s hoping using quarter-sawn hardwood will increase the longevity of the planes.
All in all, it’s been a good exercise, and very enjoyable learning basic plane-making. I’m certain the left-hand version will come out even better than the right.
JPG
I, like most woodworkers, have a Lee Valley/Veritas wish list. For some time now, just sitting in the “Purchase Later” section of my shopping cart, has been a skew rabbet plane. In fact, it is next on my list of impulse purchases. Or at least it was, until today. Because I’ve decided to make my own rebate plane instead.
If you haven’t already, I highly recommend creating a free account at Paul Sellers’ Woodworking Masterclasses. There are paid project videos, but there are also free-to-watch how-to videos on a wide range of topics. One installment in the “Poor Man’s” woodworking tools series is a rebate plane that uses a chisel for a plane iron.
I had some lovely quarter-sawn red oak scraps laying around the shop, so I decided to try my hand at planemaking.

Actually quarter-sawn.
The first rebate plane came out so well that I decided to make both right and left versions. The right version originally used a 1/2 inch Narex bevel-edged chisel, but I decided to increase to 5/8 (for both aesthetic and practical reasons), so I need to make a new wedge.
Both versions will have an adjustable fence. The right version will also have a nicker (or “scoring spur”) made from a re-purposed (read: chipped) wheel marking gauge cutter, for cross-grain rabbeting.
Suffice to say, I now have a Lie-Nielsen wishlist that includes a set of planemaker’s floats.
JPG
Sometimes, my design ideas are too ambitious for my contemporaneous skill set. If so, I leave the design on the shelf for and come back to it. Such is the case with the angled-leg plant stand I designed a while ago.
So the other day, thoroughly sick of flattening a recently glued-up panel, I decided to cut the angled tenons for the plant stand rails. After some trial and error at full size, I decided a leg rake of 2.5° was aesthetically better to me than the as-designed 5° angle. Though marked at the correct angle from a sliding bevel, the crosscut tenon shoulders were not perfect. I had to use a shoulder plane to tweak the angles, but after a while, each rail seated nicely into a test mortise on one of the legs.

I cannot stress enough how hard this maple is. I had to resharpen my shoulder plane while tweaking the angles.
There is still one more mortise to chop, and then I have to figure out how best to shape the center hub of the plant stand. But all in all, as I’m fond of saying, “progress is important”.
JPG
I finally got around to preparing the stock which will comprise the main panel of the medium tool chest lid. In order to minimize movement, I will be laminating the lid from four pieces of rift- and/or quarter-sawn pine. I say “and/or” because I don’t really know where the transition point between the two lies. Suffice to say, it’s not flat-sawn.

If someone would like to explain an empirical difference between rift-sawn and quarter-sawn without needing a chain of custody on the tree, please do so in the comments.
The loveliest part about non-flat-sawn lumber is how it resists warping. After flattening and thicknessing, the 3/4 inch nominal stock is still 11/16 inch in thickness. This means that, straight off the saw bench, there was no more than 1/32 of twist across roughly 30 inches of length on any of the four boards.
The stock for the dust seal around the lid has been ready for a while, so it’s just a question of getting the panel glued up and fitted to the chest itself. I have already cut both sets of tails on the side seals and one set of pins the front seal (on the show corner) and the lid itself will come together quickly once the panel is fitted.
I’m just looking forward to clearing this project and giving it to the recipients.
JPG
Exactly one year ago today, I entered the “writing-about-woodworking-on-the-internet” scene. Though (not?) much has changed since then, the goal here at http://www.TheApartmentWoodworker.com remains the same: show that meaningful woodworking can be done in a small space with a few simple hand tools and some basic know-how.
I am grateful to all of my readers for making this first year so enjoyable and successful. I have much to say (and would be shouting it at the void regardless) and knowing that what I write can help people enjoy the craft is a significant reward. Thank you all for reading. I am glad to have you as part of the Apartment Woodworker family.
There is still much to do and say. Here is to the next year!
JPG