I made a ton of progress this weekend on both the new workbench (which will henceforth be known as the Stent Panel Workbench) and the traveling tool tote. And I did it all through cut corners, quick fixes and general expedience.
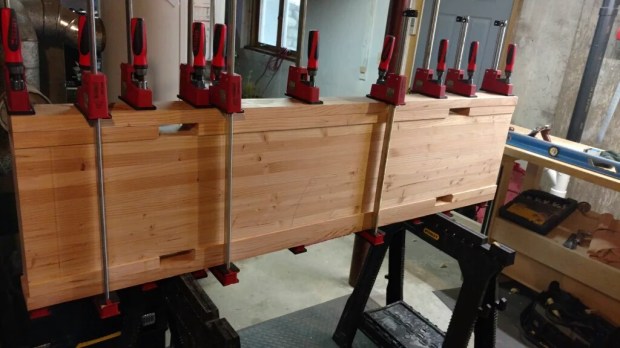
First, I laminated another leg for the workbench. But this time, I did it all at once. The tenon board fit so tightly, it made sense just to build the leg around the fitted joint. Even though the tenon board itself is slightly out of square with the underside of the table top, I can flush it to shoulder boards (which I know are square) and everything will be fine.

The back legs are only three laminations.
While the glue was drying, I added a rack to the back of the tool tote. A small scrap of cherry was almost perfectly sized to make spacers for the oak strip, so the rack is two-toned. And I don’t care one bit.

Jointer plane, smoothing plane and router plane, if you were wondering.
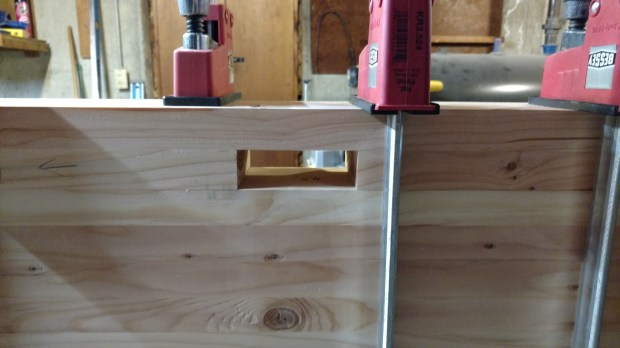
I also added a simple panel saw till to the front of the chest. It’s best practice to screw in the till (one through the tongue and one from under the floorboard), but that was really annoying last time. So instead, I skipped the screws and glued it in place (with hide glue). I worked really hard to make the carcass square and plumb, and my reward is less fussing with slotted screws in tight spaces.

I’m not even adding a backsaw till. They can live in the sliding tray.
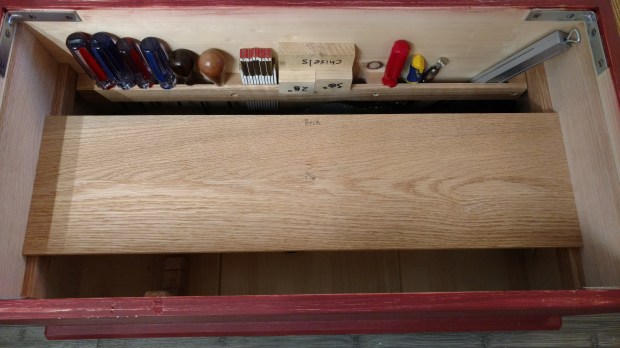
Finally, I fit the bottom for the sliding tray. After shooting to length, I noticed a very slight twist overall. Rather than play about, I sent it through the thickness planer for an extra pass and will rely on the tray carcass (made from 5/8″ quartersawn pine) to bring it perfectly in wind.
I did not cut corners when shooting to length, though; it’s absolutely perfect.
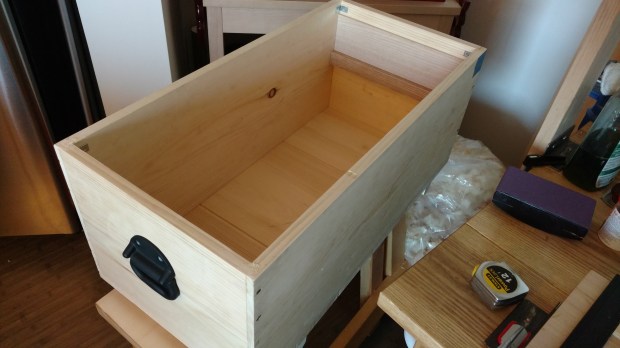
Even without the organizers, the tool tote really shined today. It’s manageable when fully loaded, but would benefit from some rubber casters.
All in all, not bad for a single day in the shop.
JPG