One of the woodworking tasks with which I struggle mightily is hand-planing the twist entirely out of thinner stock. I have found, though, that careful alignment during the glue-up is one way to manage (and maybe even eliminate) any remaining twist in a thinner board that is part of a larger panel (like a table top). This won’t work for boards that are majorly out of wind, but there is a very simple jig you can make from scrap to perfectly align two boards in a glued butt joint.
I think they are technically a type of caul. I don’t know if they have a proper name.
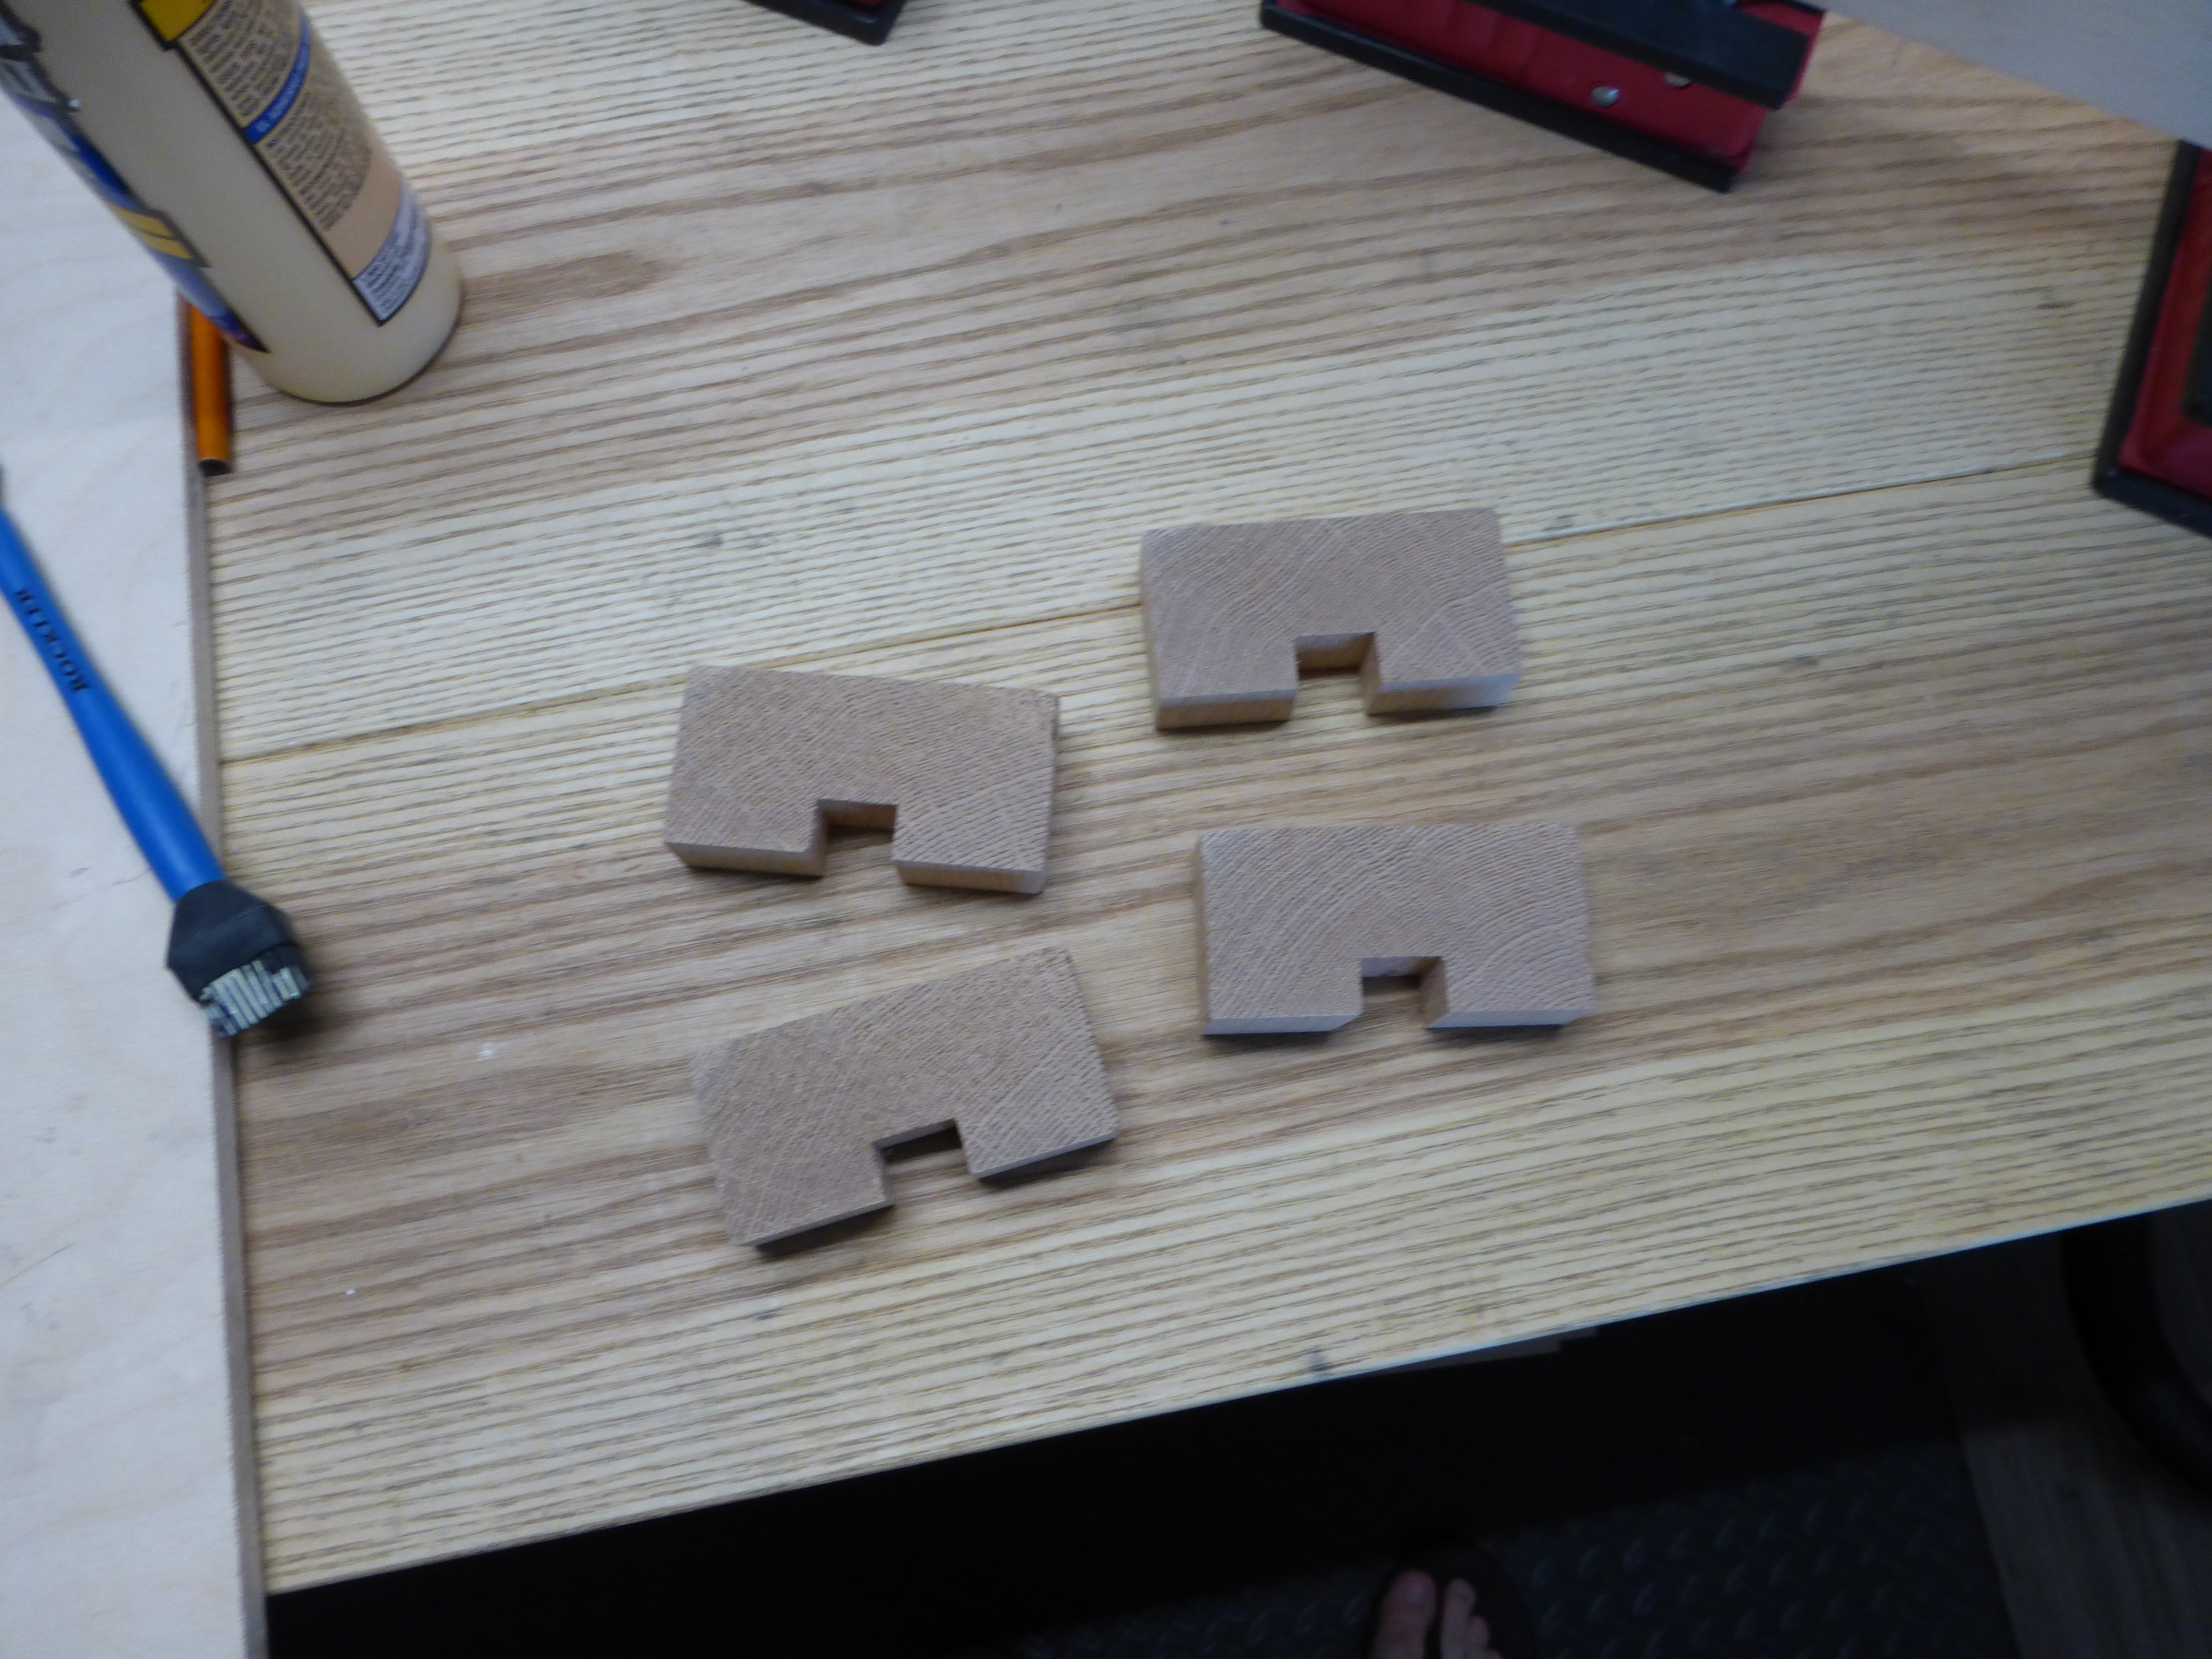
The alignment cauls pictured above are 1″ thick slices of red oak 2×4, with a 1/2″ x 1″ groove routed in them. The exact size isn’t critical, but you want them to be wide enough for a decent sized groove and thick enough to easily take a clamp. I recommend routing the groove first, then cutting the slices and truing the faces with the groove over some sandpaper on a flat surface.
The most important part, before any gluing up, is to make sure the two boards are planed as flat as you can get them and thicknessed to the exact same thickness (the thickness is the critical part). Once that is done, you clamp two cauls, opposite each other, to straddle the glue joint and perfectly align the outside edges of the boards. You use four cauls per glue joint (two on each end, pictured below). Once the glue dries, just dress the seams.

To avoid marring the work, go easy on the clamping pressure.
When doing the dry run for the angled-leg side table glue up, I noticed there was about 1/32″ twist in each of the boards. It would have been no problem to skip the cauls and just level the seams after glueup, but I had them handy and the boards are already thin enough (5/8″ after thicknessing) without any more dressing.

I will give the panel a couple hours to set and then I’ll attach it to the frame and be done.
You should always try and get as much twist out of the boards as you can, but in a pinch (nailed it!), these alignment cauls will get the job done.
I will post pictures on twitter of the finished table, once I figure out how to attach the top.
JPG