Month: August 2015

If It Works for Chop Saws…

… it also works for Miter Boxes.

P1000177

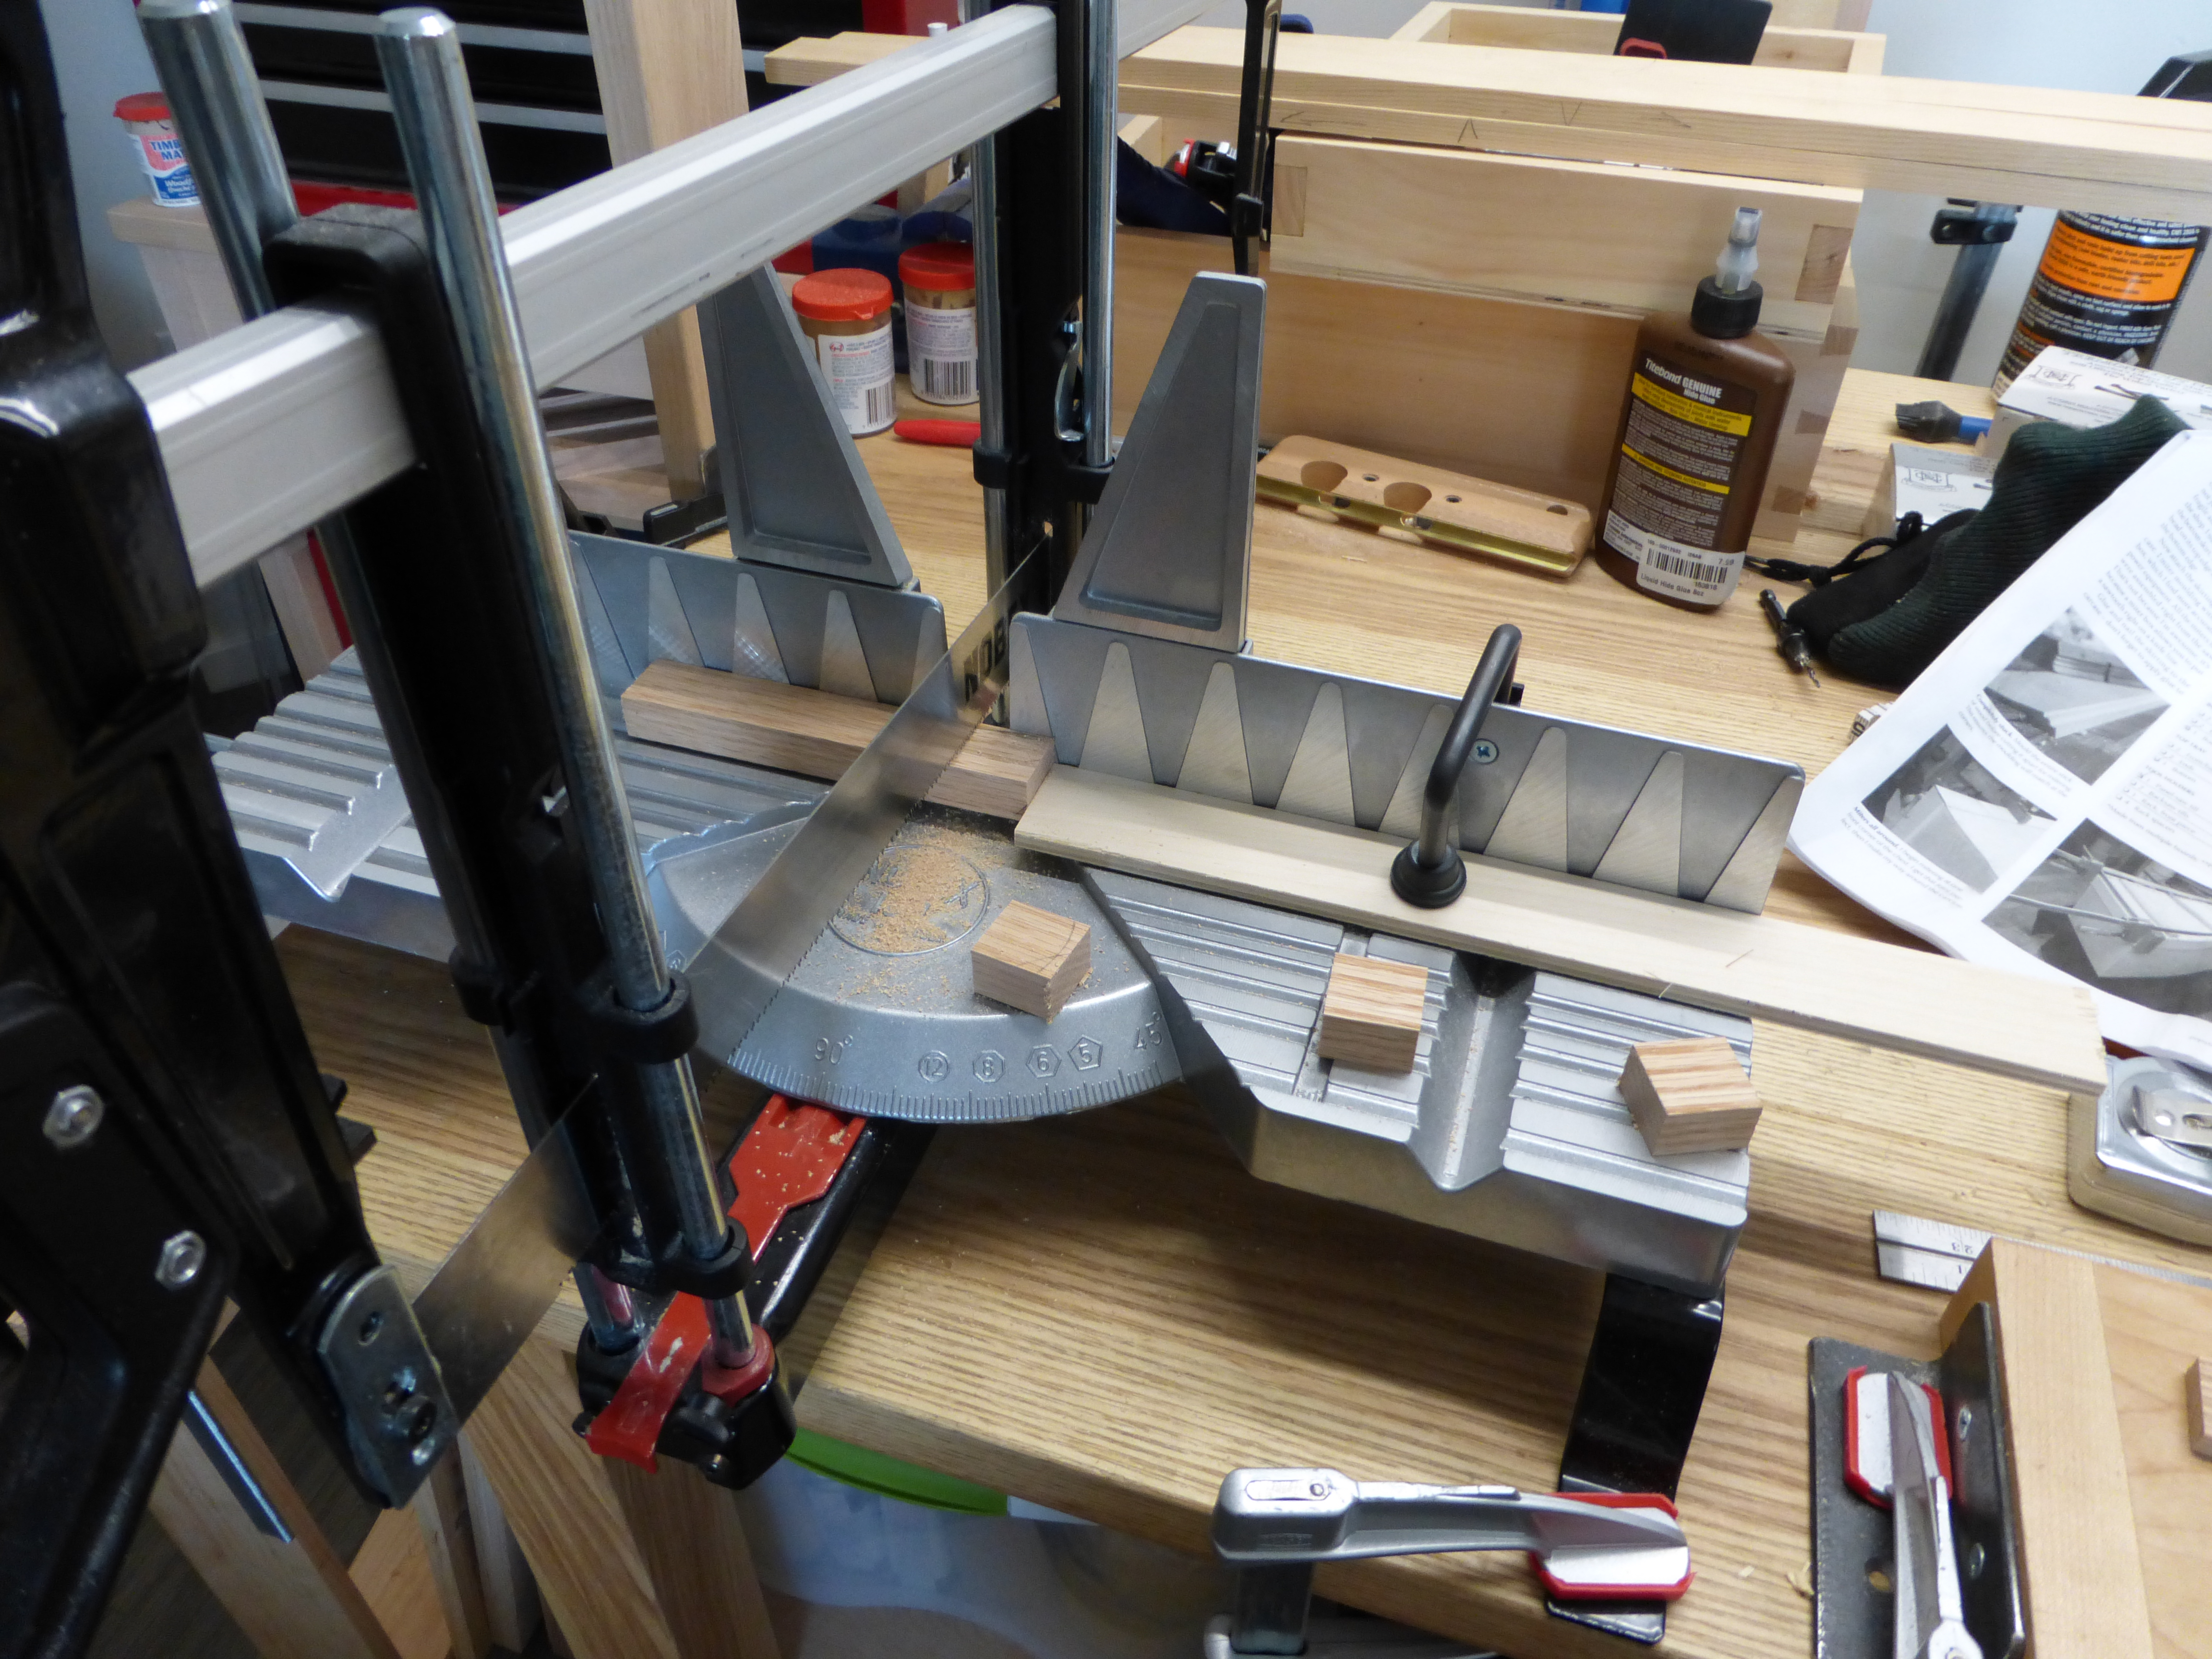
The ever-useful stop-block.

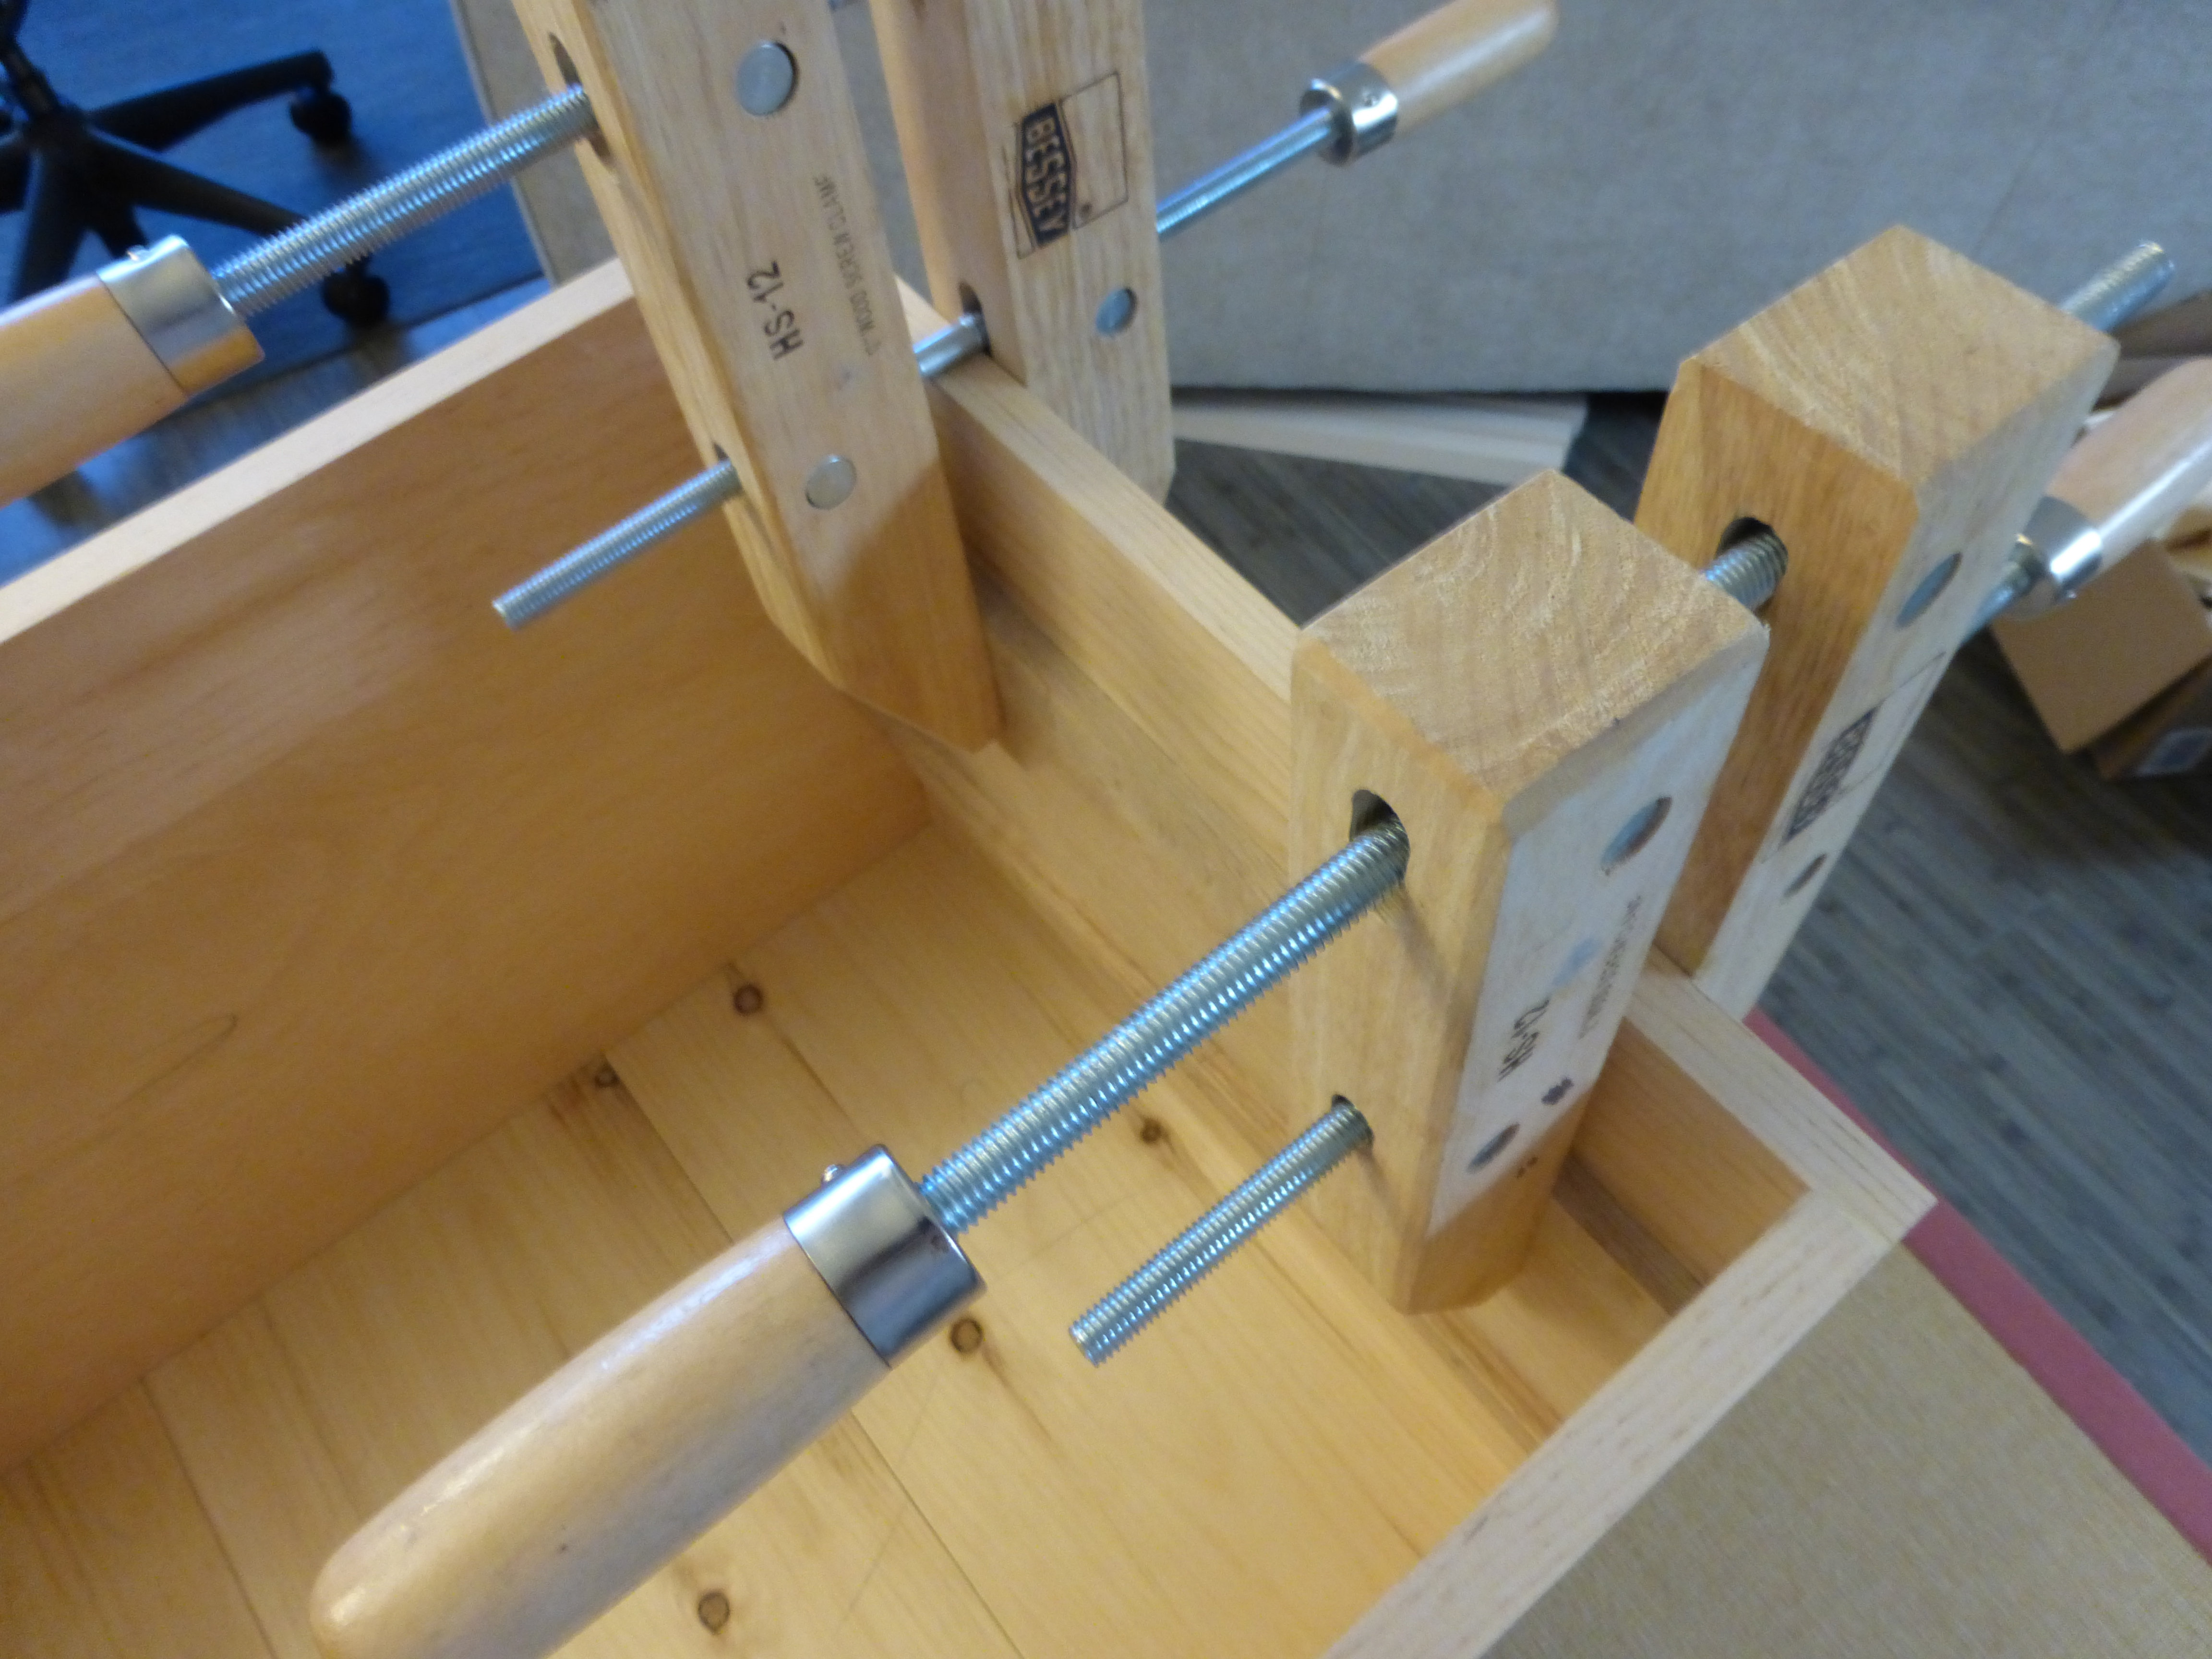
So much of meaningful woodworking is accurate and repeatable cutting.  Usually, this means knifewalls and careful crosscuts, followed by cleanup at the shooting board.  But why bother with the shooting board at all when each part can be perfect right off the saw?  The use of a stop-block (whether at the chop saw or the miter box) ensures that each piece is identical in length, without any of that silly extra measuring.

Speaking of silly, I found in my cabinet some of that no-run, no-drip PVA glue and used it to assemble the chisel rack for the medium tool chest.  I swear, you only get about 45 seconds of tack time before the glue grabs, and I really don’t think you need more than 15 minutes of clamp pressure before the bond is all but permanent.

P1000179

Never coming apart.

Speaking of the rack, just an FYI: there isn’t a measurement for it in the plans, but I would suggest you space the bottom of the rack no more than 1.75″ from the top of the lower runner.  Any higher and your chisel handles will protrude above the carcass line.  I learned this the proverbial hard way.

Just a test fit after adjusting the rack height.

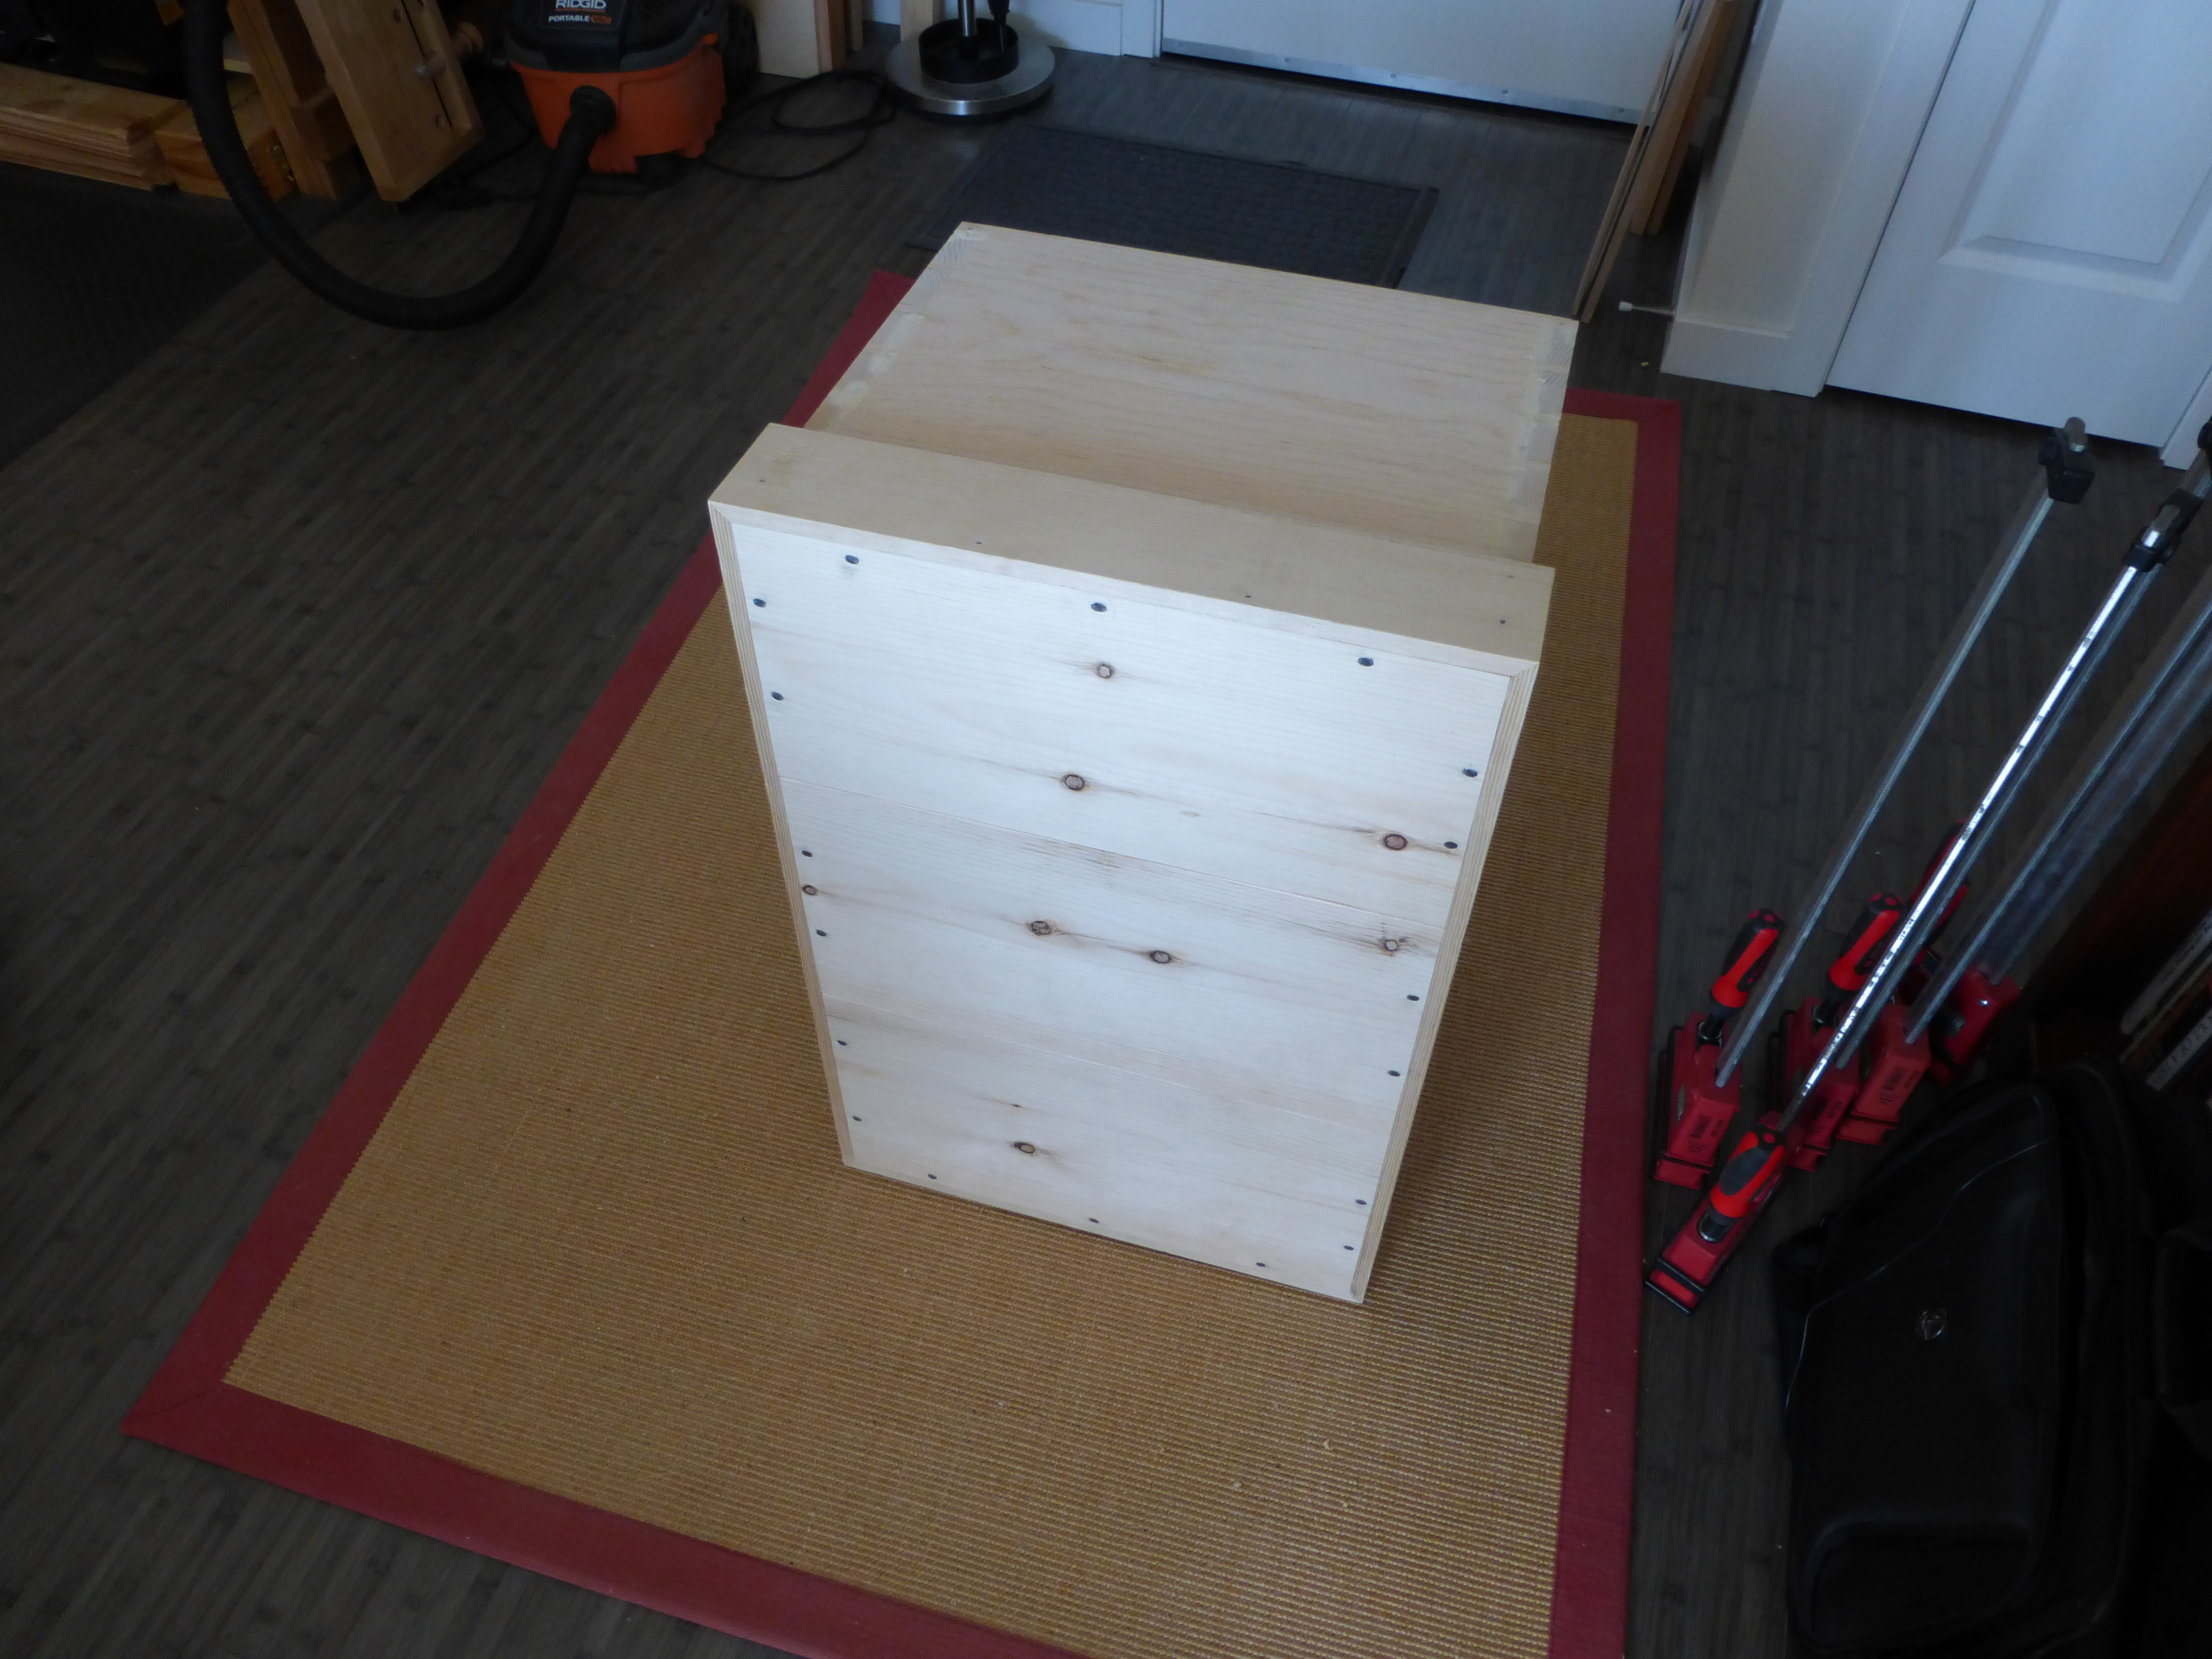
Just a test fit after adjusting the rack height.  That’s the panel saw till at the bottom of the frame.

Lots more to do but other responsibilities call.  Hope everyone had a nice weekend!

JPG

My Beloved New York Mets

I’m going off topic today, because it’s my website and I’ll do what I want.

The New York Metropolitans, my beloved NY Mets, are currently 70-56.  Atop of the National League East at 6.5 games ahead of the Washington Nationals, Los Mets have their largest division lead since the September which shall not be named.  Because of their torrid winning ways, the Mets are garnering more and more attention as of late and it distresses me.

My Mets are underdogs.  They claw and they scratch and they make something out of nothing.  They engender a Stockholm-esque masochism that we Mets fans wear like a badge on our orange and blue sleeves.

My Mets are not a fashionable bandwagon juggernaut of superstars and refined culture.  That’s the other New York baseball club, and let’s keep it that way.

There is much baseball left to play, but for the first time in a while, my beloved New York Mets are in control of their own destiny.  I believe, but I’ve been burned many times before.  Nonetheless…

Let’s Go Mets!

JPG

It’s the Fit that Matters Most

After a fun couple hours of installing the red oak tray runners, it was time for fitting the red oak tray bottoms.  I hadn’t really fit any moving parts since the carriage vise on the Milkman’s Workbench.  From that project I learned the fine line between free movement and wracking.  For the lower tray bottom (pictured below), the magic length ended up as about a 1/64 inch gap when the tray is slid to the front of the tool chest (and about 3/128 inch when slid to the back, because the inside of the carcass is almost imperceptibly out of square).

Those are the vintage trunk pulls I bought for $20 off Ebay.

Those are the vintage Stanley trunk pulls I bought for $20 off Ebay.

I couldn’t get 8 inch wide red oak hobby boards at the home center, so I laminated the bottoms using 5 1/2 inch and 2 1/2 inch boards.  The smaller boards actually ended up being slightly thicker off the rack than the larger ones, so a quick pass through the thickness planer is required before I nail the pine tray carcasses to the red oak bottoms.

Speaking of the tray carcasses, I’m thinking of making the trays rabbeted and nailed (as opposed to dovetailed), because I’ve been wondering if I should have instead made the boarded tool chest Chris Schwarz posted about a couple months ago.  I don’t own a fillister plane, but I can pretty easily chisel-split some shallow rabbets and clean it up with a router or shoulder.  If I go that route (although at this point, not sure why I would), the trays would be good practice for rabbeting and nailing.

Before I go, one thing I’ve loved about this project is getting to use tools I didn’t even realize I still had, like wooden screw clamps.

P1000170

Unused since the stock prep for the now-defunct planing slab.

JPG

The Importance of Progress

“Every little bit helps,” they tell me.  In small space woodworking, that’s doubly true.  As any unfinished project clutters what would otherwise be livable space, making incremental progress on a project is paramount.  Not just from a woodworking perspective, but also from a domestic perspective.

The medium tool chest project has been hogging foyer space for a while now, but I’m hoping to make incremental process this week. The lower tray runners are in and all that’s needed to fit the middle runners is to tweak the length. My shooting board is getting a great workout on this project.

image

Because I’m a massochist and I love bearing my soul for the internet, there is a broken off 1/16 drill bit stuck in one of the lower runners. I went too fast with my eggbeater drill and the bit snapped. Because nothing in this universe is ever perfect (or there would be no universe at all). Also, now I need more 1/16 drill bits.

I should probably steam out some nigh-invisible french marks, because I’m still not very good at driving nails but always very good at neuroses.

image

After the middle runners are fit, I will add the upper skirt. That way, there is enough backing to take the headless brads for securing the 1/4 inch upper runners.

Then it’s just saw tills, plane chocks and chisel rack before the carcass is done.

Anyone have a recommendation for heavy duty trunk handles? Sans lathe (obviously), I cannot turn my own.

JPG

Sound Effects and Internal Stresses

Two quick thoughts:

1.)  Today, I was hand ripping some red oak for the tray runners on the medium tool chest.  Without any music playing in the background (the album had ended mid rip), I was really tuned into the sound of the sawing.  Now I am 100% convinced (without any independent research) that when a foley walker or a sound guy in a movie needs a hand-sawing sound, it’s the sound of ripping 8/4 red oak with a 26″ panel saw.  Internet, prove me wrong.

2.)  No matter how dry a board is before you rip it, it’s going to warp (at least a little) due to internal stresses in the wood.  Sometimes, it’s pretty drastic (see below).  For this reason, I always scribe my cut lines for rough stock preparation at least an extra 1/8 inch fat of the finished dimensions (plus the extra 1/16 inch or so I cut on the waste side of the line).  That way, even if there is major flattening to do after the rip, there is enough material left for the finished dimensions.  The larger the board, the fatter I’ll make the first cuts.

At least it's bowed only, and not twisted.

The thinner piece is the waste from the first rip.  In order to make a 7/8 x 7/8 final board, the rough cut piece will be about 1×1 (after a second rip).

I had forgotten the smell of red oak.  It’s pleasant, if a bit coarse.  But for now, I am turning back to some weekend work before the Mets game.

JPG

Doing the Unthinkable (Part 2)

I made excellent progress on the medium tool chest last weekend.  It now has a ship-lapped bottom and a lower skirt (with a simple chamfer).

My miters aren't perfect, but because it will be painted a dark blue, I can fix gaps with water-based filler.

My miters aren’t perfect, but because it will be painted a dark blue, I can fix gaps with water-based filler.

I cannot describe what a joy it was to use the clout nails and headless brads from Tremont Nail.  I had never used real nails before and am amazed at how well they are holding.  I messed up the spacing a little bit when driving the the clout nails into the floorboards, but I’m not worried.  And the headless brads were mostly for anchoring the corners of the skirt (with hide glue giving the real holding power).

Putty...

Putty and french marks.  What a hack job…

As for the shiplapping, it went exactly as planned.  I used a rabbet bit (with 7/16 bearing) in my trim router and made a huge mess, but the laps were crisp and fit well.  I left 2 business cards worth of space between each board when fitting them to the carcass.

P1000158

Habitual blasphemy!

Next on the to-do list are are the rot strips, drawer runners and laminated lid.  I have several pieces of now-acclimated box store common pine from which I can rip out some quarter-sawn strips, which should make the laminated lid very stable.

That will have to wait until the weekend, though.

JPG

Updated “About” Page

I’ve spent the week getting settled into my new law firm and haven’t had much time for woodworking.  I did, however update the “About” page to more accurately reflect the state of The Apartment Woodworker.

Regular posting should resume next week!

JPG

More on Cauls

Jigs are not as important in the hand tool woodworking shop as they are for avid power tool users, but I took some time yesterday to make some extra cauls for the tool chest glue up.

On the advice of someone who would know about such things, I cut some pretty tight dovetails for the tool chest carcass.  In order to ensure the tails seated properly into the pin recesses, I attached (with double-sided tape) individual cauls onto each tail prior to clamping.

P1000156

Pre-clamping.

That way, the parallel jaw clamps applied consistent pressure directly onto each tail, seating them nicely.  I forgot to take a picture of the full glue-up, though.  And the clamping pressure crushed the cauls to the point where they cannot be reused.

On a side note, the tails were so tight that there was a bit of splitting on the tail boards. Fortunately, I keep a supply of cyanoacrylate glues of various viscosity.  A generous bead of medium cyanoacrylate will seep into the cracks and should stabilize them for the life of the tool chest.  I haven’t yet flushed the joinery on the carcass, so I can still plane off the excess glue with an extra pass or two.

The same trick works to stabilize a knot.

The same trick works to stabilize a knot.

The floorboards for the tool chest are dimensioned (S3S), but still need a pass them through the thickness planer before I cut the ship-laps.  I might wait to flush the tails and pins after I’ve attached the floorboards, because I do not have a full workbench around which to wrap the carcass.  We’ll see.

JPG