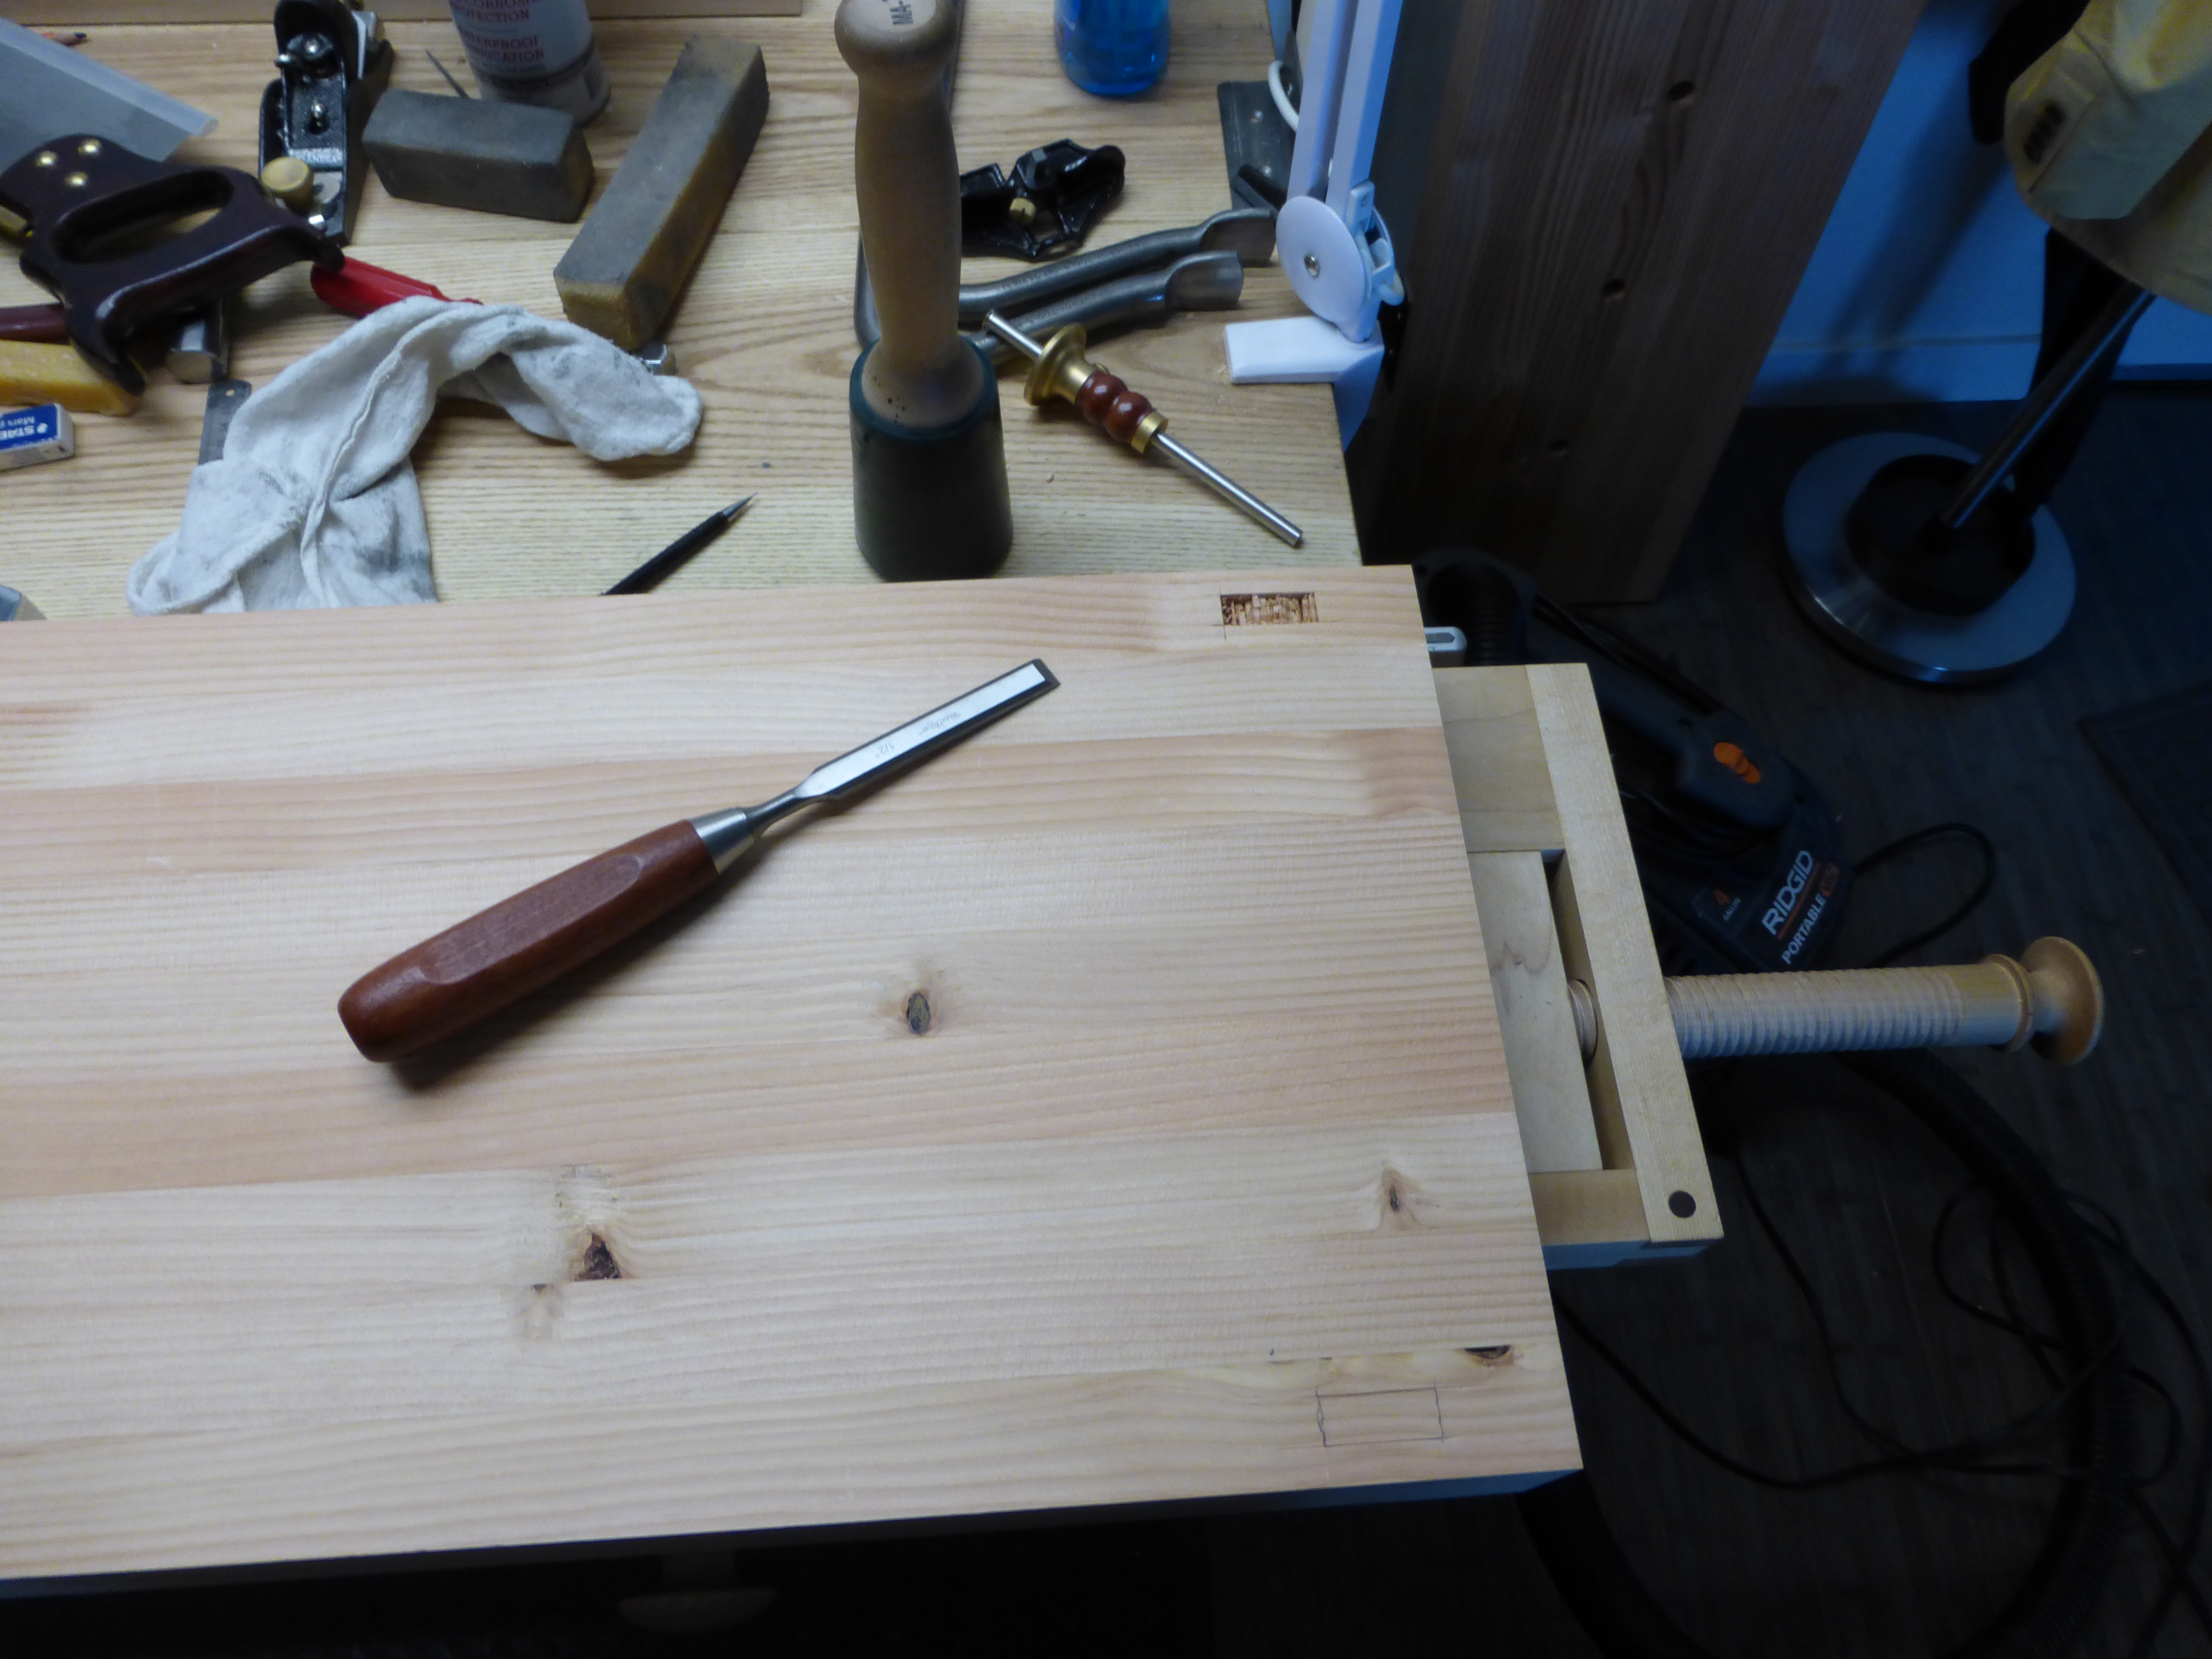
Working on a couple different planing-intensive projects has brought to my attention that I had somehow ground most of my plane irons and chisels out of square. Again, I blame my Work Sharp 3000, which I really like but have never really gotten the hang of fine tuning. If anyone is aware of a how-to for micro-tuning a Work Sharp 3000, please send me the link.
So, the last couple days I have been hand-grinding everything back into square. I had to dust off my coarser diamond plates, as well as a wide-wheel sharpening guide that I’ve had for a long time, but abandoned a while ago when I picked up one of the eclipse-style sharpening guides. My reasoning was the narrower wheel on the eclipse-style guide would make tipping a plane iron (to create a camber) easier. It also apparently made tipping a chisel without realizing it easier.
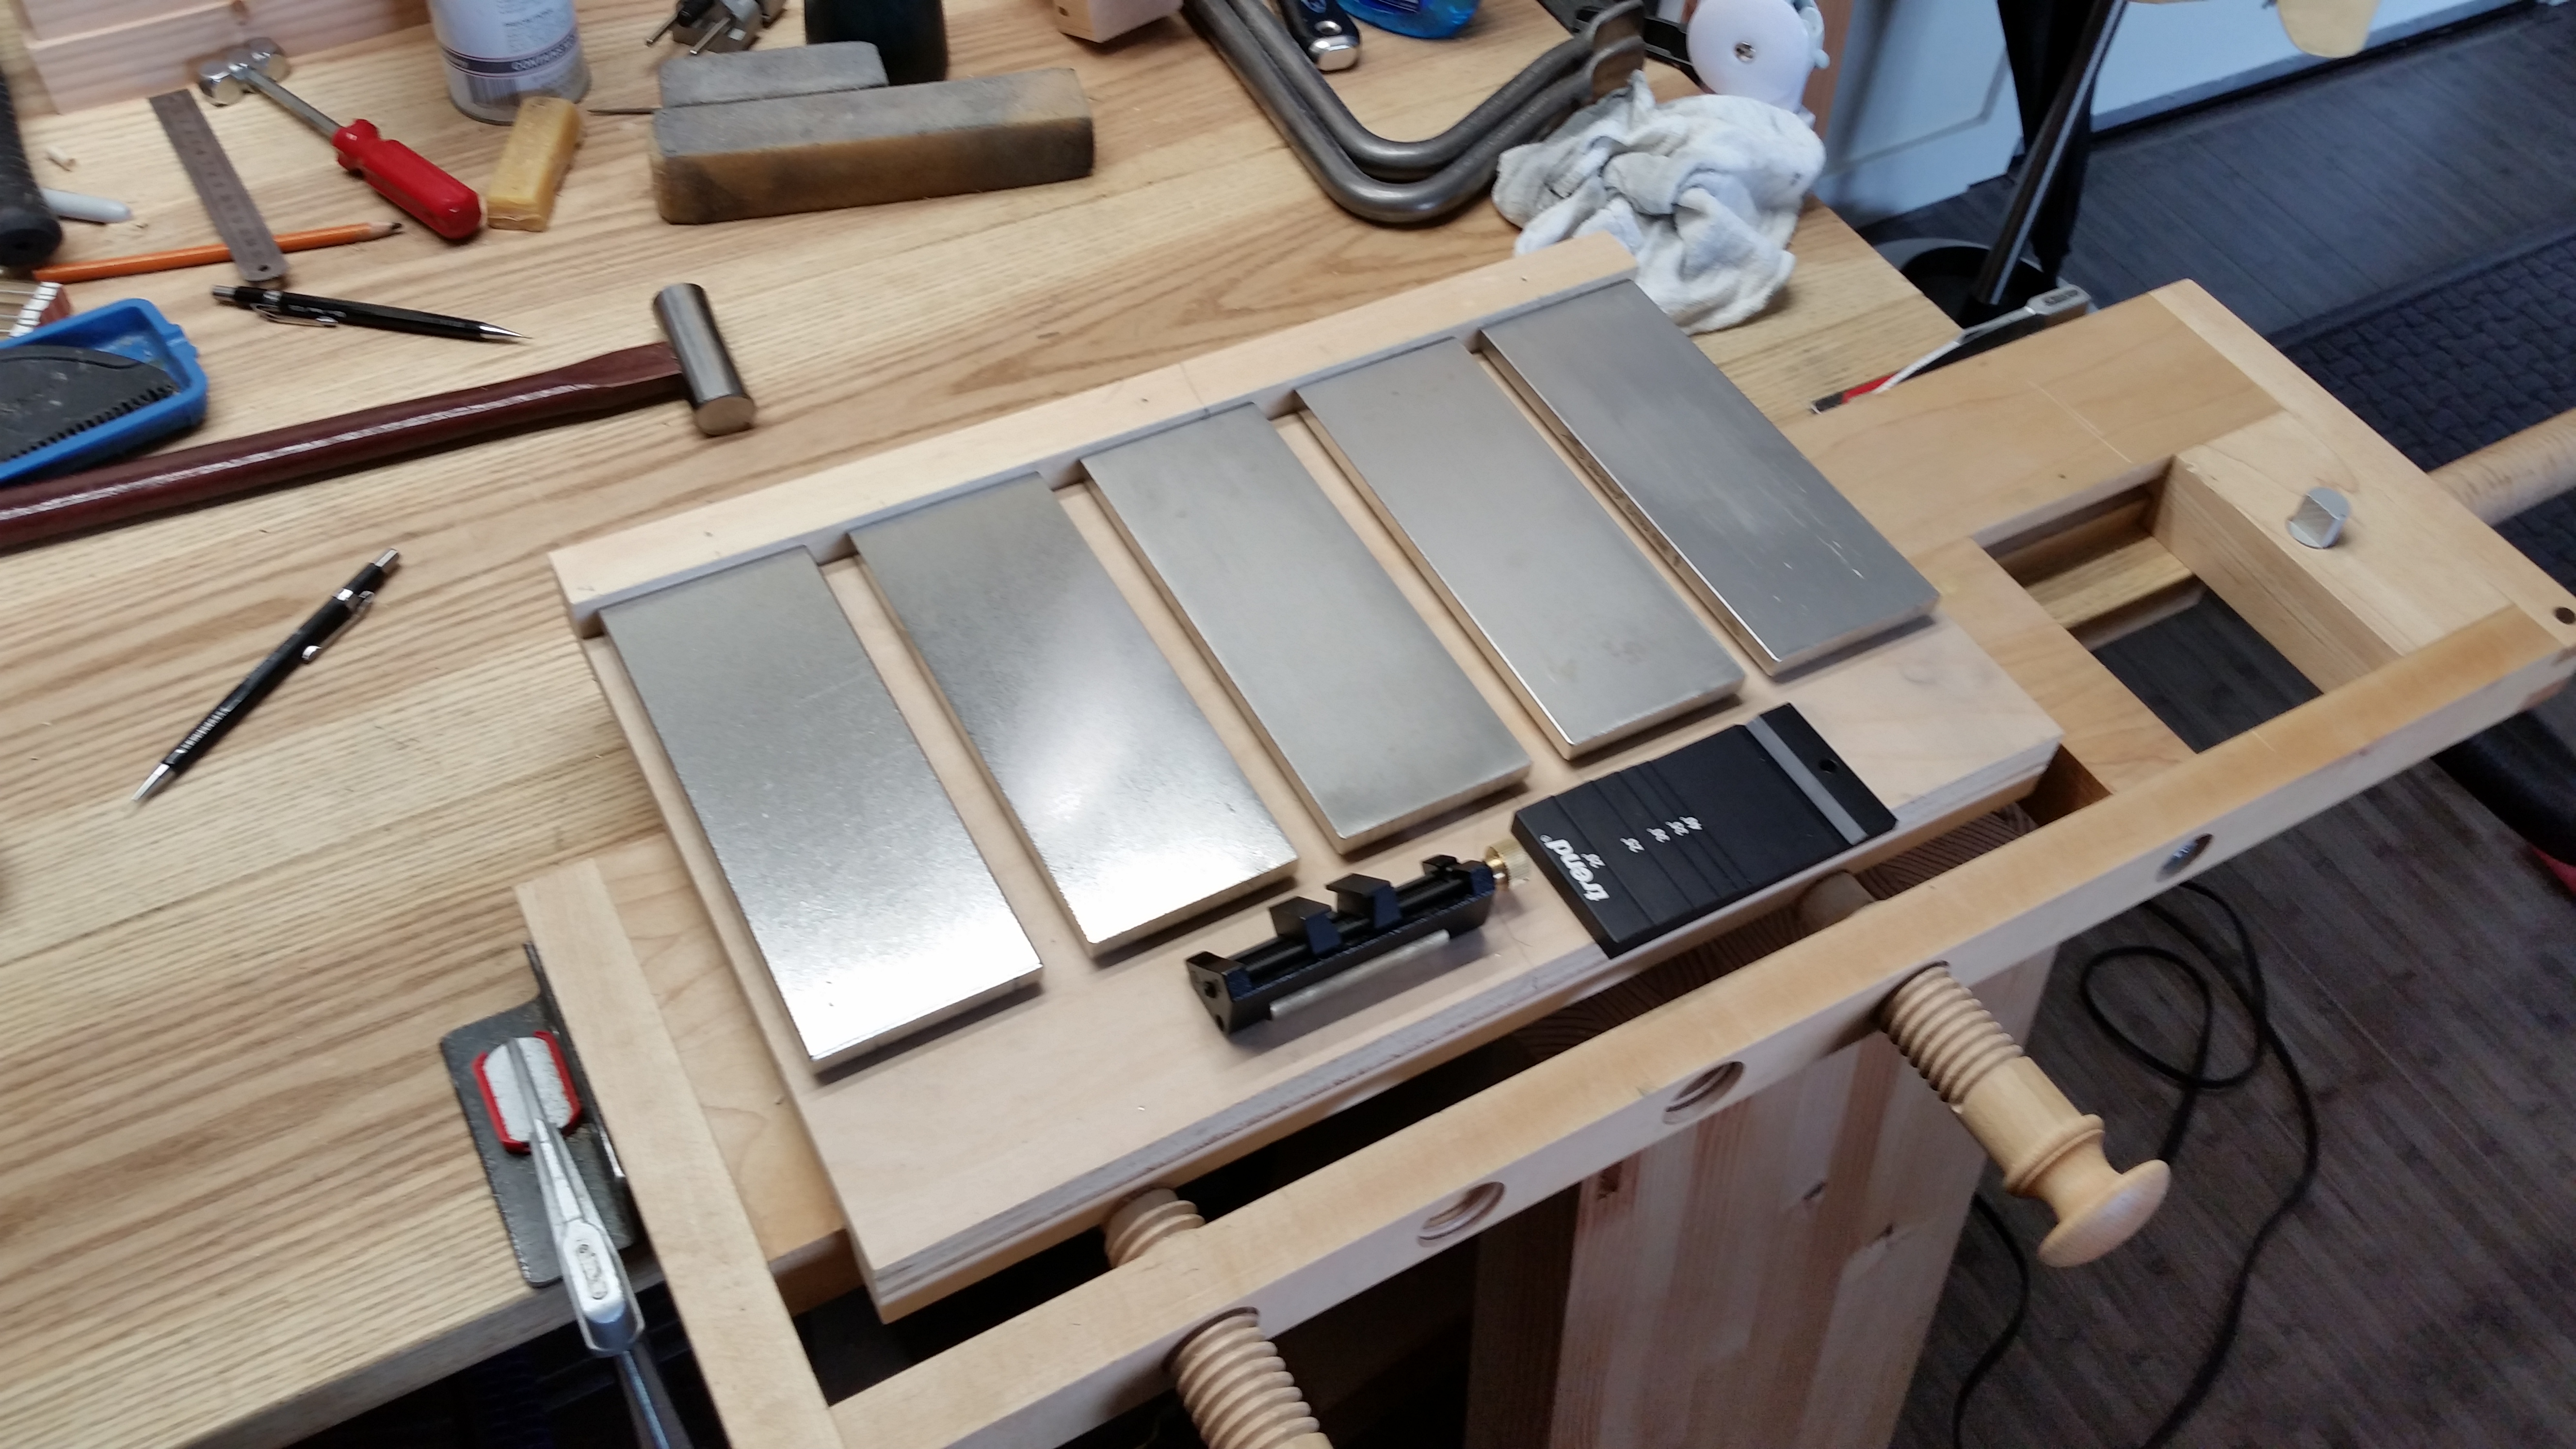
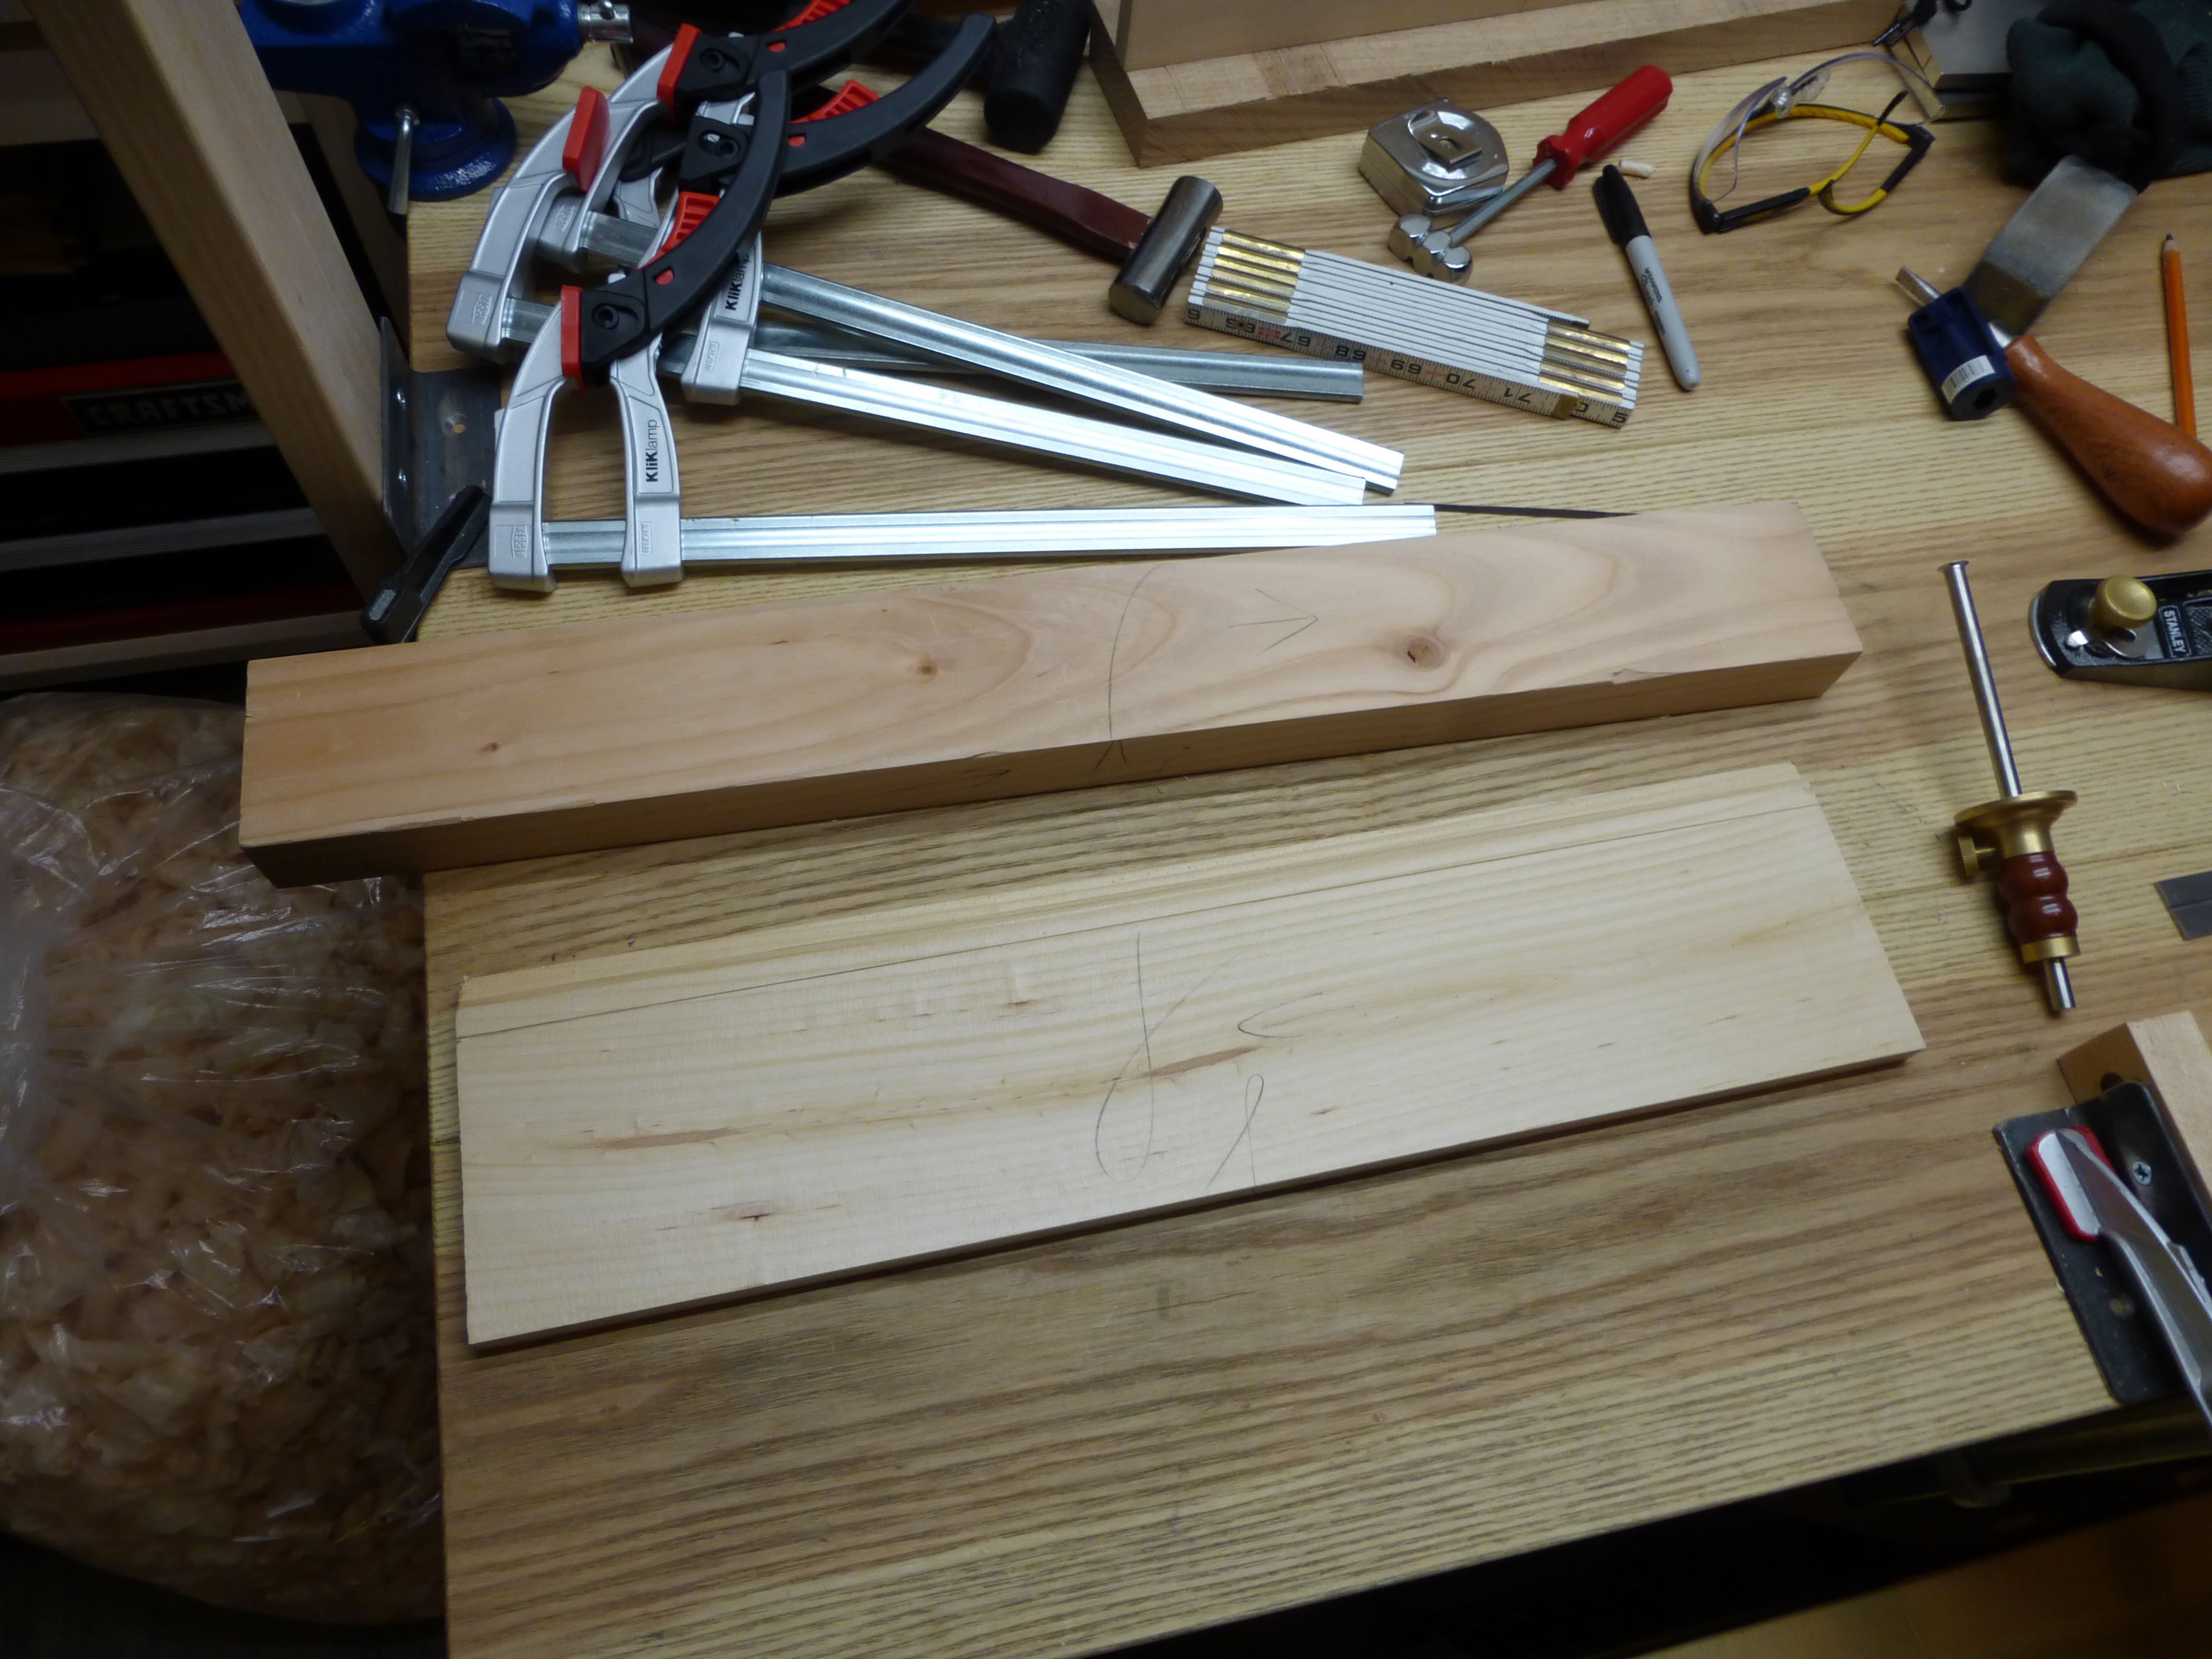
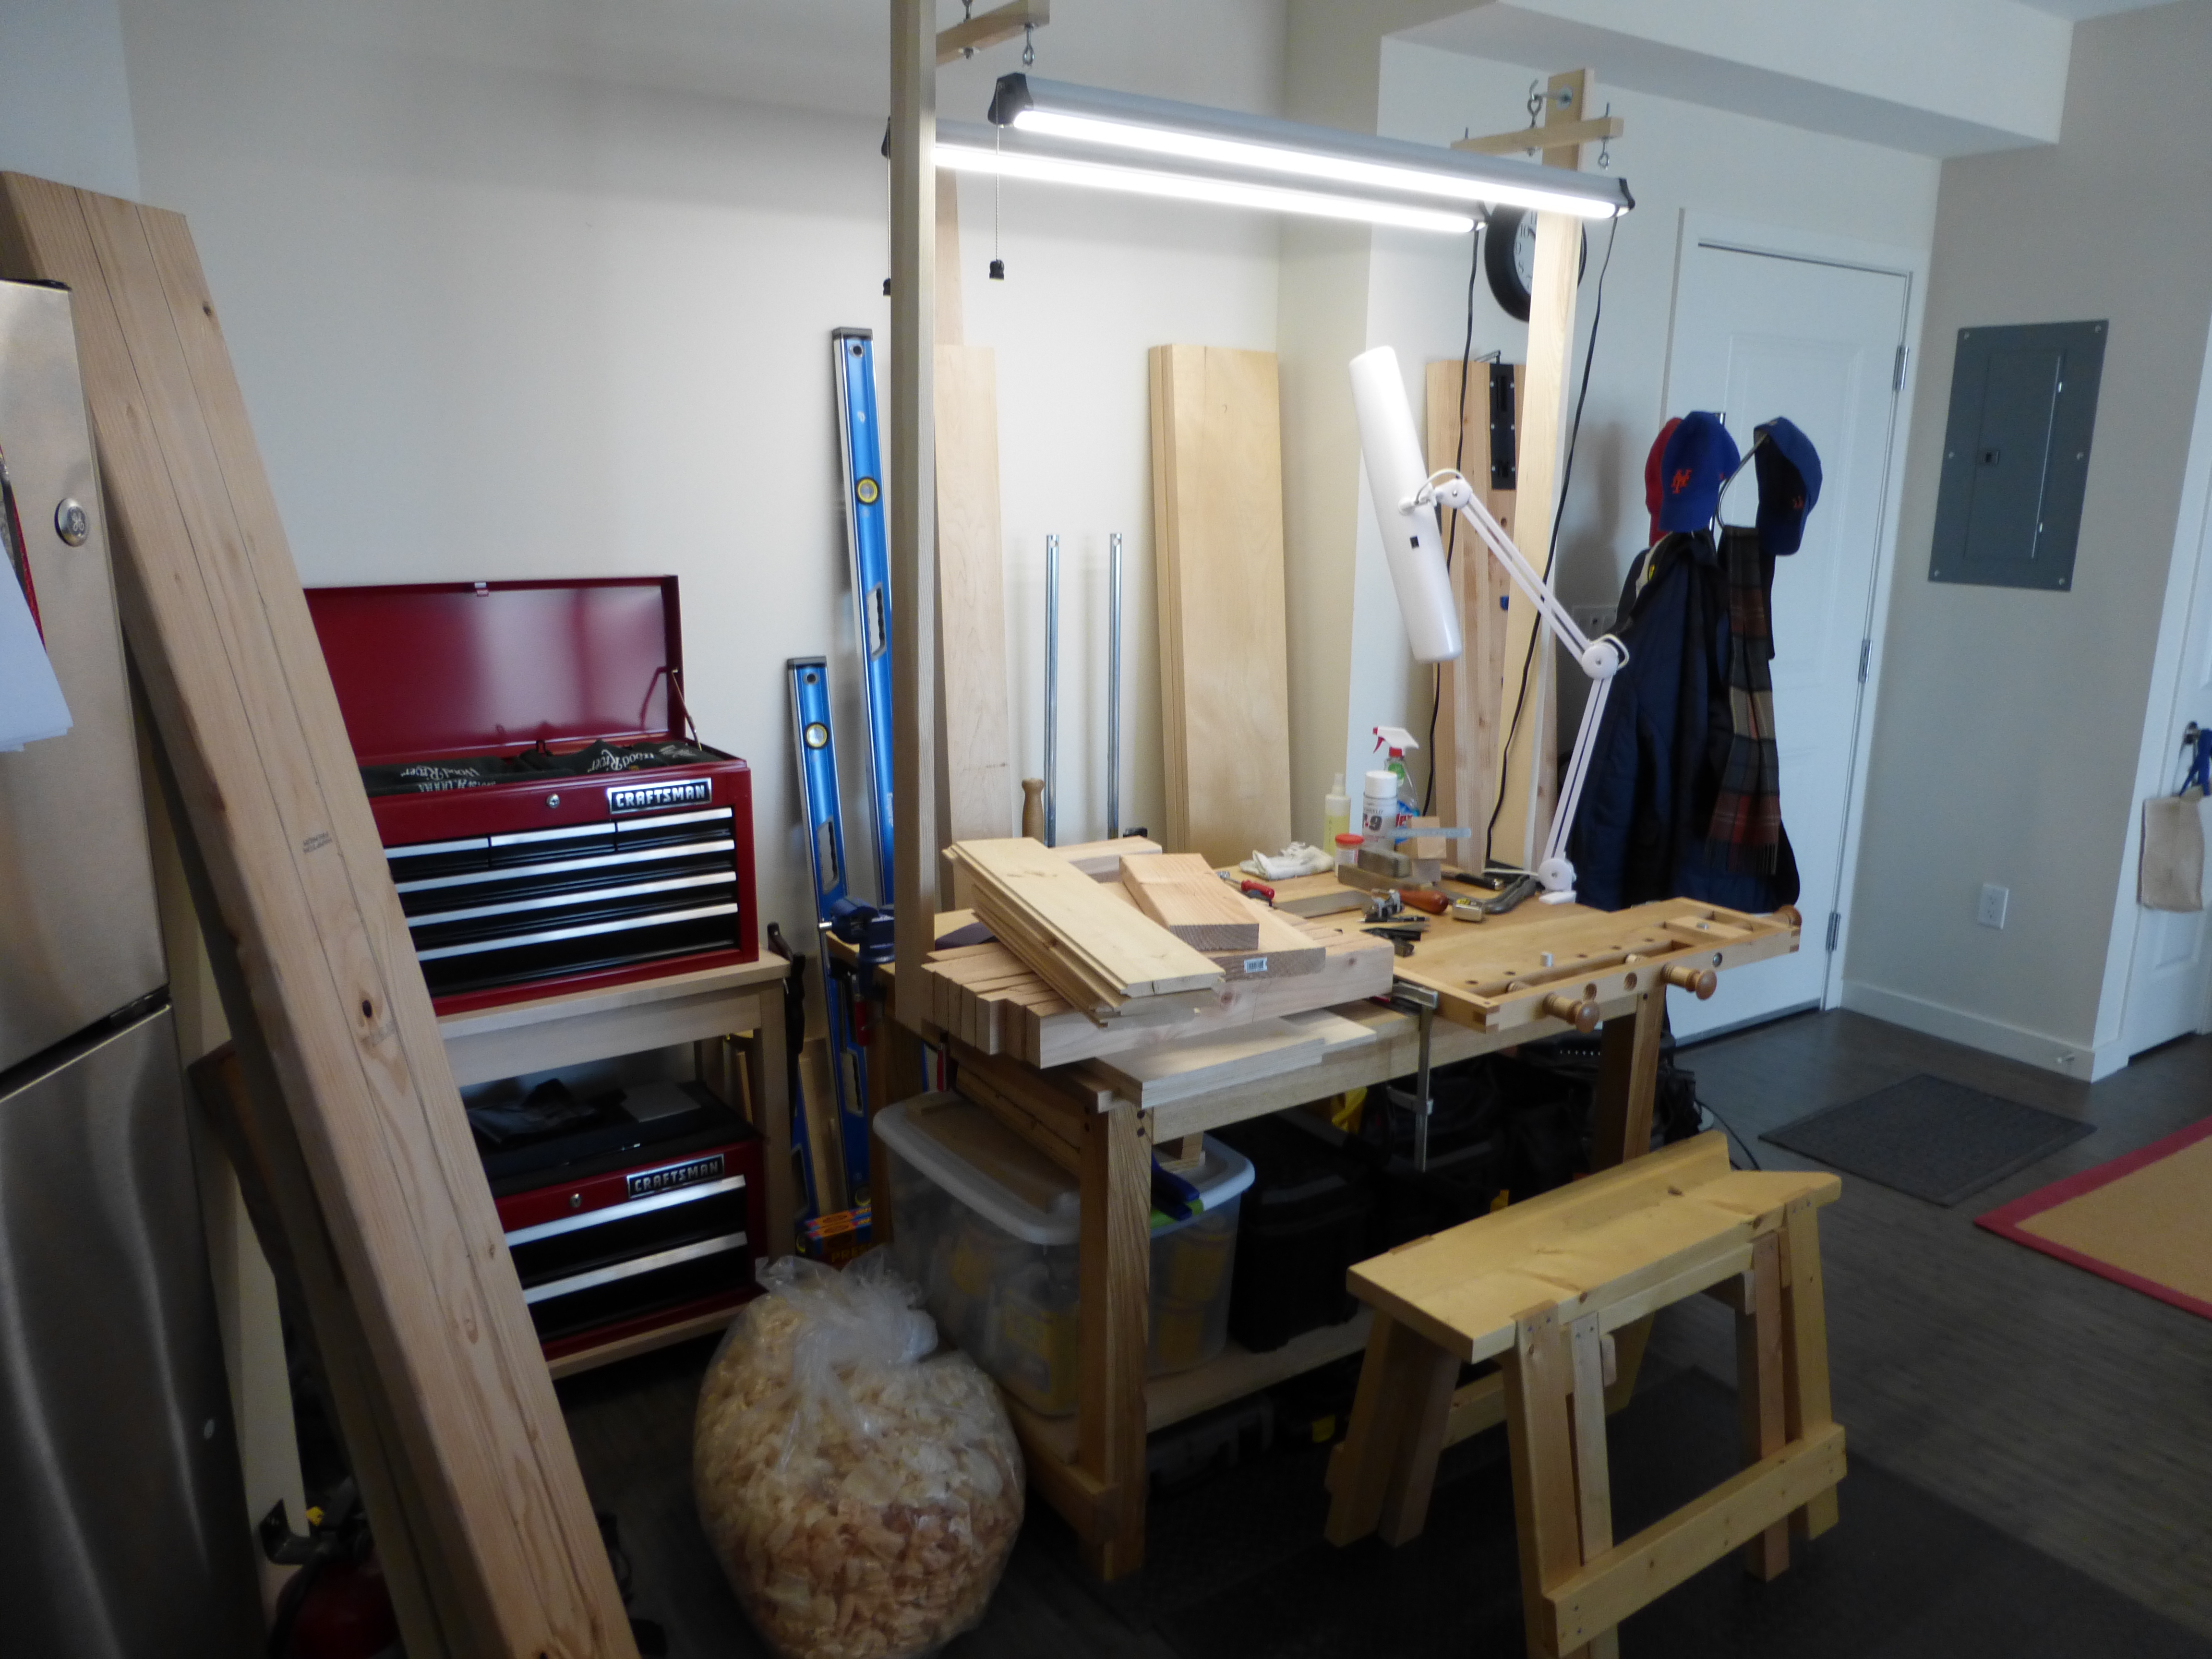
I also made another bench-hook style holder for my plates because I am sick of wiping slurry off my Milkman’s Workbench.
So going back to the wide-wheel sharpening guide with greater stability makes sense for re-grinding square. I could certainly do it with the eclipse-style guide, but I’d rather eliminate user error altogether (which got me into this mess in the first place).
I do add micro-bevels by hand, though, so there is plenty of opportunity for user error slightly later in the process.
JPG