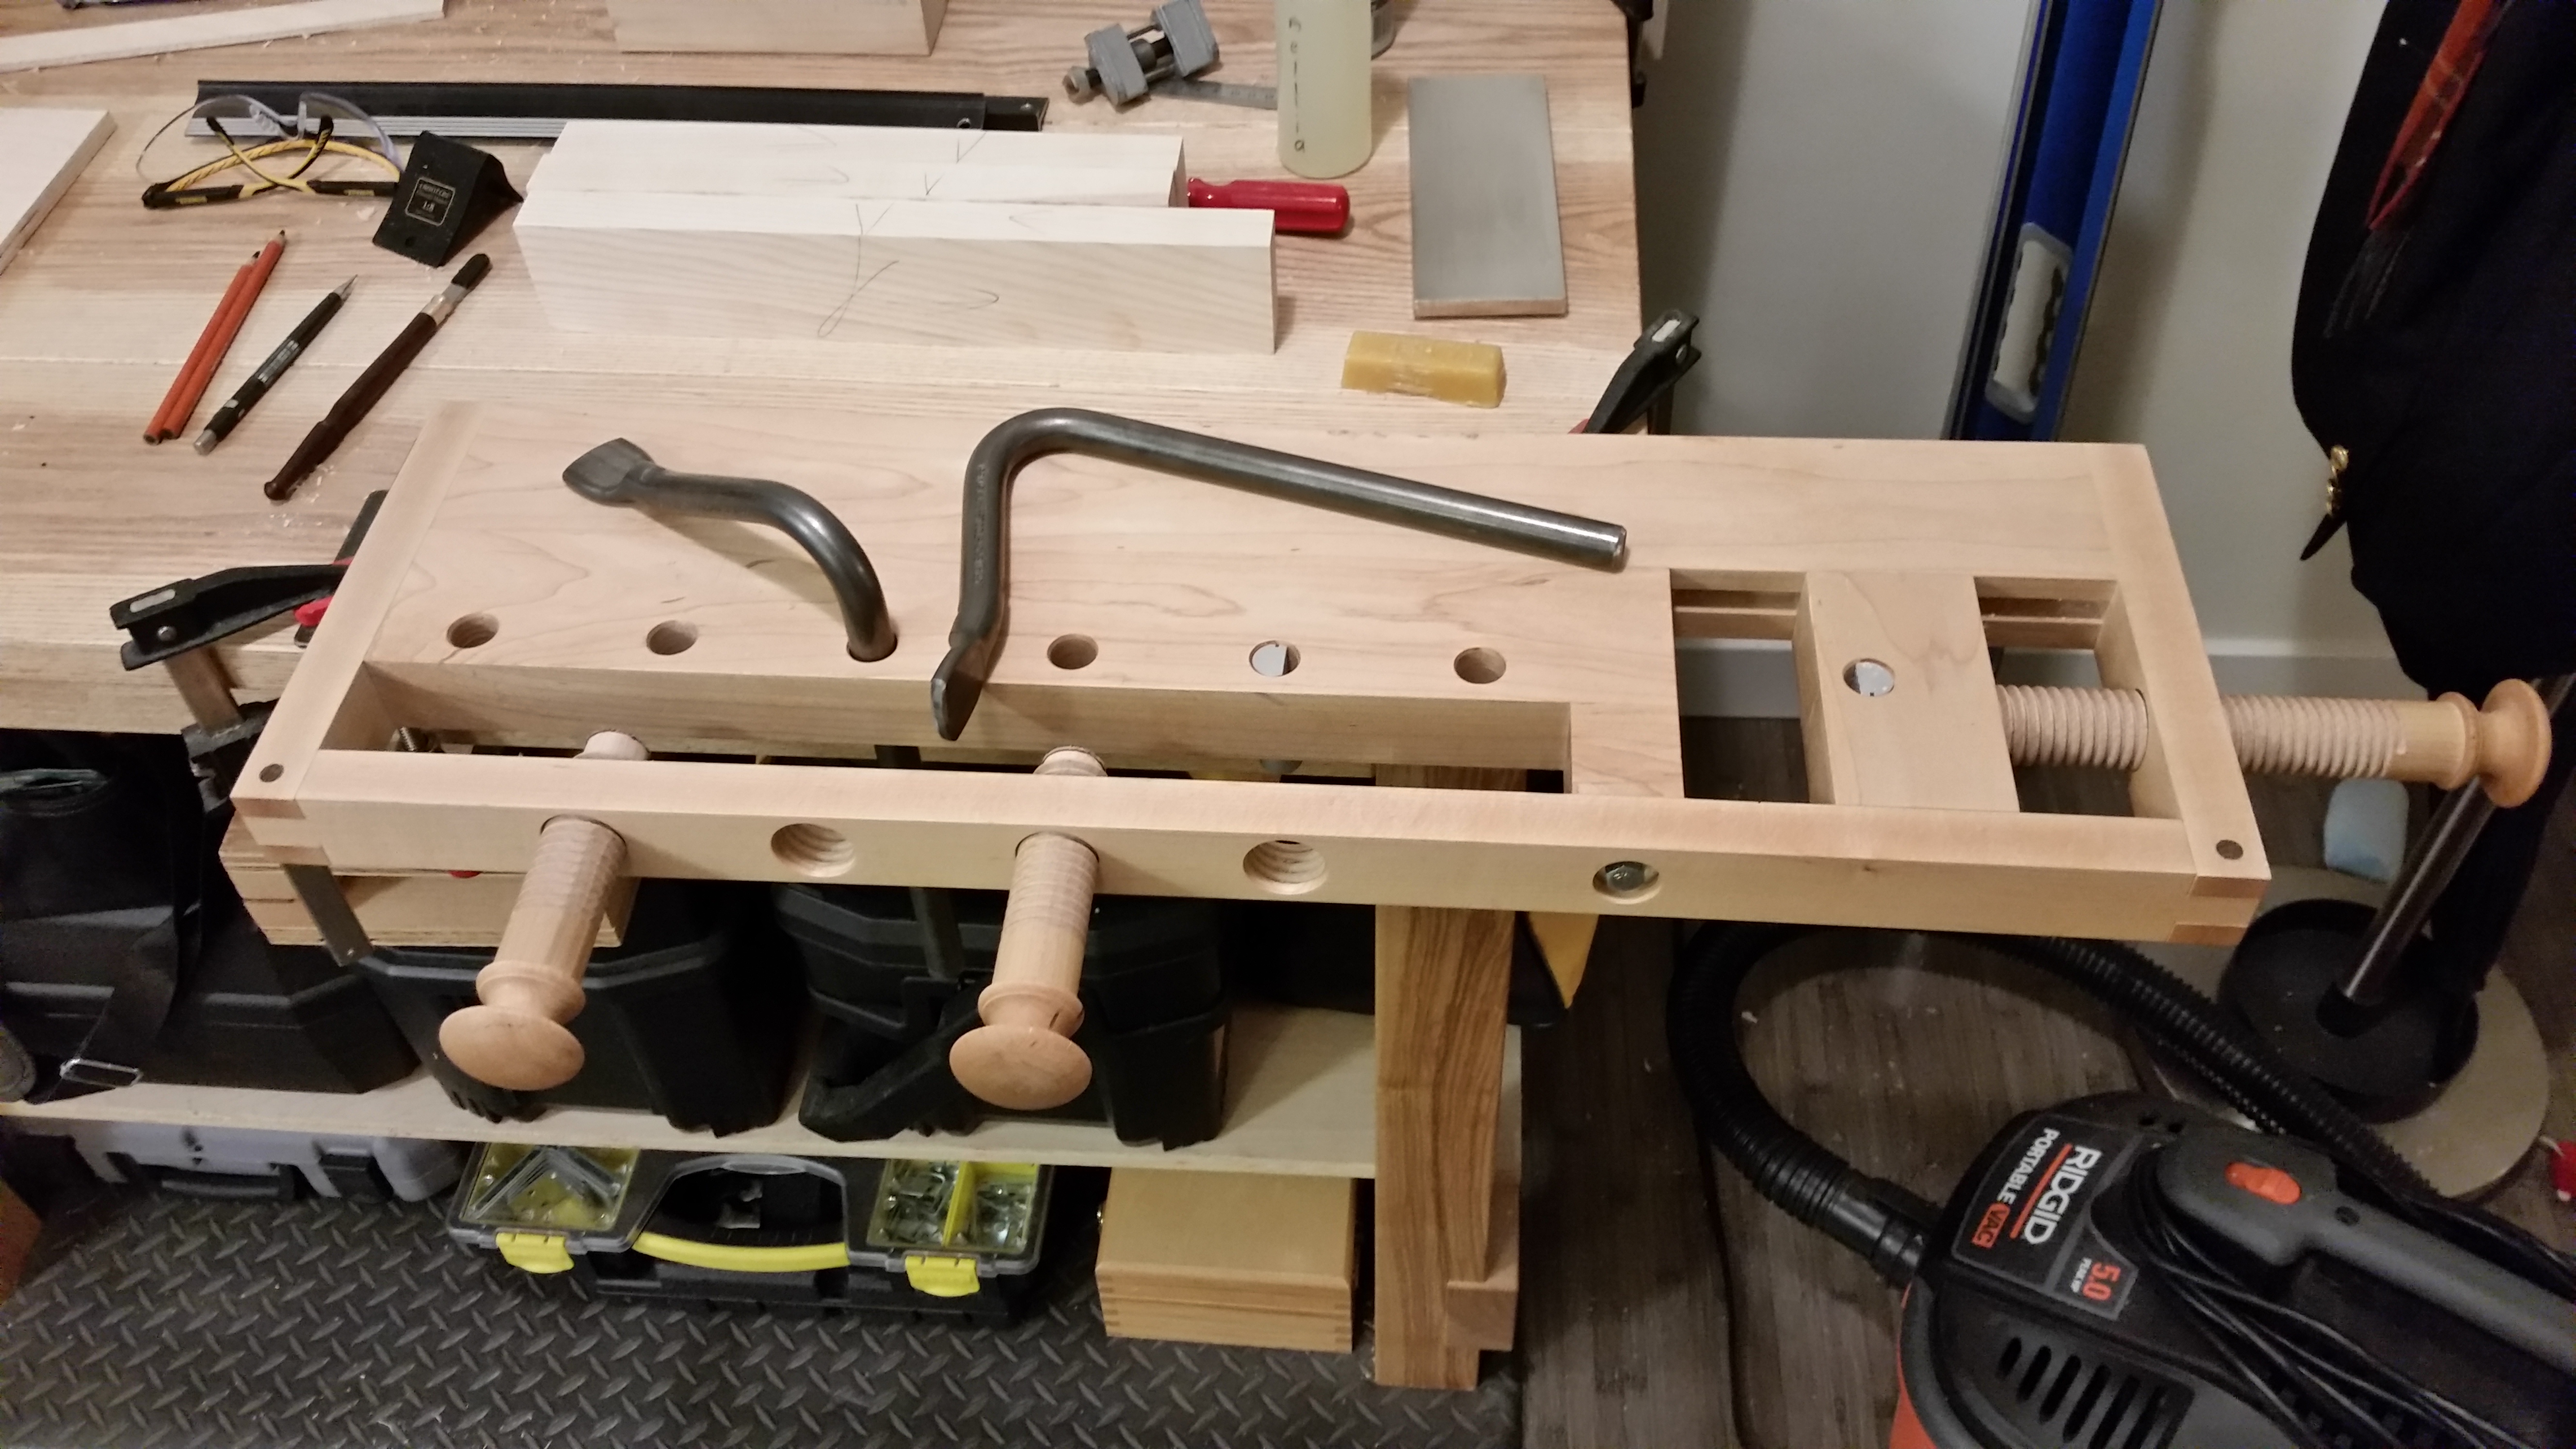
I finally caved and replaced my box-store block plane with a slightly more upscale version. It’s not an everyday tool in my shop, so I didn’t splurge for an ultra premium block plane. But I was frustrated enough with the lateral adjustment capabilities of my old block plane that it was time for a change.
I have brand loyalty because I don’t mind a little tuning.
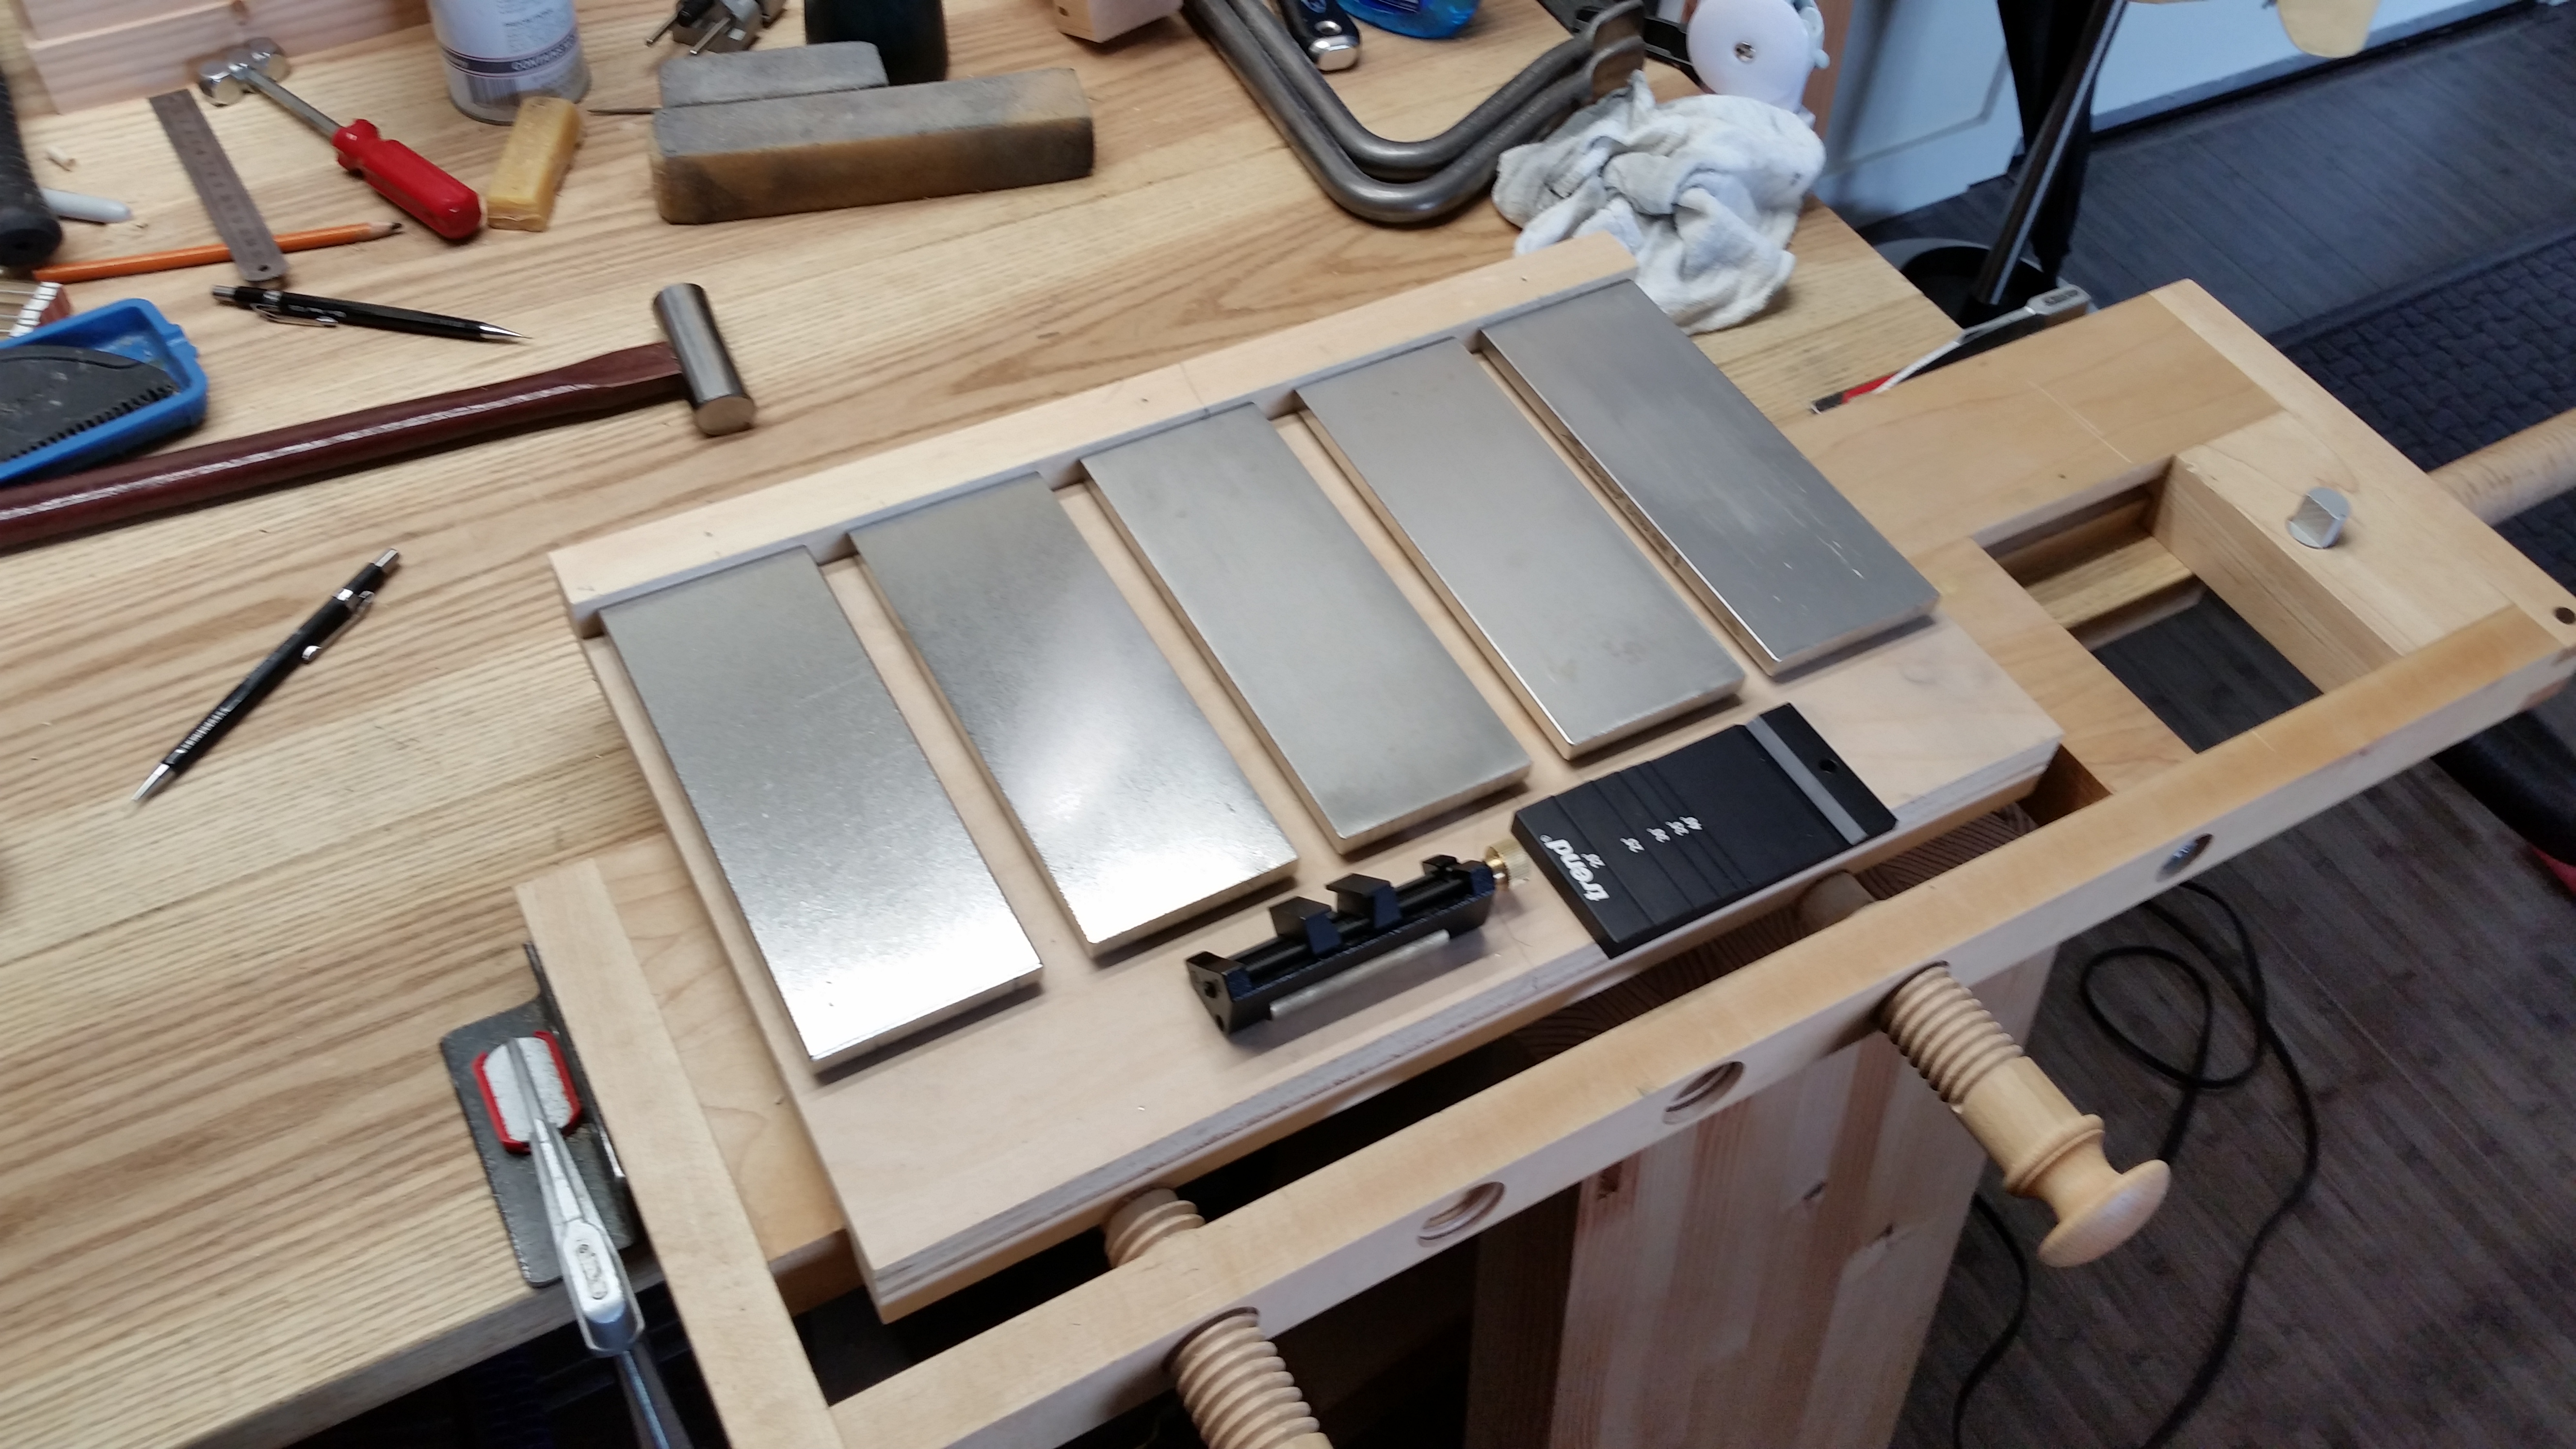
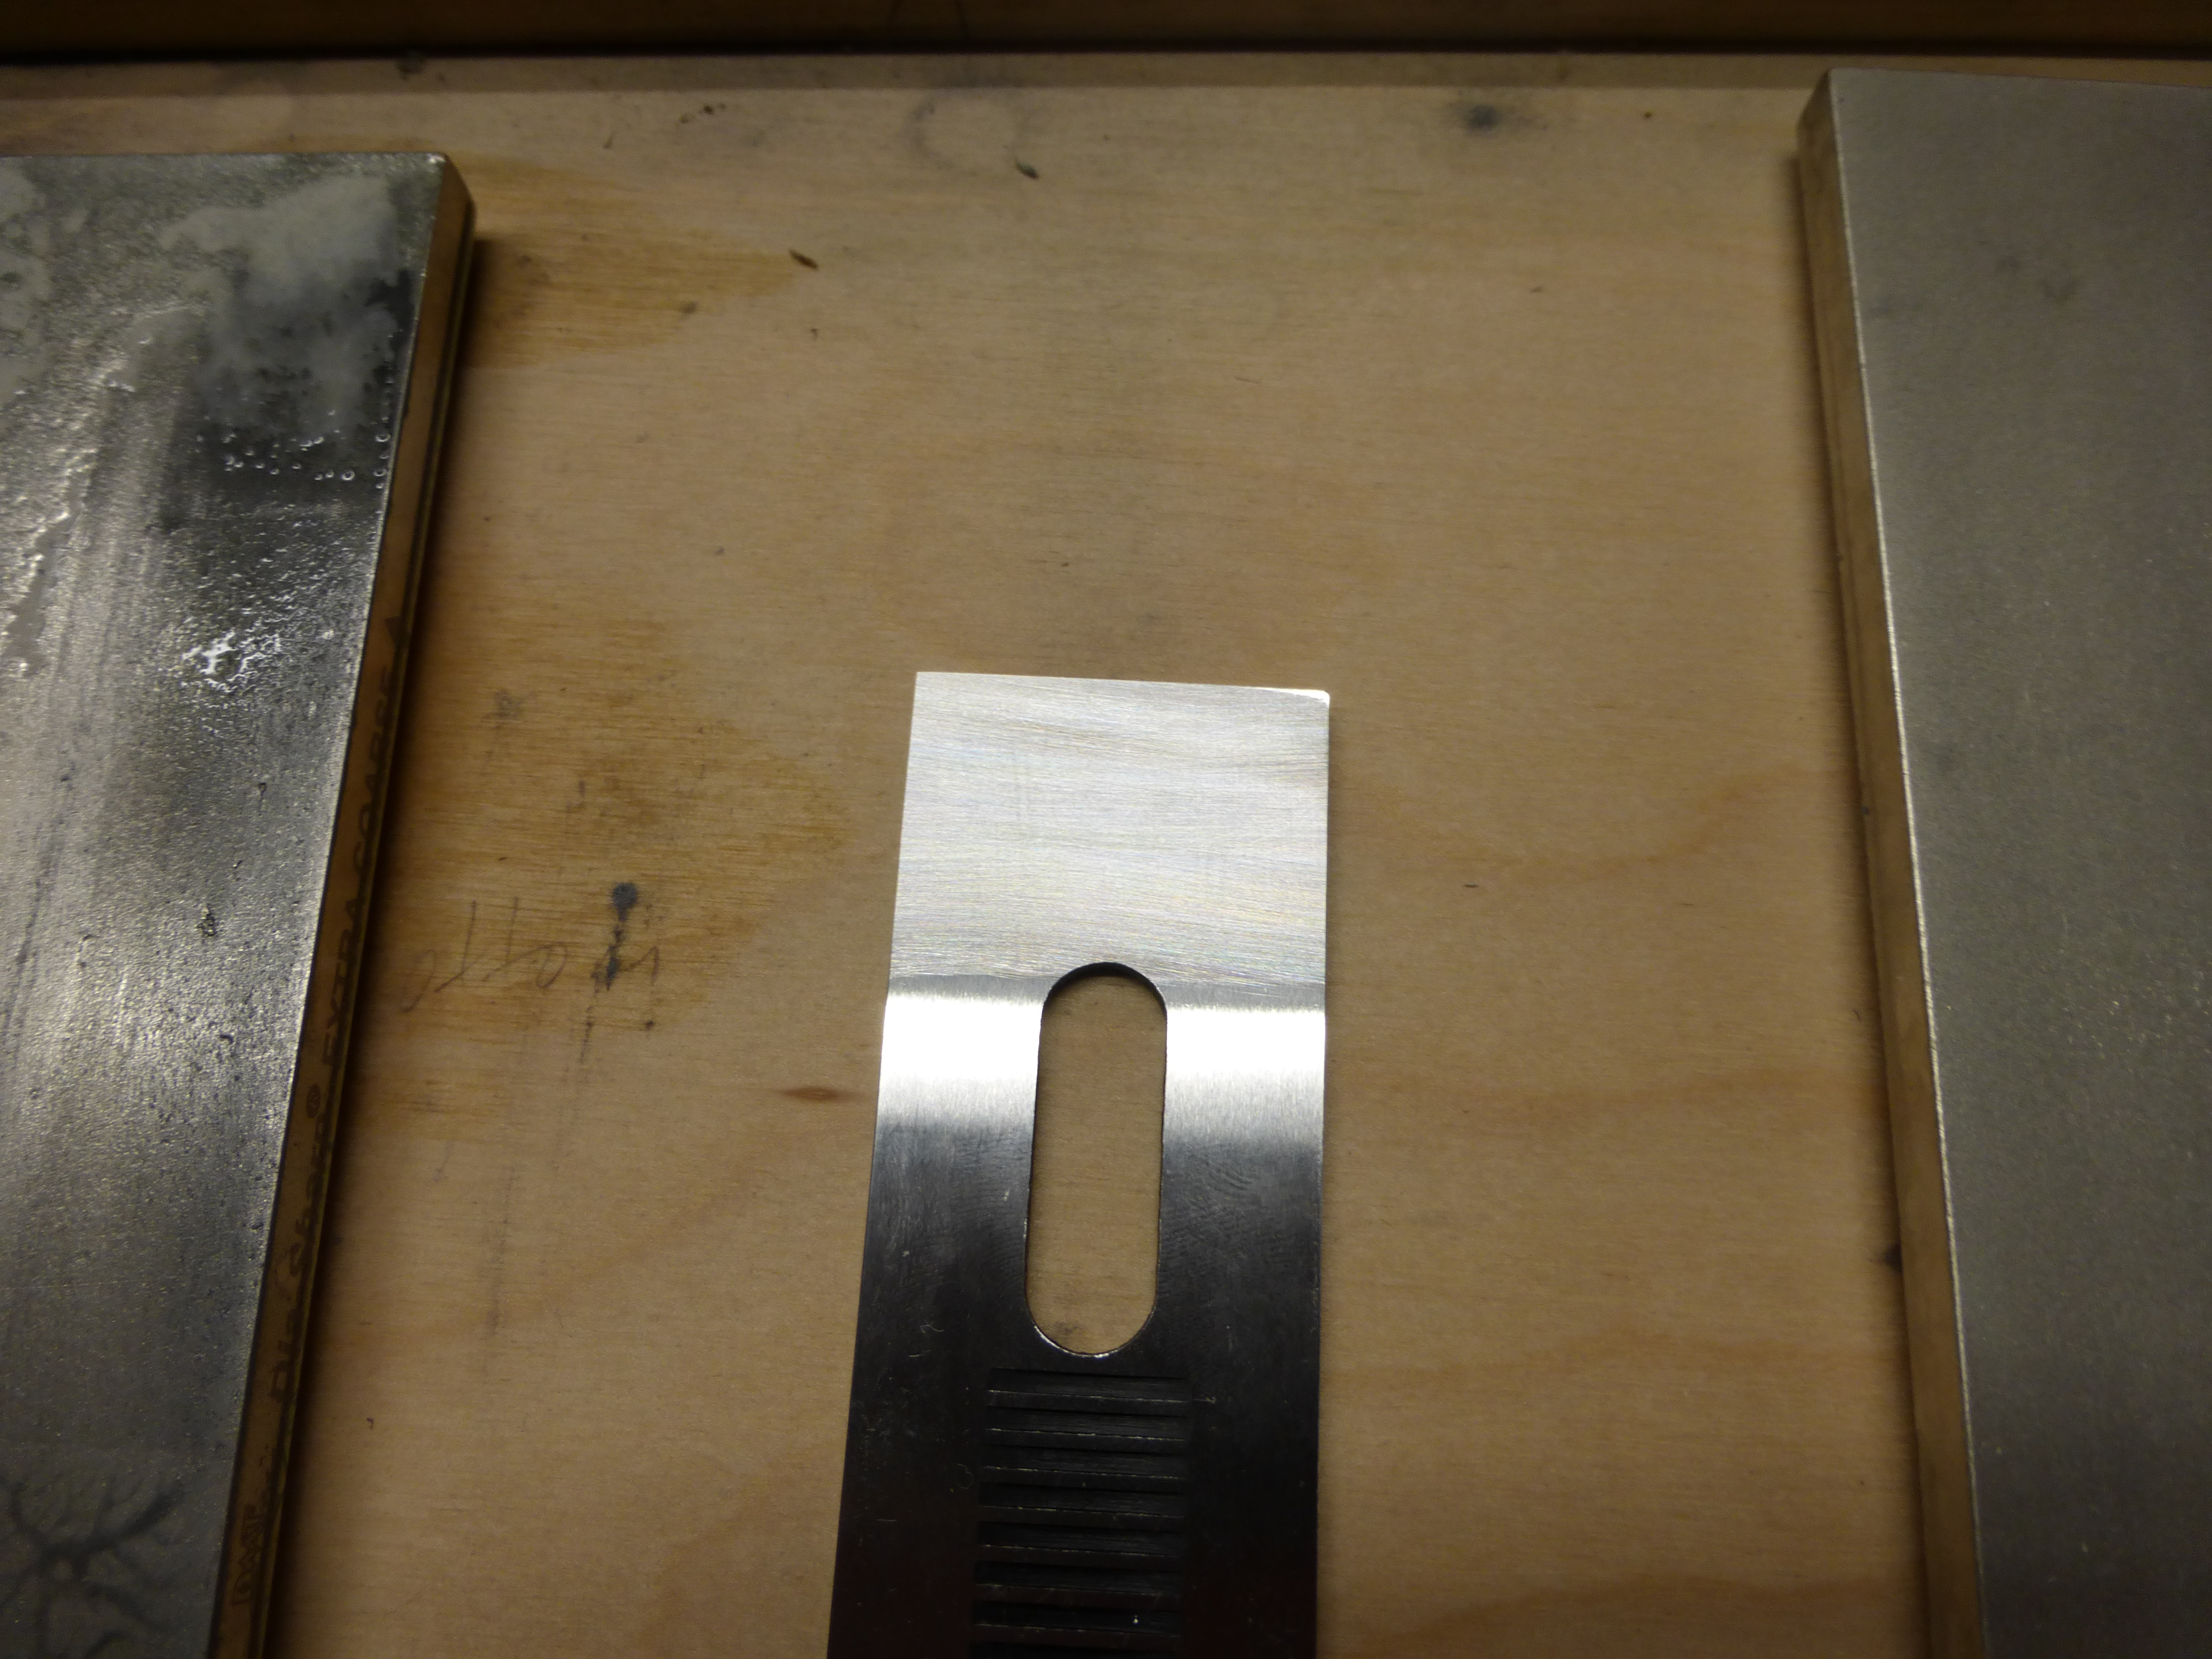
From unboxing to finish, total honing time was about half an hour to clean up the plane (most of which was flattening on the 220 diamond plate).
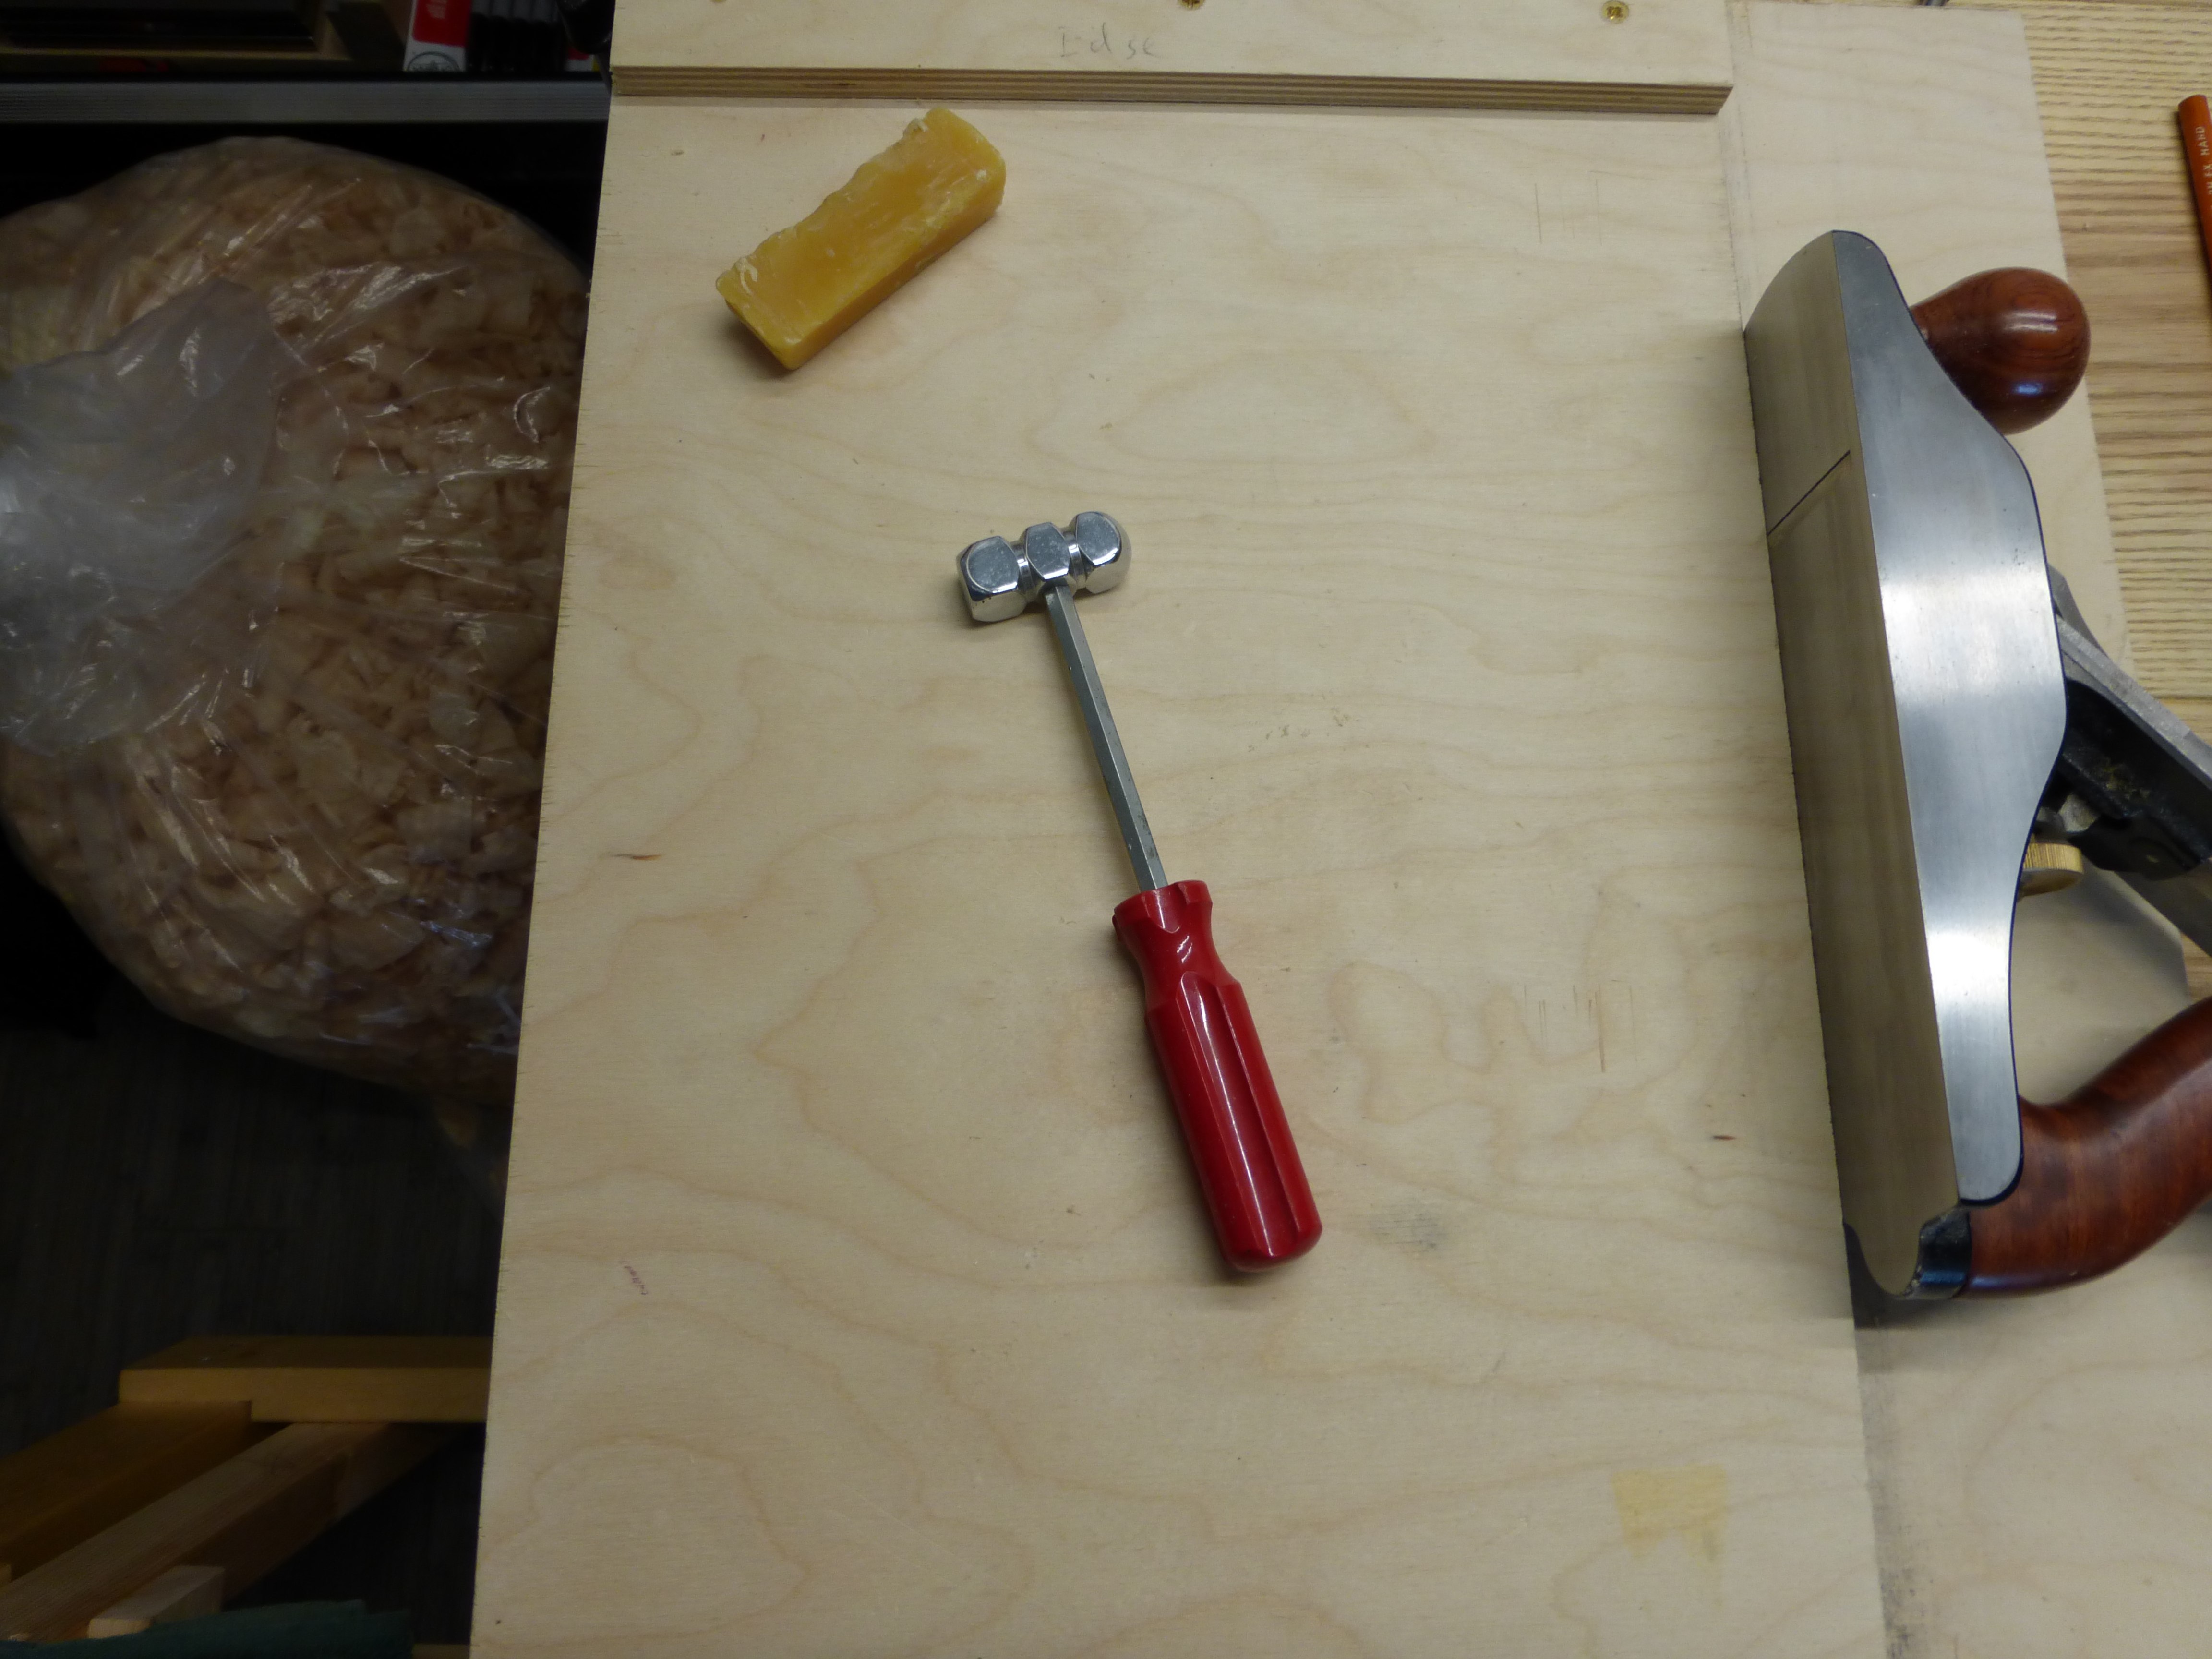
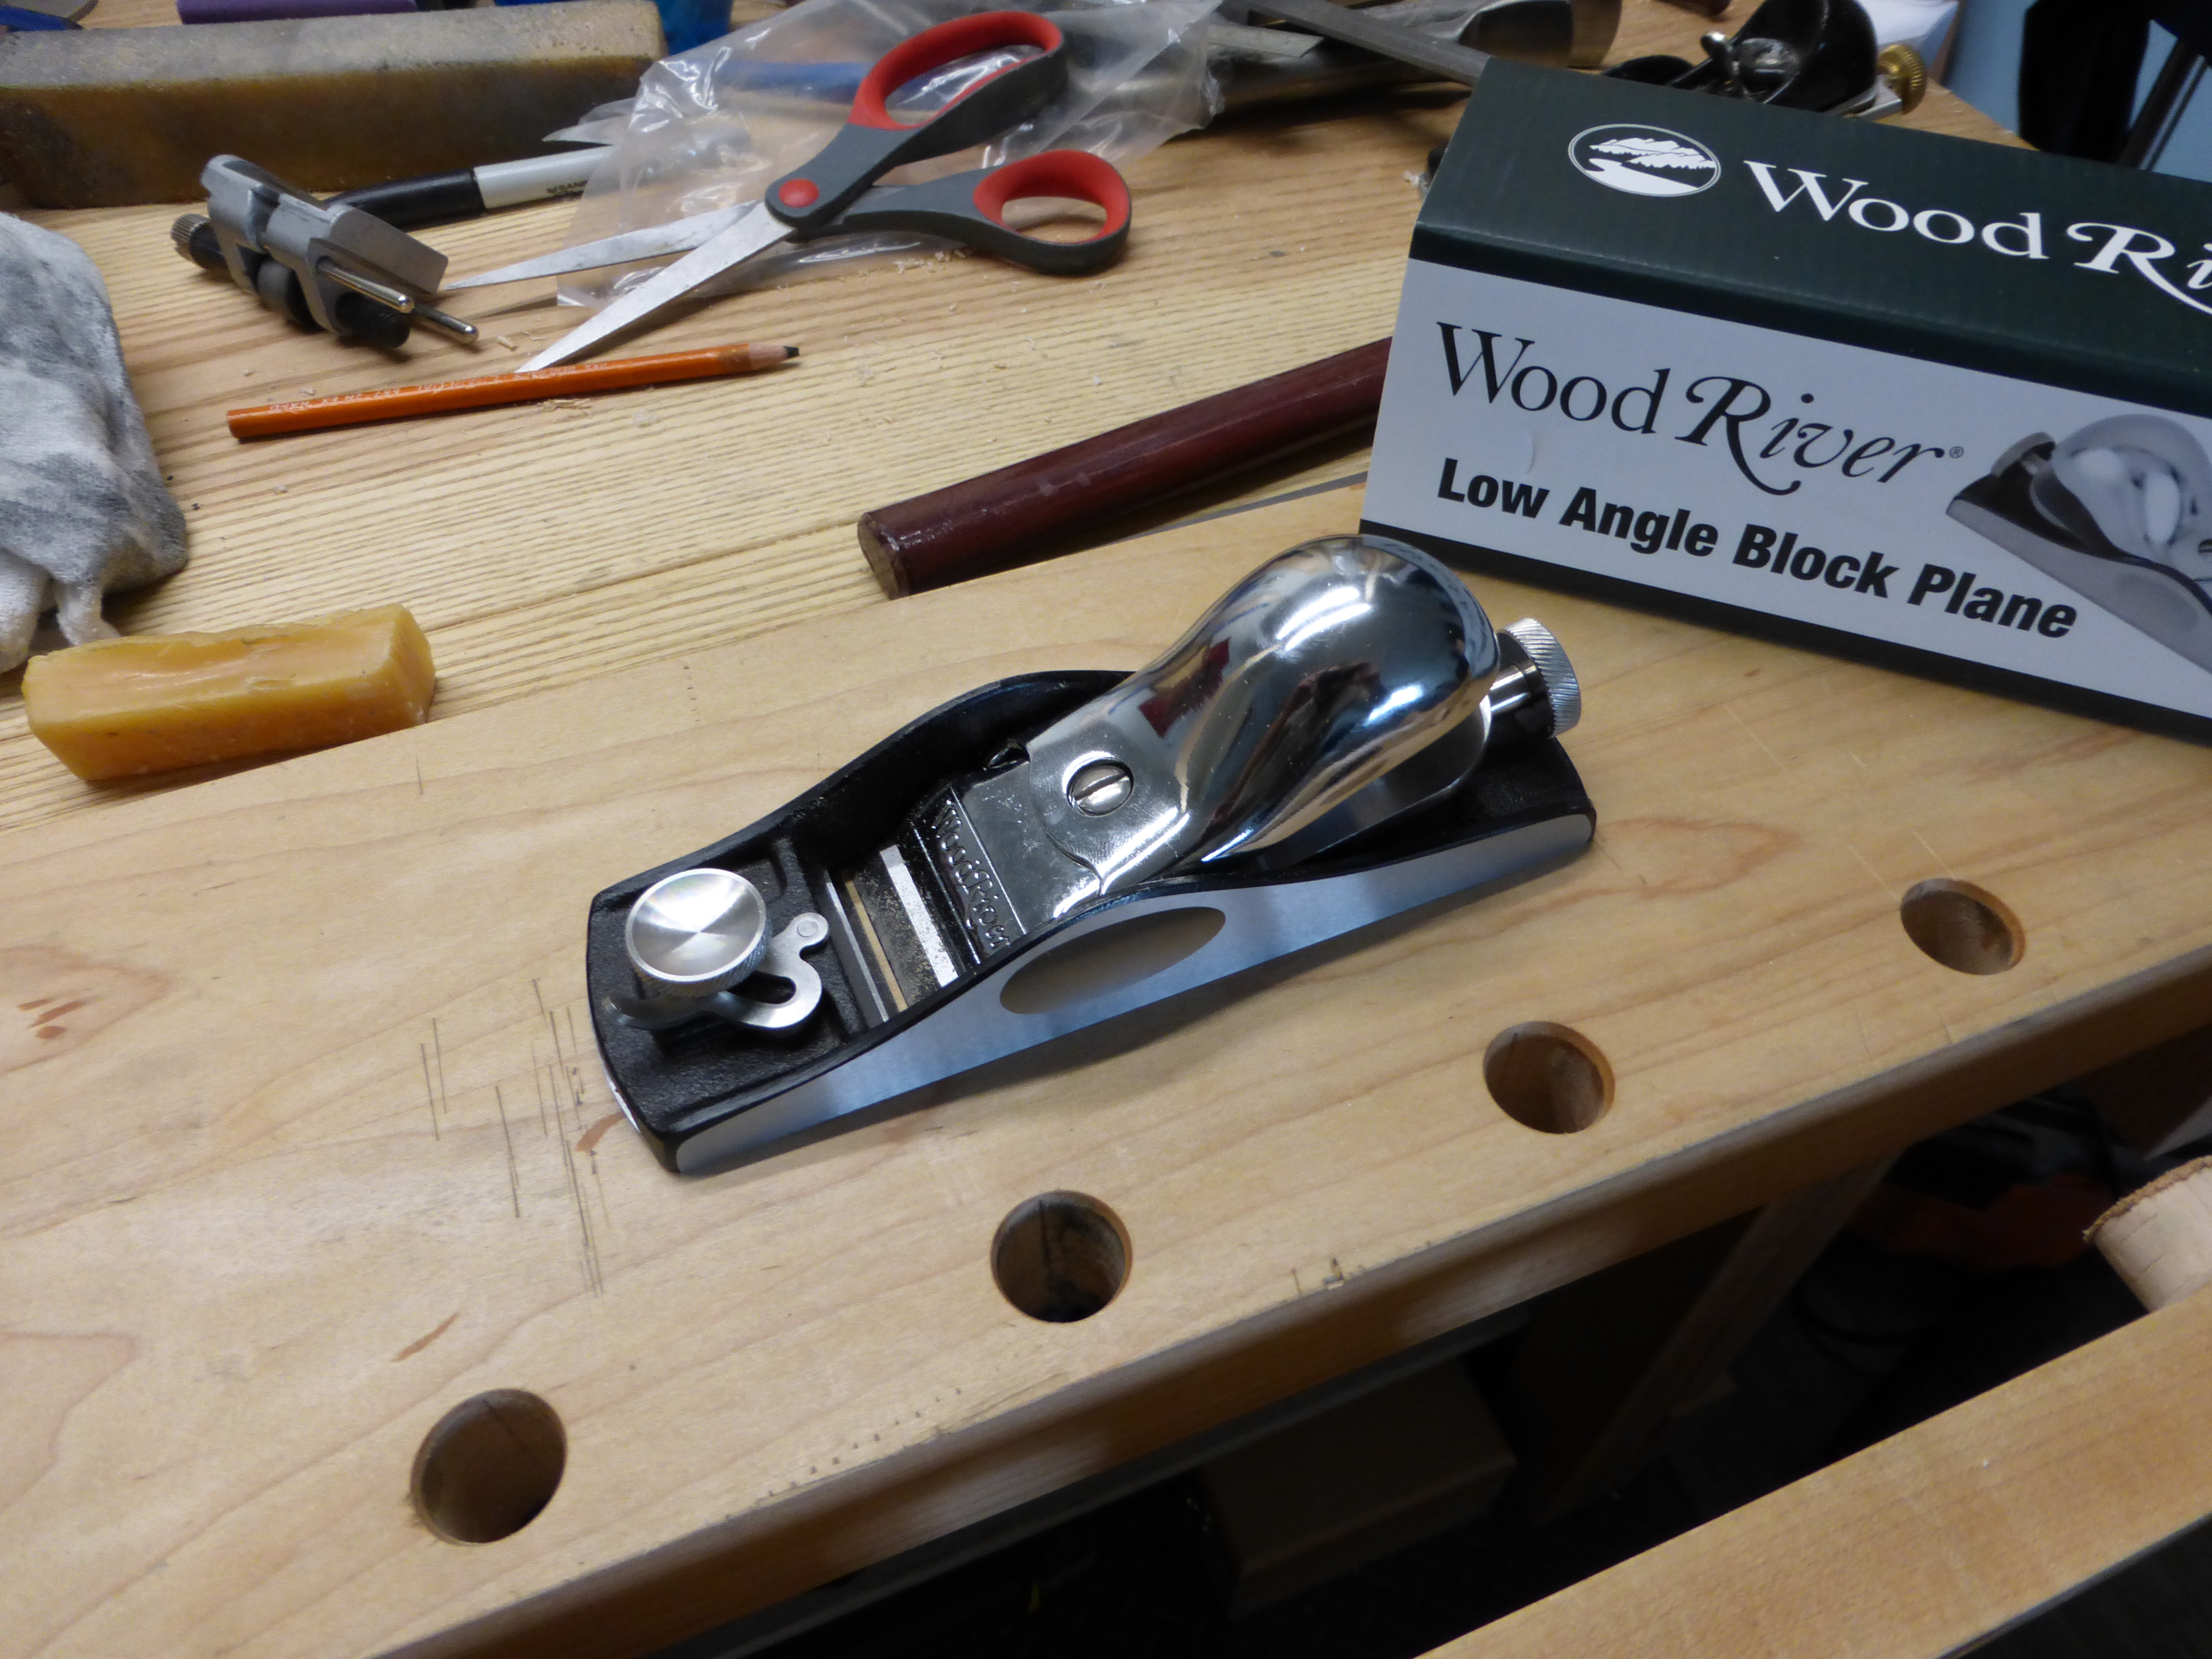
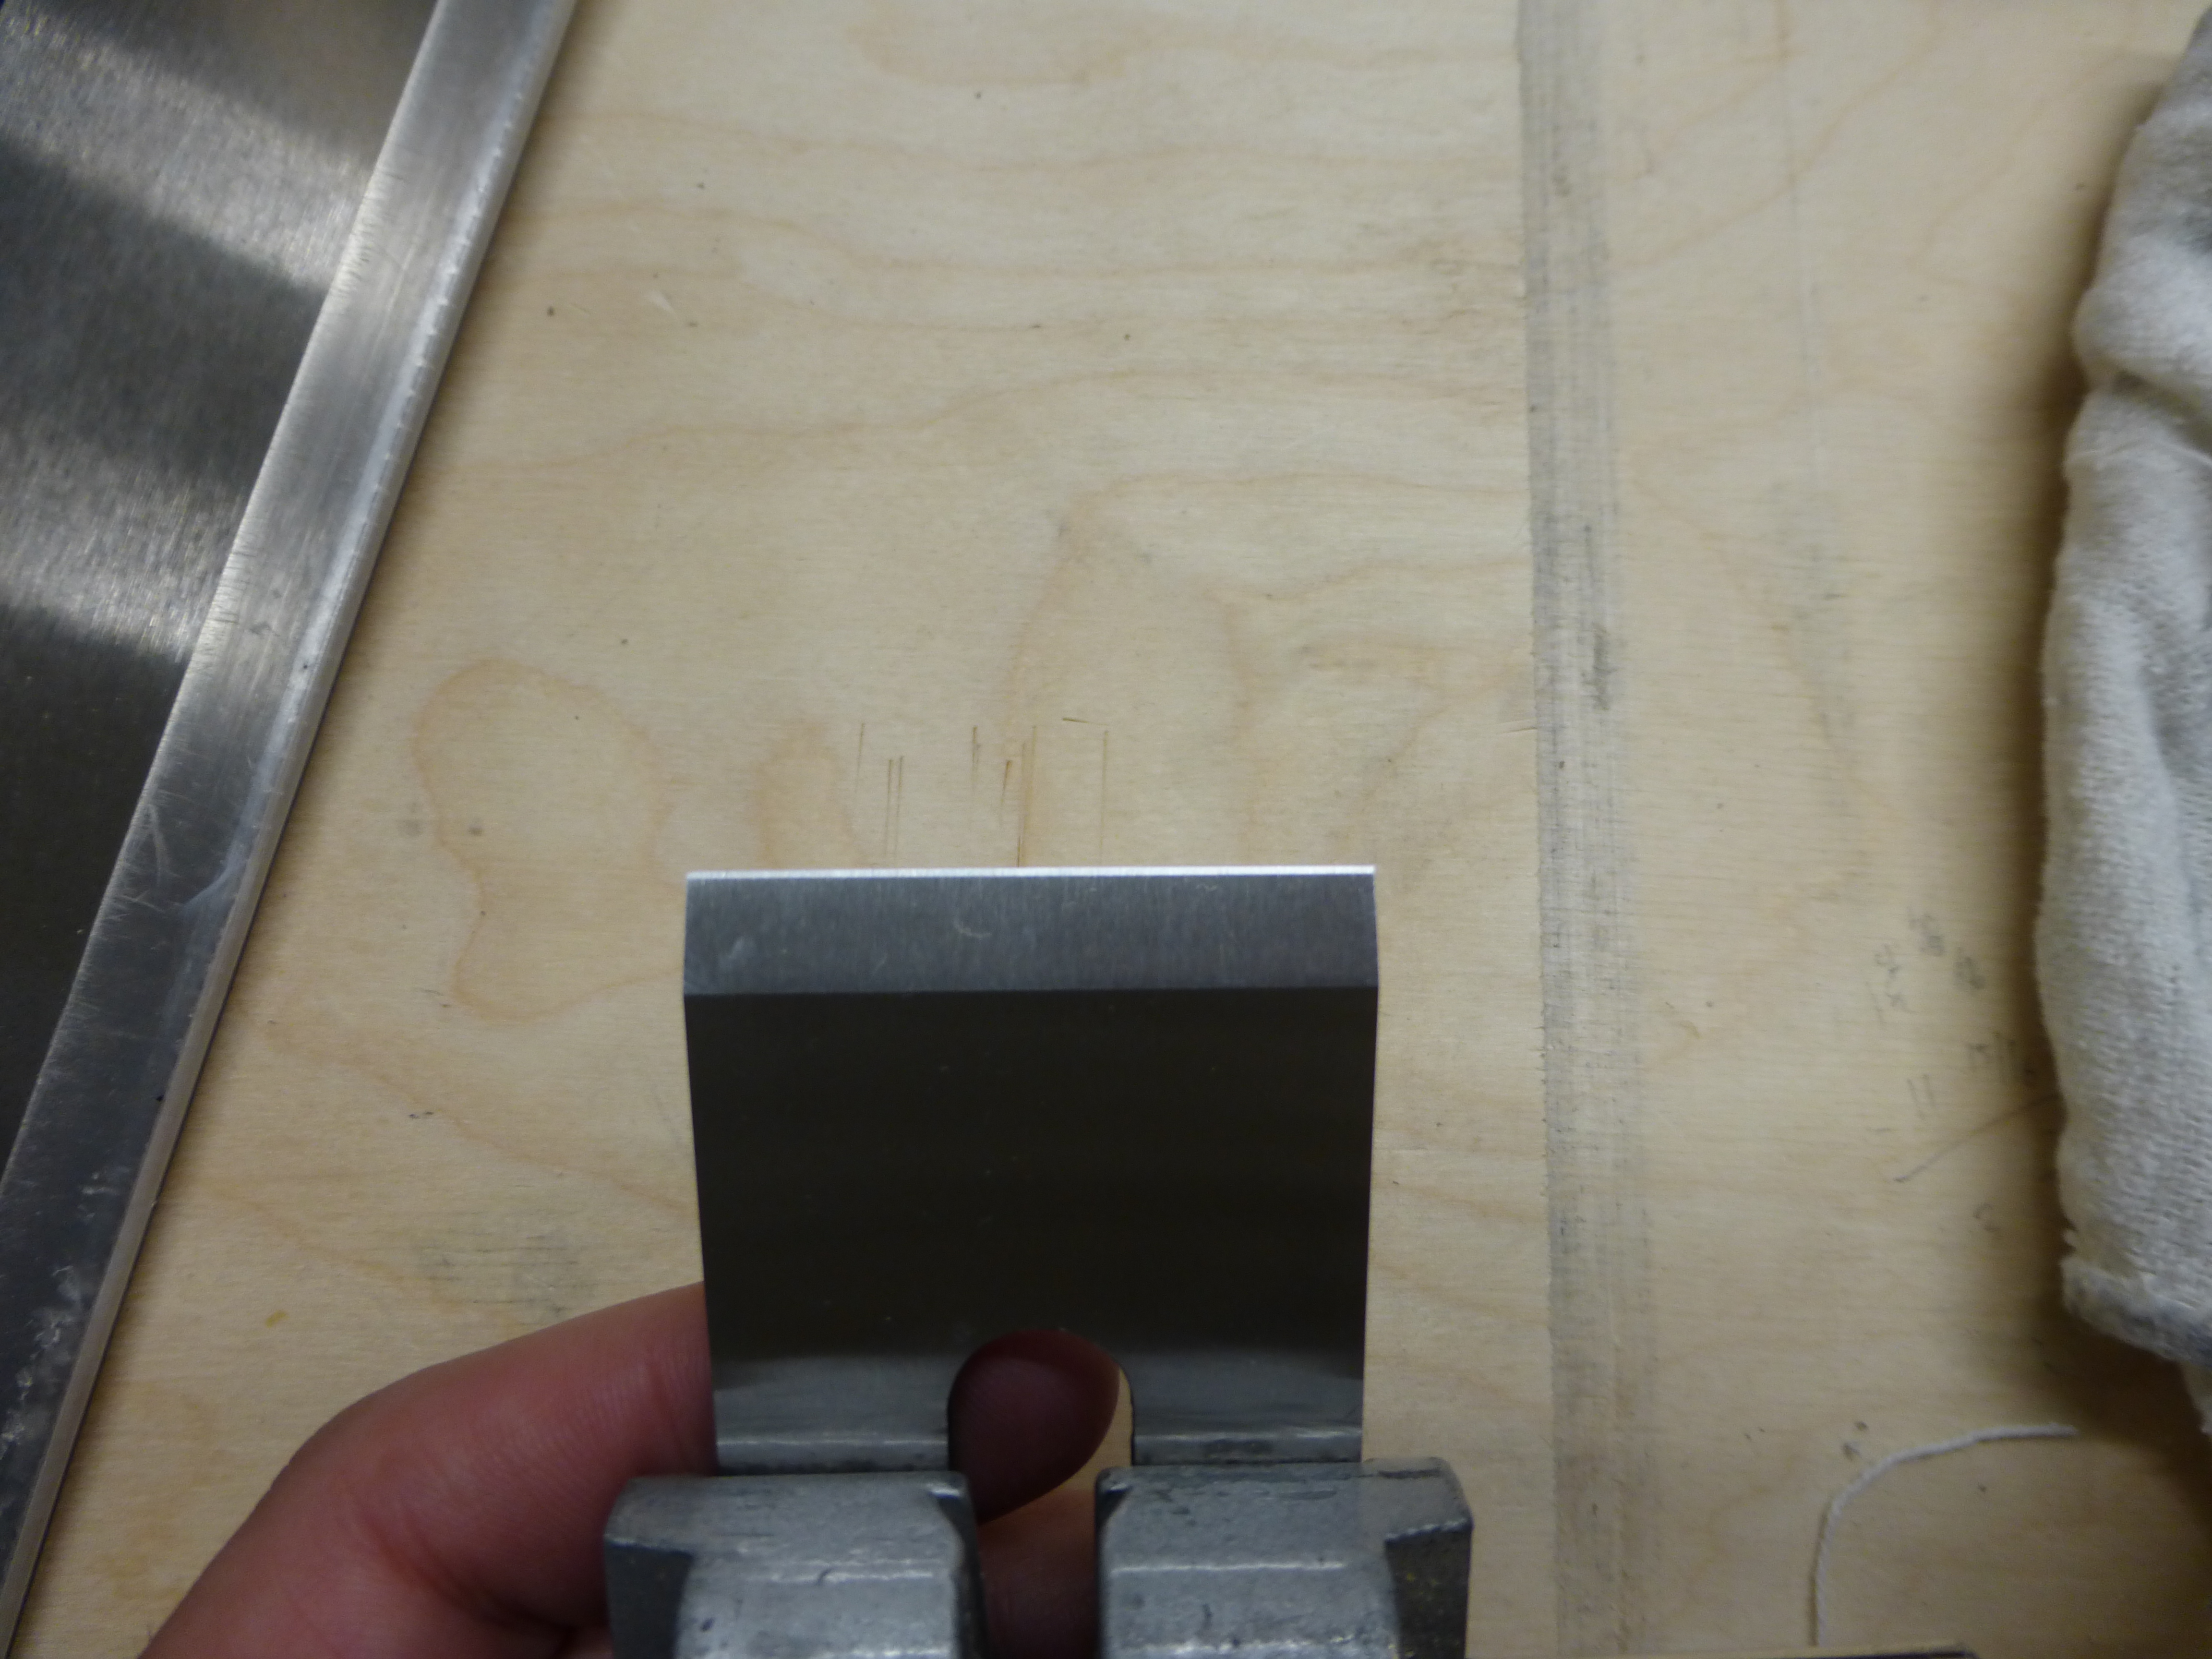
Just about done in this picture.
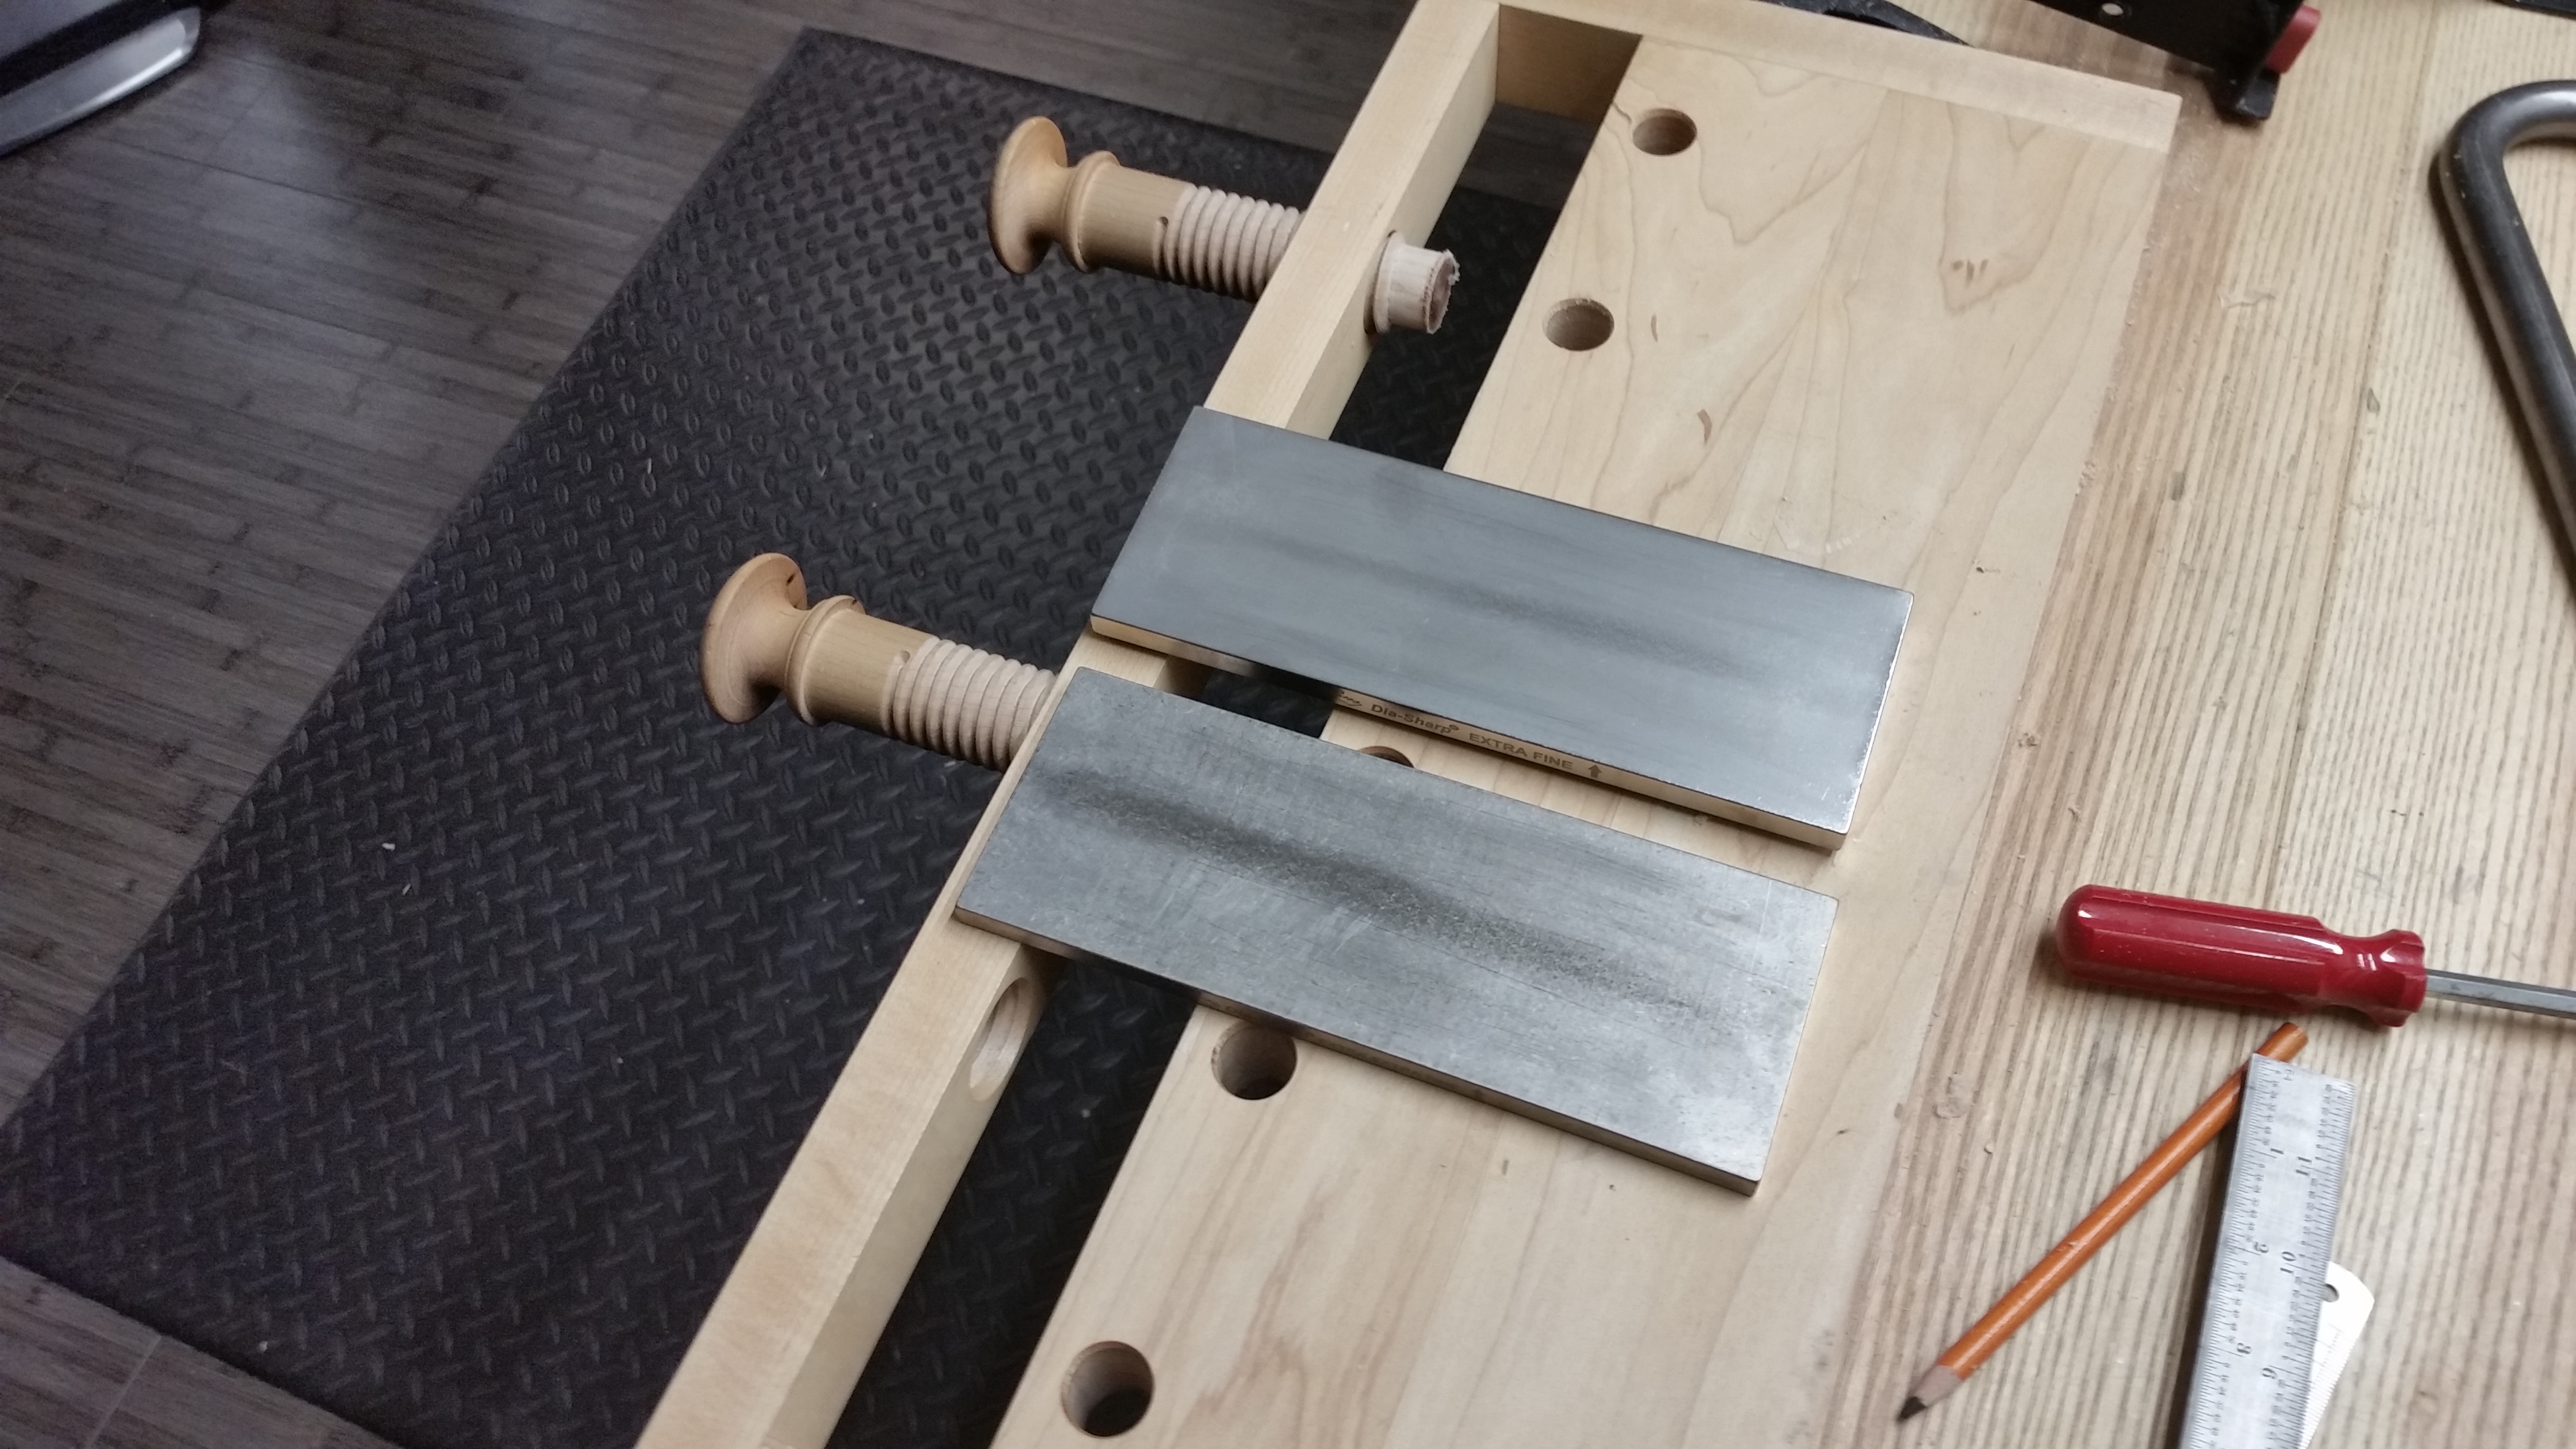
I’m pretty pleased with the machining on this particular tool. The sole is pretty flat and the iron was ground square (both rarities for this brand, I will admit). A couple swipes at 30 degrees left a razor-sharp secondary bevel on the freshly-flattened iron.
Fastest sharpening job ever.
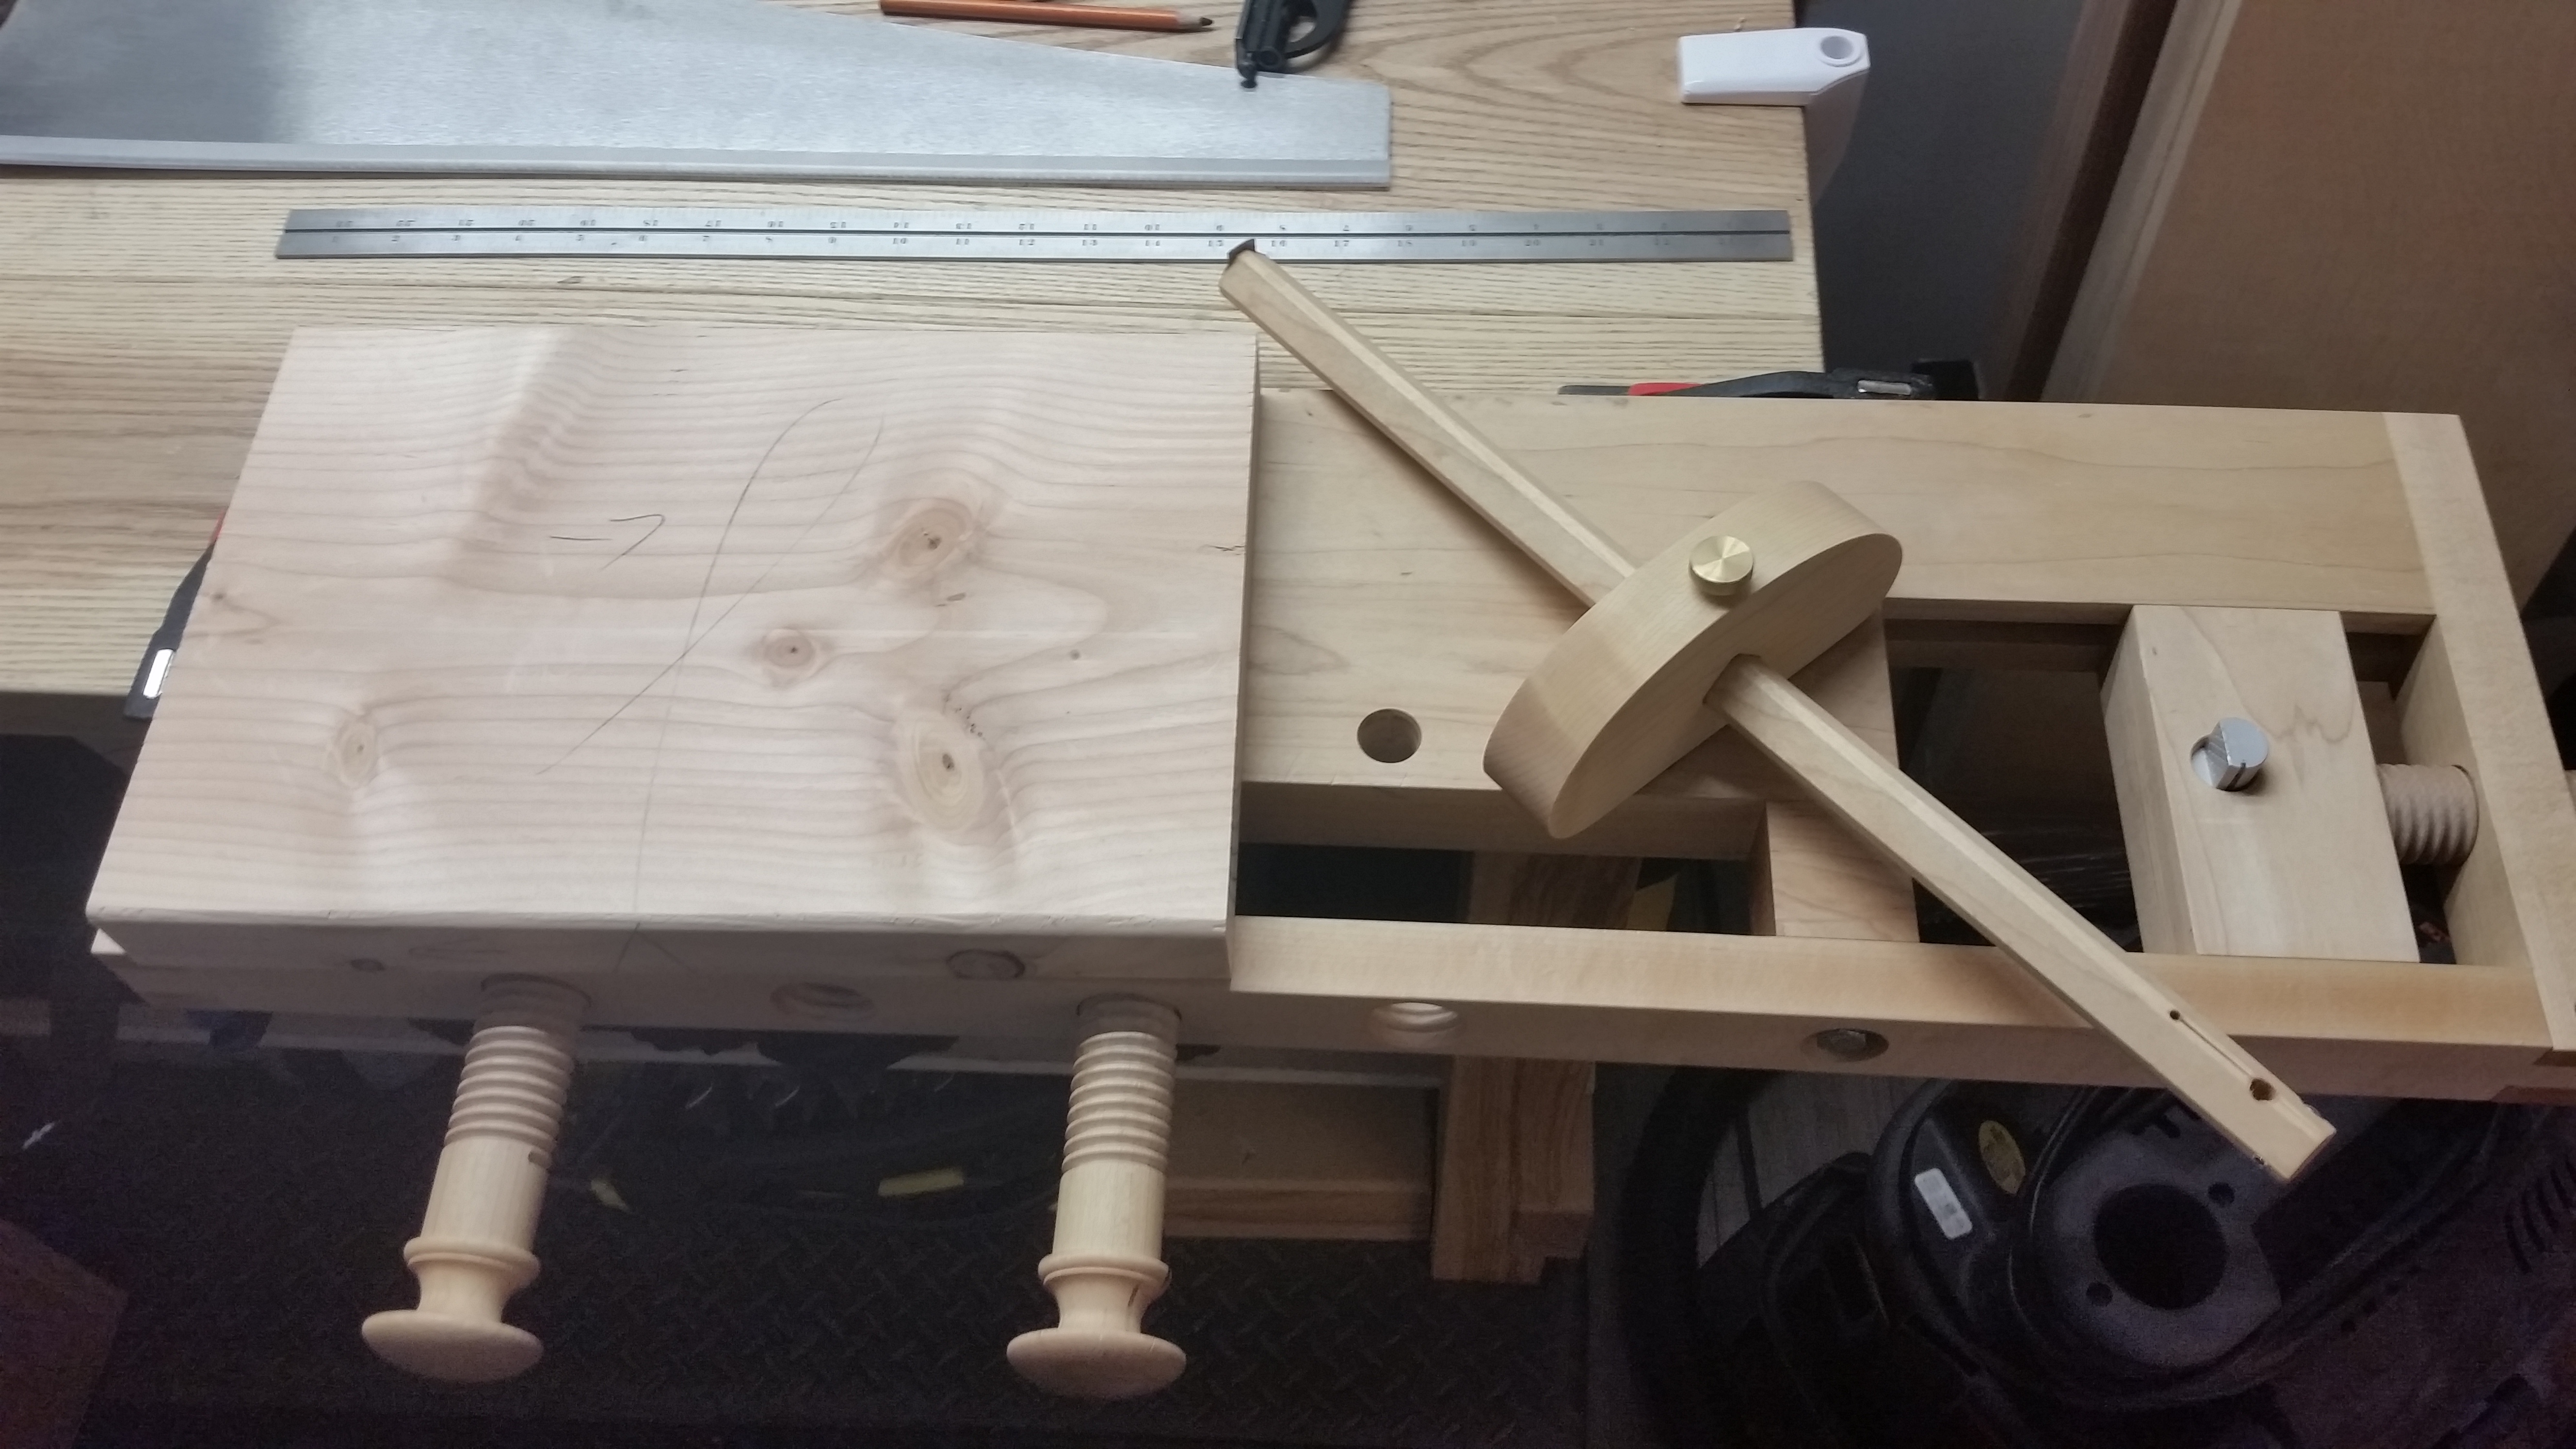
There is no lateral adjustment lever, but there is plenty of clearance around the knuckle cap for a hammer tap. The new block plane is also longer and heavier than my old one (it’s about the size of a No. 1), but the knuckle cap gives it a better feel in the hand. Overall, I’m happy so far, even if I’ve only taken a few end grain shavings to test blade sharpness.
JPG