Does anyone remember glamour shots? Those airbrushed-to-all-hell personal photos that could make anyone look good? They were like the Barbara Walters interview of photos. I’m sure they still exist, because human vanity still exists.
I ask for a very specific reason (and the title of this post is not arbitrary). I finished the front vise on my new workbench. And it’s beautiful.

Soft focus and natural light only.
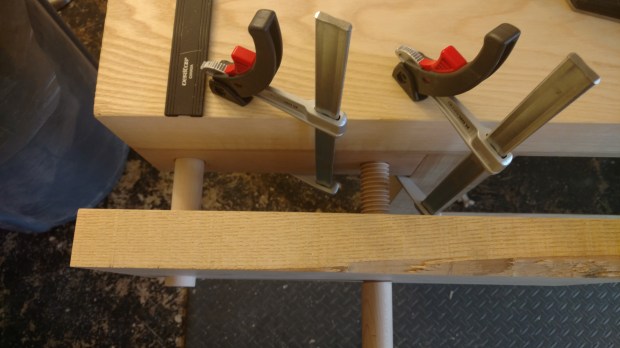
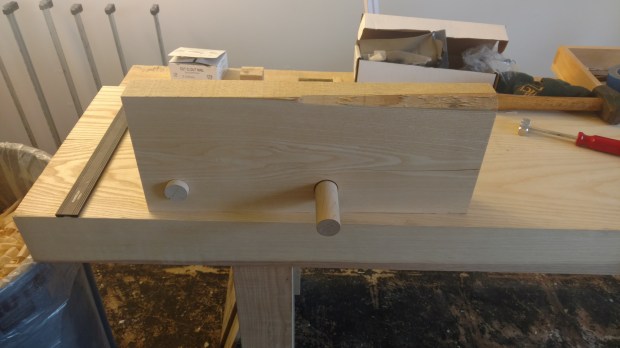
Aesthetically, it’s everything it’s supposed to be. The lines are clean, the color match on the jaw and hub are fantastic, and the walnut handle offers a nice contrast. And look how perfectly it cinches down to the benchtop!

There is even a bit of wain to give it a rustic look.
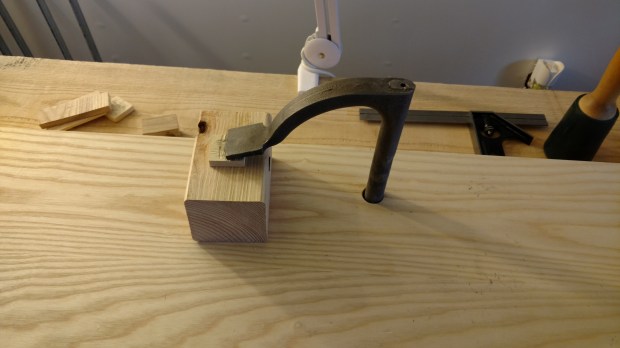
But looks aren’t everything. Truth is: the vise doesn’t work very well. There is too much play in the maple guide peg, so the vice wracks in all directions. It works okay with wide stock that can sit on the screw and the peg while I work an edge, but it’s useless for cinching narrow pieces at the top of the jaw. It also works okay as a crochet for very wide stock that extends below the bottom of the law, but the maple peg wedges itself in the guide hole (like a holdfast) and it’s a pain to free up.
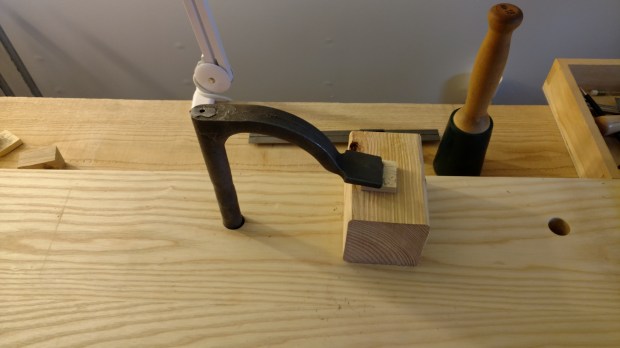
Could I find a metal collar to tighten the guide hole, or otherwise fiddle with it some more, and make the vise work better? Probably. Will I? No. It’s a sunk cost at this point. I can re-purpose the jaw for something else and there is nothing wrong with the screw (although I would bet the hub gets trimmed down before it sees use again). There’s a reason the vise nut is attached to the bench with only hide glue.
One of the hardest things in woodworking, and in life generally, is admitting failure and moving on. My attempt at a completely wooden front vise has failed.
My heat gun and I are moving on.
JPG