This new “Basic Projects” segment is a Lie-Nielsen-style saw vise. A good saw vise is essential, hand-tool woodworking shop equipment. This saw vise is simple to make from a few scraps and basic hardware and can be held in a bench vise during use.
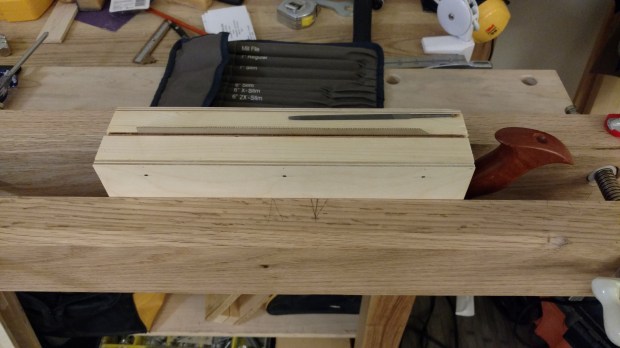
The materials list below is for a 12″ saw vise, which I’ve sized to fit my dovetail saws (and therefore pretty much everyone one of my other saws). A larger 16″ version is fantastic for my panel saws and larger tenon saws, but not so great for saws with smaller plates. Please note that all materials were what I had on hand, so feel free to mix and match what’s available to you.
Materials list:
- 2x birch plywood (1/4″), approximately 12″ x 6″ (for the sides)
- 4x white pine blanks, approximately 12″ long and sized to fit your saws (for the upper and lower jaws)
- Metal hinges
- Wood screws/Cut Nails
- Wood glue
- Suede leather strips (to line the jaws)
Tools list:
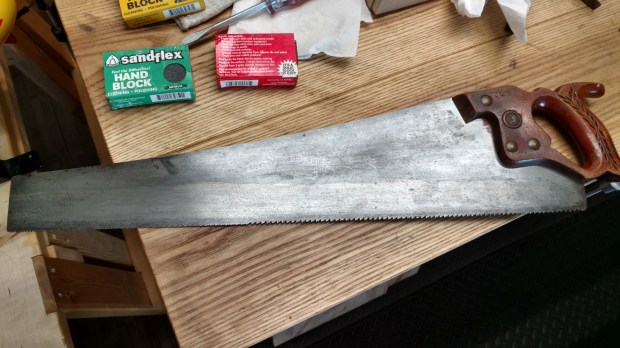
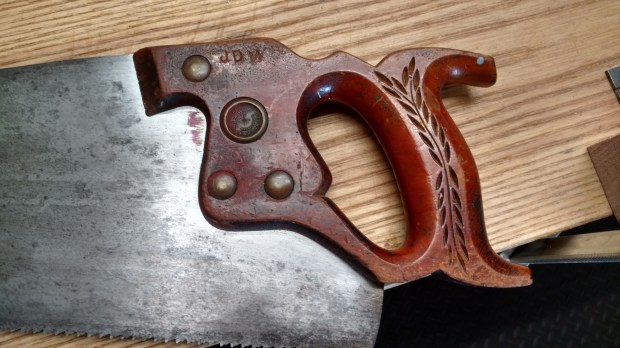
- 22″ panel saw
- Low angle block plane
- Hand drill and screwdriver/hammer
- Scissors, chisel or razor blade (for trimming the leather jaw lining)
First, make the plywood sides. Mine came from some craft store birch ply I picked up at the same time as the suede to line the jaws. Saw them to length and width and plane to equal size with a block plane. You can shoot them if you’d like, but exact squareness is not critical. All that matters is they are identical and the long sides are roughly parallel.
Then, to size the upper jaws, take your smallest saw and subtract 3/8″ from the height of the saw plate at its narrowest point (probably by the handle): that’s the height of each upper jaw. Then make each upper jaw about the thickness of the saw tote (or 2x overall) to accommodate different size saws in the finished vise (but there is no magic to this measurement). Using my Vertitas dovetail saw as a reference, each upper jaw is 7/8″ high and 1″ thick.
When you glue the leather lining onto the upper jaws, you can use pretty much any type of glue when bonding leather to wood. I use hide glue for the longer open time. Either glue the leather down proud of the wood on all sides and trim flush with a chisel and mallet (like I did), or cut the strips to size before gluing. Either will work.
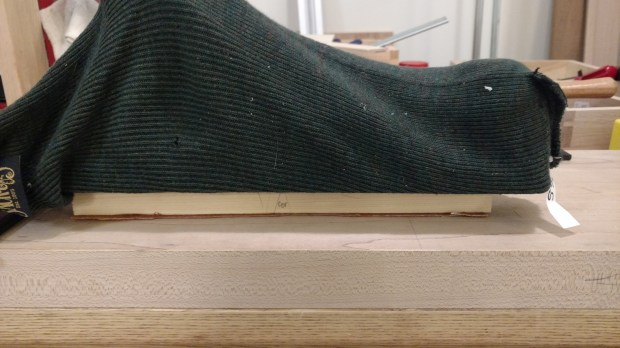
In scales this small, a hand plane is a good as a granite slab.
Height on the lower jaws is not critical, but they should be substantial enough to take wood screws or nails. Depth on the lower jaws is more important: they must be overall pretty close the upper jaws (including the leather lining) so the upper jaws will close tightly when clamped around the saw plate. If you can, leave the lower jaws larger to accommodate the leather jaw lining on the upper laws (which can add up to 1/8″). I always forget that part and make all four jaws identical. So instead, I added leather to each of the lower jaws also.
Now glue and screw one upper jaw and one lower jaw to each plywood sides, driving from the outside. Three screws for each jaw should be more than enough. Cut nails will work also. I actually used 1″ headless cut brads (from Tremont Nail) because I don’t have a No. 8 countersink bit handy. If you use nails, remember to orient the head of the nail with the grain of the top piece.
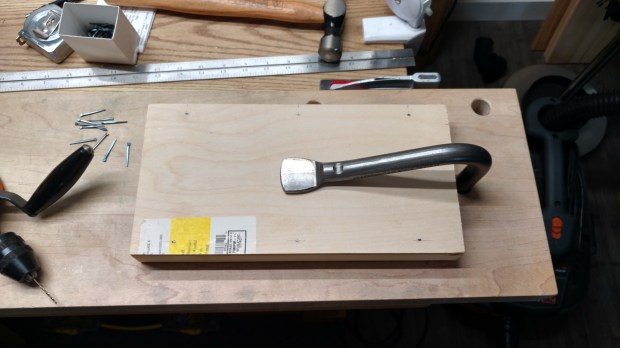
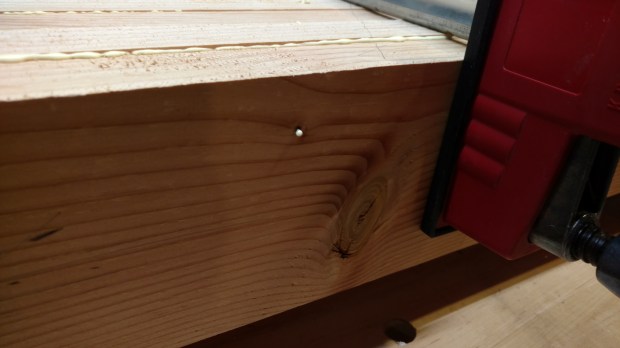
Light pressure from the holdfast keeps everything cinched while driving the nails.
Then clamp the assembled halves together in a bench vise or with some F- or spring-clamps. Mount the hinges on the outside of the lower jaws, about 1″ from each end (and in any event, clear of the screws or nails holding the jaws onto the sides). The hinges I had on hand were overkill for this application, but I wasn’t about to buy more. Finish is optional
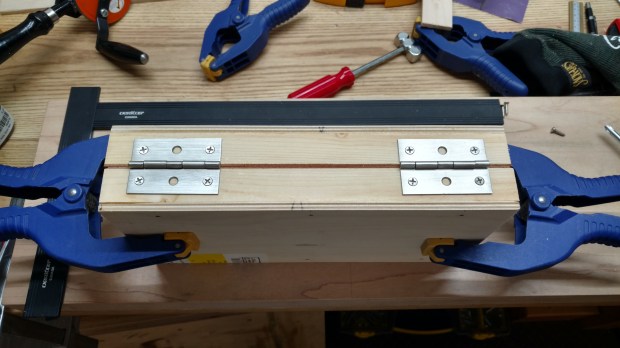
Good thing I added leather to both sets of jaws; I installed the hinges on the wrong side!
And that’s it. You’re ready to sharpen your own saws. If you’d like, go ahead and chamfer the top front edge. Although not strictly required, this detail will save your knuckles in the long run.
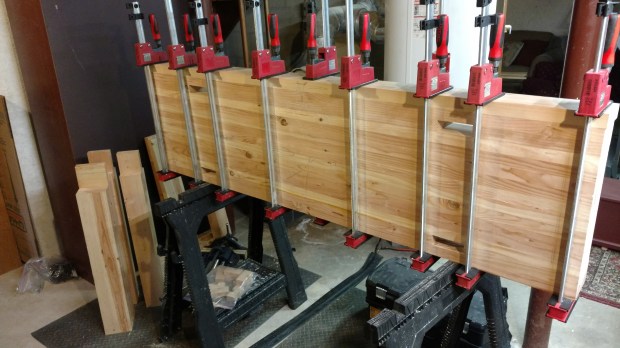
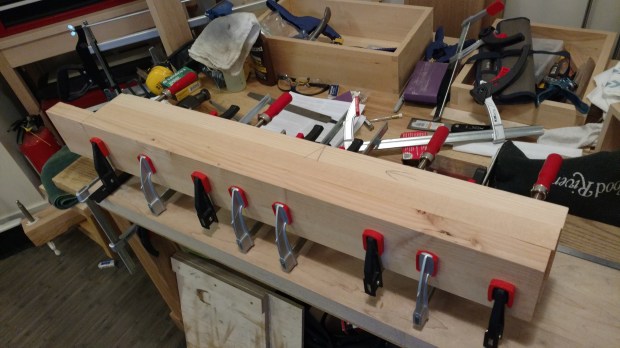
I will be hand-flattening the core slab of the new workbench this weekend, so wish me luck.
JPG