It’s always the small projects that cause the most trouble. The projects that most often remind me of a certain adage about the relationship between haste and waste.
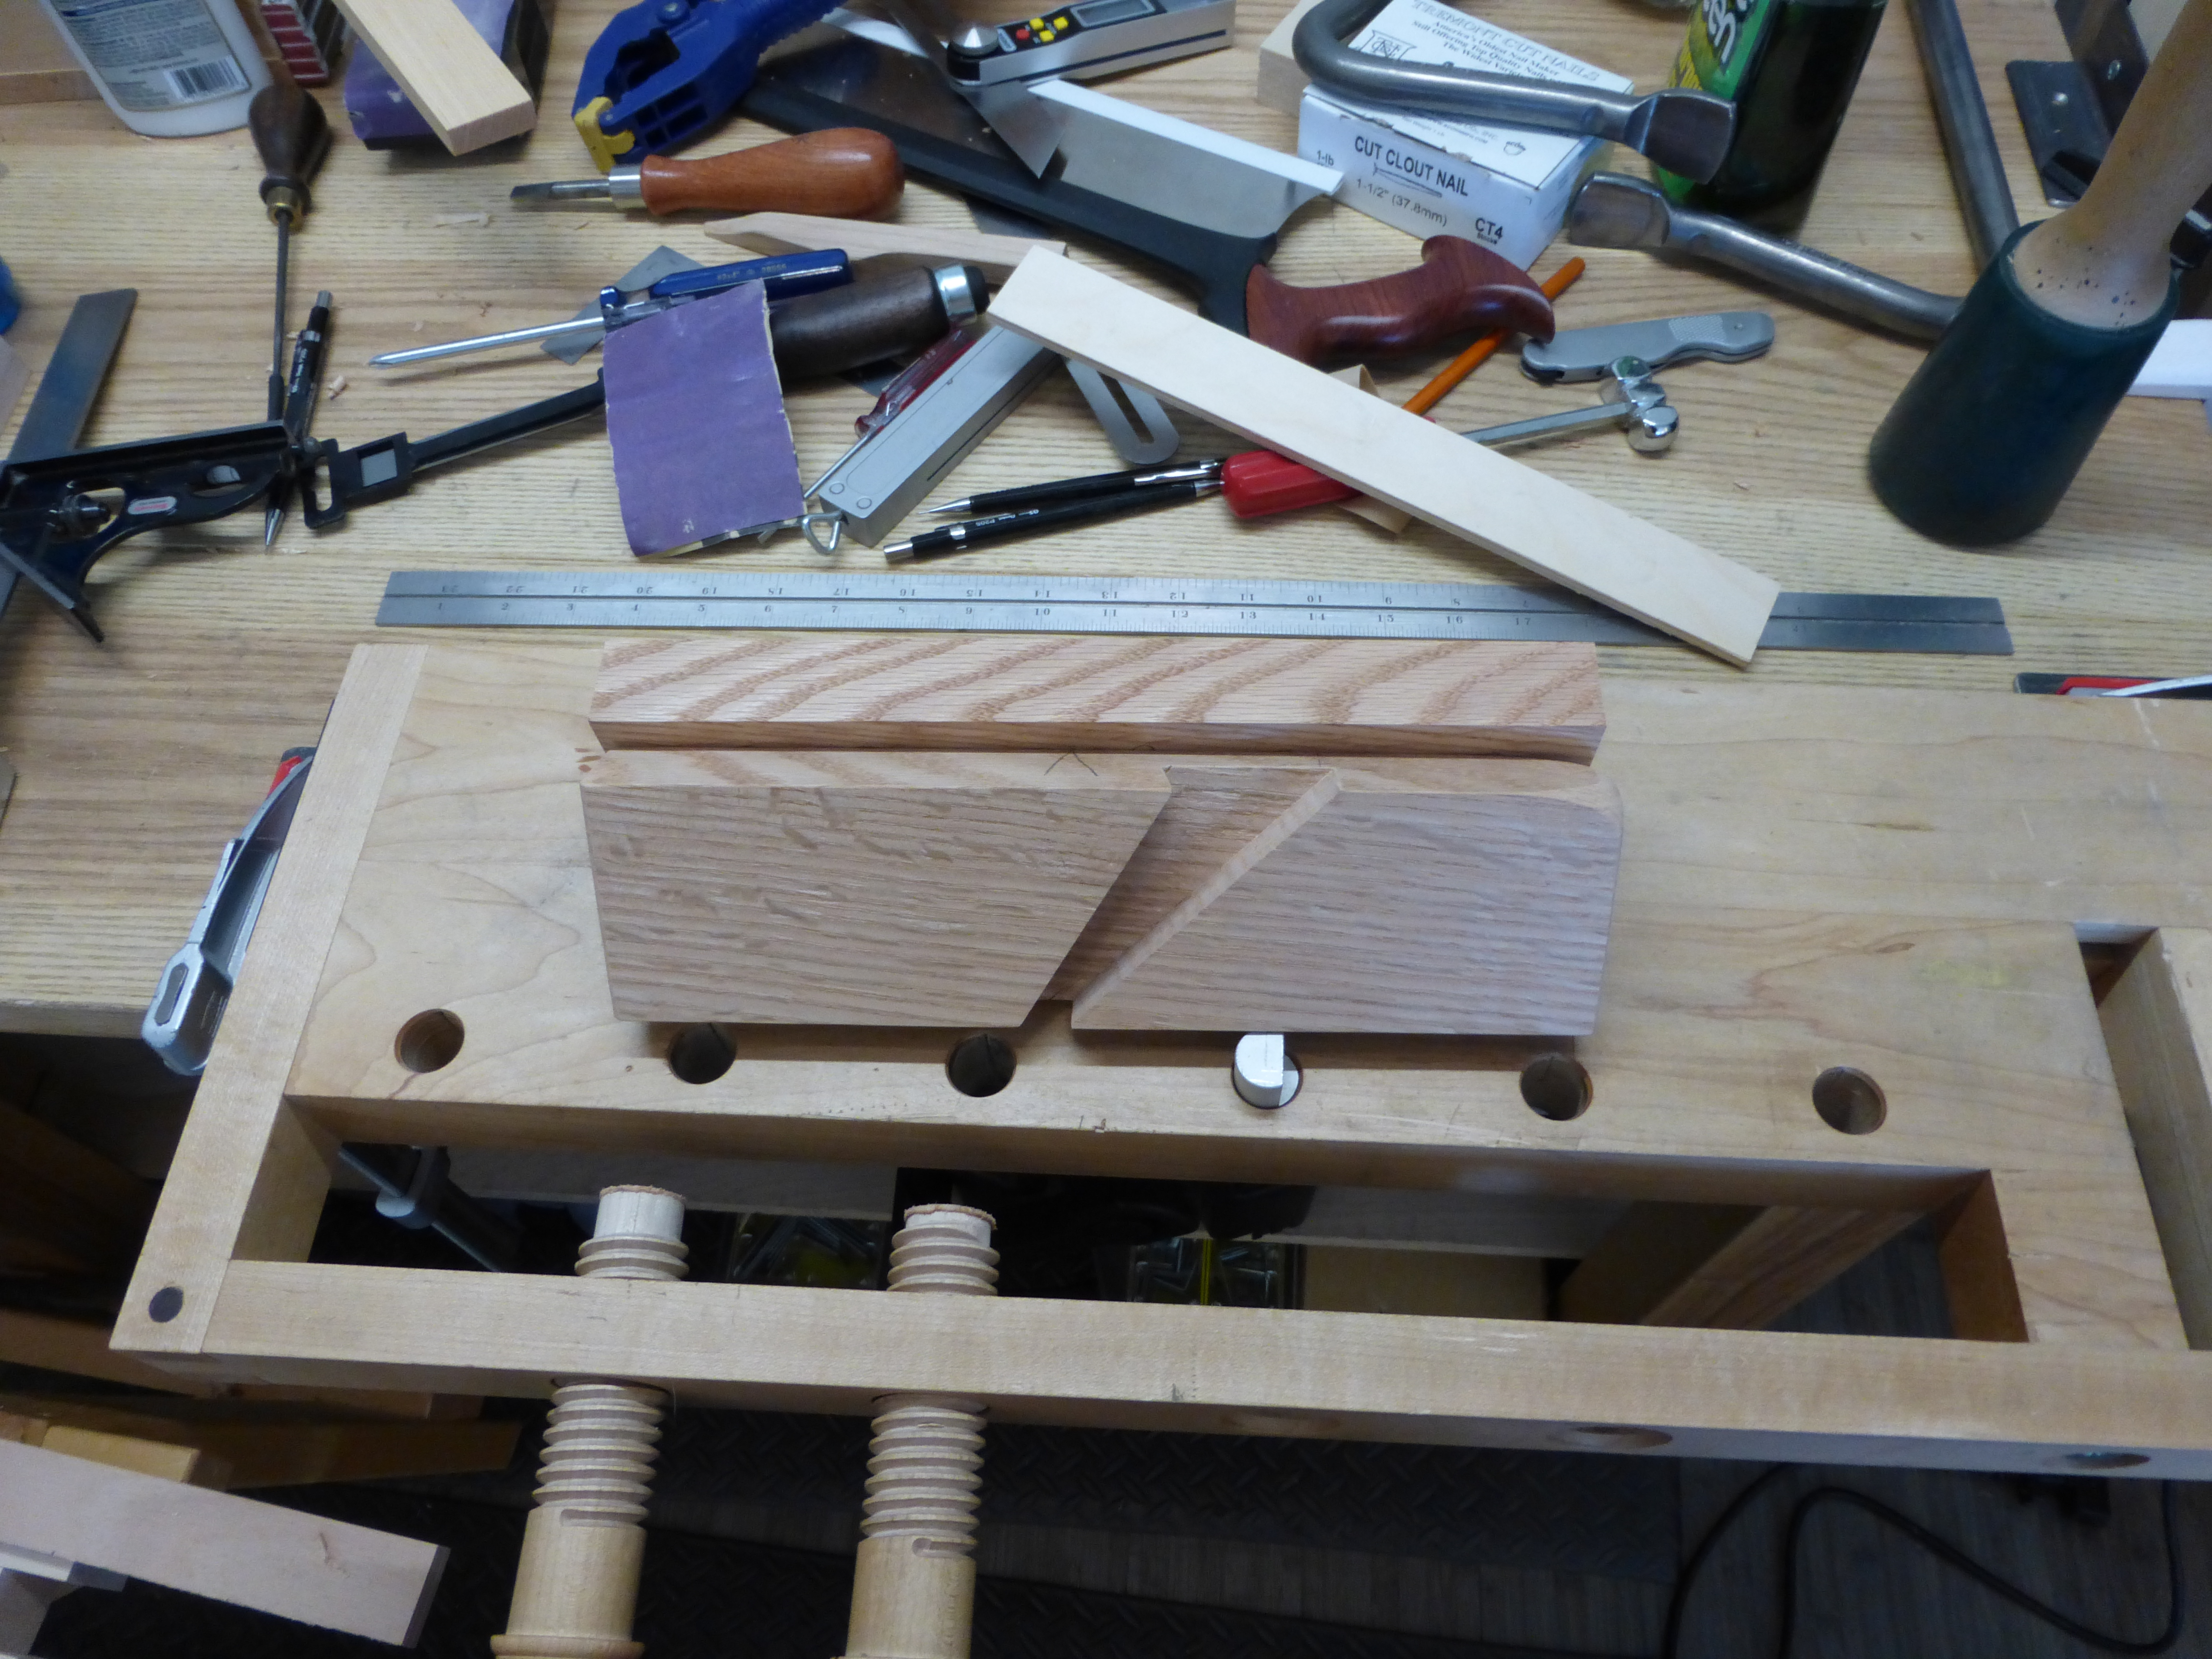
My brother and sister-in-law asked me to create a mounting board with a simple moulding for a brass clock and matching barometer. It’s a rather nautical setup, and having no mahogany or teak on hand, I opted for some cherry. Simple enough, and a great opportunity to use my white charcoal pencils.

I don’t know much about cherry, but it looks a bit curly to me.
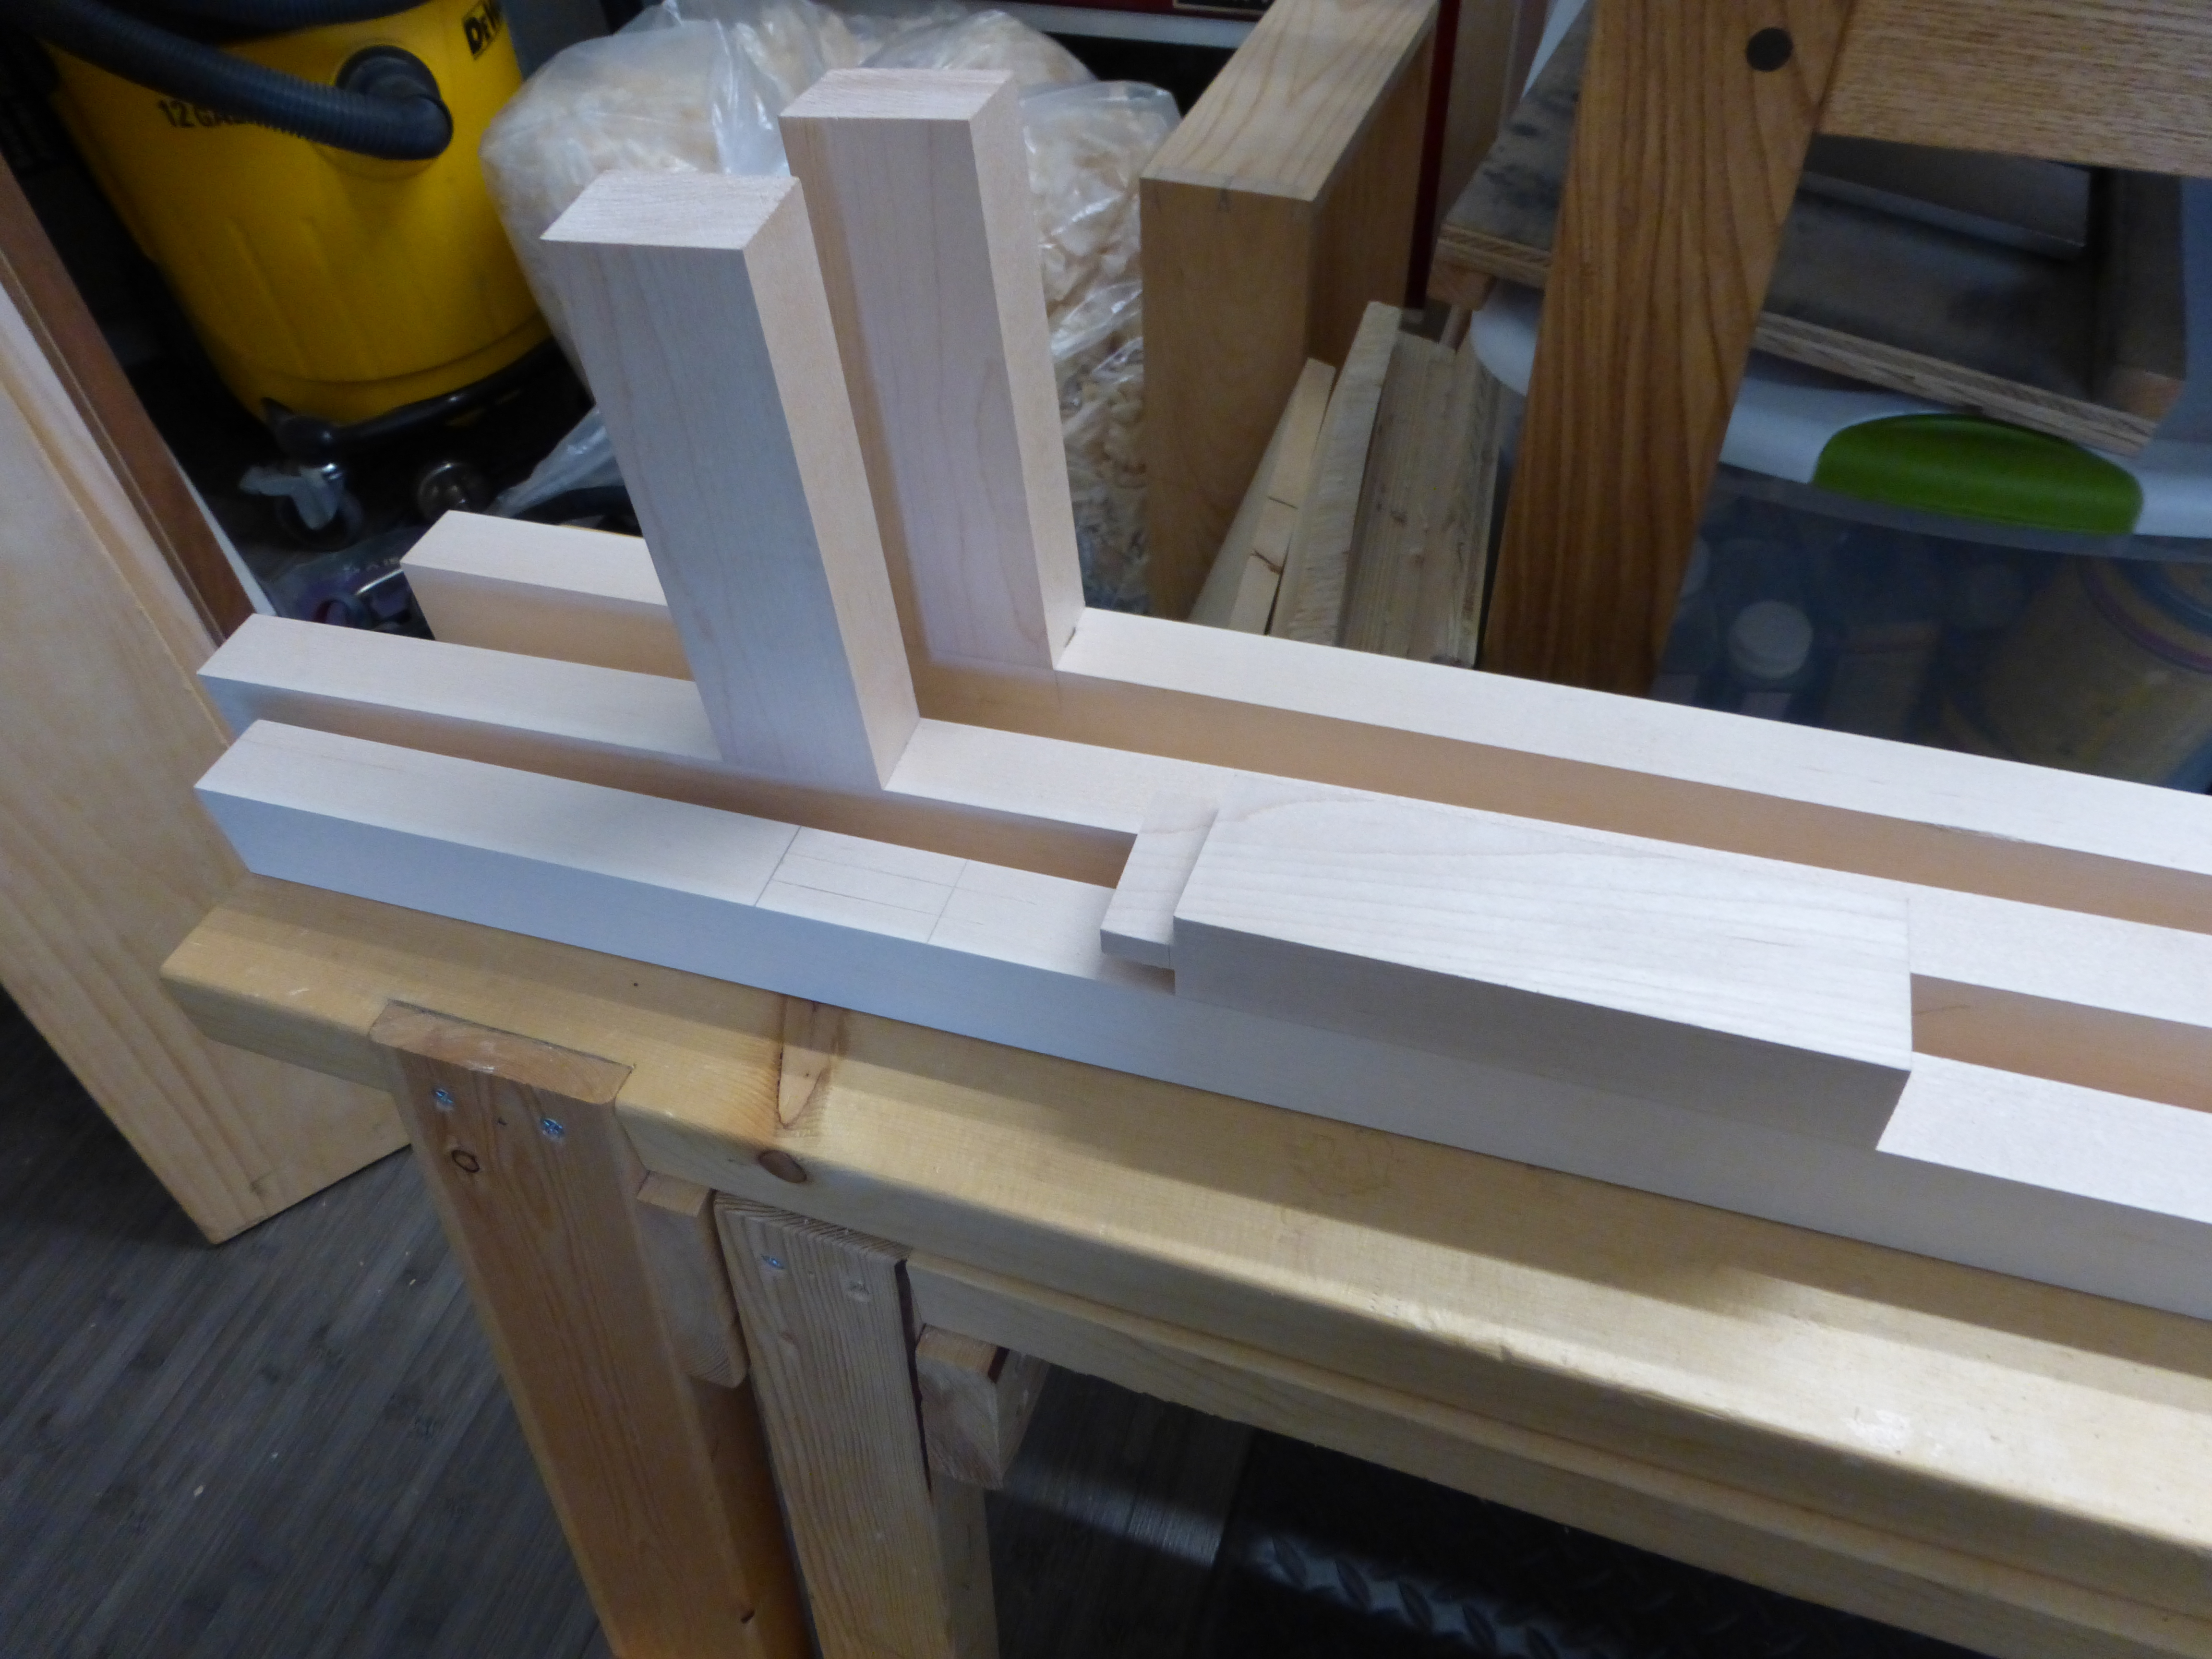
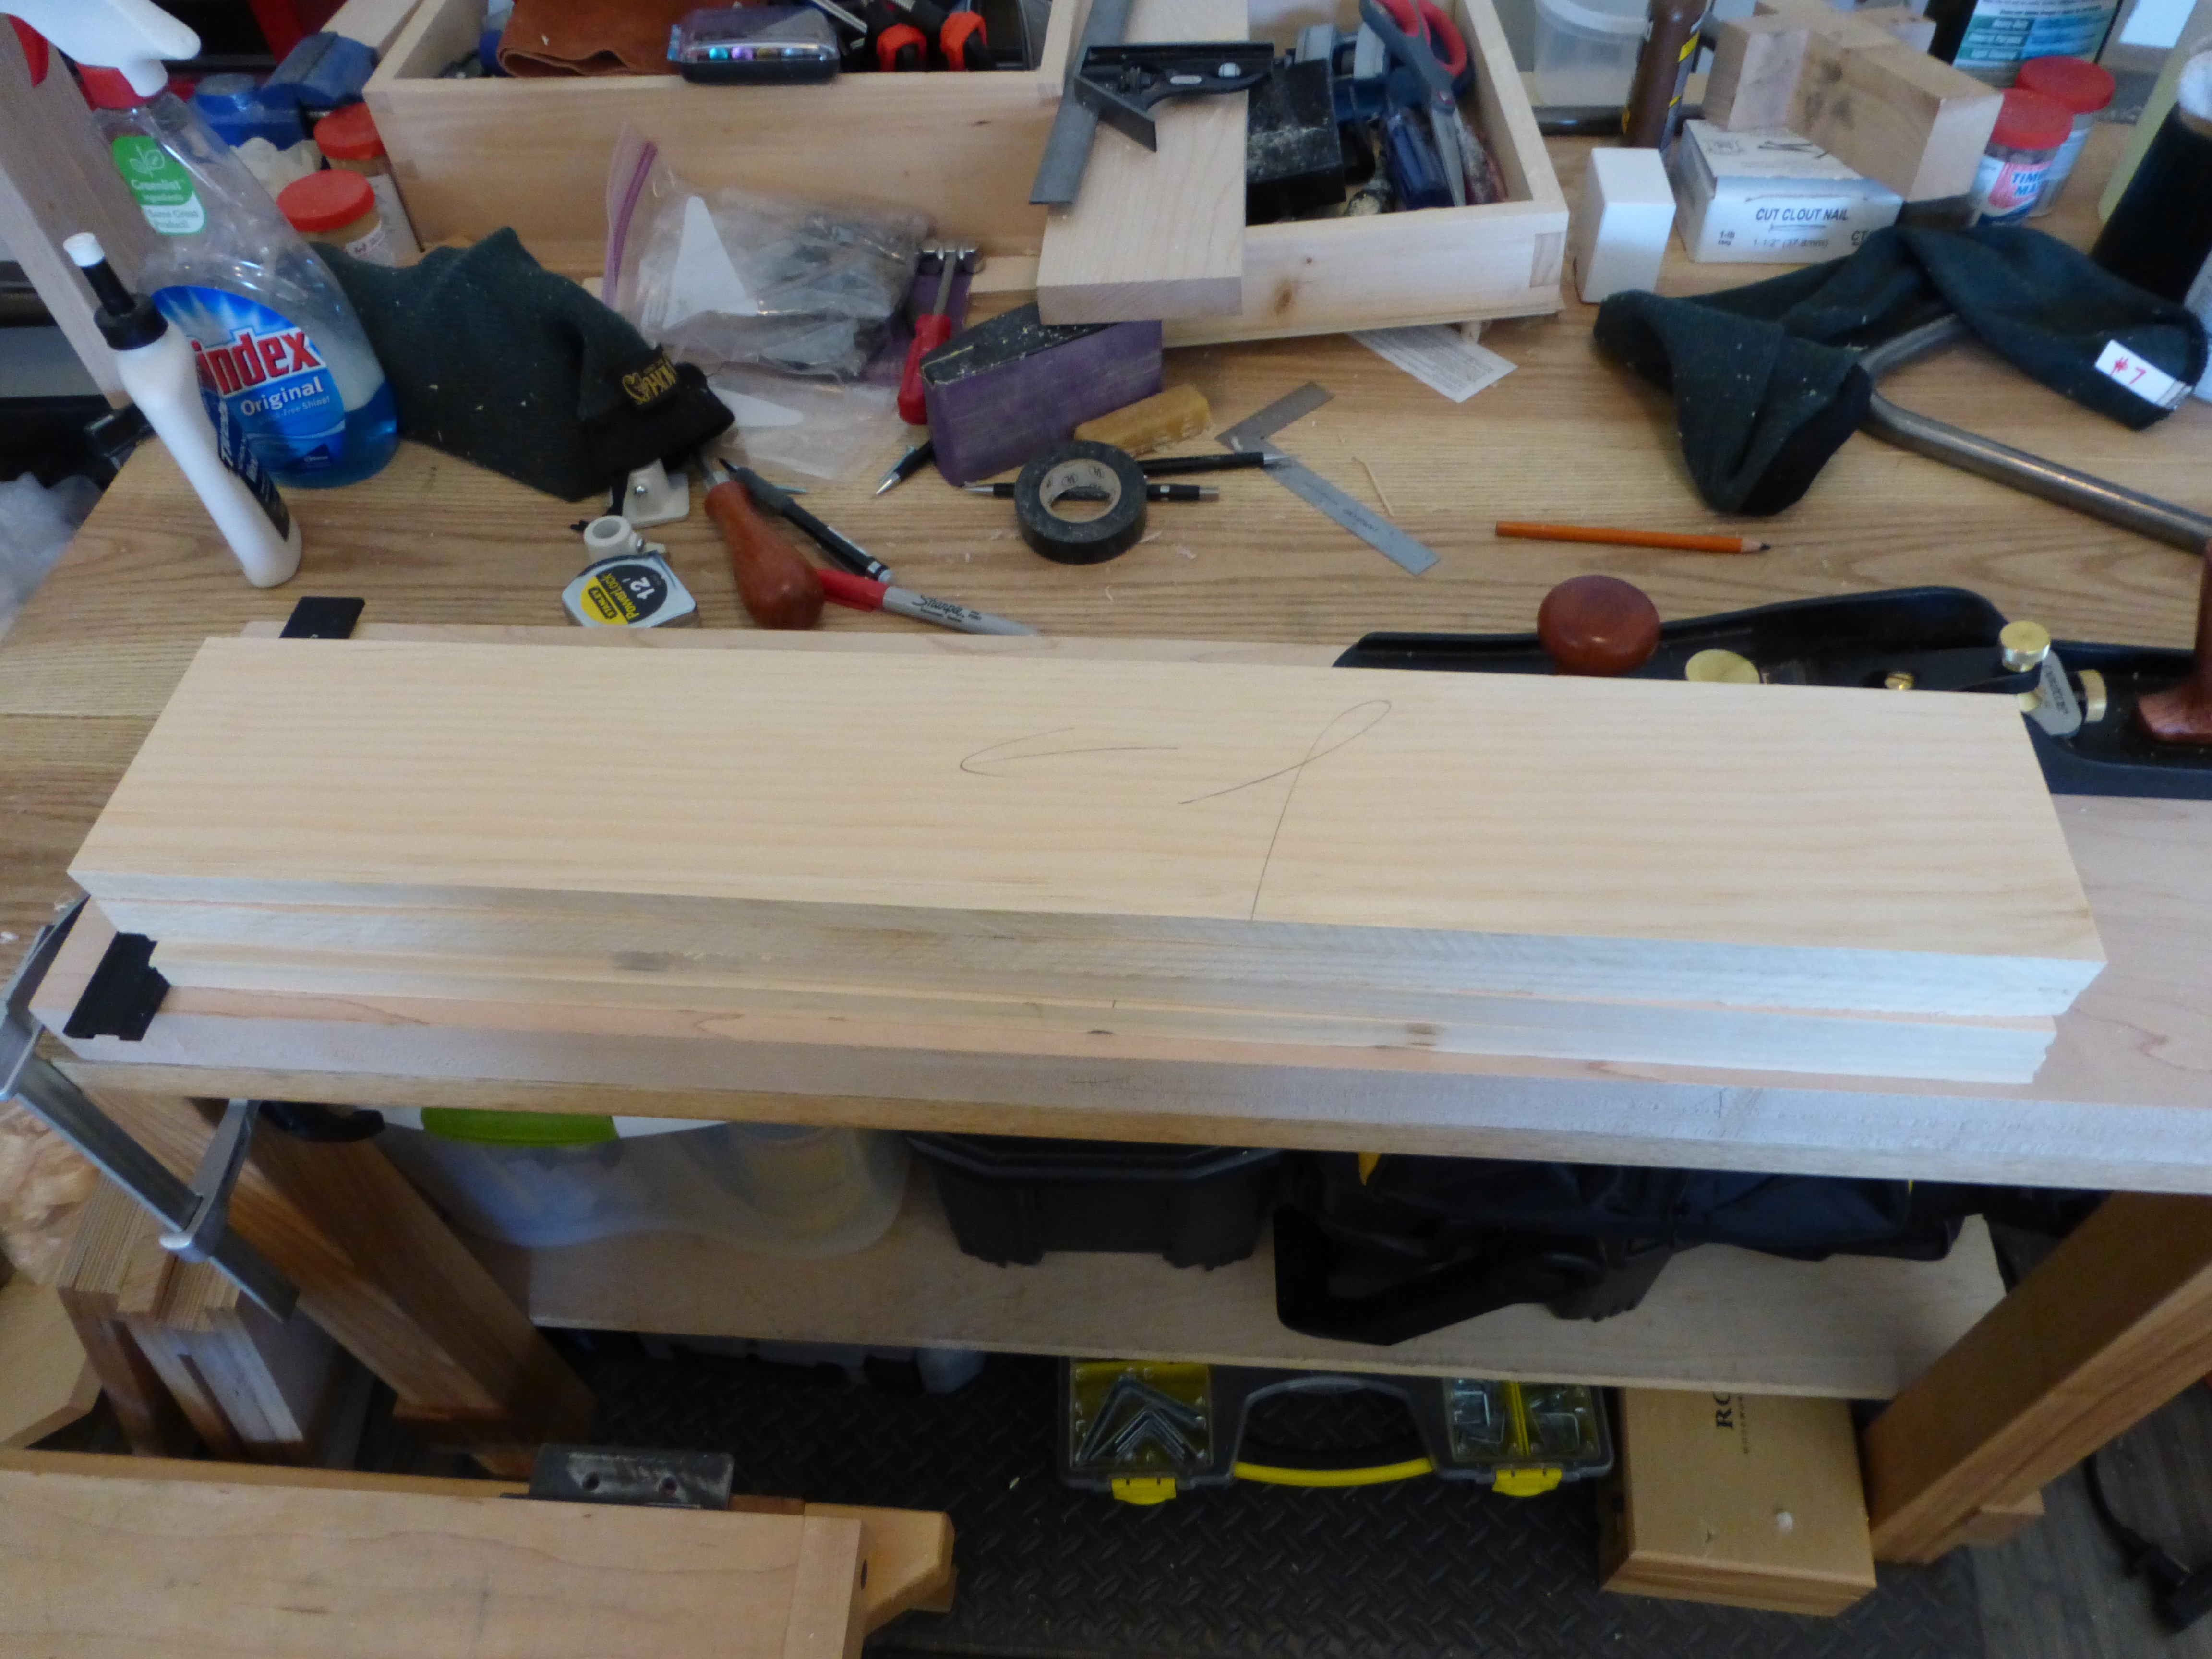
Instead of ripping down two strips from the same piece for the best color match, I thought I might be able to color match and laminate one wide piece and one thin piece. The color match is good, but not great. Once the seal coats of dark walnut Danish Oil are set, I’ll blend the color further with a coat of dark paste wax.

Actually, in softer, less-direct light (id est, not shop lighting), it’s more than adequate.
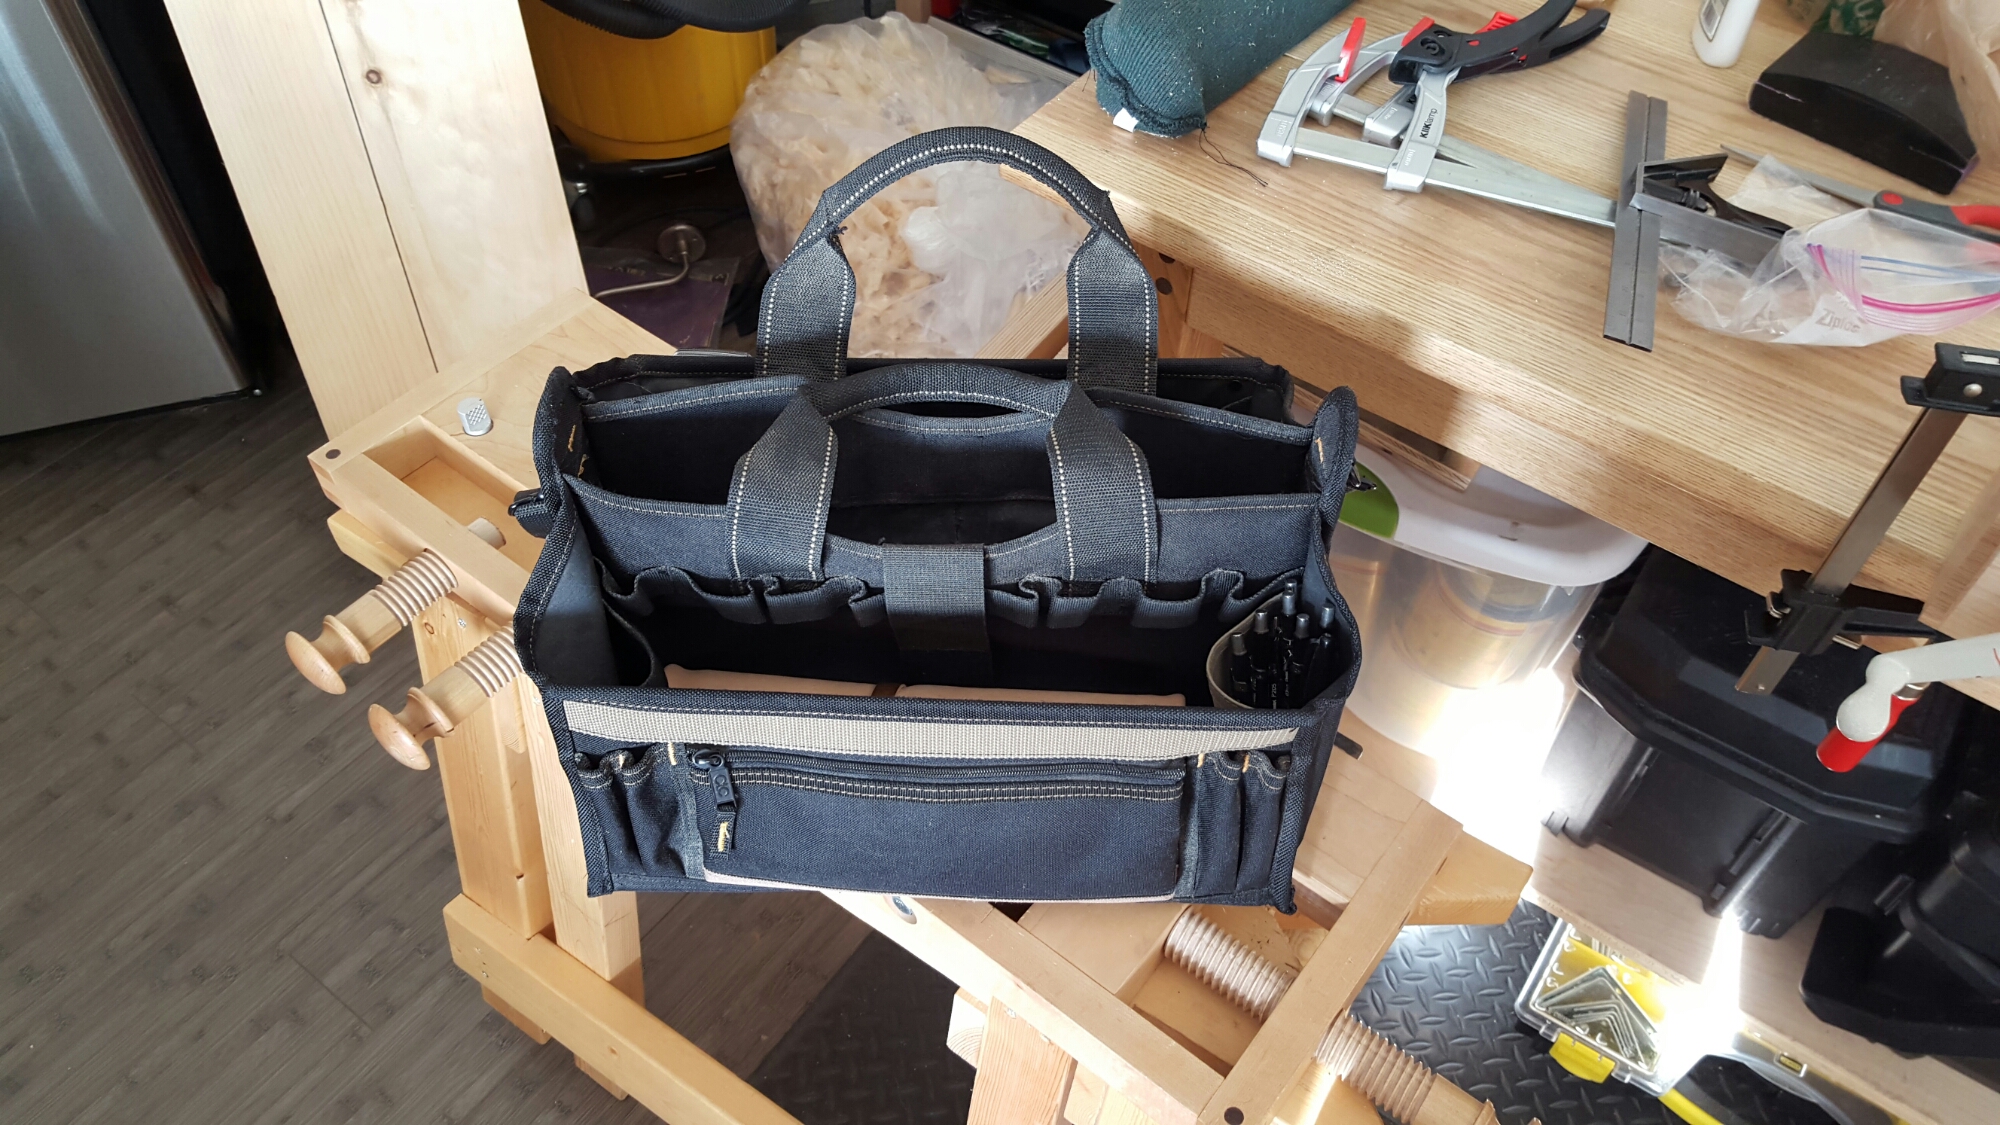
I have exactly no idea how they plan to hang the thing on the wall. I have a keyhole router bit if needed, but I would think a better way is hanging wire and rubber pads.
I’ll post a picture on Twitter once the clock and barometer are mounted.
JPG