Woodworking has been a struggle, lately. I’m at a point where I need my thickness planer to progress any further into several projects, and it’s just so far away. The dovetailed carcase for the new traveling tool chest is filled to the brim with S2S versions of its remaining pieces (among other boards). I just need to pass them through the magic lunchbox and get on with it. That’s on the agenda for the holiday weekend, also.

It’s slightly morbid, when you really think about it.
But I still wonder if I’m going about this all wrong. The size of the new tool chest seems right, but do I really need a full dust seal around the lid? Won’t oak battens work just fine? But that would waste a couple board feet of quarter-sawn white pine. I guess I can use it for french fitting dividers.
It goes on and on. These types of questions gnaw at me constantly. I’ve only been woodworking for about 4 years, less than three with hand tools. What the hell do I know?
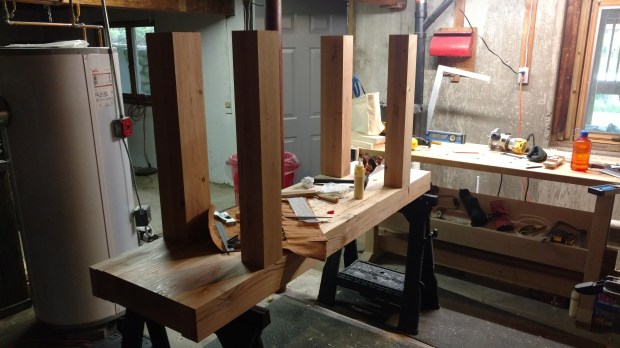
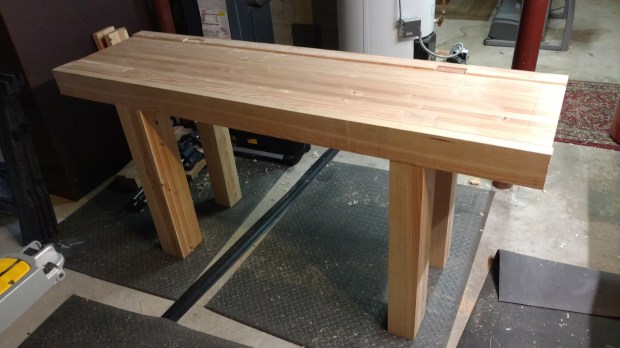
Then, every now and again, I get some reaffirmation. On my new workbench, I organically came to the same conclusion as a previous craftsman, making the front left leg larger than the other three, allowing for a larger tenon at the joint that incurs the most stress. And speaking of tool chests, a woodworker with credentials beyond my own seems to work out of a chest that looks an awful lot like my first attempt at a traveling tool chest.

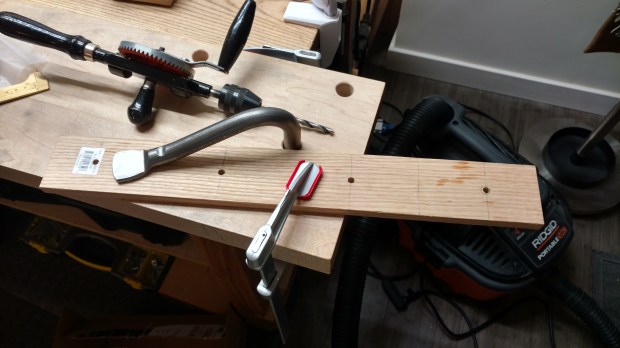
A size comparison. Please ignore the soft backlight from the patio door.
I don’t crave the approval of others. But I, like everyone else, need some confirmation once in a while that I’m not totally off base. And that confirmation keeps the crippling self-doubt at bay for another week or two.
JPG