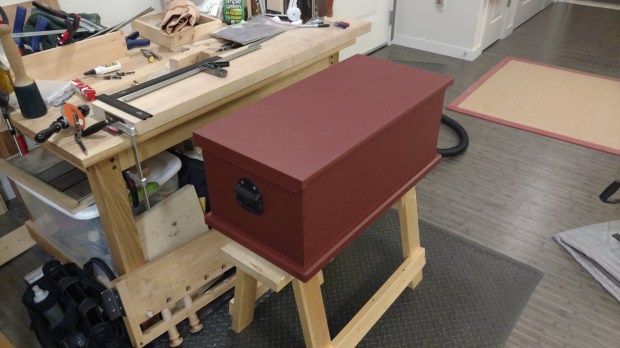
I got so much done over the weekend. I’m very close to being done with the Stent Panel workbench.
First, I added pine veneer to the cheek of each of the tenons, which is part 1 of the joinery strategy for a stretcher-less workbench. Part 2 is using my new mortise float to square and plumb each mortise (although a rasp would work equally well). Part 3 is shoulder planing the opposite side of the tenon to perfect, piston-fit.
It’s face-grain to face-grain, so these are permanent additions.
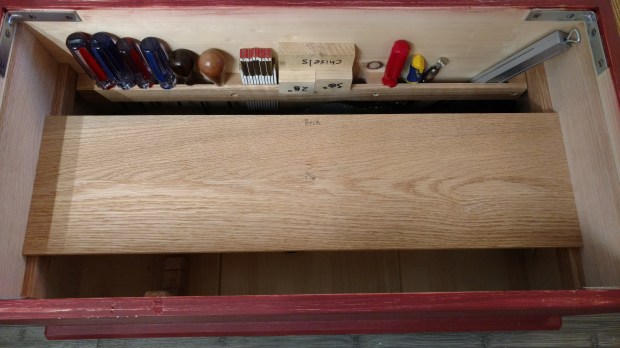
Speaking of tenons, three out of four legs are completely done, with the fourth in process. They are stouter than I anticipated and I’m confident in the plan for the workbench. Overall weight should be close to 200 lbs. once assembled.
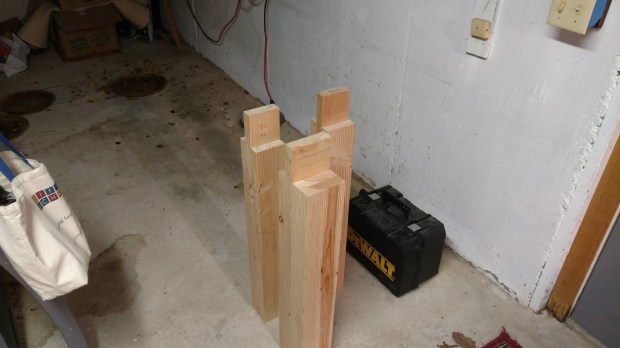
Always label your parts.
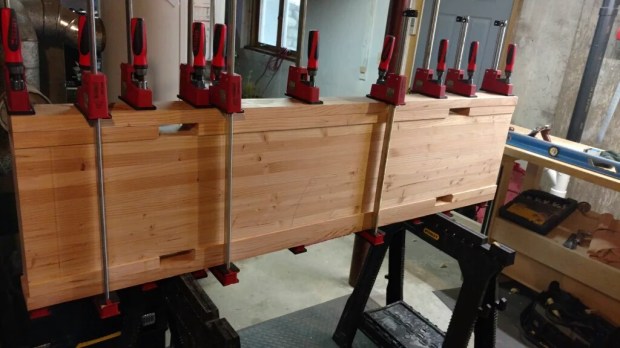
The fourth leg is only in process because I finally added the show face to the slab, which took all but one of my parallel jaw clamps. It was an excellent glue-up, though, and I can’t wait until the show face is glistening from final planing.
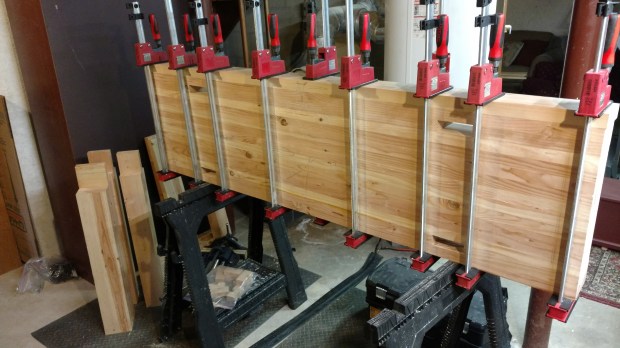
Total depth is expected to be exactly 19.75″ after final squaring.
There is technically only one more board to glue up (the inside board on the front right leg), although I expect the crochet will be laminated. In addition, I need two new short stretchers. The old ones no longer fit with the fatter tenons sitting differently in the mortises.
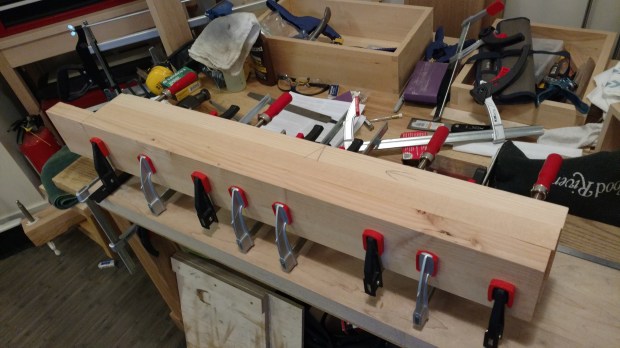
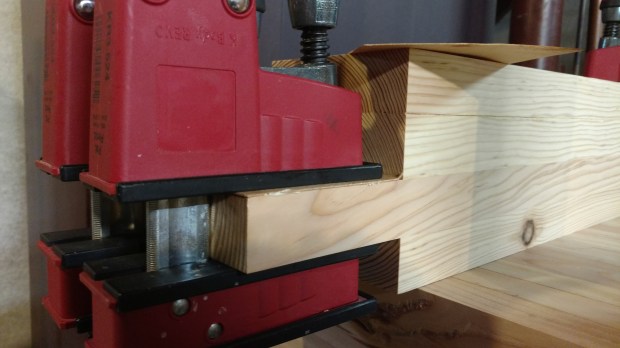
Also, F-clamps are no substitute for parallel jaw clamps.
That’s it for now. Looks like I need one more weekend to finish everything. The very last step will be to rough flush the mortise strips with the rest of the benchtop using a hand-held power planer. Final flattening will occur once it’s back home and in place.
JPG