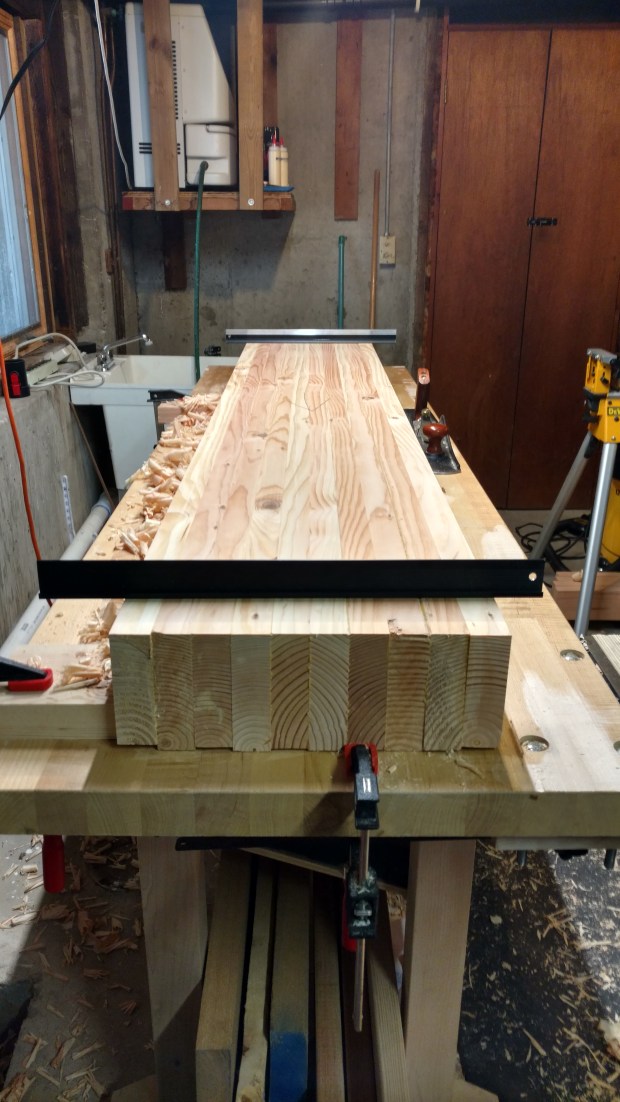
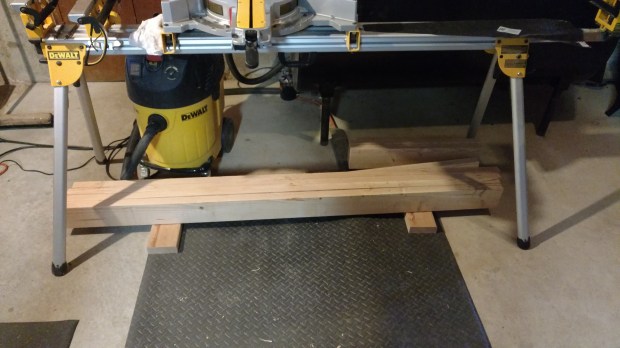
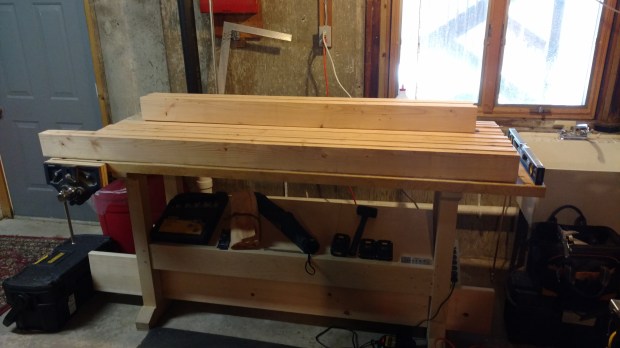
I had hoped to quickly and easily square the ends of the new workbench’s core slab with my compound miter saw. Unfortunately, the slab is too heavy for the extending arm on the base and no amount of clamping pressure could keep it steady and square. As a fallback option, I will use a straightedge clamp and a full size router. A 3″ straight bit should hog off most of the waste, with a pattern bit to finish the job on the flip side. My little trim router may have the torque, but it definitely doesn’t have the collet, so my full size router and D-handle base are coming out of retirement for one last job.
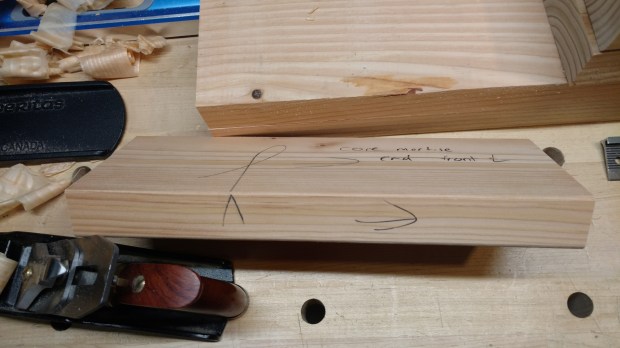
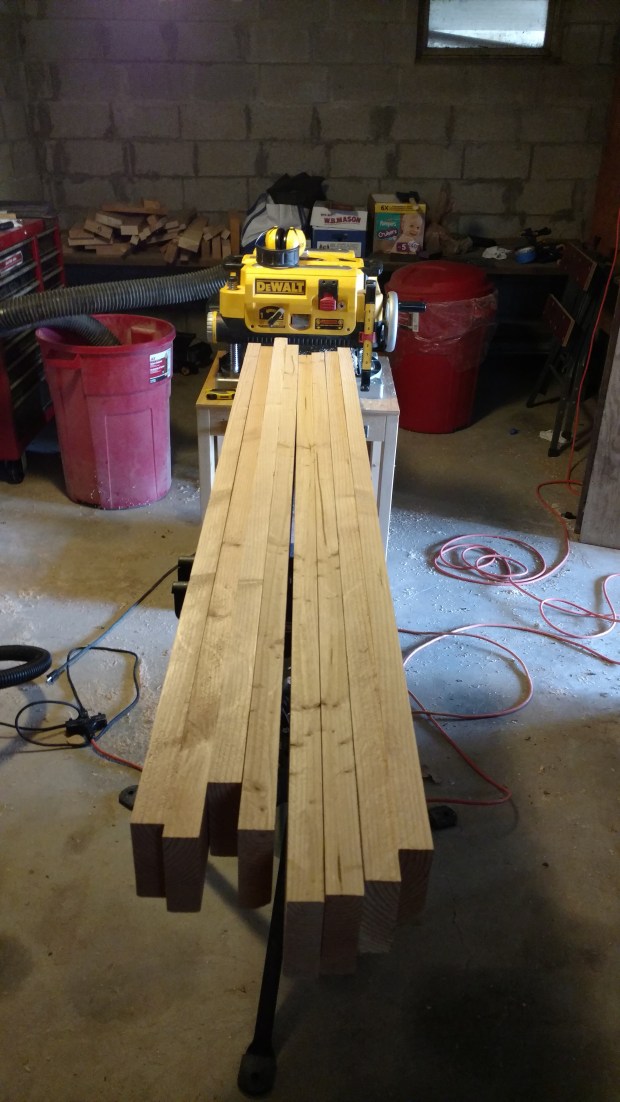
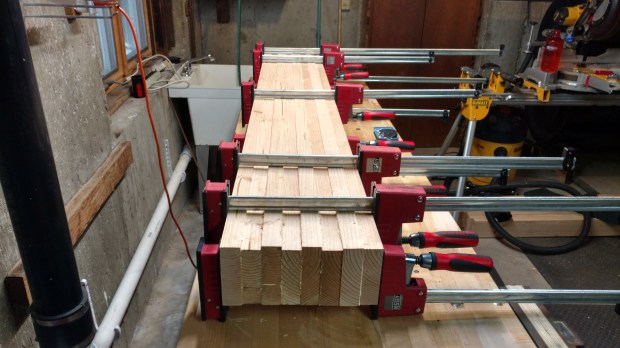
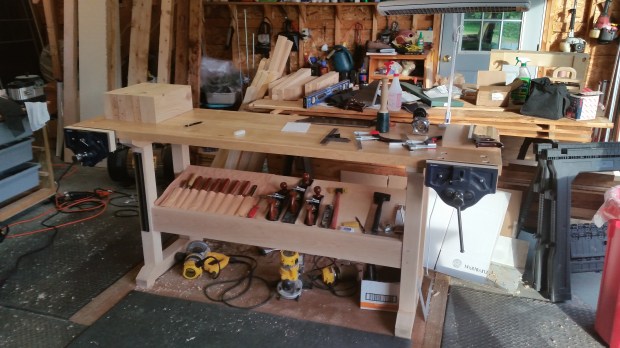
Once the core slab is squared off, I can begin applying the boards that will form the mortises. Each mortise strip is comprised of three boards: two ends at 12″ long each, and one center board, sized to fit.

Seen here, surfaced but not yet cut to final length.
Each mortise strip board will be pre-sized and glued directly to the core slab, using the underside of the core slab as the reference surface and the tenon boards for each of the four laminations as spacers. As a result, the front and back faces of the core slab must be absolutely square to the underside of the core slab. The slab has probably moved since initial flattening last weekend, so the last thing before glue-up will be re-dressing the underside and faces. And I still have to surface those tenon boards
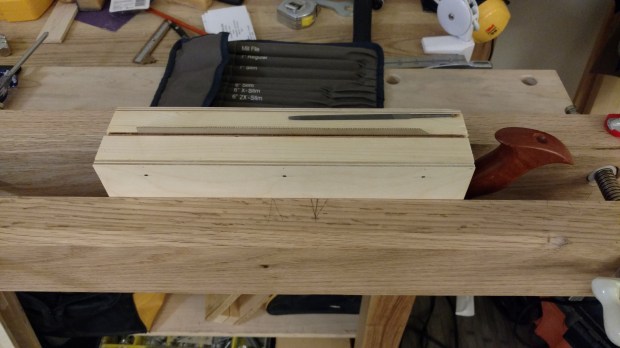
The mortises are completed by adding another, full-length, board to each face of the bench top. Then, on the front face only, a second full-length board, picked for its beauty, will complete the bench top and be the show face of the bench top. This added depth also keeps the dog holes out of the mortise strip.
Finally, each front leg will be brought co-planar with the show face of the bench top by similarly adding show boards. Having not thought it completely through yet, I would nonetheless imagine the show-faces of the legs will be sized and added after assembly and settling.
If I do it all correctly, only the topside of the bench top will require any further dressing. IF.
JPG