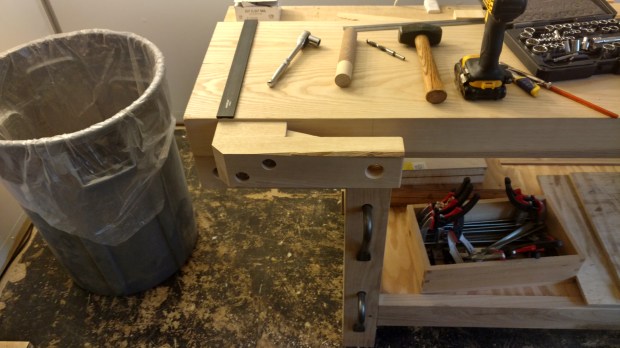
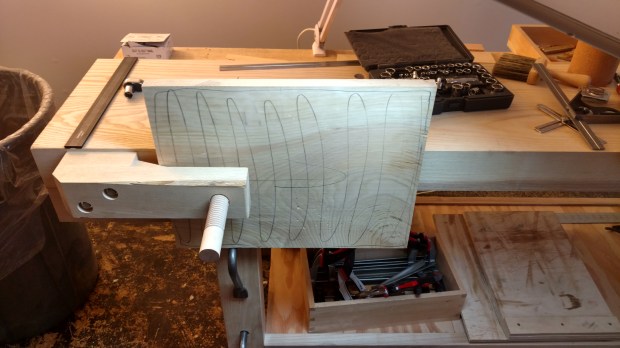
If you follow me on Twitter, you’ve probably already seen the finished crochet. I’m very pleased with how it came out. The screw holds like crazy and the EWP wedge doesn’t seem redundant. But if I could do it again, I’d screw the wedge in from the outside. I’ll have to remove the crochet to replace the wedge.

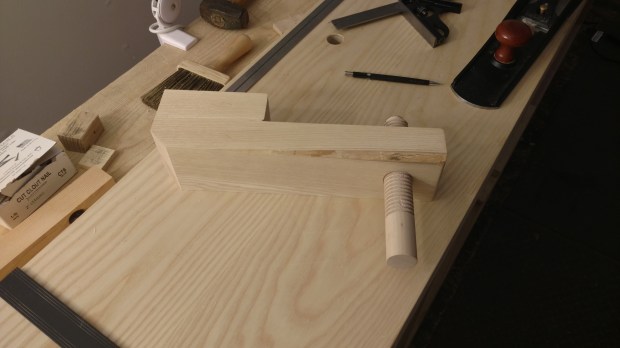
Still no screw handle.
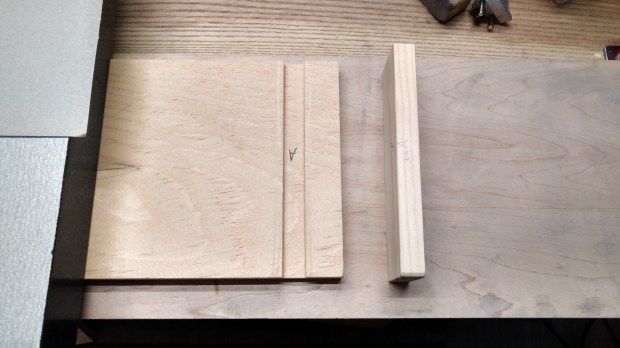
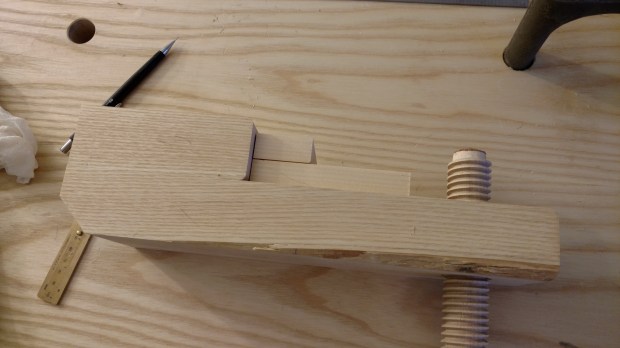
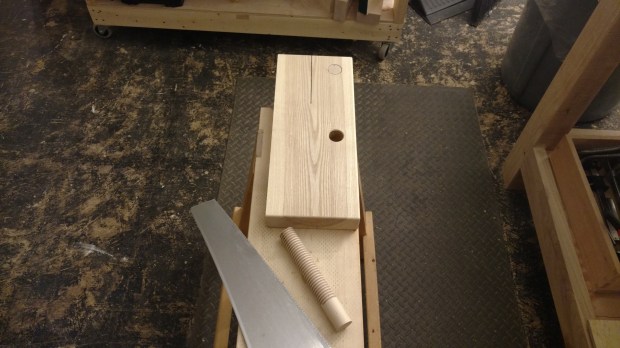
I struggled a bit with the placement of the crochet relative to the rest of the bench. I finally settled on centering the screw over the leg, so the screw functions an awful lot like a shoulder vise. Holdfasts in the leg, at 9 1/2″, 16″ and 22.5″ below the benchtop, respectively, support the work.
I used 6″ 3/8 lag screws, and I think I burnt out my cordless drill in the process.
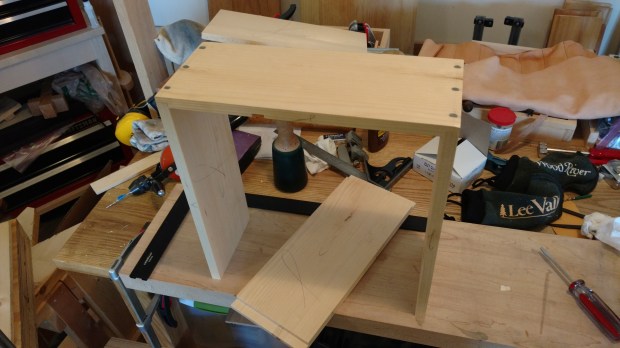
I did not incorporate a sliding deadman into this bench and I’m starting to think I should have. I could retrofit one or make a moving deadman that locates on dog holes in the lower stretcher. But I have another, more elegant solution in mind. I need to do some patent research first.
As of right now, I’d need a clamp to keep the right side from sagging.
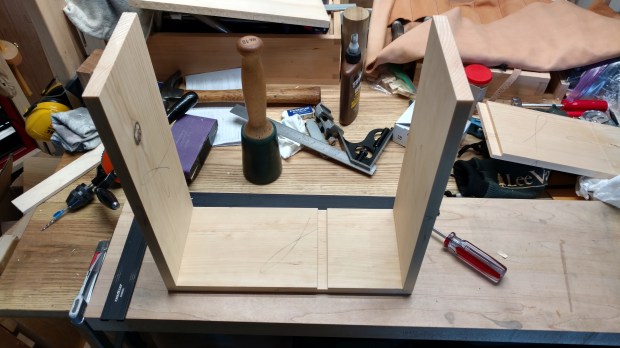
All in all, I’m calling this one a win. It works. I didn’t waste any materials. And it didn’t take that long to throw together.
Now to make that screw handle.
JPG


![IMG_20160128_204049456[1]](https://theapartmentwoodworker.com/wp-content/uploads/2016/01/img_20160128_2040494561.jpg?w=620)