apartment woodworking

A Time to Revisit

It’s been a long time coming, but I think I’m ready.  I’ve progressed sufficiently in my woodworking that it’s finally time to revisit my red oak desk.  I still love the design (mitered half lap joints continue to be a personal favorite) and I’m quite satisfied with the overall size and shape (which is why the revisit hasn’t been a high priority), even the joints were cut almost entirely with a plunge router.  I don’t even think I owned a tenon saw at that point.

wpid-20150222_155621.jpg

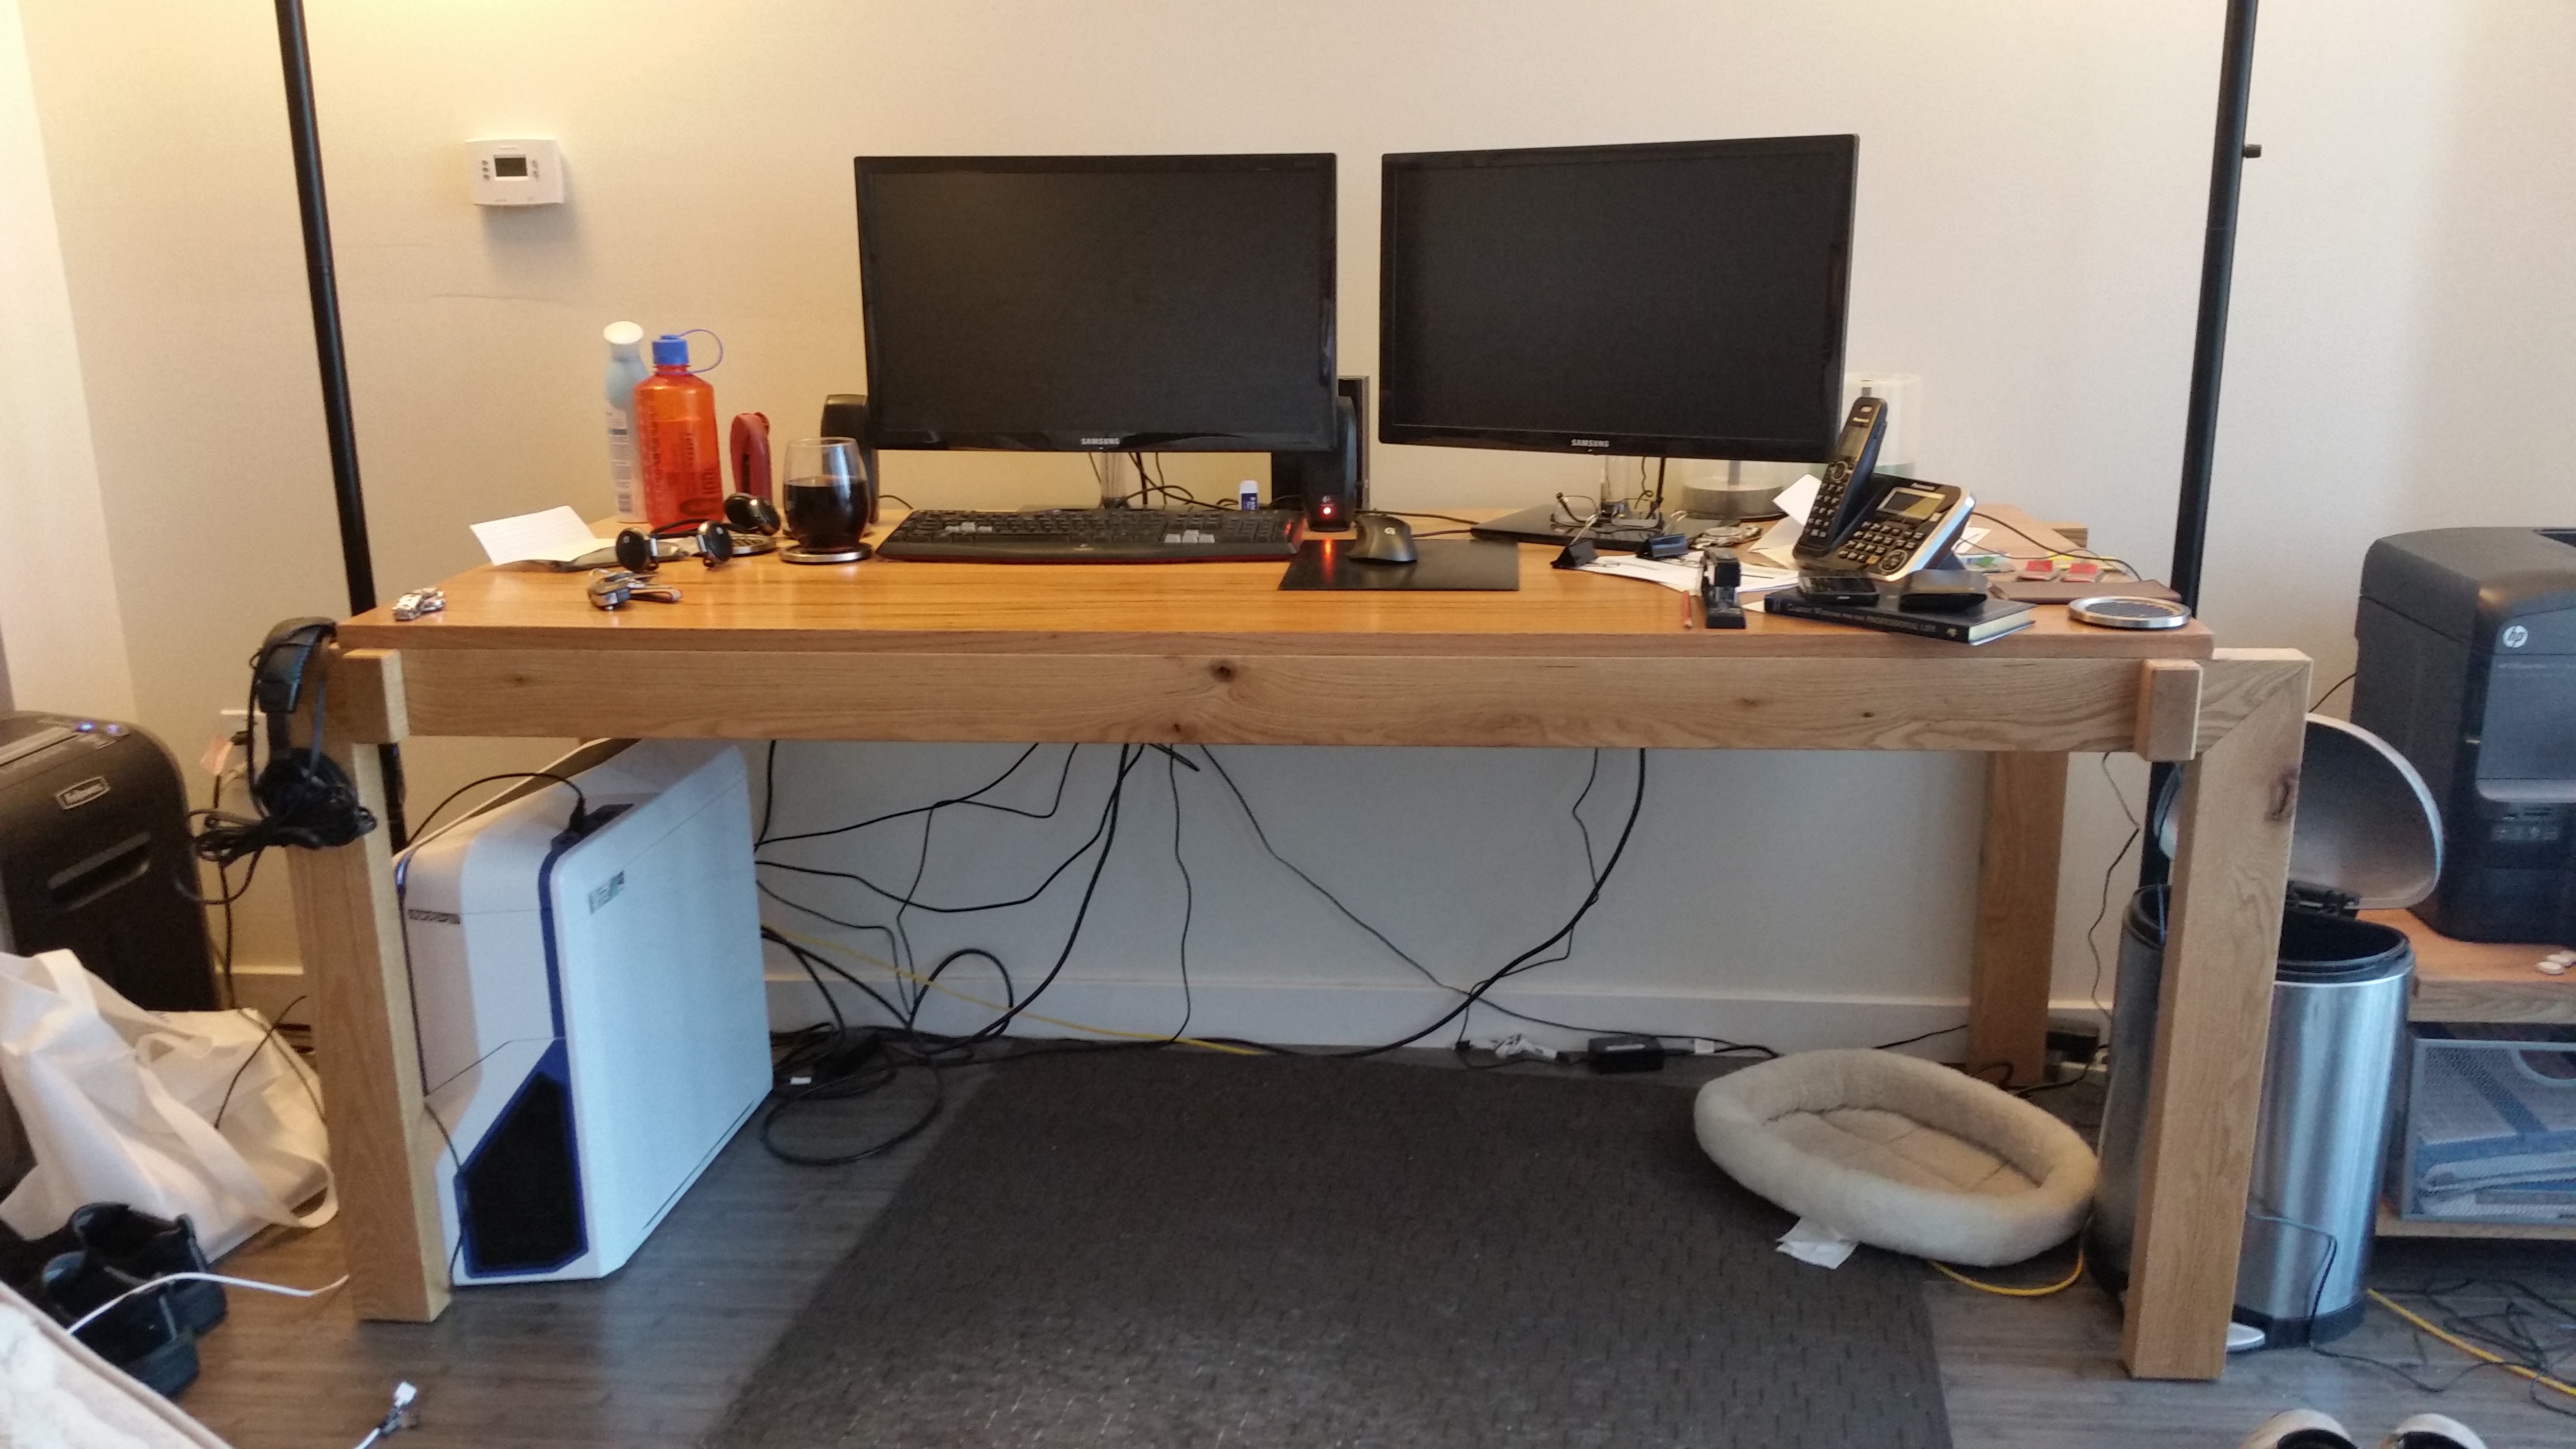
I’m very proud of the piece, despite being made entirely with power tools.

There is no real need to revisit the piece.  I just think I can do it so much better now, almost two years later.  And I’d love another crack at some of the design elements.

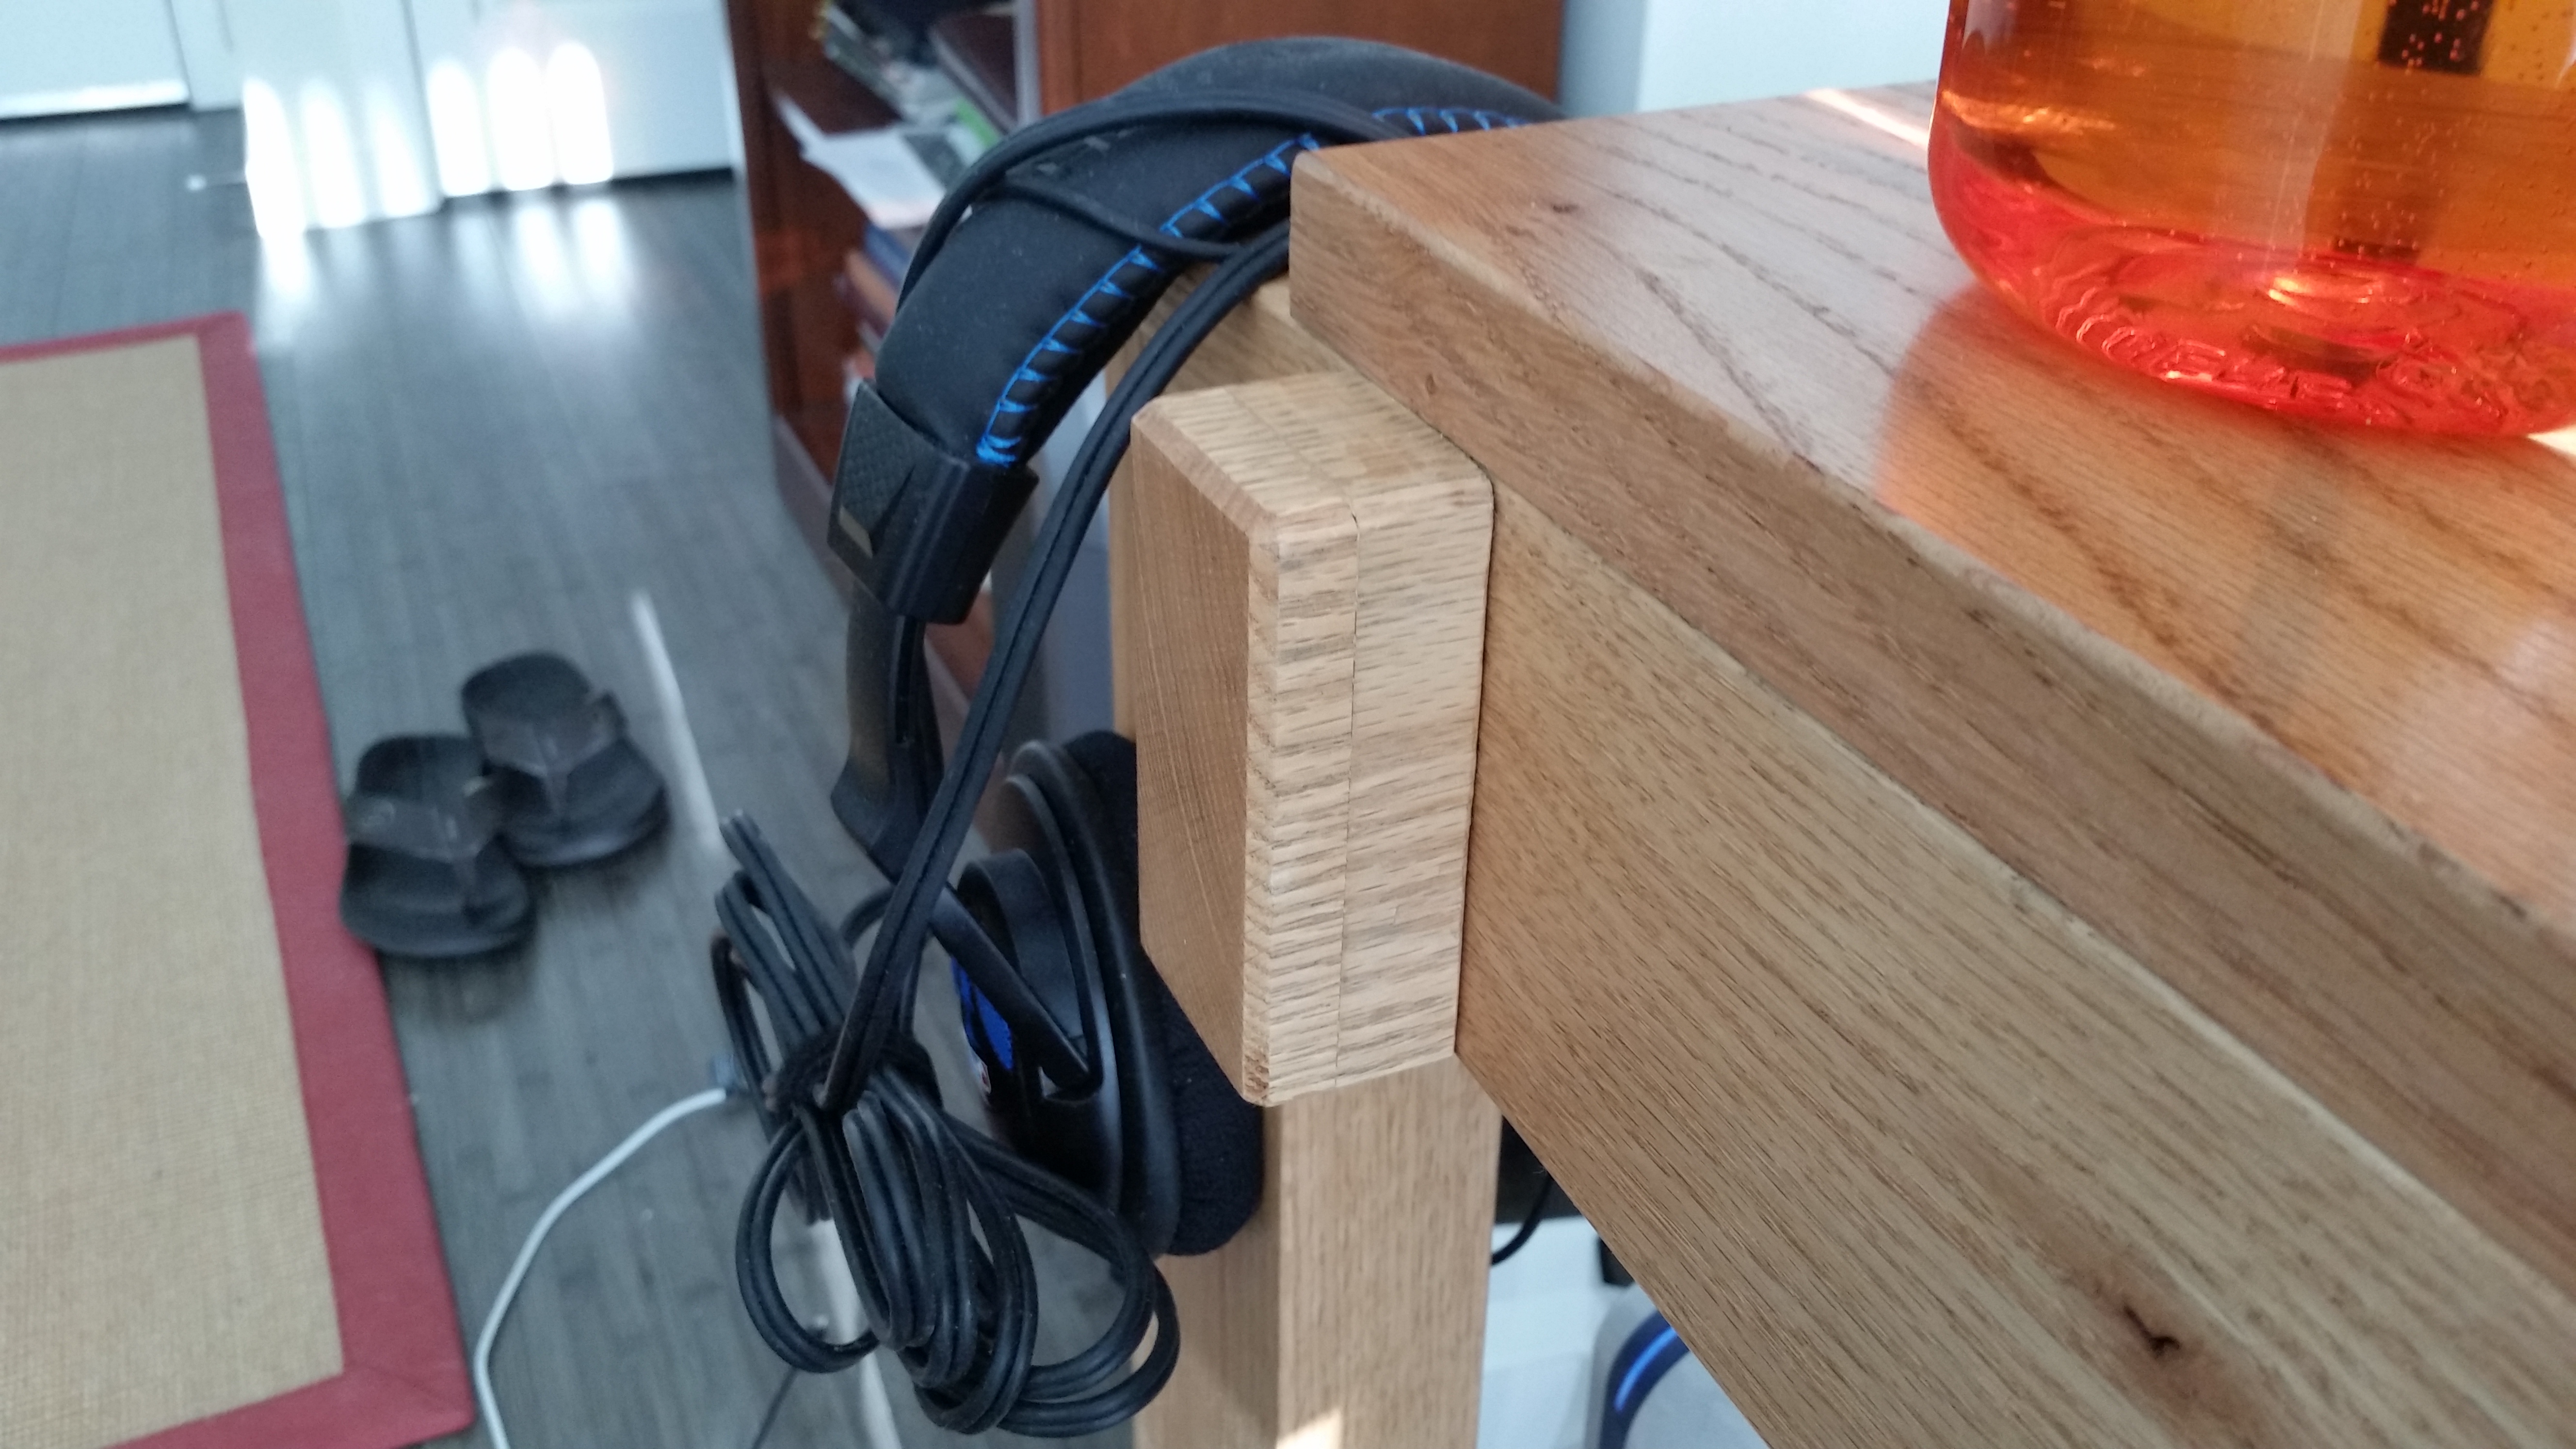
The biggest design change I think will be to thin out the frame pieces a bit, which are currently full-width red oak 2x4s.  3/4″ or so off the width will create a slightly more delicate feel (without any real compromise to strength).  I’d also like to tweak the shape and increase the size of the exposed ends of the cross-rails.  I’ve had to reinforce them once already and, although they are holding well, I worry that one day they’ll snap off again.  There are some execution-related flaws as well, but they are pretty well hidden from day to day view.

wpid-20150221_083449.jpg

I apparently used to not know a ton about grain matching.

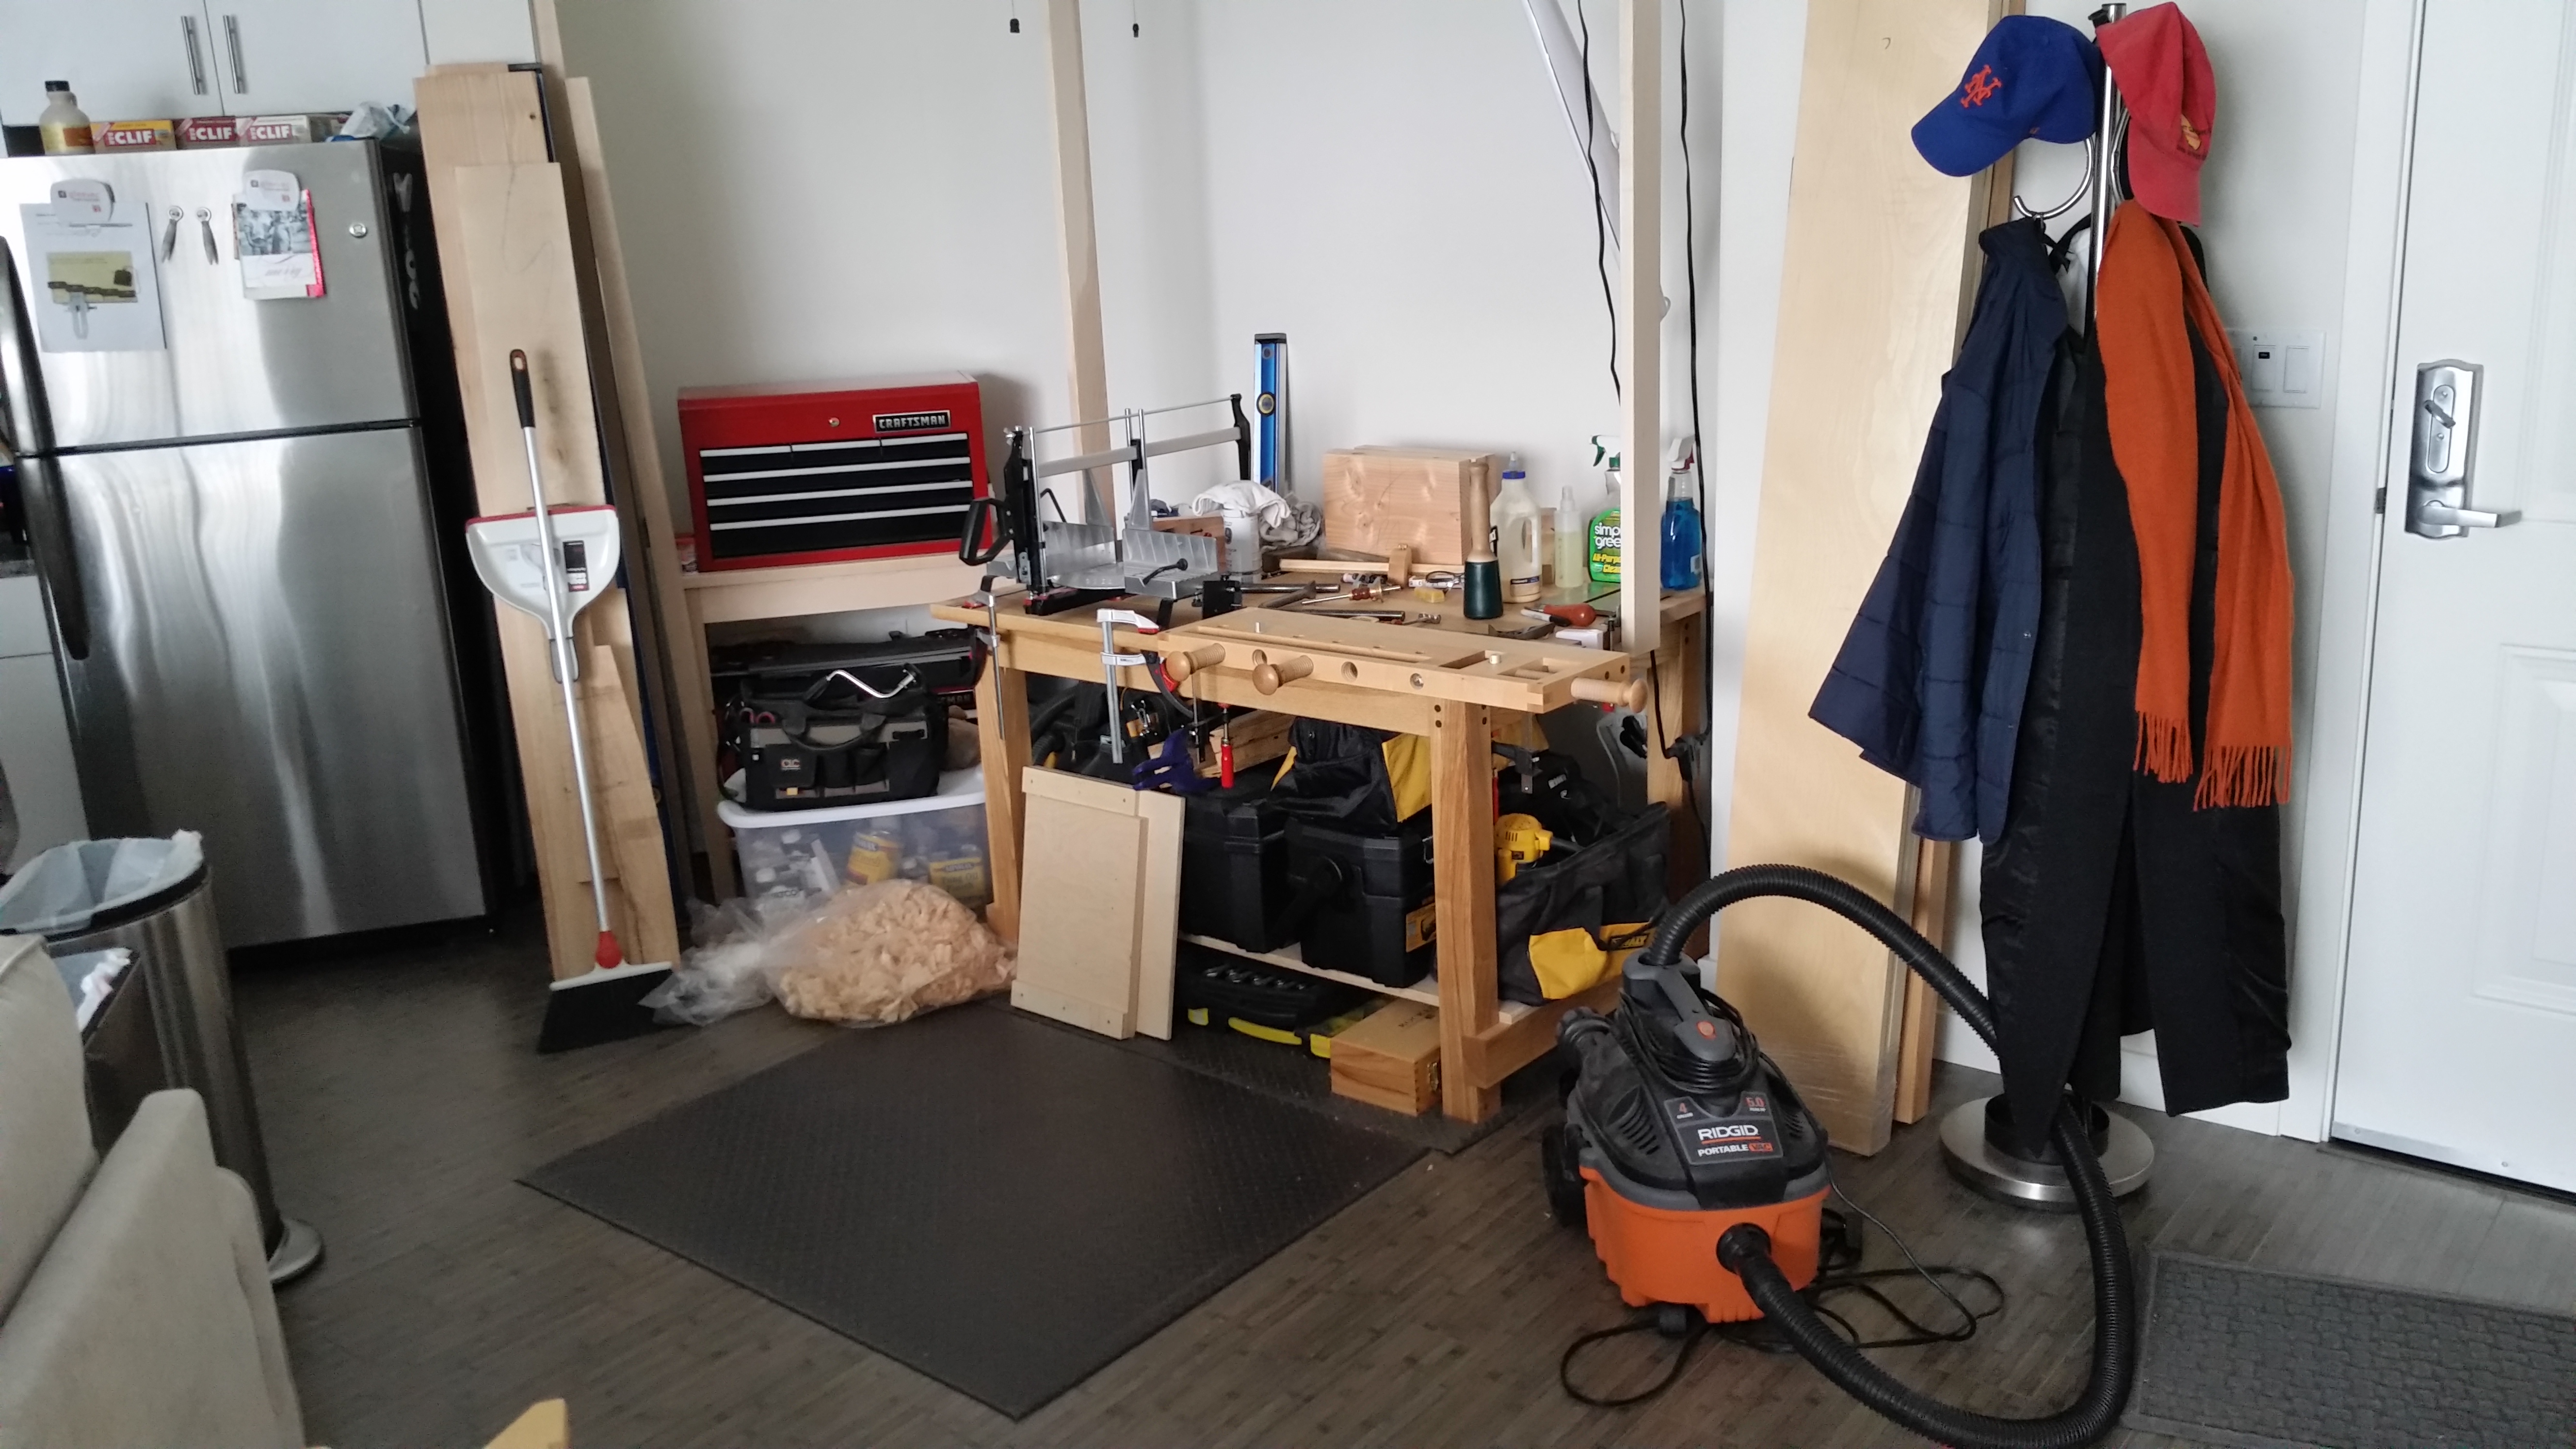
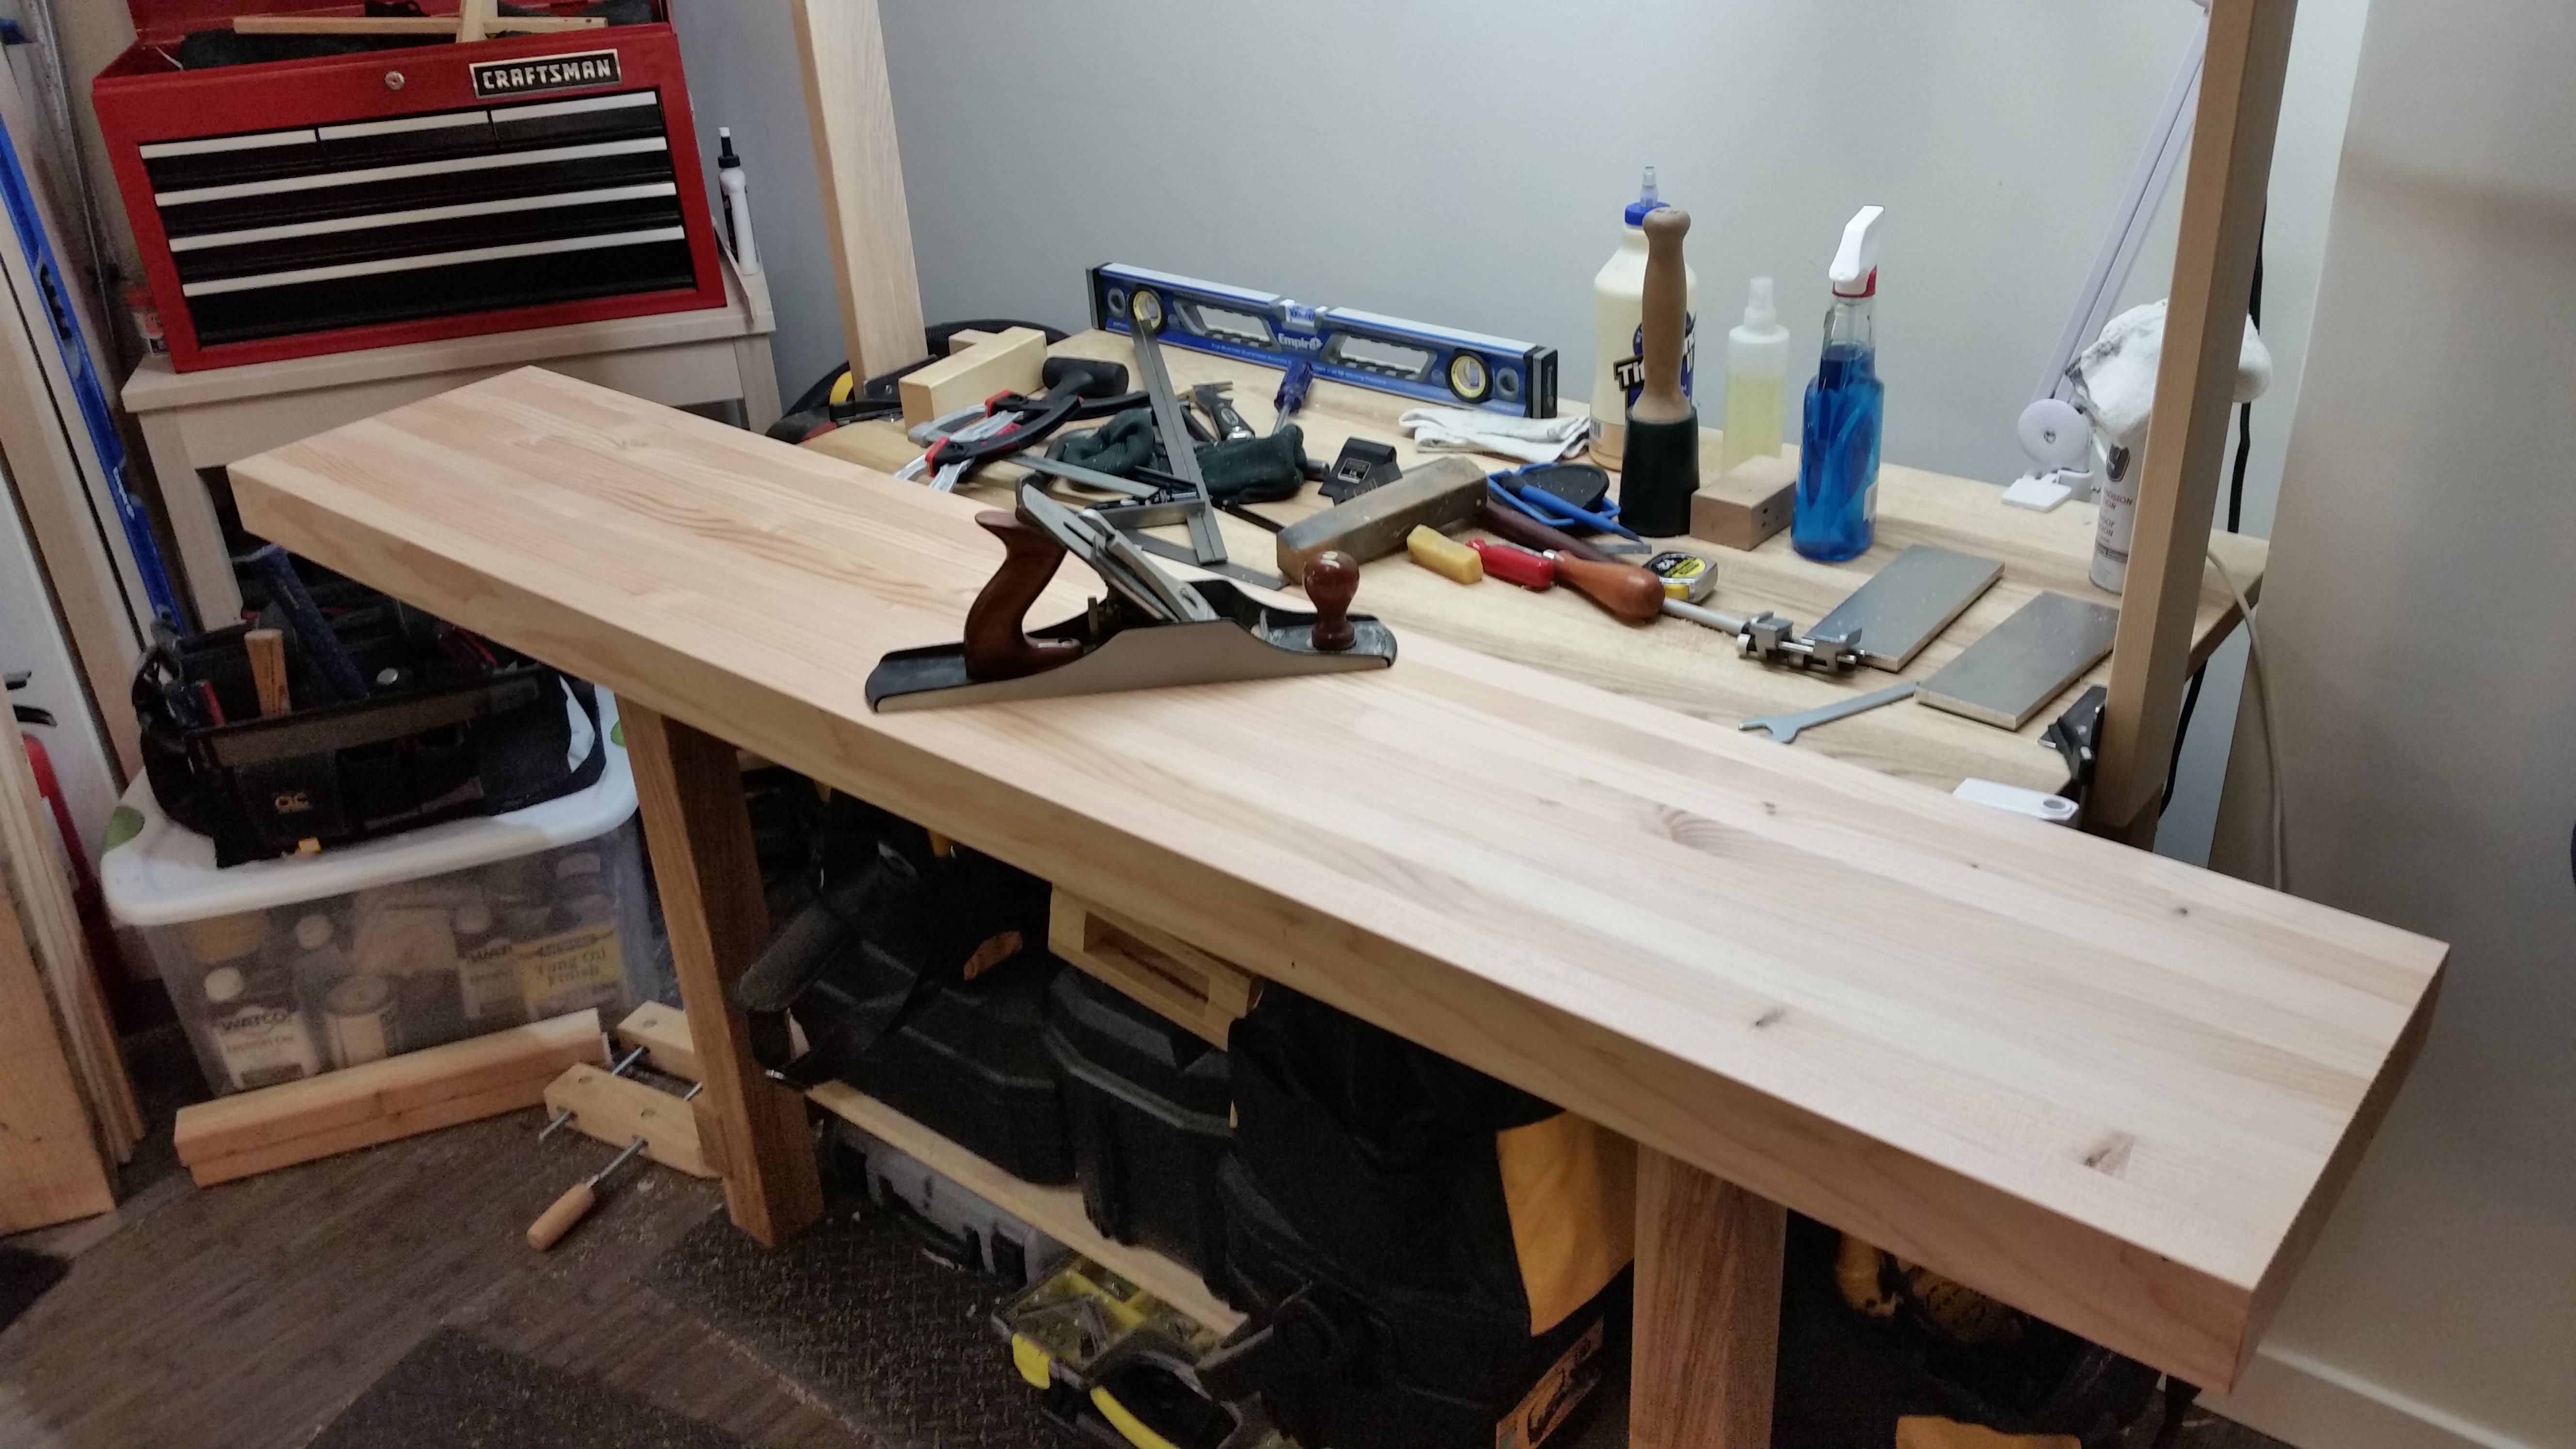
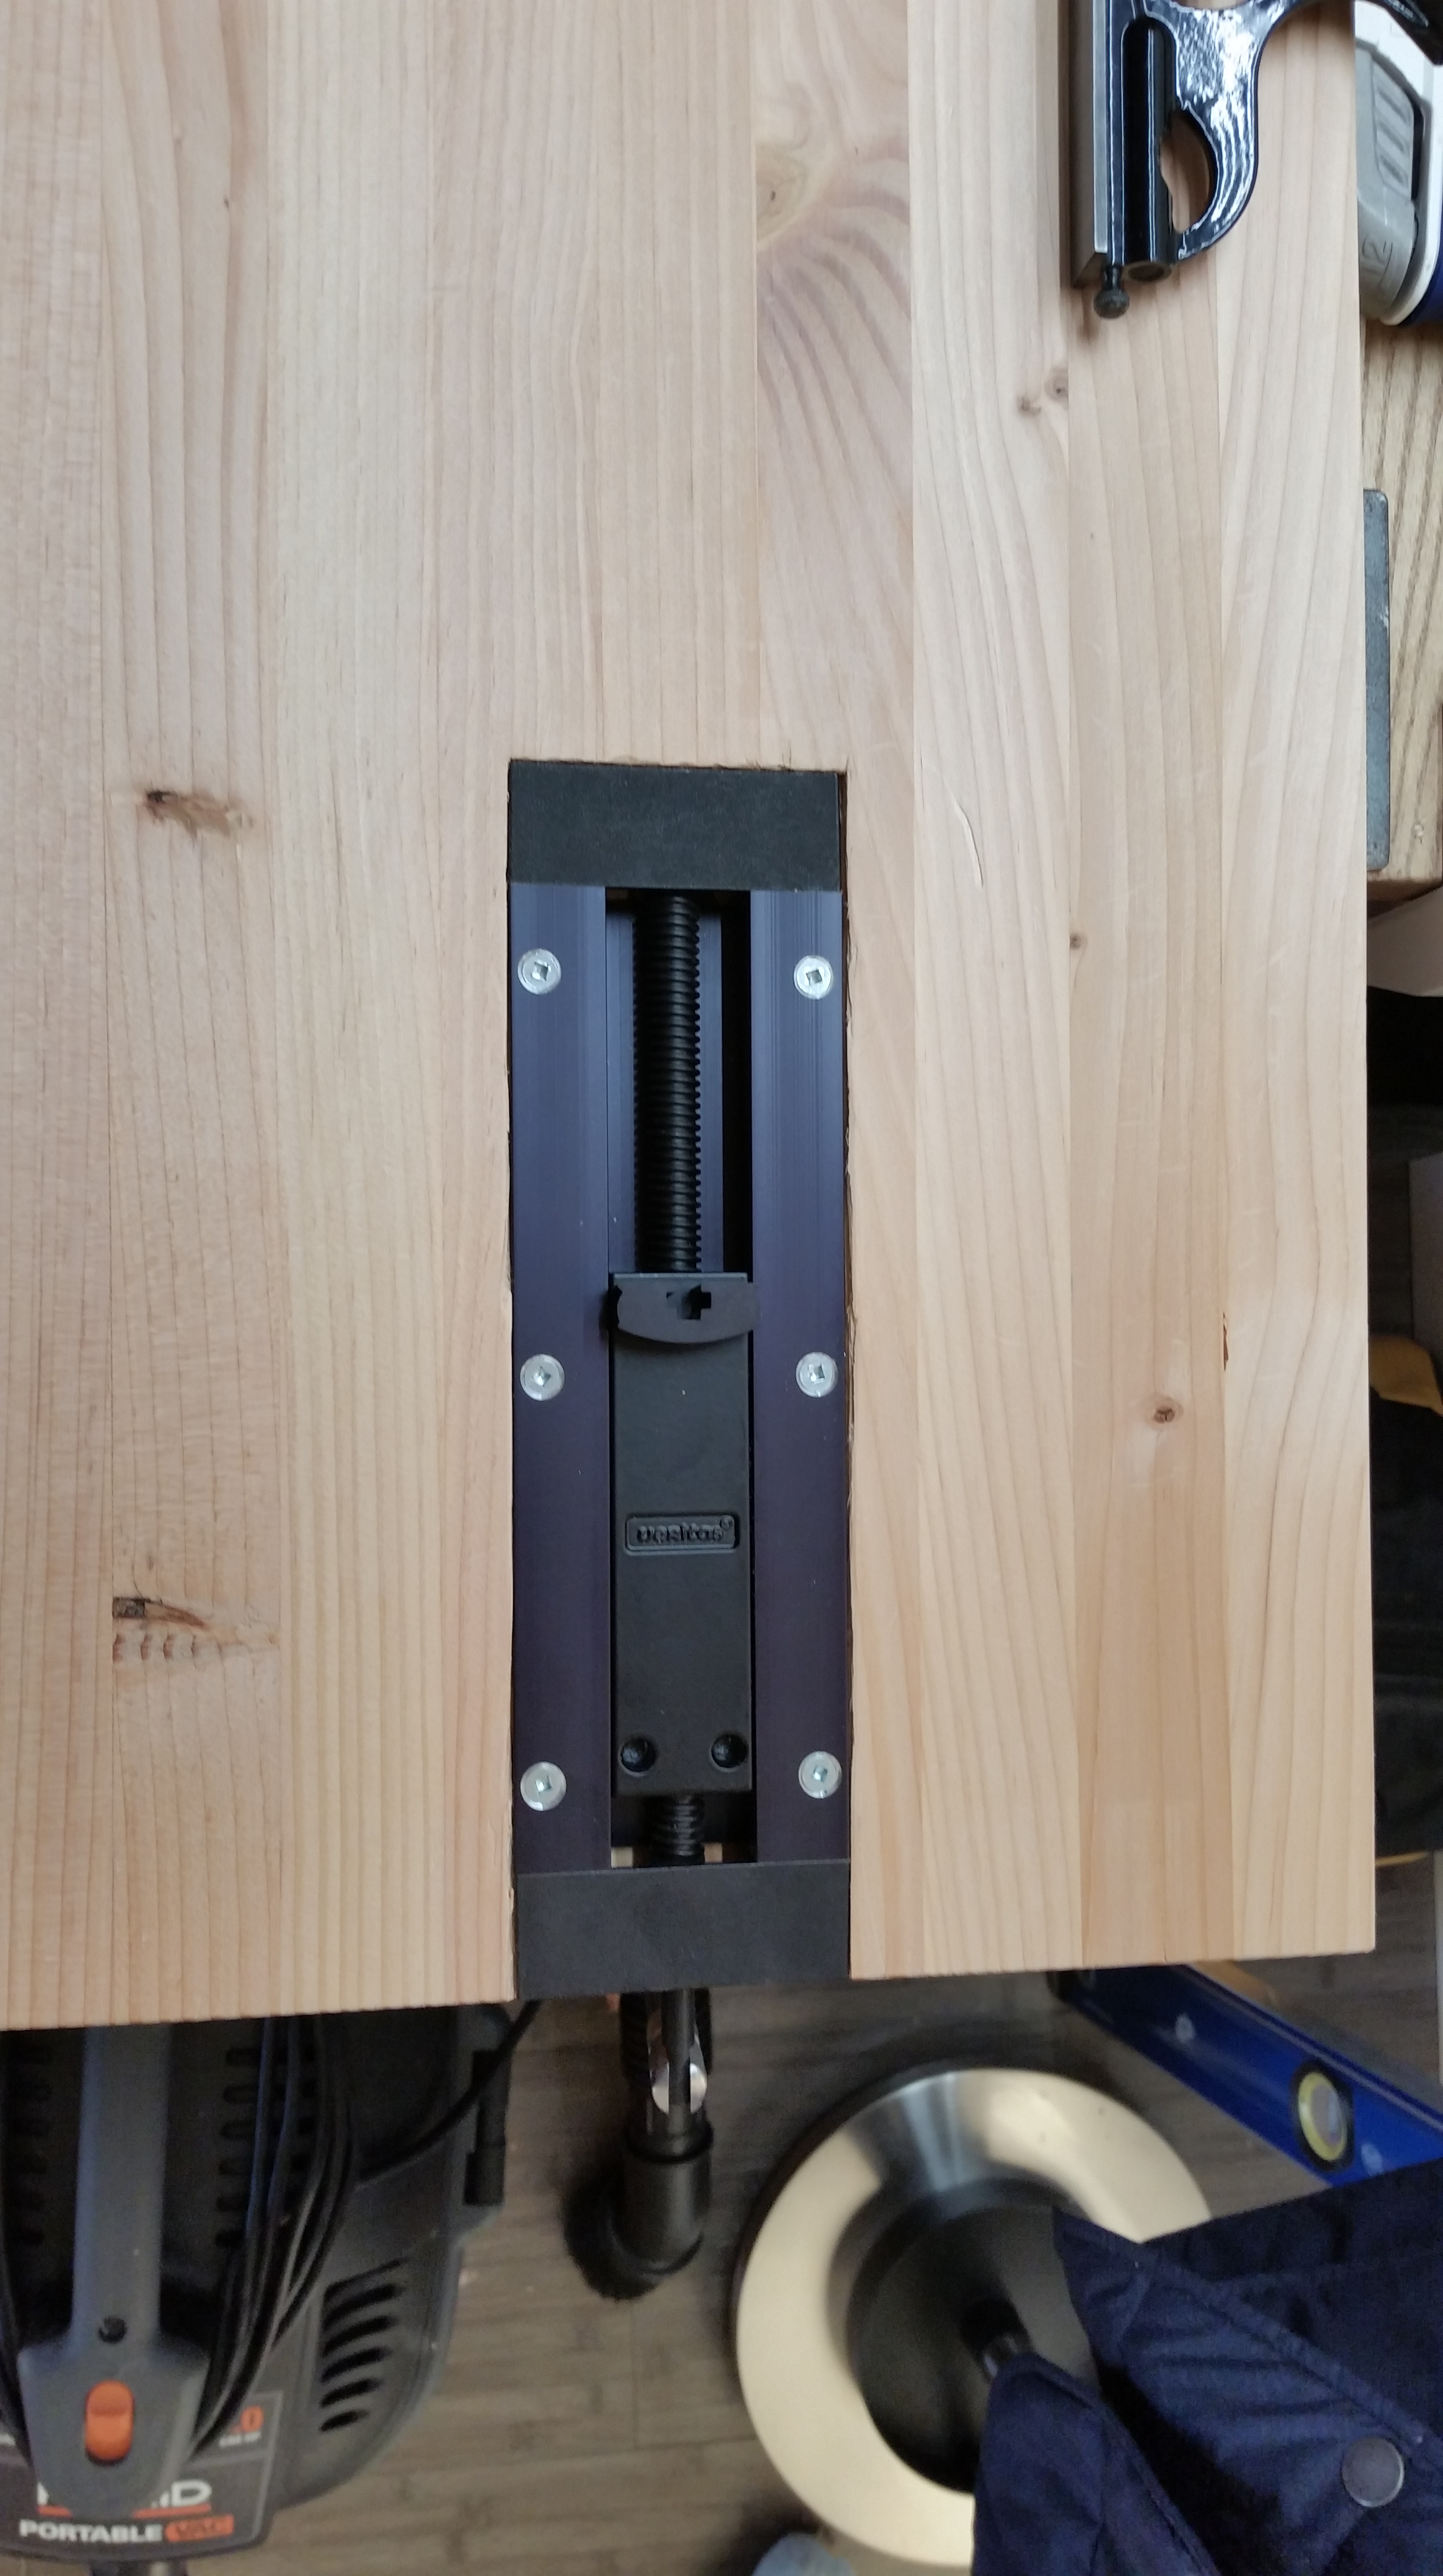
The tabletop (which is quartersawn and well-jointed) is not permanently affixed and is in fine shape, so I’ll just reuse it as is.  Also, I have quite a bit of air-dried, rough-sawn red oak stock available, so I won’t need to salvage anything from the existing desk (meaning I can build the new frame at my leisure).  Plus, it will give me a chance to use the new planing slab.

wpid-20150222_162702.jpg

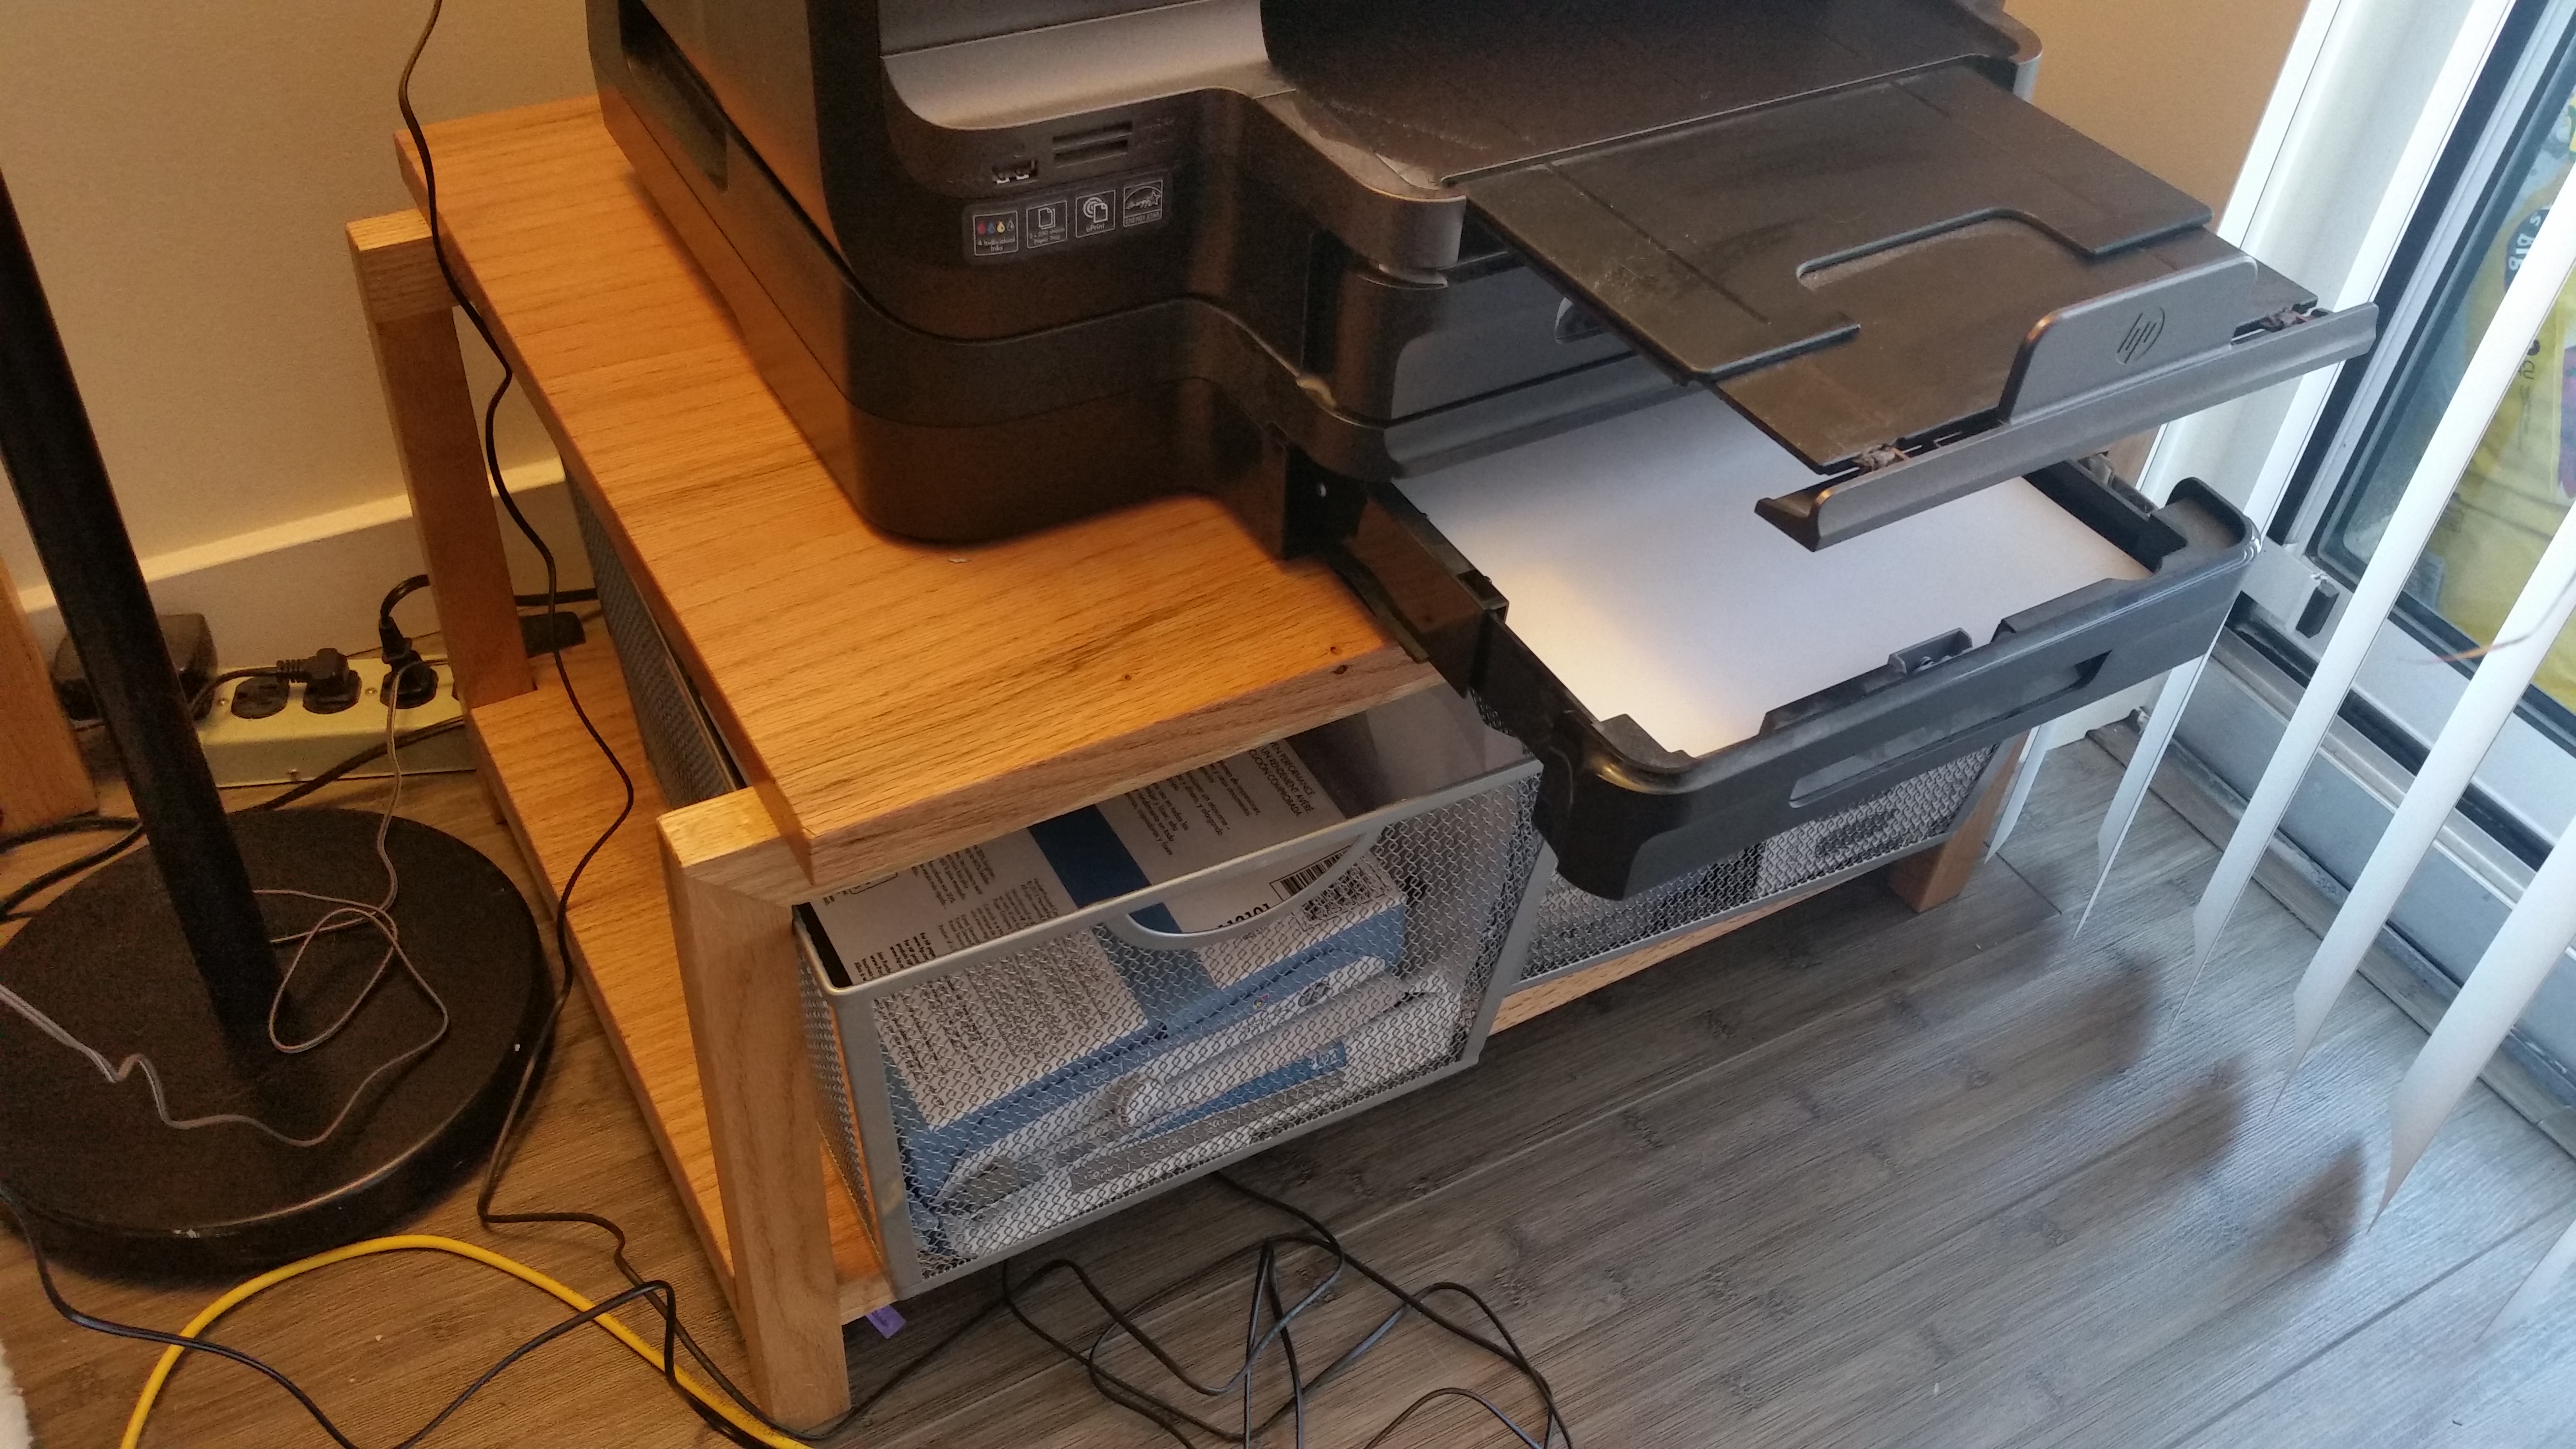
There is also a matching printer stand that fits two metal baskets on the bottom shelf (because I didn’t know how to make drawers back then).

There will be significant stock preparation involved, and I have other projects in the works already, so the desk revisit will likely take a while.  I’ve already sketched a few possible design tweaks, which I will share when I discuss the build.

JPG

Now, About That “Mostly”

Whenever someone asks me what I do in my free time, after the involuntary “free time, that’s funny”, I undoubtedly mention that I like to make things out of wood (and write about it).  I think that may be an understatement.  Sometimes, all that keeps me going day-to-day is the fantasy of one day having the time and the space to have a studio/workshop where I design and build furniture on my own schedule.

But, for now, woodworking doesn't (and doesn't have to) pay the bills.  But it does pay significant emotional and intellectual dividends.

But, for now, woodworking doesn’t (and doesn’t have to) pay the bills. But it does pay significant emotional and intellectual dividends.

The next question is usually about types of furniture I like to make.  “Oh, tables, benches and chairs, mostly” I’ll say, careful to also mention that I don’t particularly enjoy casework (in part, because sheet goods are gross).

Now, about that “mostly”…

I don’t very often talk about my obsession with pet furniture and plant furniture.  In truth, I spend more time perusing the internet for cat perch ideas and plant stand designs than I ever spend scouring human furniture catalogs.  Store-bought pieces are fine (and I’m certainly not taking commissions on cat perches or indoor planters), but anything handmade by me is not going to break down or come loose.  When it comes to my kitty and my dragon trees, that’s the most important thing.  I know lots of pet owners and indoor plant aficionados who would agree.

This is made from 8/4 red oak offcuts.  Call me old fashioned, but I believe a piece of furniture should outweigh the load its bearing.

This is made from 8/4 red oak offcuts.  Call me old fashioned, but I believe a piece of furniture should outweigh the load its bearing.

I’m not saying I’ll ever actually open up a “non-humans only” furniture store.  I’m just saying it would be awesome and hilarious.  I’m sure my parents would be proud.

JPG

Jointer Plane Envy

It’s getting to that point: I think I need a jointer plane. I’ve survived quite well for a while now jointing (and doing almost everything else) with my No. 5 1/2 jack plane.  A jack plane really is more than enough for all normal woodworking tasks (as I’ve said before), but it would be pretty awesome though to have a real try plane. The extra seven inches of length would make all the difference in the world.

wpid-20150218_205822.jpg

That’s what she said?

I will first attempt to clean up an old corrugated Craftsman that was gifted to me last year. But I know myself, and this exercise ends in me splurging for a premium plane. Unlike other size planes where I’m happy to flatten and tune a mid-priced brand, I would rather spend the money for an already true, flat and square sole. I’m leaning toward the Veritas bevel-up model, about which I’ve heard good things.

No matter what, I bet agonizing about it will earn me another few more months to figure out where to keep the thing in my tool chest.  Hollar at me if you have any other suggestions.

JPG

An Apology to Accessories

A few days ago, I wrote about how cleaning, honing, sharpening and project planning just wasn’t as fulfilling as actually making things. Although I stand by that statement, I think it may have sounded more negative than intended.

When I first started woodworking, for good or for ill, I was focused on acquiring “tools” (as most people understand the word). Things that cut. Things that shape. Things that go ” whirrrrr” at various pitches (which nowadays is just me making sound effects for my router planes and braces).

In a brief moment of calm over the weekend (I did not, by the way, get any ripping done), I was rummaging through my toolchest in hopes of finding more excess to trim. I was struck by how few “tools” I actually own. I won’t go through the litany again, but in sheer number and volume, it’s not much (and certainly my “tool” collection hasn’t grown significantly since establishing the apartment workshop several months back).  In reality, there is so much more to a workshop than “tools”.

The real heroes of my apartment woodworking shop.

The real heroes of my apartment woodworking shop.

A good portion of my shop equipment is not “tools” (as most people understand the word), but accessories for sharpening, setting up, maintaining and protecting my “tools”.  Accoutrements that allow my chisels, knives, planes, saws and squares to consistently perform at a high level.

And clamps. Lots and lots of clamps.  Always more clamps.

And clamps. Lots and lots of clamps.  Always more clamps.  In soft focus.

Learning to use these support items effectively is the other half of woodworking.  Dull, poorly set tools are as much a threat to safety and success in the workshop as poor technique.  So while I will enjoy the making more, I will also be thankful for the vises, sharpening stones, files, gauges, blade guards, rust prevention chemicals, and that sort of thing that make the making possible.

In sum: sharpen early and hone often; lubricate and polish regularly; protect edges always.  Your tools and your projects will be better for it.

JPG

It’s Been a While

It seems like forever since I actually made something. Work has been (continues to be?) especially hectic lately, and it’s not like I can chop mortises at 1am, so its been mostly shop admin at very odd hours. Cleaning, honing, sharpening, planning; all great and necessary, but not exactly the most fulfilling, activities. Only a few of projects remain on my current to-do list (one more footstool, a pedestal plant stand and a behind-the-couch console table), but each has been on the to-do list for some time.

I do so much lapping lately, I'm starting to feel like a metalworker, not a woodworker.

I have a couple different chisels in various stages of obsessive lapping.

What’s the point of perfectly flat, mirror polished chisel backs without mortises to chop or tenons to pare? Who cares about refining saw sets if there is no rough stock to rip down? Sharp and well set tools are their own virtue, but the making of things with those tools is still the most important part to me.

So here is my plan for the weekend.  I have some leftover home center Douglas Fir and a bunch of other scraps of ash, oak and maple.  I will hopefully find a few hours this weekend in between work stuff to rip down a good portion of my remaining rough stock.  That way, when I finally get the time to make something, I’ll be ready to rock.  Er, join wood.  I hope.  My tools are certainly ready.

JPG

What Now? (or, Planing Slab, Part 4)

If you’ve been following the saga, you know I now had a relatively S4S planing slab.  All that remained was some final flattening/smoothing, installation of the Veritas inset vise and dog holes, and sealing with a coat or two of Danish Oil.

I never bothered flattening the slight bow on the front edge.  I just knocked down the splinters with some 220 grit sandpaper.

The final dimensions are a smidge under 72″ wide, 13″ deep and 2 3/4″ thick.

Truth be told, not a ton of final flattening was required after skip planing.  The back seven boards of the slab are perfectly flat along their length, and although there ended up being about 1/32″ of hollow along the entire length of the front two boards, there is no twist across the entire slab.  I made the executive decision (starring Kurt Russell) that the miniscule hollow wasn’t worth agonizing over.  Therefore, it was time to install the Veritas inset vise.  After much thought, I determined it would be best to install the vise centered over the width with a single strip of in line dog holes.  More dog holes could be bored as needed.

The inset vise requires a two-stepped recess, with the bulk of the vise sitting inside a 29/32″ deep recess and the wings (where the screws attach) sitting inside shallower, 1/8″ deep wing recesses.  I seriously considered using a power router at this point.  I could have (should have?) marked out the entire recess, hogged out most of the waste with a 1/2″ upcut spiral bit on a full size router and cleaned it up by hand with a chisel.  Instead, I did it all by hand.  After marking and carcass-sawing down the sides of the main recess, I hacked out the waste with my new Narex 1 1/4″ bench chisel and cleaned up the bottom with a large router plane.

This took way longer than it needed to.

This took way longer than it needed to, but it was good practice (I think?).

The good news was, once the main recess was cut, I could mark the wing recesses directly off the vise itself.  The bad news was, at 1/8″ deep and running with the grain, there was no completely clean way to remove the waste and leave crisp corners on the wing recesses (I opted for the large router plane, which did an adequate job, albeit slightly rough).  After a while, the vise was fully installed and, remarkably, the jaws are perfectly square to the back reference edge.

The lack of crisp corners will haunt me forever, or at least until I have to reflatten the board and recut the recess.

But the lack of perfectly crisp corners will haunt me forever (at least until I reflatten the slab and recut the recess).

The 3/4″ dog holes were interesting to bore.  I have been using the Rockler forstner bit guide with my handheld drill for a while now, but the slab was too thick to make it all the way through.  After starting the hole straight with the guided forstner bit, I had to switch to my beefy brad point bit after the drill chuck bottomed out on the guide.  I went slow, but I still had a little bit of blowout on the underside, easily solved with water-based putty.  I filled some other holes as well and left them to dry overnight.

This is actually the vise exhaust port, but still.

This is actually the inset vise exhaust port, but still.

Nearing the end, I hit everything with a quick 220 grit orbital sanding, slapped on two thick coats of natural tint Danish Oil and leaned it up against the wall.

A place for everything and everything in its place.

A place for everything and everything in its place.

So there it is: the finished planing slab.  From home center douglas fir construction lumber to a sufficient worksurface for planing longer, thinner boards, all in about 30 shop hours (not including drying time).  I think it was excellent practice for eventually making a proper woodworking bench (maybe something in white ash and walnut) and I am glad now to have it.

Now all I need is to pick a furniture project that requires planing longer, thinner boards so I can actually use the thing.  I will report back.

JPG

Sharp Enough, From Now On

I use diamond plates for hand-sharpening (with window cleaner as lubricant).  Specifically, I use DMT Dia-Sharp continuous diamond plates and I currently own four: coarse (320 grit), fine (600 grit), extra fine (1200 grit) and extra extra fine (8000 grit).  I am truly happy with only the coarse and fine.

I don’t know if it’s the wheel on my sharpening guide or bad manufacturing luck, but both the extra fine and extra extra fine plates have developed a stripe down the center where the grit has worn almost completely off.  This happened almost immediately with the extra extra fine and took about a month of heavy use with the extra fine.  I try to change up which parts of the plate I use, but for thick plane irons, I have no choice but to run right down the center and the difference in grit leaves a dull hump in the center of the irons.

DMT, if you are listening, I am not particularly happy with these two diamond plates.

DMT: if you are listening, I am not particularly happy with these two diamond plates.

So I am trying something new.  Rather than purchase replacements (new territory for me, I know), I have decided that from now on, my plane irons are only getting sharpened to 600 grit (i.e., on the fine plate).  After re-watching Paul Sellers’ Sharpening to 250 Grit video a couple times over the last few days, I think it will be okay (I sharpen pretty often as is).  I’ll still do my chisels and router plane irons to 1200 grit on the extra fine plate (since I can run them up and down the remaining grit on the sides).

I don’t really even use the 8000 grit plate anymore.  Given how proactive I am with re-sharpening, I haven’t found the extra effort makes much of a difference on edge retention.  And I think I remember hearing somewhere that the edge dulls to a lower grit pretty quickly anyway, so what’s the point?

We’ll see how it goes.  If nothing else, it will cut the weight of my tool chest by a diamond plate’s worth of ounces.

JPG

Saying Goodbye (For Now) to Old Friends

Yesterday, I said farewell to some of my oldest and most trusted tools: my full size router set, cordless jigsaw and cordless circular saw. They now live in storage in my brother’s basement.

These are some of my original tools, from the before times when everything I knew about woodworking came from Norm Abram.  Back before I knew I wanted to do hand tool woodworking almost exclusively.  I consider many of my early tool purchases impulsive wastes of money, but not these.  If (when?) I have the space again, these tools will be back in the shop.

Godspeed, gentlemen.  We shall meet again!

Godspeed, gentlemen. We shall meet again!

My quest to simplify my woodworking existence continues.  I hadn’t touched any of these tools since well before I moved into my apartment over 4 months ago.   My finishing supplies bin takes their place under the worktable.

That brings total power tools remaining in my apartment woodworking shop to: compact router, cordless drill, random orbit sander and Dremel rotary tool.  Not sure there is anything left to cut at this point.  I have thought about giving up my WorkSharp 3000 sharpening station as well, but I never know if I’ll need to grind an edge back to life.

Goodbye for now, old friends!

JPG

A New Technique and a Helping Hand (or, Planing Slab, Part 3)

Welcome back to the third installment of the Planing Slab series (Parts 1 and 2 linked here and here)!

When laminating the slab, I did my best to keep what would be the bottom of the planing slab as flat as possible. I did this by only using boards ripped from the outside edges of the 2x10s and by doing some basic straightening before glue-ups. Also, by laminating one board at a time, I was better able to control float during the glue-up.

wpid-20150102_225907.jpg

Overall, not too bad for a starting point.

As is often the case, the best intentions only get you so far. I still had a decent amount of flattening to accomplish for the fully-laminated slab. I have a box store Stanley bench plane that I set up as a scrub plane, but it’s unfortunately not at my apartment, so I did the next best thing: I sharpened an exaggerated camber into my No. 5 1/2 (not overly much, so I wouldn’t need to grind to reset the iron) and went to work.  A few hours later, my floor was blanketed in shavings and I had something flat enough to skip plane through my thicknesser.

Not all the shavings, but I do like to keep the place cleaner than this.

I generally keep the workshop cleaner than this, ladies.

Skip planing is relatively new to me. I don’t often work in boards large enough (read: thick enough) to resist the flex of the roller bars on my thicknesser. It was pleasant to focus solely on getting the the outside edges parallel and on axis and scooping just enough out of the center to ensure the outside edges ran slightly proud. After all, the slab was rigid enough that it would ride only on the edges while going through the thicknesser (which is how skip planing works).  I removed the angle irons (used to clamp it to the table) and loaded the slab into the car.

It took about 10 light passes through the thicknesser to flatten the top and about 3 more to flatten the bottom (after a flip). Overall thickness ended up just over 2.75″, which is not bad, considering I ripped the component boards to slightly over 3″. All that was left was some basic squaring of the ends, accomplished via chop saw, and the rough dimensioning phase was done.  Back at the apartment workshop, I straightened and squared the back edge, rounded all the corners with a 1/8 round-over router bit and reinstalled the angle irons.

My shop-made sharpening depth stop block makes a great backerboard for installing angle irons.

My shop-made sharpening depth stop block makes a great backer-board for installing angle irons.

Special thanks to my mother for helping me out with the skip planing. It would have been a much tougher job without the extra set of hands. I would have managed it, but a little help goes a long way.

Straight-ish, square-ish and ready for an inset vise and dog holes.

Straight-ish, square-ish and ready for final flattening and installation of the inset vise and dog holes.

In the next (and final installment), I’ll cover installation of the Veritas Inset Vise and final flattening, smoothing and finishing.

JPG

The Largest Thicknesser of All

I absolutely adore my thickness planer.  When preparing rough stock for a new project, I often simply plane two faces of each board straight and square, and then clean up the other two faces with my thicknesser.  Even though it lives at my parents’ house, but I still get to use it fairly regularly.

The capacity, however, is limited to 13″ for face planing and 6″ for edge planing.  This isn’t normally a problem.  I rarely work with boards wider than 13″ and if I am, it’s probably because I glued up smaller board which I already surfaced individually (and jointed in reference to each other).  I can then flatten and square by hand the finished tabletop (or whatever).

But for pieces wider than 6″ that need parallel edges (e.g., the top of a footstool), the thicknesser just won’t cut it.  Instead, I need to scribe a line on the board indicating the desired thickness and hand plane down to that line (just like you would do for a smaller board, such as a table leg).  For a long time, I had been making due with my combination square for marking thickness, but I recently splurged on a Lie-Nielsen panel marking gauge.

wpid-20150202_121841.jpg

Not sure how I ever did without one.

It takes a little bit of practice to master (especially in swirling grain woods), but the panel marking gauge is a welcome addition to my tool chest (it actually lives on my benchtop).  Planing down to a well-scribed line doesn’t take much more time or effort than sending a board through the thicknesser a couple times and it’s how they did it before thicknessers were a thing, anyway.

I’m thinking about doing a “tools I didn’t realize I couldn’t live without” segment at some point.  A panel marking gauge is certainly on my list.  What about you?

JPG