General

A Toy Workbench

I’ve alluded to it several times, but I finally finished over the weekend the toy workbench for my niece and nephew.  Although it took much longer than expected (due to my sloth, mostly), I am unequivocally pleased with the result.  At 23.5″ long, by 12.5″ deep and 23.5″ high, the piece is not exactly in proportion to a full size workbench (which was the original goal), but nonetheless will serve its purpose.  If anything, it’s a bit tall for my nephew currently, who should grow into it within the next year.

In all its, ahem, unfinished glory.

In all its, ahem, unfinished glory.  I expect my brother and sister-in-law will paint it.

Right away, I knew this project was something special when the laminated benchtop came together so easily. I took great care to S3S each piece for the lamination, so it was a snap to glue up all nine pieces at once and then flatten the slab once the glue dried.

I learned my lesson from the planing slab project.

I learned that lesson the hard way during the planing slab project.

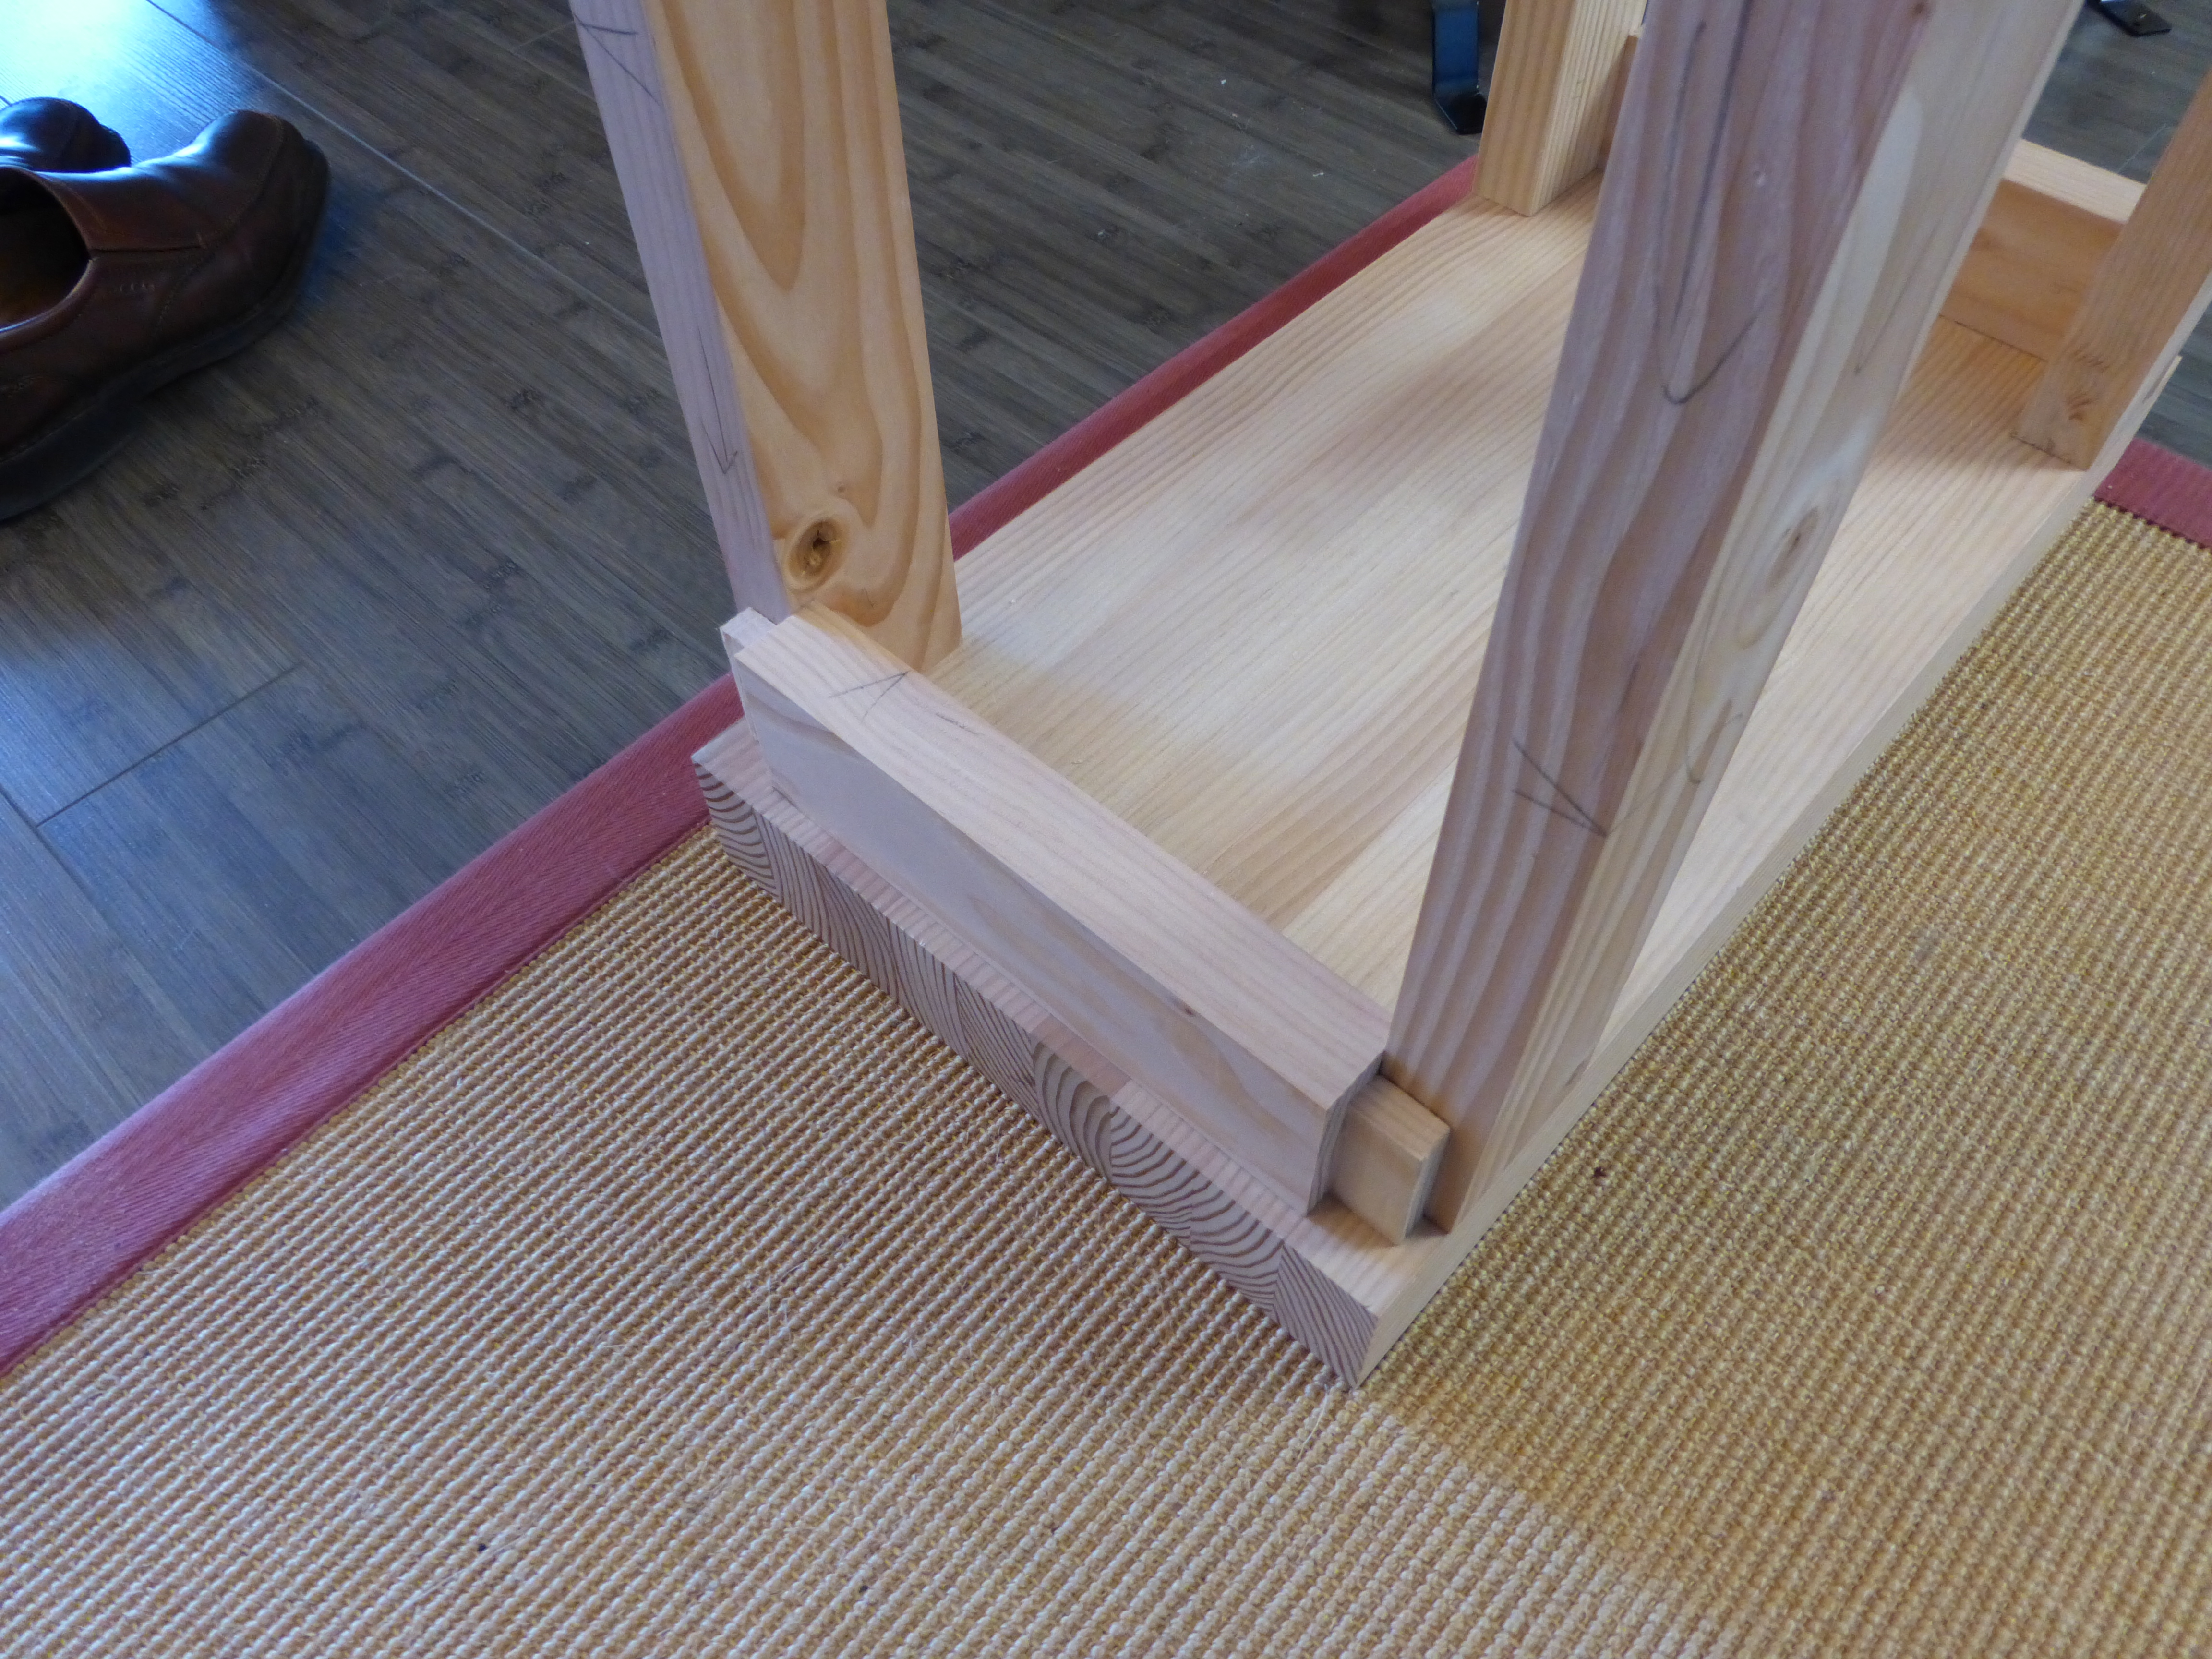
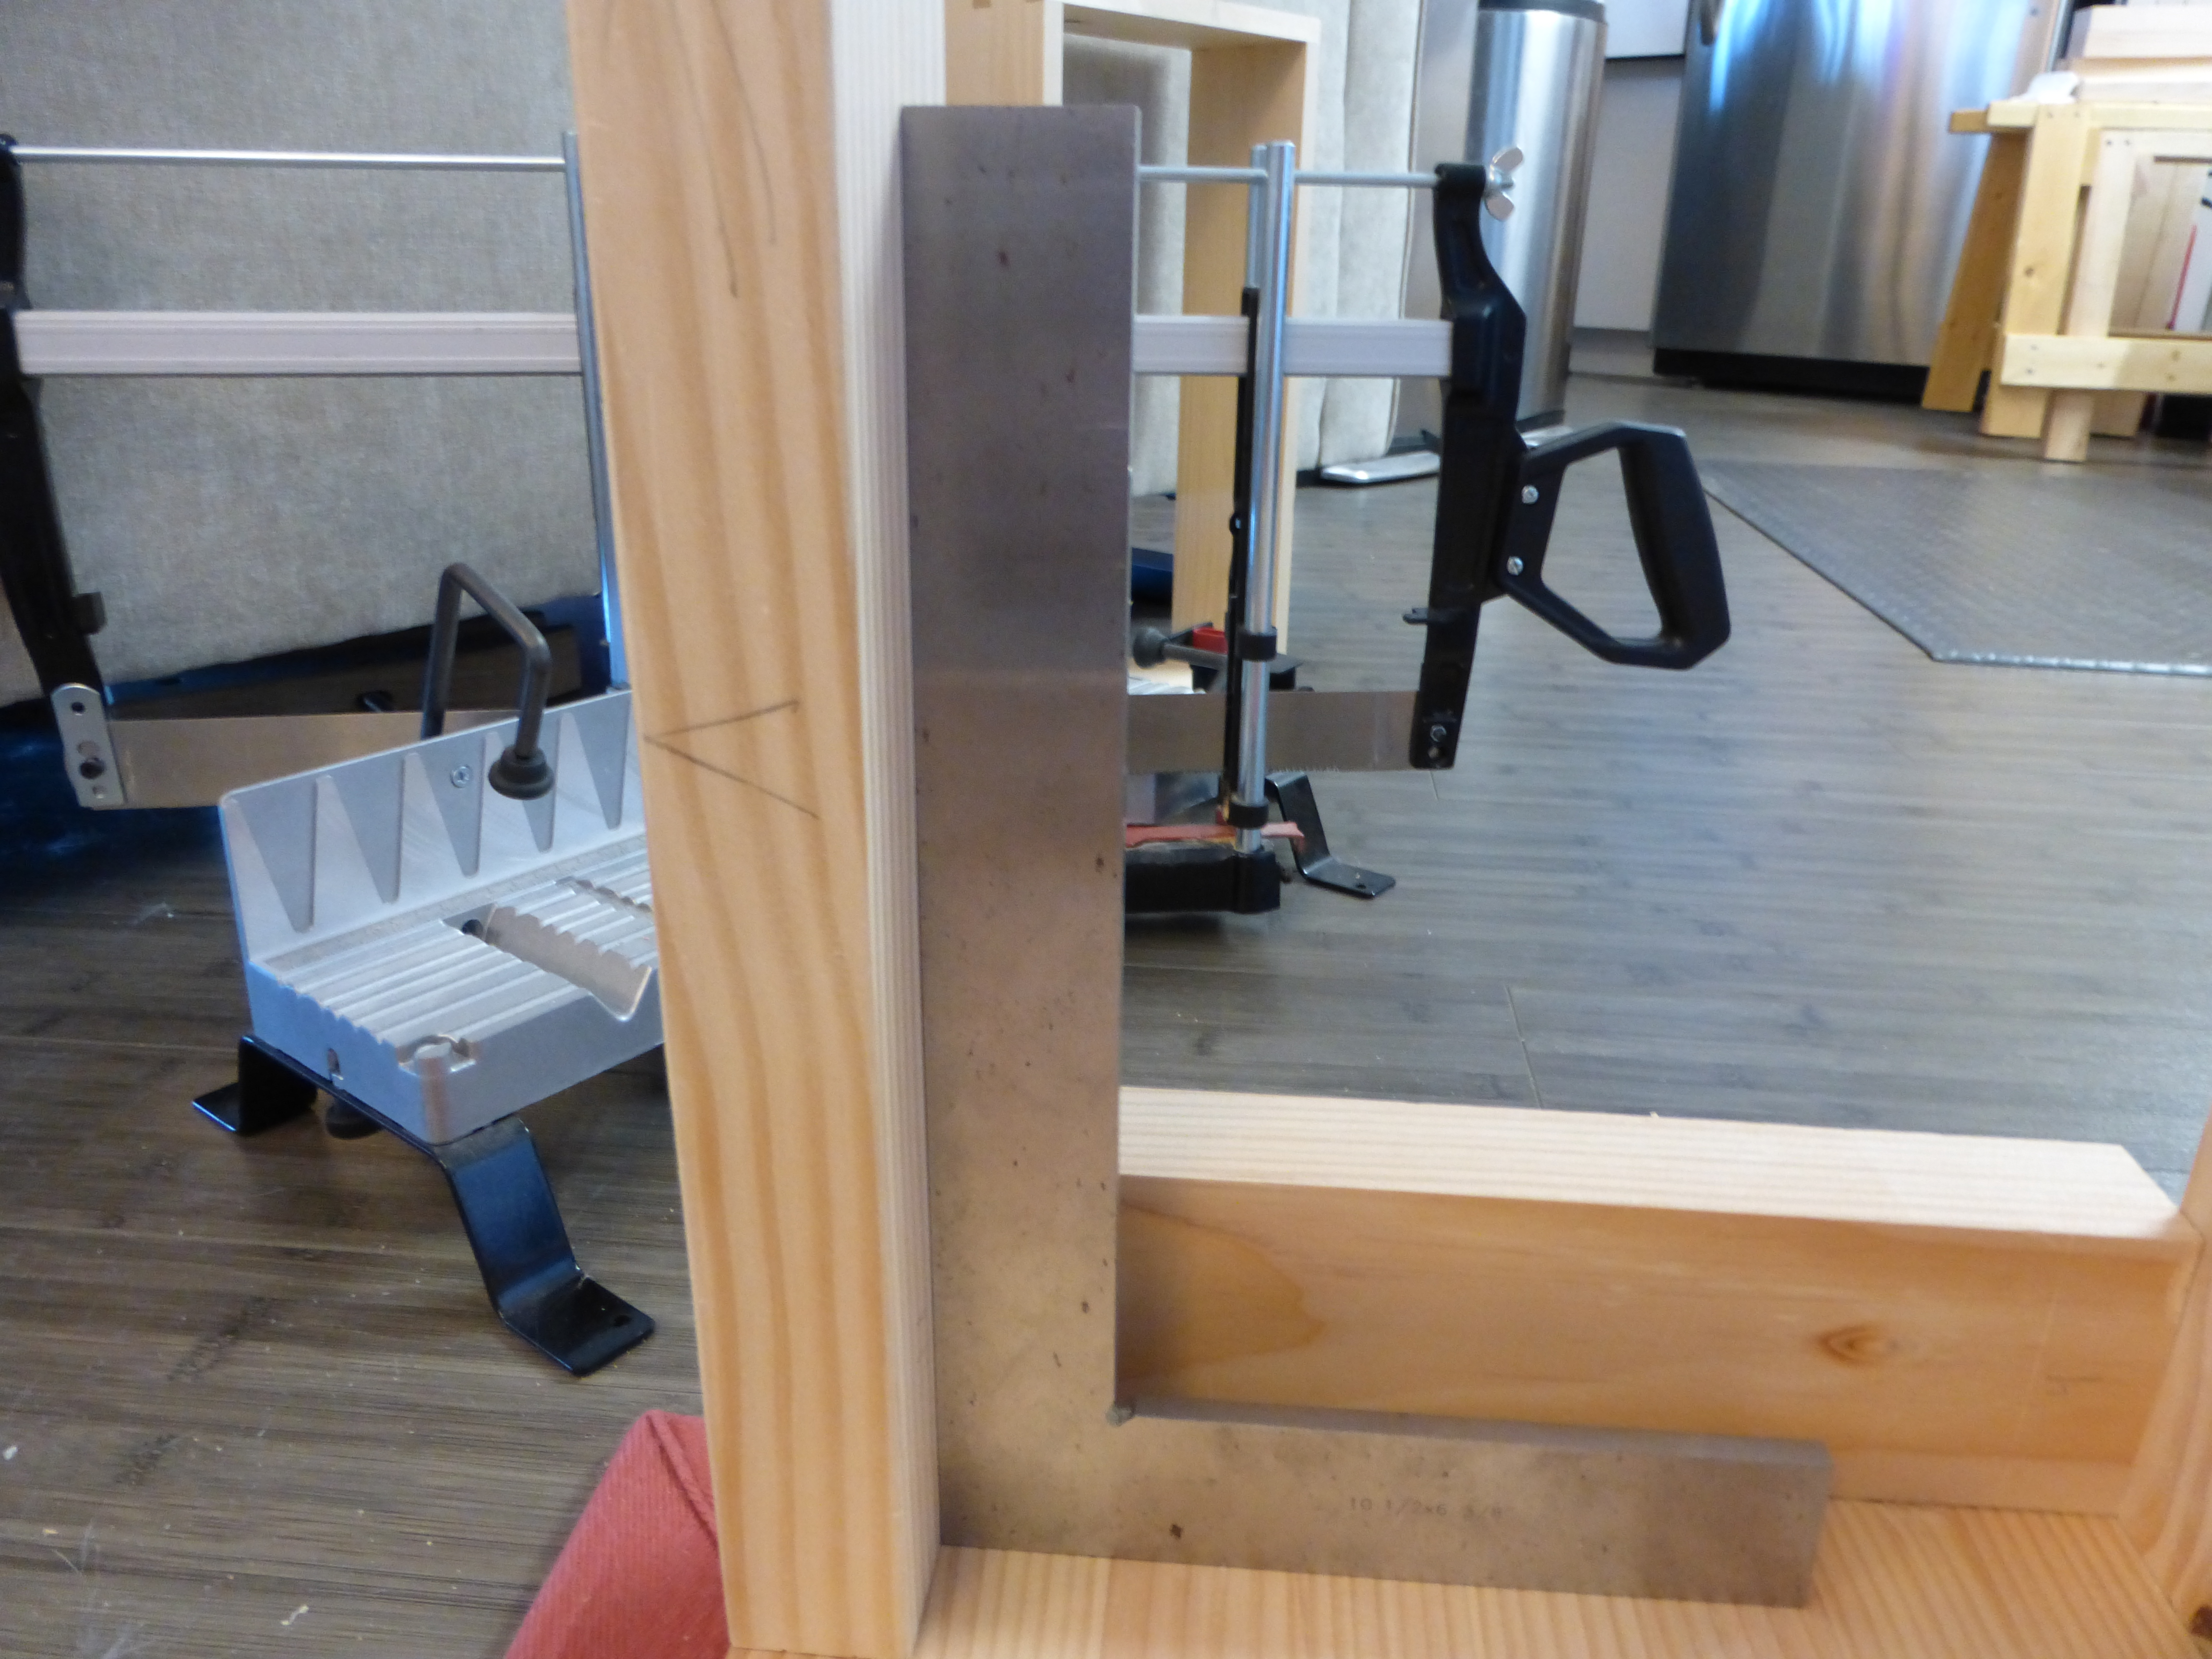
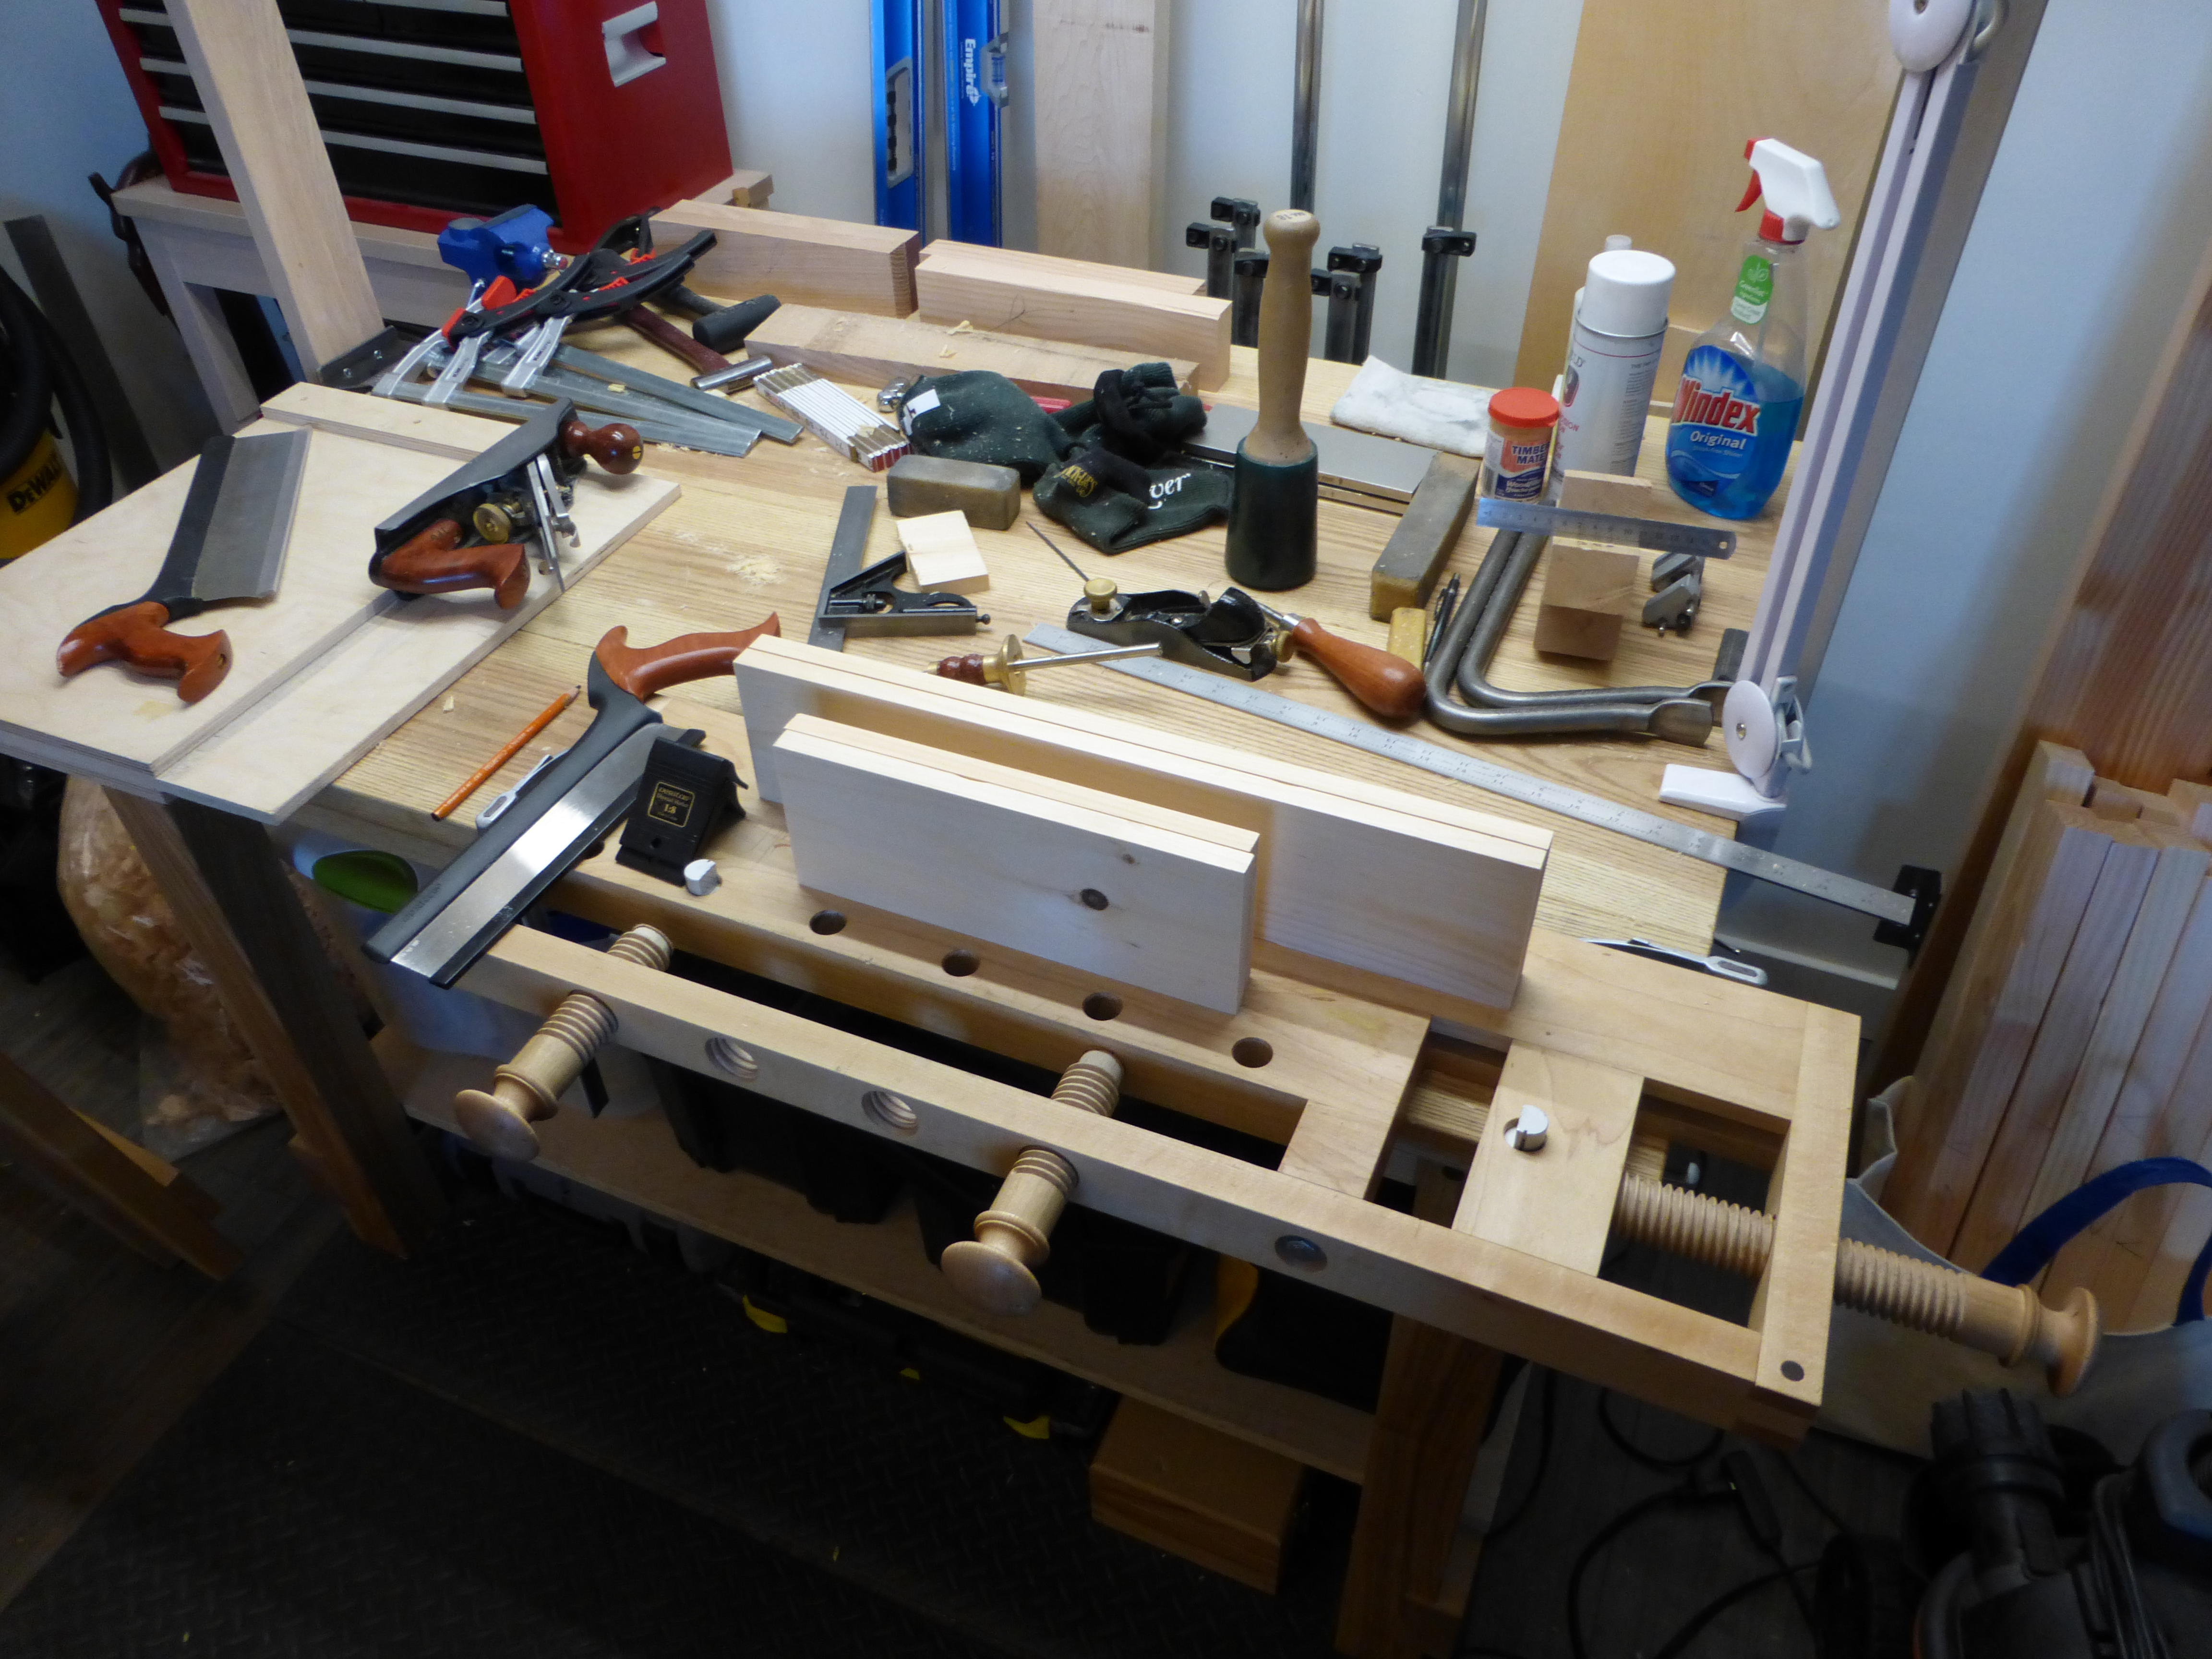
Constructed mostly of leftover home center Douglas Fir, much of the stock that went into the bench is quartersawn or riftsawn (three legs and both stretchers being the exceptions), so it should be a pretty stable piece for a long time.  The joinery throughout is solid and relatively simple:

  • The legs are stub-tenoned and glued into the underside of the benchtop (drawbores felt a little extreme for a toy workbench).
  • The side rails are flush (but not glued) to the underside of the benchtop and stub-tenoned and glued into the legs.
  • The front and back stretchers are half-lapped to the legs and affixed with with glue and a single No. 10 wood screw.

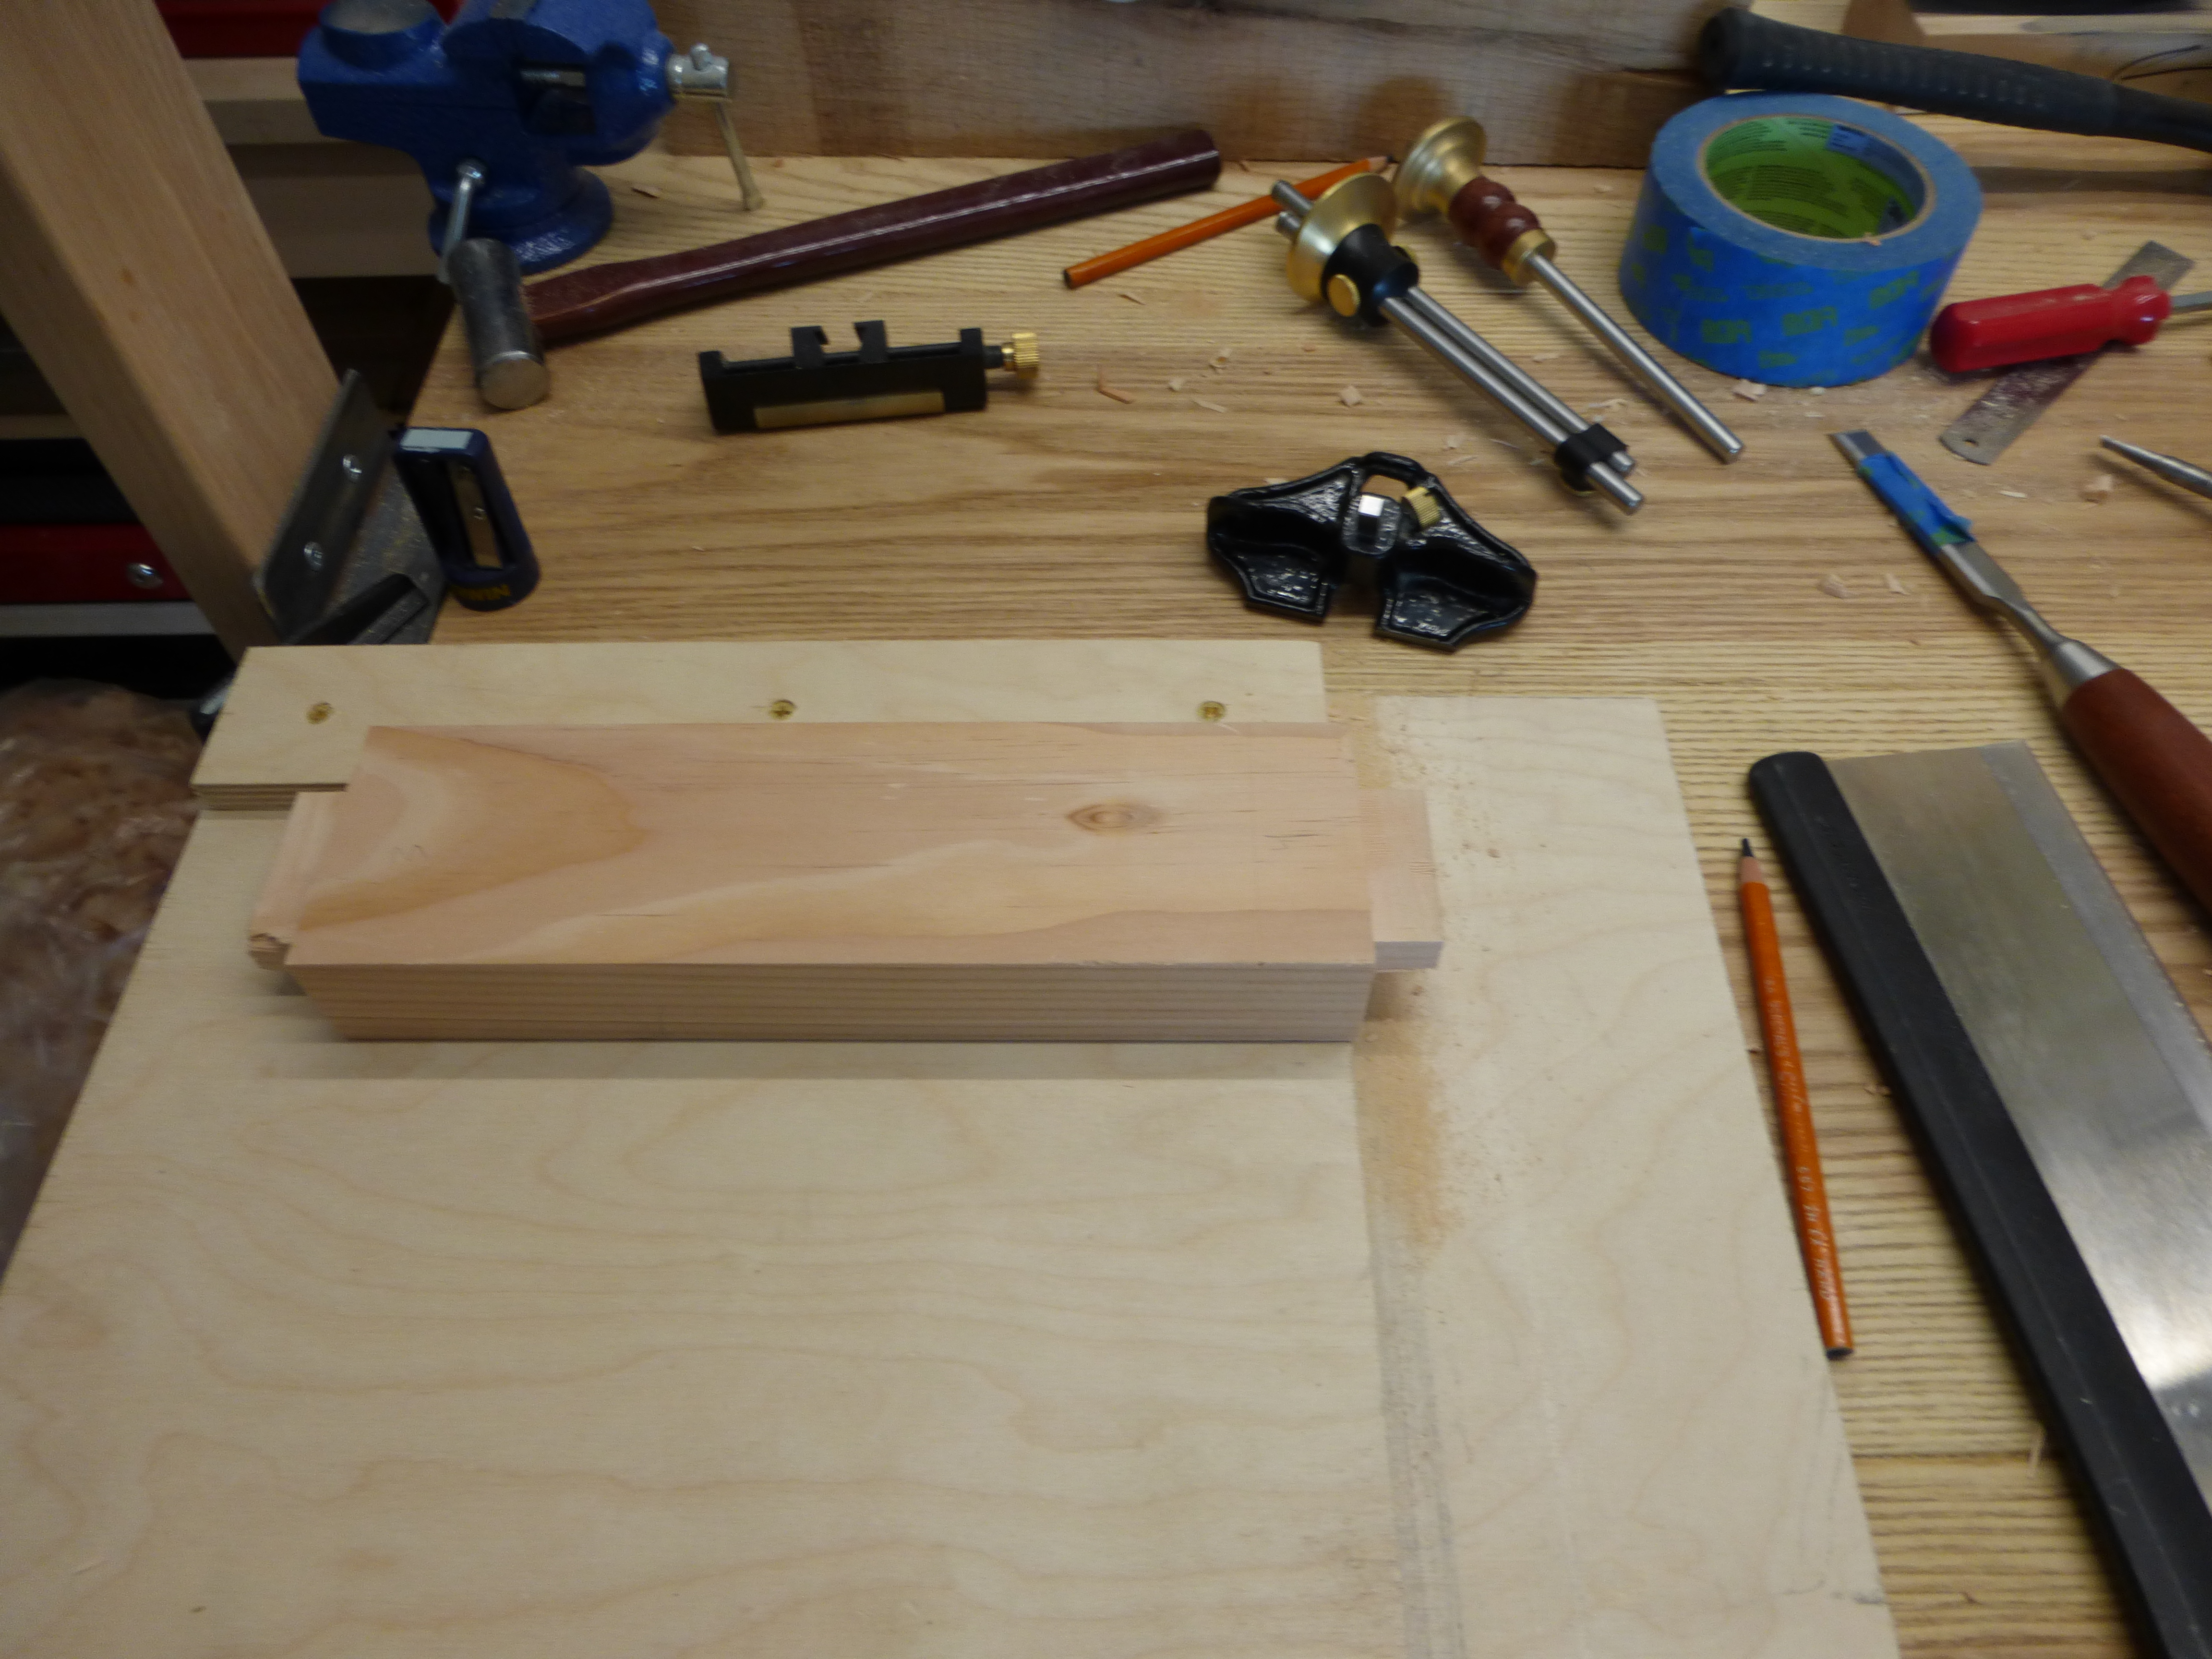
The shelf, which after much agonizing I glued and nailed to the underside of the stretchers (shortcuts do make sense, sometimes), is off-cut pine siding (rather than Douglas Fir), planed S3S.

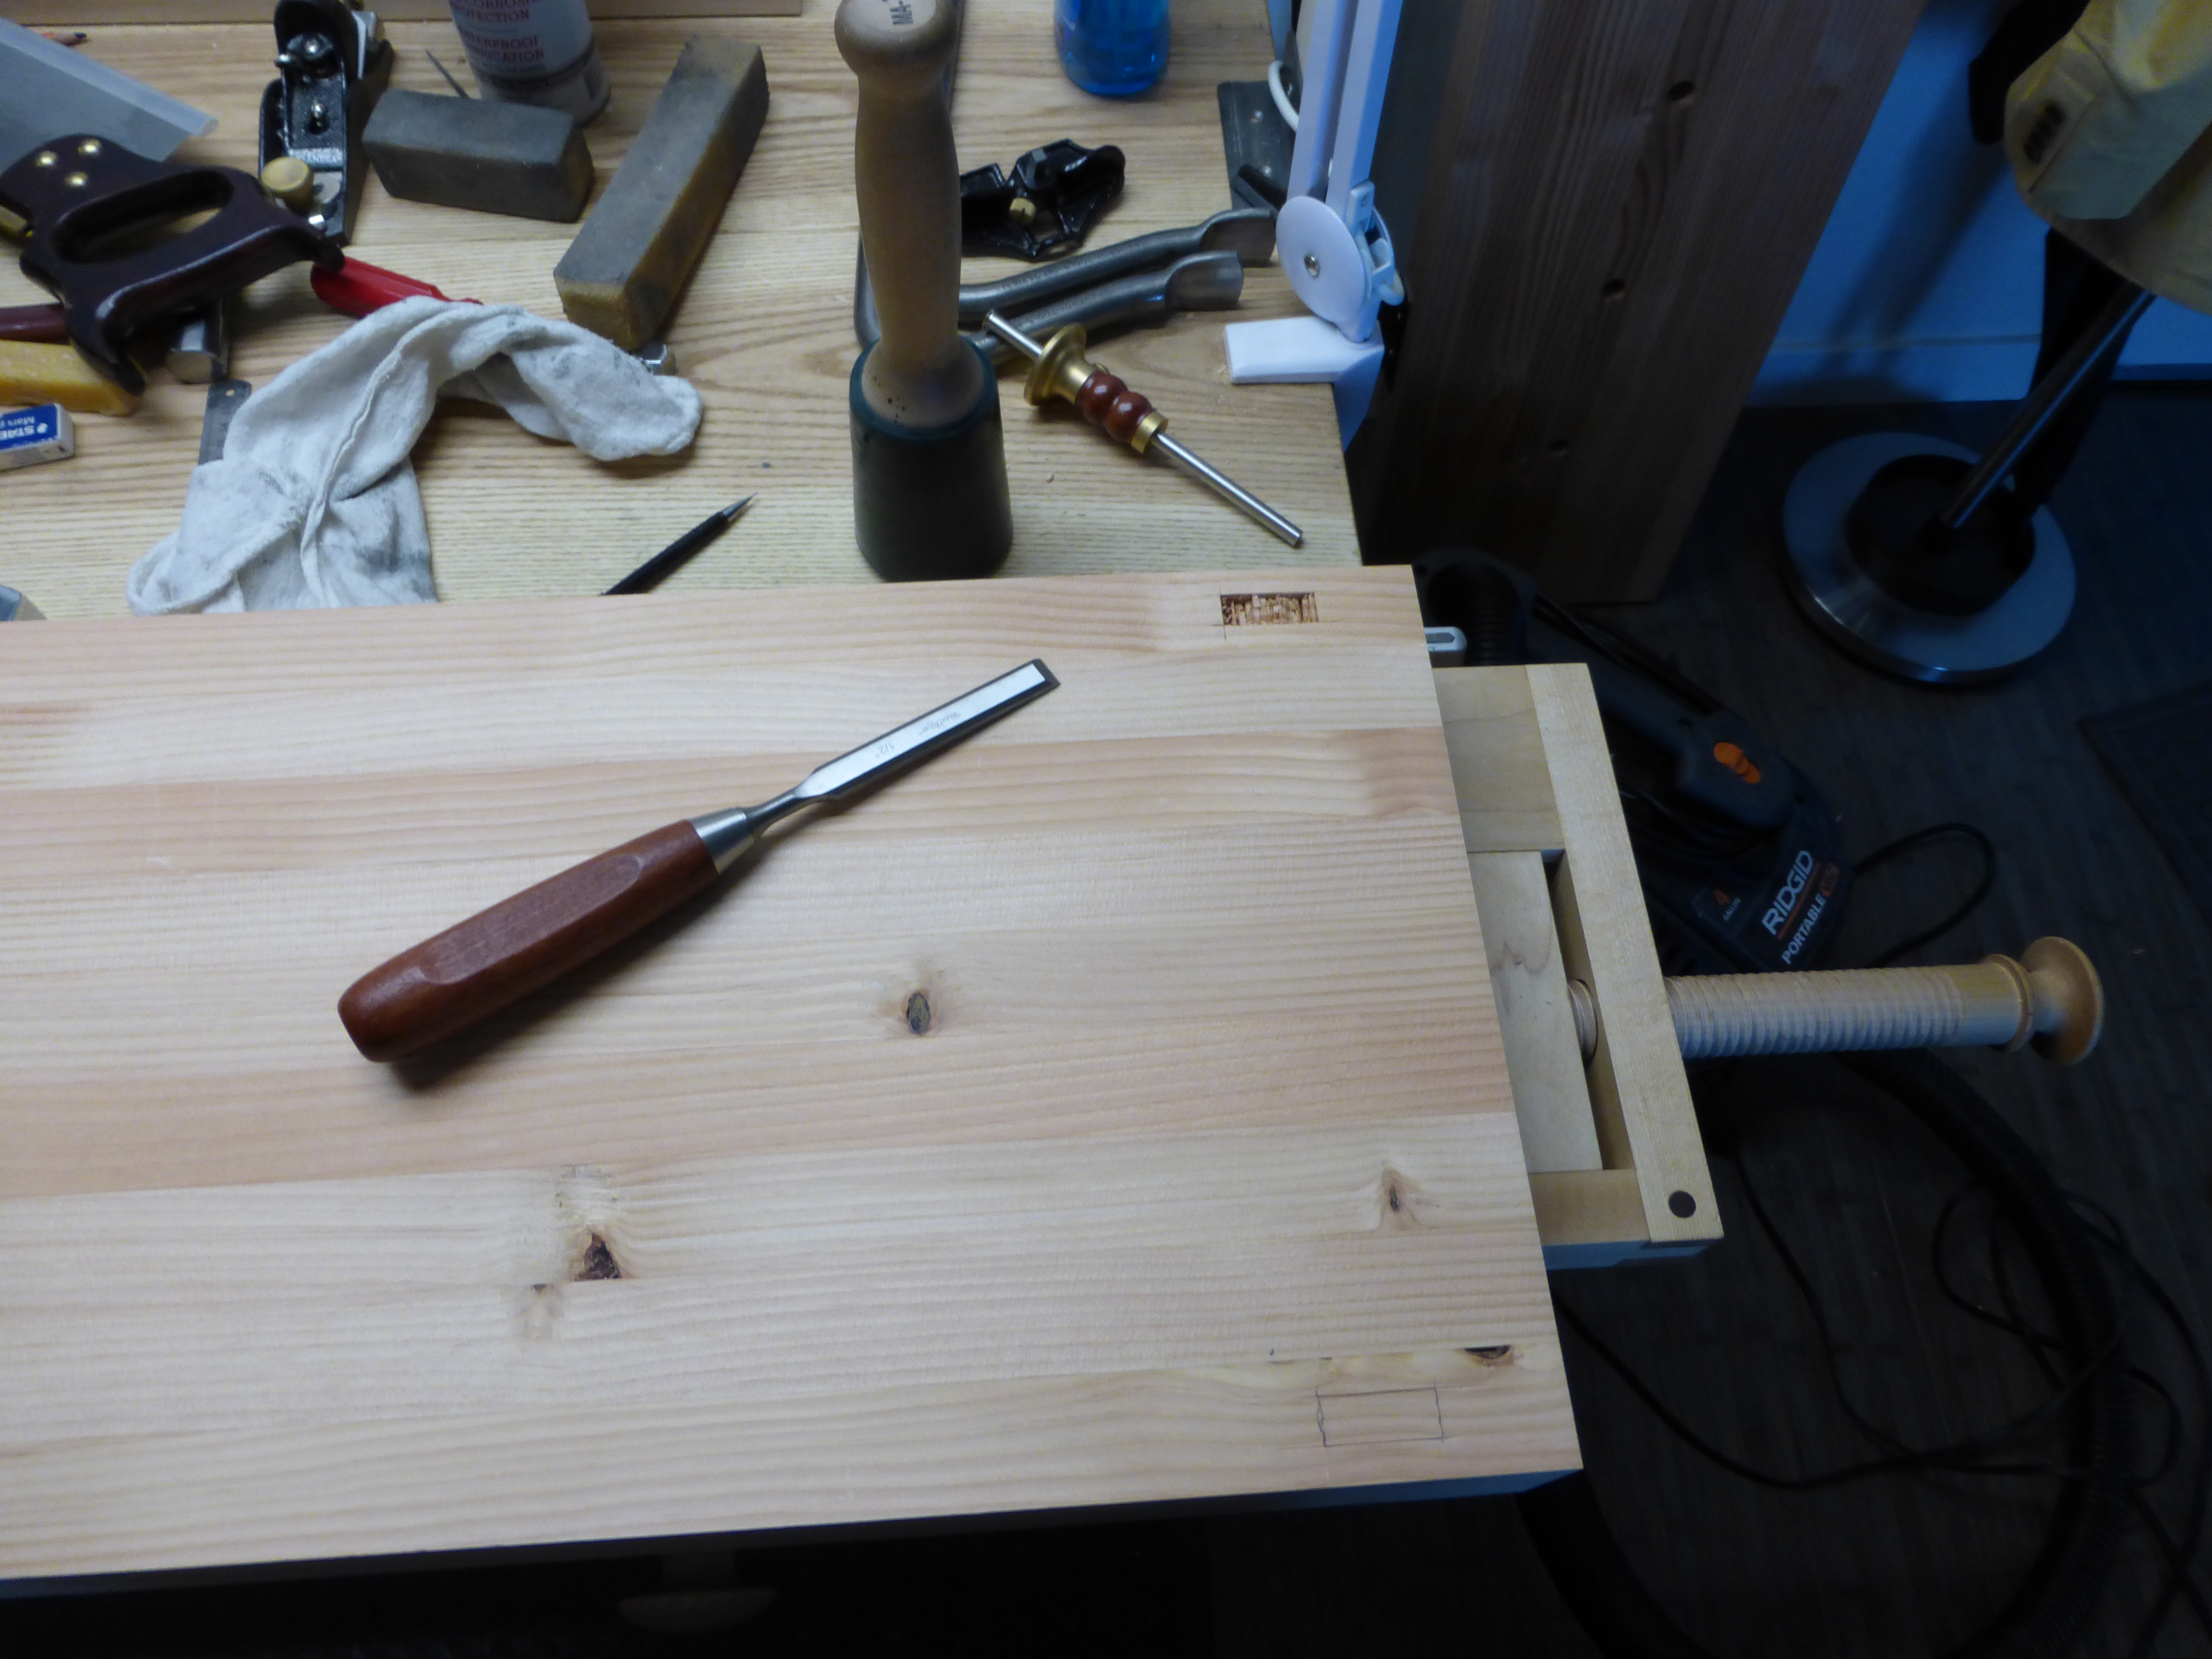
All in all, the toy workbench weighs about 40 lbs. It would have been heavier, but I lost some thickness on the benchtop slab on account of chopping mortises on the wrong side.

I would be greatly surprised if it’s not still around for my grand-nieces and grand-nephews.  And now I have some practice for when I make the real thing.

Ebbs and Flows

I’ve been stuck in a creative rut. Sure, I’ve completed plenty of woodworking projects over the last few months, but I haven’t designed anything I find intellectually stimulating in a long while.  But today, I broke my drought. And surprisingly, this piece will be for my use.

The design is not quite finalized yet (I freehand sketched the plans on the train and I need to confirm I have the correct lumber available), but I already have enough to build off. I think this one may go in the portfolio. I’m excited. For the first time in far too long.

JPG

To Make or Not to Make

As I’ve mentioned before, one of the things that keeps me from splurging on new tools is space. Case in point, I’d love to own a plow plane, but I have absolutely no idea where to store the thing so it won’t get dinged constantly.

Maybe I could make a lidded box to keep it safe.  Maybe I’ll make a plow plane myself so I don’t care if it gets dinged. Maybe I’ll just suck it up and keep using a compact plunge router.

JPG

Shortcuts That Make Sense

I think I first heard the expression when I read the Fellowship of the Ring for the first time as a teenager:  “Shortcuts make long delays”.  I always took that expression to heart and I try not to cut corners in my woodworking (other than breaking the arrises). Sometimes, though, shortcuts make sense.

For instance, I rarely cut through tenons.  Unless they are for a specific design element, or the wood is particularly thin in the first place, through tenons just aren’t necessary  They look cool, and I guess a through tenon might add strength in the right situation, but why do the extra work if you don’t have to?  For that matter, why cut a full length stub tenon when a shorter stub tenon will do just fine?

Side rails to keep the legs rigid and square.

Test-fitting the side rails for tight fit between the shoulders and the legs.

On the mini workbench, I had cut some 1.125 inch tenons on the side rails (see above).  Then I looked at the thickness of the legs themselves (1.5 inches) and the position of the rails (flush to the underside of the bench) and determined that a .75 inch stub tenon would be more than sufficient.  A .75 inch tenon would translate into a mortise that I could chop in a single pass back and forth, saving time overall.  So I hacked half an inch off each of the tenons.

So I hacked half an inch off the tenons.

It’s not lazy; it’s efficient.

The side rails will still do their job  with the shorter tenon (i.e, keeping the legs rigid and square front to back), but that’s more a function of the tight fit between the tenon shoulders and the leg than a function of the dept of the mortise.

Stub tenon or not, that's a tight fit.

Stub tenon or not, that’s a tight, square fit.  And yes, I keep my miter box on the floor.

Speaking of shortcuts, I have also decided I’m not going to mortise the front and back rails into the legs.  Instead, I will half-lap and screw them into the insides of the legs, mainly because I’d like the ability to remove or re-position the slatted shelf if necessary in the future.  Mortising those rails into the legs would make that much harder.  Plus, it will save me a bunch of time (and I really enjoy the ease of cutting half-lap joints).

So next time you’re planning out a woodworking project, think long and hard about any available efficiencies.  I’m not saying scrap the corner dovetails on your tool chest in favor of nailed rabbet joints (although that would be perfectly fine if done correctly).  But I am saying don’t go overboard if you don’t need to do so.

JPG

Necessary Supplies

This weekend, I finally made it up to Vermont to grab the remainder of my lumber and I am so glad I did.

In addition to the reclaimed pine (which I left up there for use in a kitchen table for my mother), I apparently had a sizable amount of hard maple and red oak, some dimensional cherry I had forgotten about and (most amazingly)  a couple board feet of 12/4 ash that must have been off-cuts from my dining table project.  Not to mention another 40 board feet or so of pine siding off-cuts (more dovetailing practice!).  I’m fairly confident that I won’t need to buy any new lumber for a while.

One of the more interesting finds was a set of four, shaped pine legs that were set aside from the bulk lumber.

Super random!

Super random!

At approximately 23″ tall, I think they were part of an abandoned side table project (which in all likelihood began as shaping practice).  I’m happy to re-purpose them (and some of the pine siding off-cuts for rails and tabletop) into a little table.  It will be a nice little project for my week off.

JPG

Straight and Square is Not Just for Wood

Working on a couple different planing-intensive projects has brought to my attention that I had somehow ground most of my plane irons and chisels out of square.  Again, I blame my Work Sharp 3000, which I really like but have never really gotten the hang of fine tuning.  If anyone is aware of a how-to for micro-tuning a Work Sharp 3000, please send me the link.

So, the last couple days I have been hand-grinding everything back into square.  I had to dust off my coarser diamond plates, as well as a wide-wheel sharpening guide that I’ve had for a long time, but abandoned a while ago when I picked up one of the eclipse-style sharpening guides.  My reasoning was the narrower wheel on the eclipse-style guide would make tipping a plane iron (to create a camber) easier.  It also apparently made tipping a chisel without realizing it easier.

Wide wheel = stability.

I also made another bench-hook style holder for my plates because I am sick of wiping slurry off my Milkman’s Workbench.

So going back to the wide-wheel sharpening guide with greater stability makes sense for re-grinding square.  I could certainly do it with the eclipse-style guide, but I’d rather eliminate user error altogether (which got me into this mess in the first place).

I do add micro-bevels by hand, though, so there is plenty of opportunity for user error slightly later in the process.

JPG

April Showers

It’s rather beautiful out today: 50 degrees and rainy. I love Spring in Southern New England. I can turn off the HVAC and leave the windows open and keep everything at a cost-free 66 degrees (this works in Autumn as well).

This morning, though, I woke up with a start to the sound of the wind and rain. I have some fresh lumber acclimating in my apartment and I wondered if the humidity seeping in through the open windows would affect the wood.

Without so much as a Google search, quickly shut everything down tight and went back to bed.

JPG

No One is Perfect

I’m not immune to mistakes.  No one is.  Someone once said (I’m drastically paraphrasing) that the sign of an accomplished woodworker is the ability to hide the inevitable mistakes.

Sometimes, mistakes are minor and can be easily corrected.  Sometimes, you start chopping mortises on the wrong side of the benchtop for the mini workbench you’re making for your niece and nephew.

Like this time.

Like this time.

I’m fortunate to have left the lamination for the mini workbench a bit thick, so I have some leeway to skim 1/8″ off the other side to clean it up.

P1000049

I left it a bit rough because it was supposed to be the underside.

So all in all, no harm no foul.  And, for the record, no one would ever know, had I not mentioned it.

JPG

The Tintinnabulation of the Plane

It occurred to me the other day that I’ve never actually used the lateral adjustment lever on any of my hand planes.  One of the first woodworking videos I ever watched was Super-Tune a Hand Plane by Christopher Schwarz and I guess I got in the habit of doing all blade adjustment by hammer tap.

I think I stole this one from my father's toolbox.

I think I stole this one from my father’s toolbox.

Given all the smoothing and shooting I’ve been doing lately for the mini-workbench project (both with my No. 4 and my No. 4 1/2), I have gotten quite a bit of practice at resharpening and plane setting.  One thing I noticed is that my plane irons were apparently ground out of square (I blame the wide blade attachment on my Work Sharp 3000).  After some clean-up in that respect, getting perfect set after a resharpen is much quicker.

I’ve also been more diligent about lubricating the plane sole (see the beeswax above).

It’s the little things, I guess, that increase efficiency.

JPG

Weekend Dovetailing

Practicing what I preach, I took a few hours off this weekend and hand-prepared some leftover pine paneling for joinery.

P1000035

Pine paneling off-cuts from my cousin Gary are my main source of casual dovetailing stock.

I forget sometimes what a joy to work generic pine can be.  Fluffy, flat-sawn white pine planes nicely, saws easily, shoots smoothly and produces the tightest dovetails I’m capable of cutting (mostly through fiber compression).  And any slight cup in the boards definitely presses right out when the dovetails close.

Although apparently my pencil marks look like terrible gaps.

Apparently the lighting makes the pencil marks look like terrible gaps.

The above box is about 18″ x 12″ and will probably serve no real purpose.  It’s not the right shape for a bench top chisel case and much too small for any meaningful toolbox, so I will probably just glue and nail it to a base and give it to someone for use as a junk tray (for recent mail and receipts and such).

Like everything else I do, joinery overkill for the purpose.

Even I’m allowed a “look at this thing I made” post once in a while.

I haven’t yet prepared the base, but I’ve got about 24 board feet of select pine for an eventual tool-chest project from which I can borrow when I get some time next weekend. I also need to smoothing plane off the pencil marks and flush the joints, but I’ll get to that next weekend as well.

Come to think of it, I’m going to the Mets game on April 19 (a Matt Harvey start, weather permitting), so maybe it will be the weekend after next.

JPG