tips and tricks

The Sound (of Mallet Blows) and the Fury (of the Neighbors)

A close second on the overall list of questions people ask me about small-space, apartment-based woodworking is, “Don’t the neighbors complain about the noise?”. I get the question frequently enough to warrant a full post response.

Woodworking, even the hand-tool-only variety, is noisy. The thud of the chisel mallet echoes down a long hallway just as the whirr of the plunge router does. The wheeze of hand-sawing is unmistakeable to even the most casual aural observer.  And other more muted work, such as hand-planing, can nonetheless audibly rattle bench-top accoutrements.

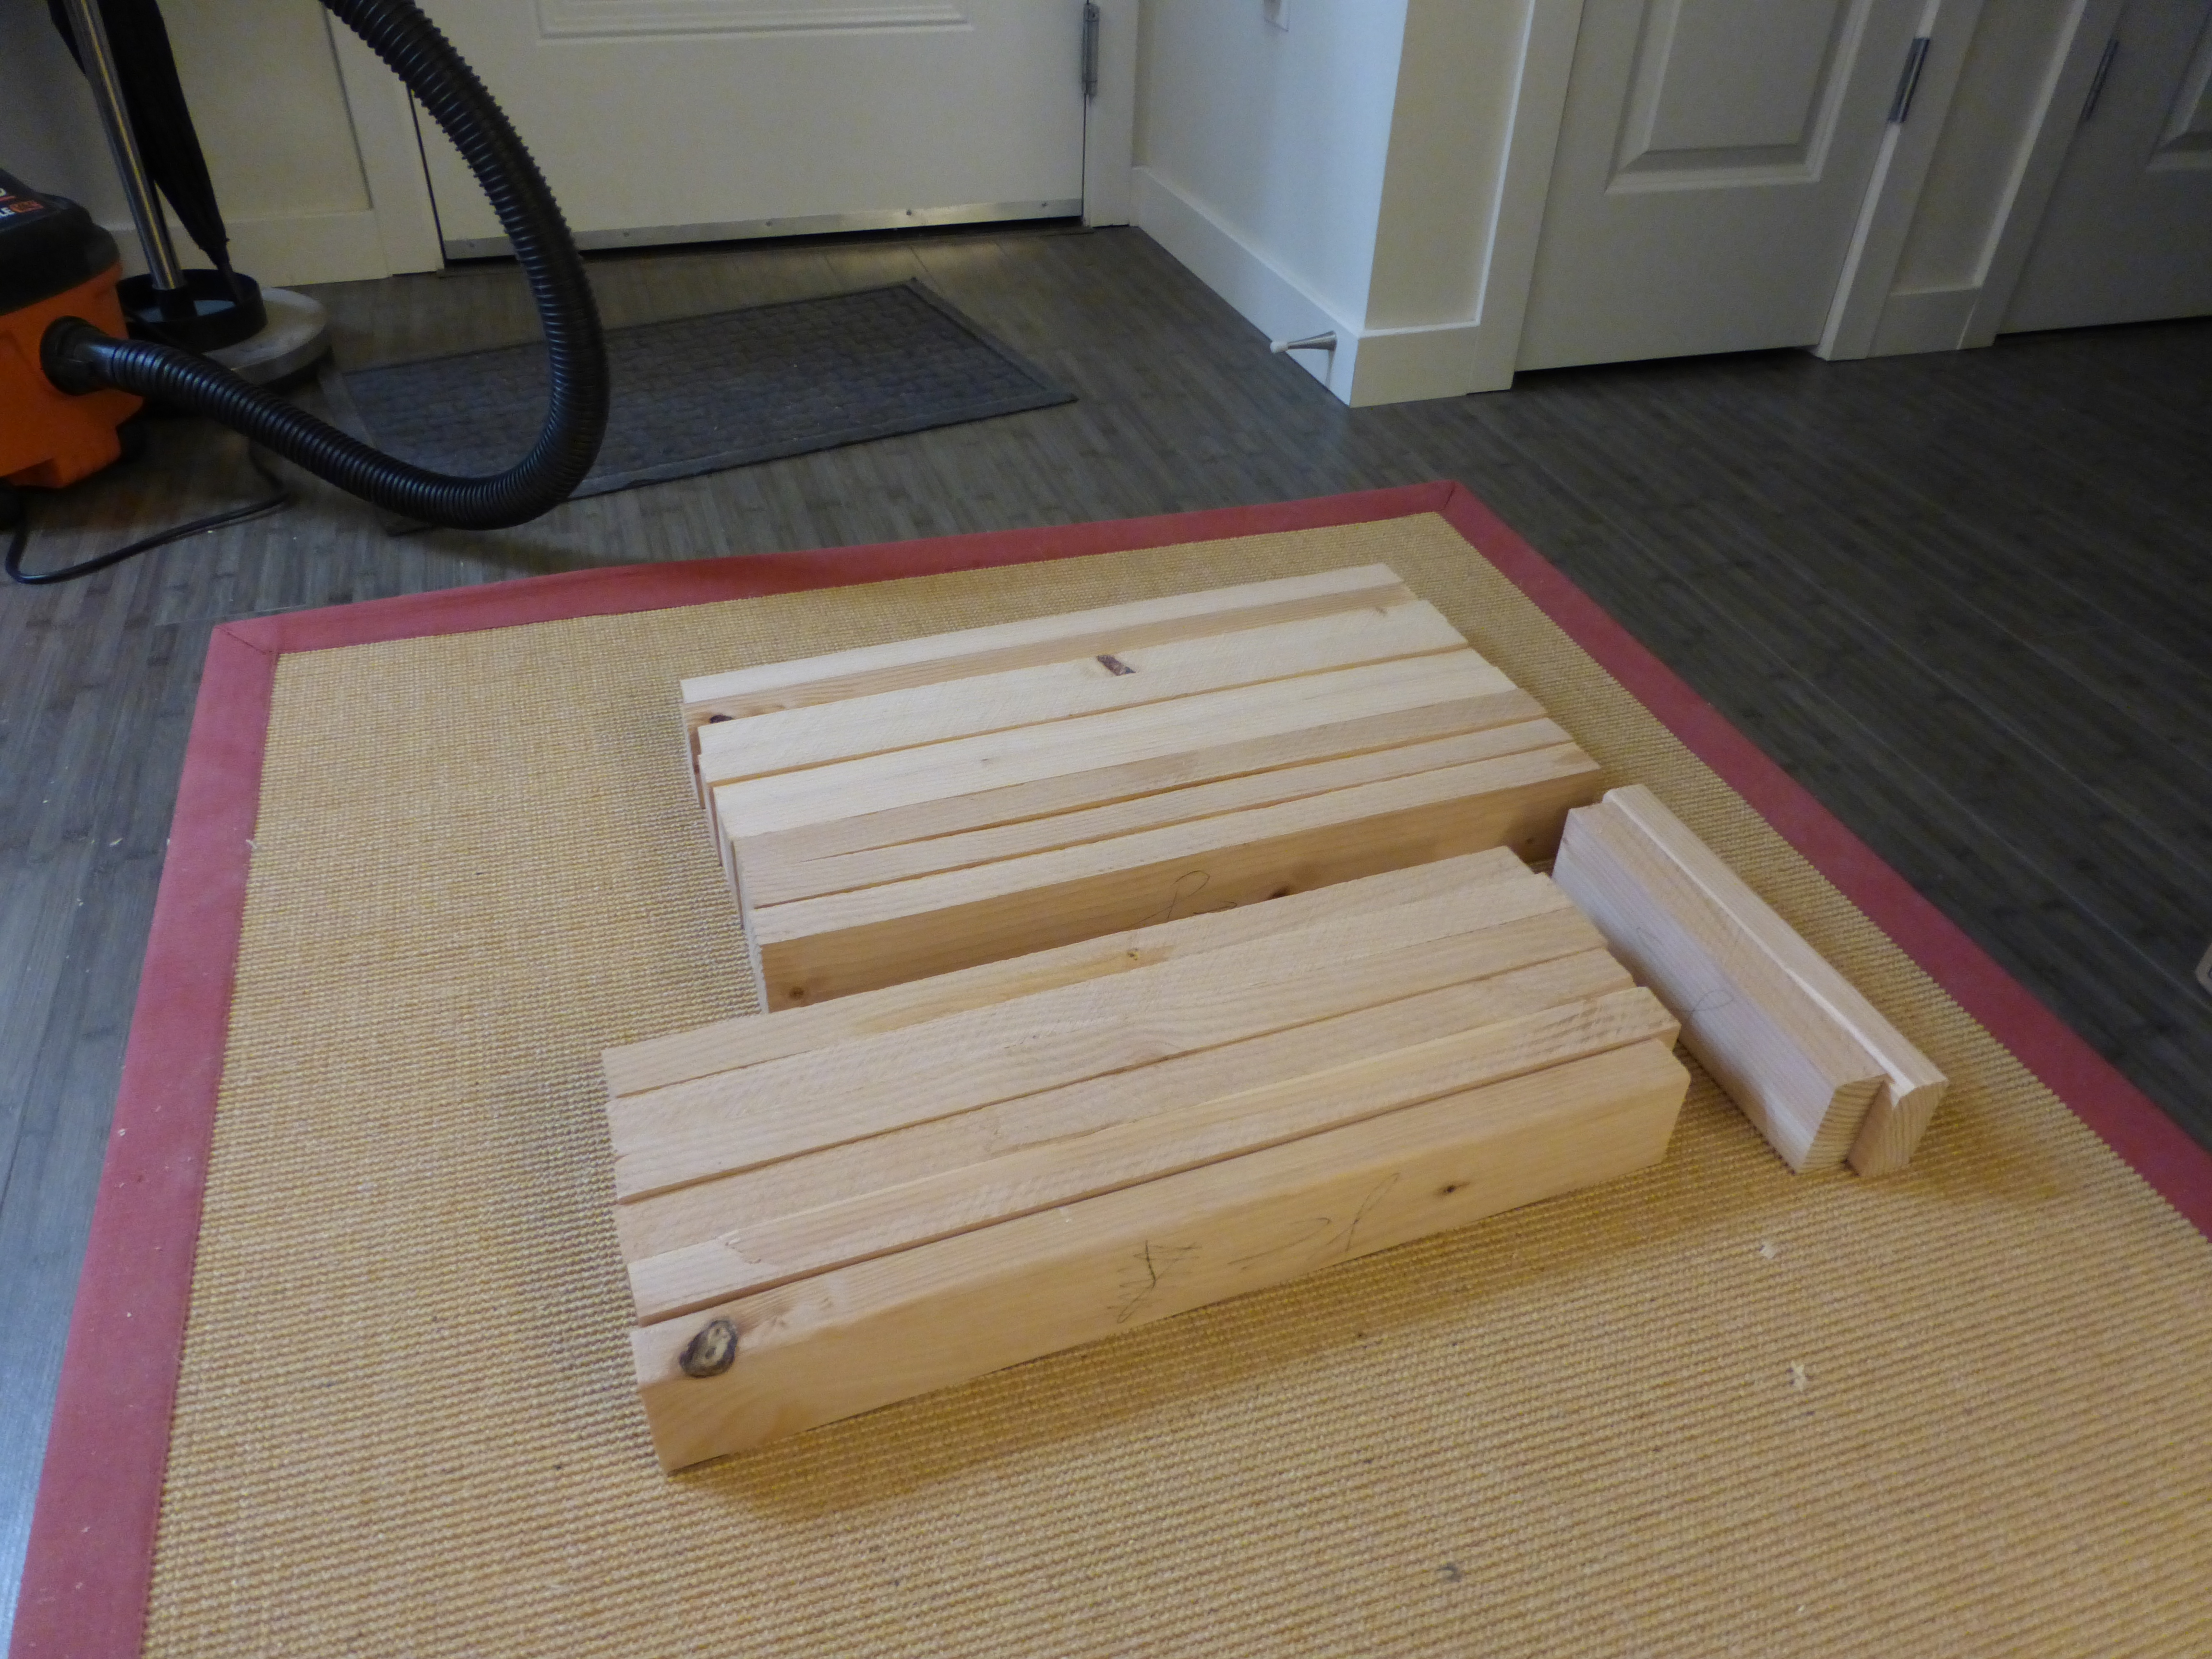
So what can you do, if you want to make furniture in an apartment or a side room and not also accumulate noise violations or the scorn of your family members?  Each situation is unique, but there are some tricks that I employ. And since chopping mortises is the loudest thing I do other than a quick orbital sanding (rarely, if necessary), I will use that as my basic example:

  1. Don’t chop mortises during quiet hours. Apartment buildings usually have a range of hours during the business day where loud noise is tolerated.  So keep your loud tasks to the daytime hours and generally be cognizant of what you’re doing.
  2. Space out louder tasks. You’ve got 8 or more mortises to chop, I get it. Chop two at 10am and then two more at each of noon, 2pm and 4pm. Short bursts of loud banging are less likely to attract attention than sustained pounding.  Use the time in between for quieter tasks, like sawing, planing or sharpening.
  3. Sharpen early and often. Sharp tools mean better results for less effort, so trim down your total mallet blows by keeping your chisels sharp.
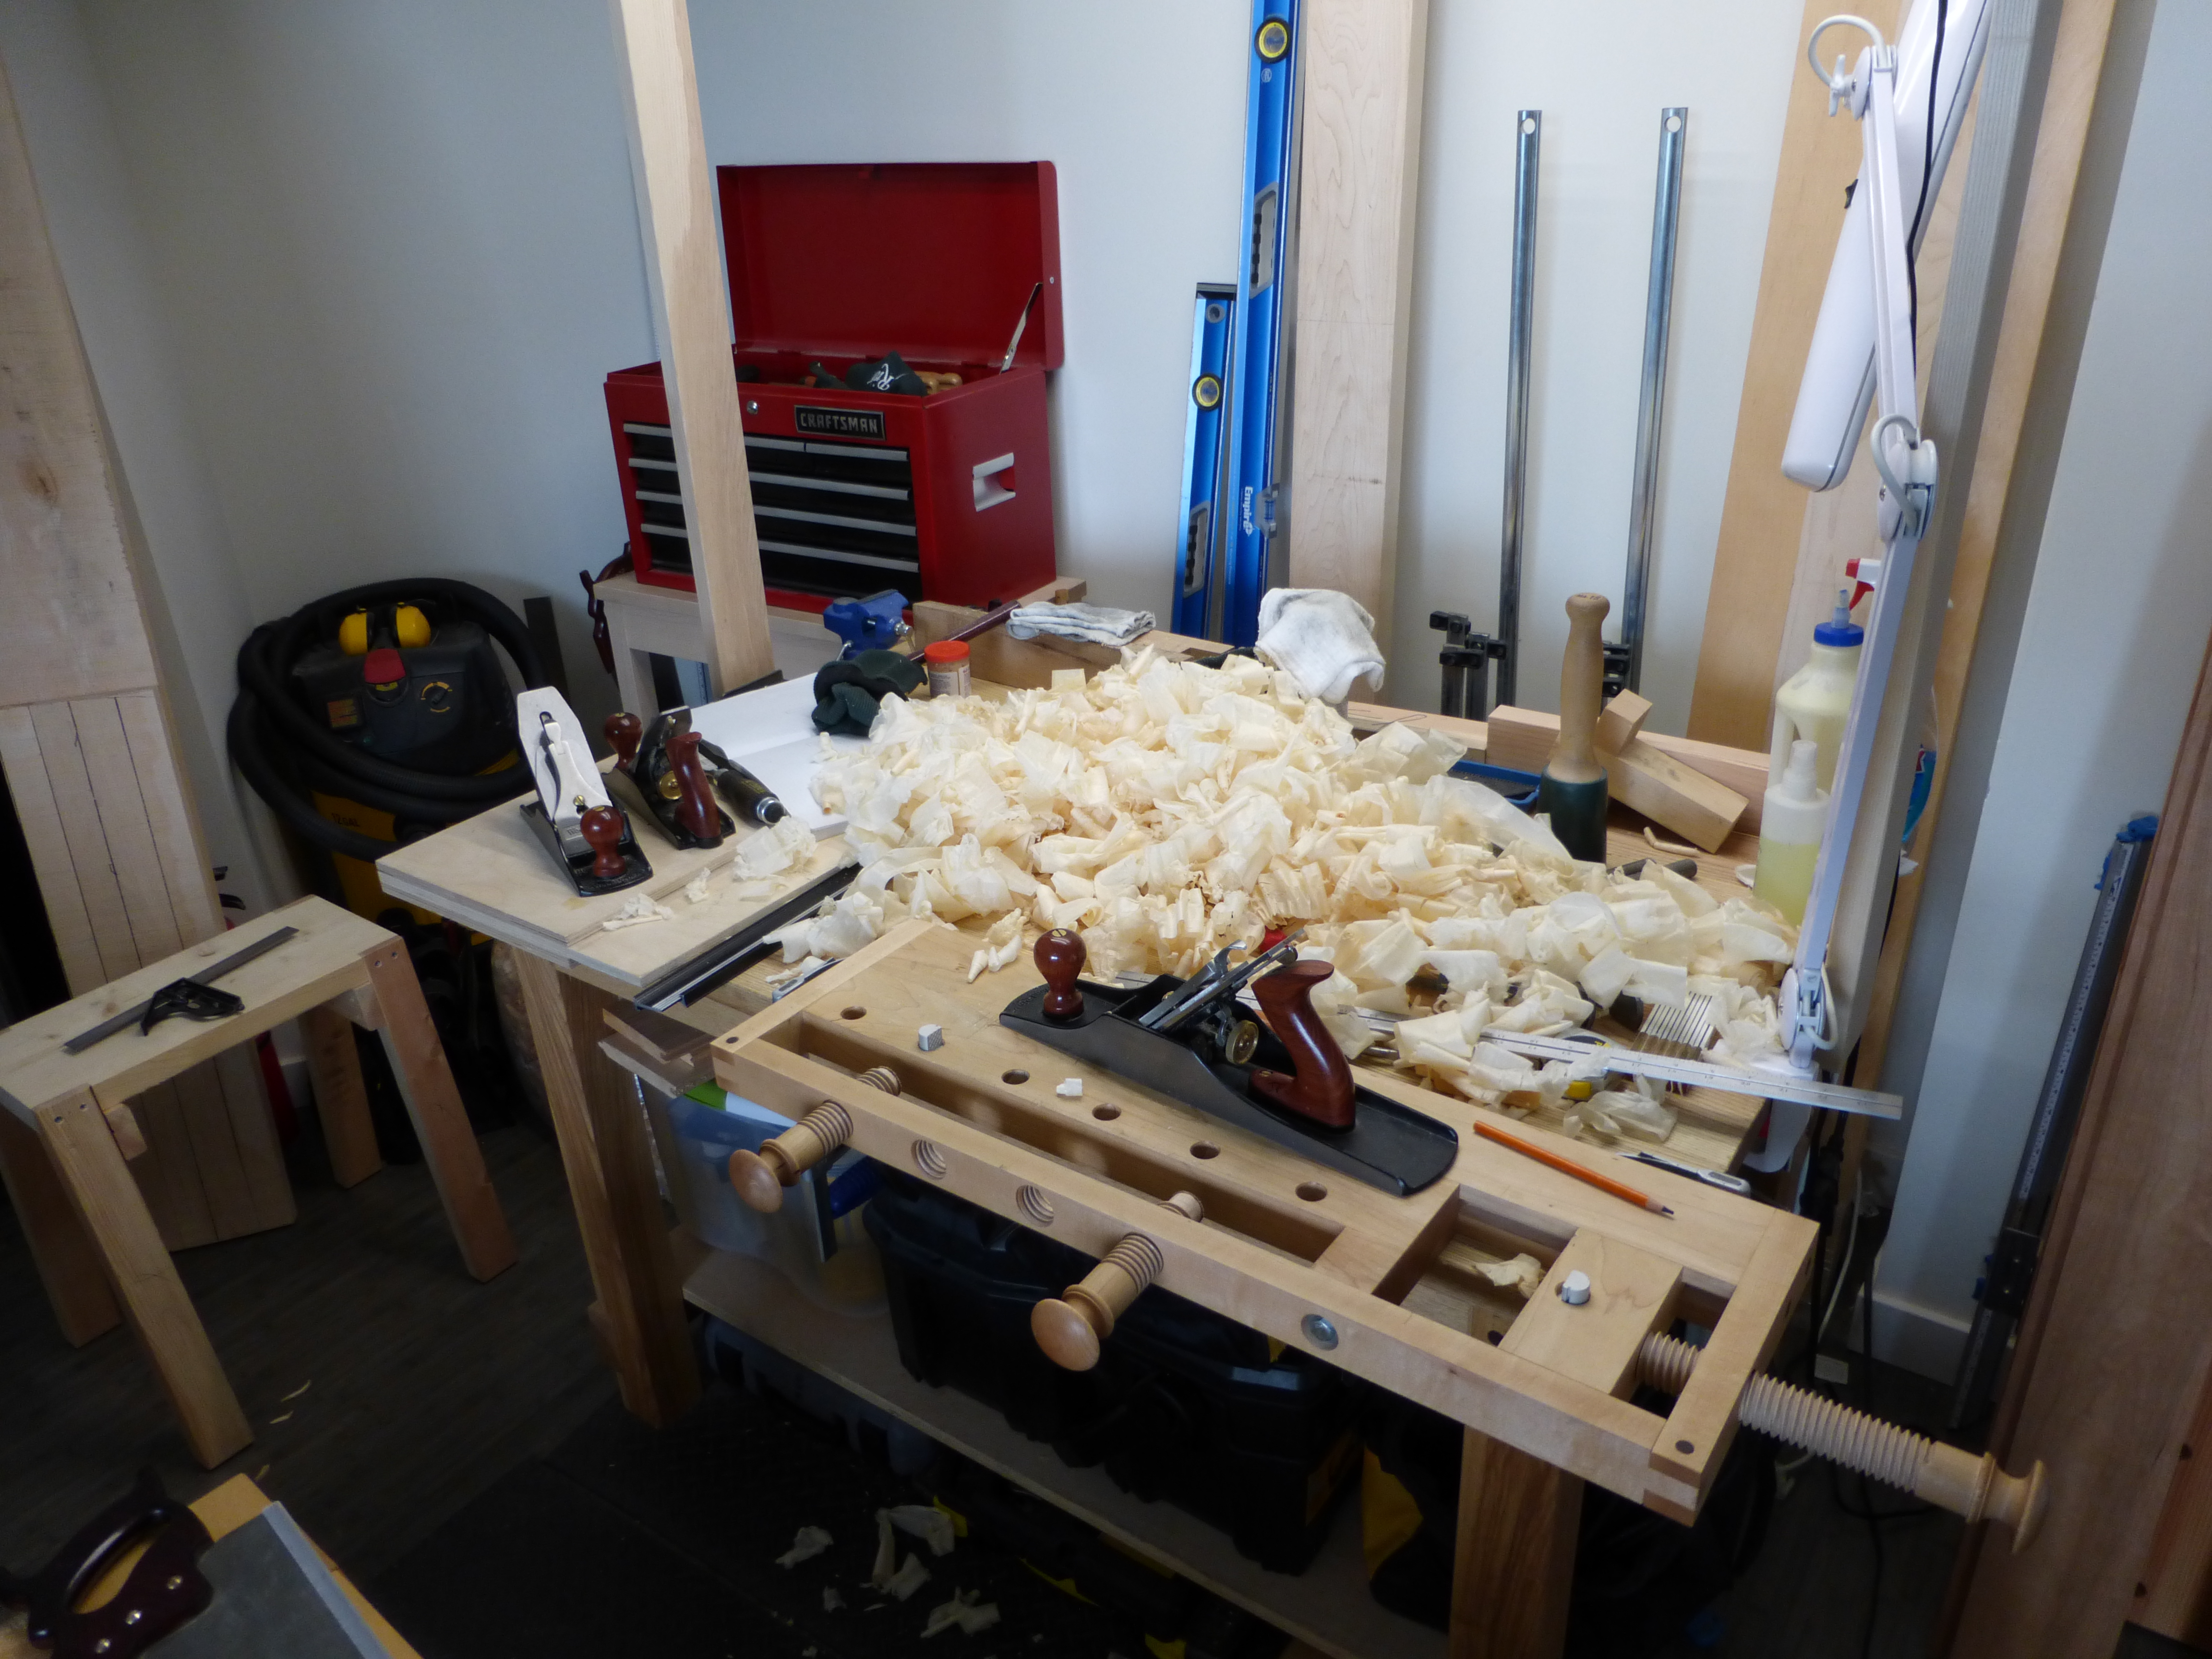
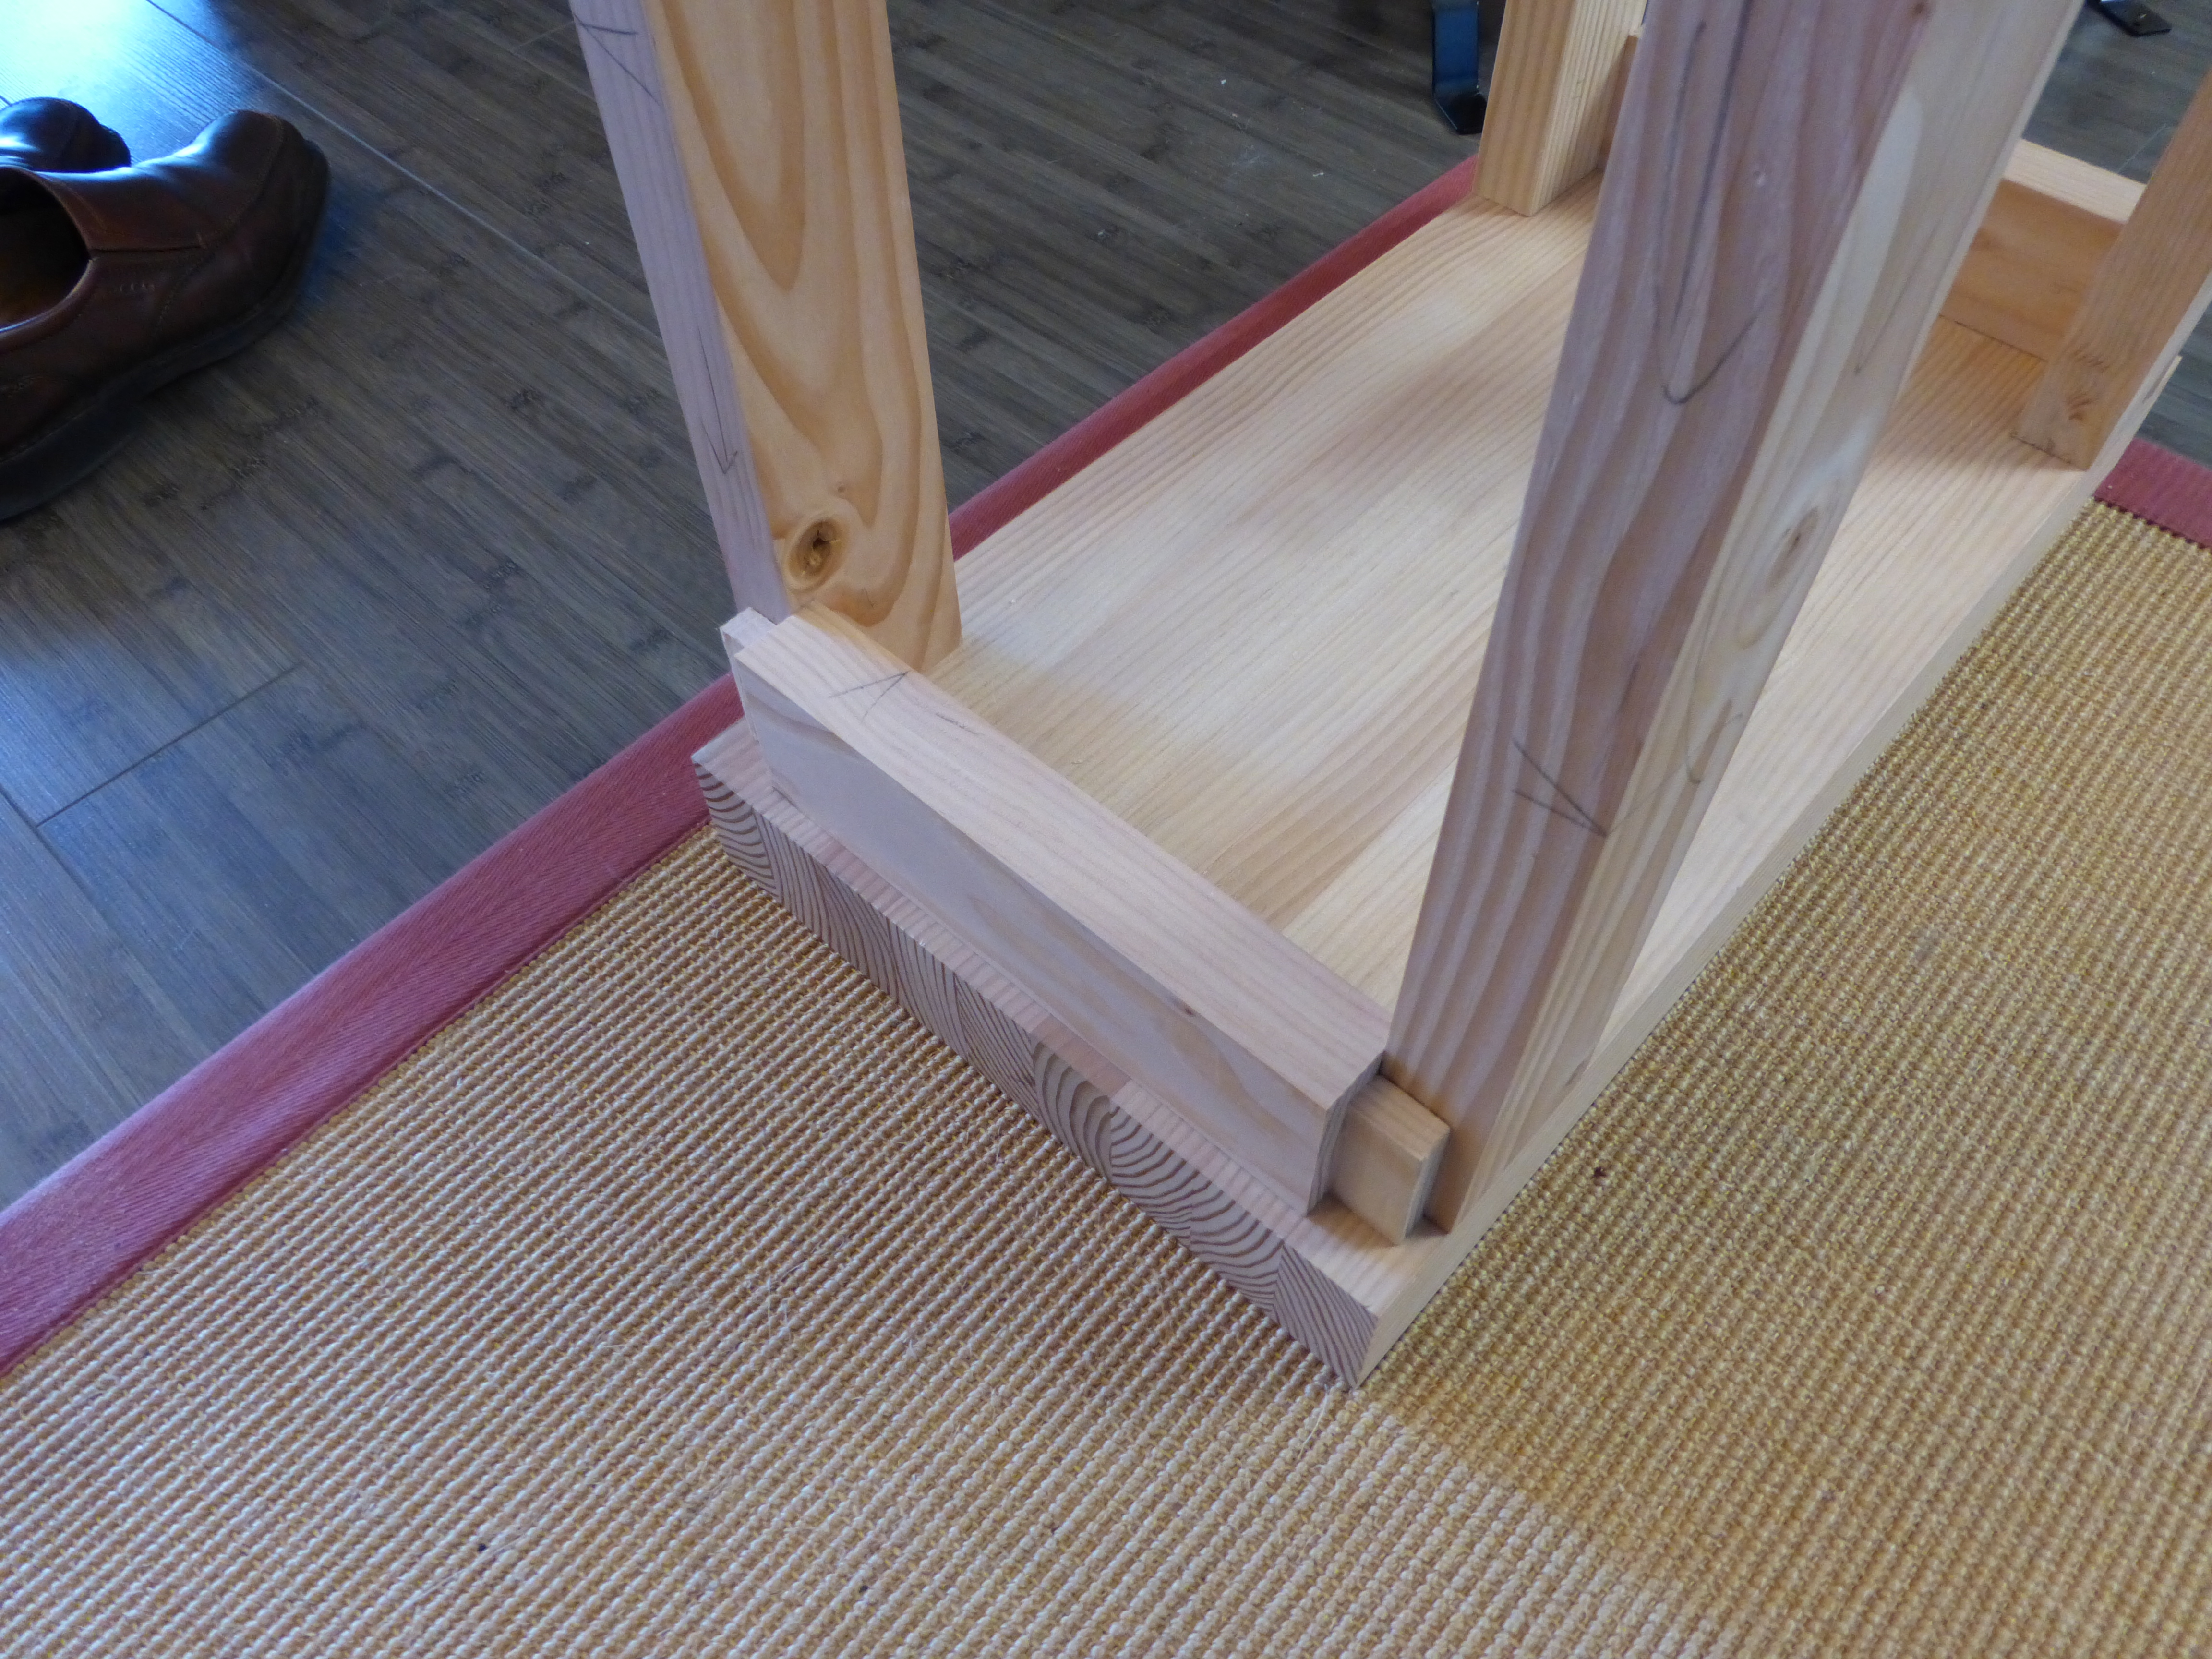
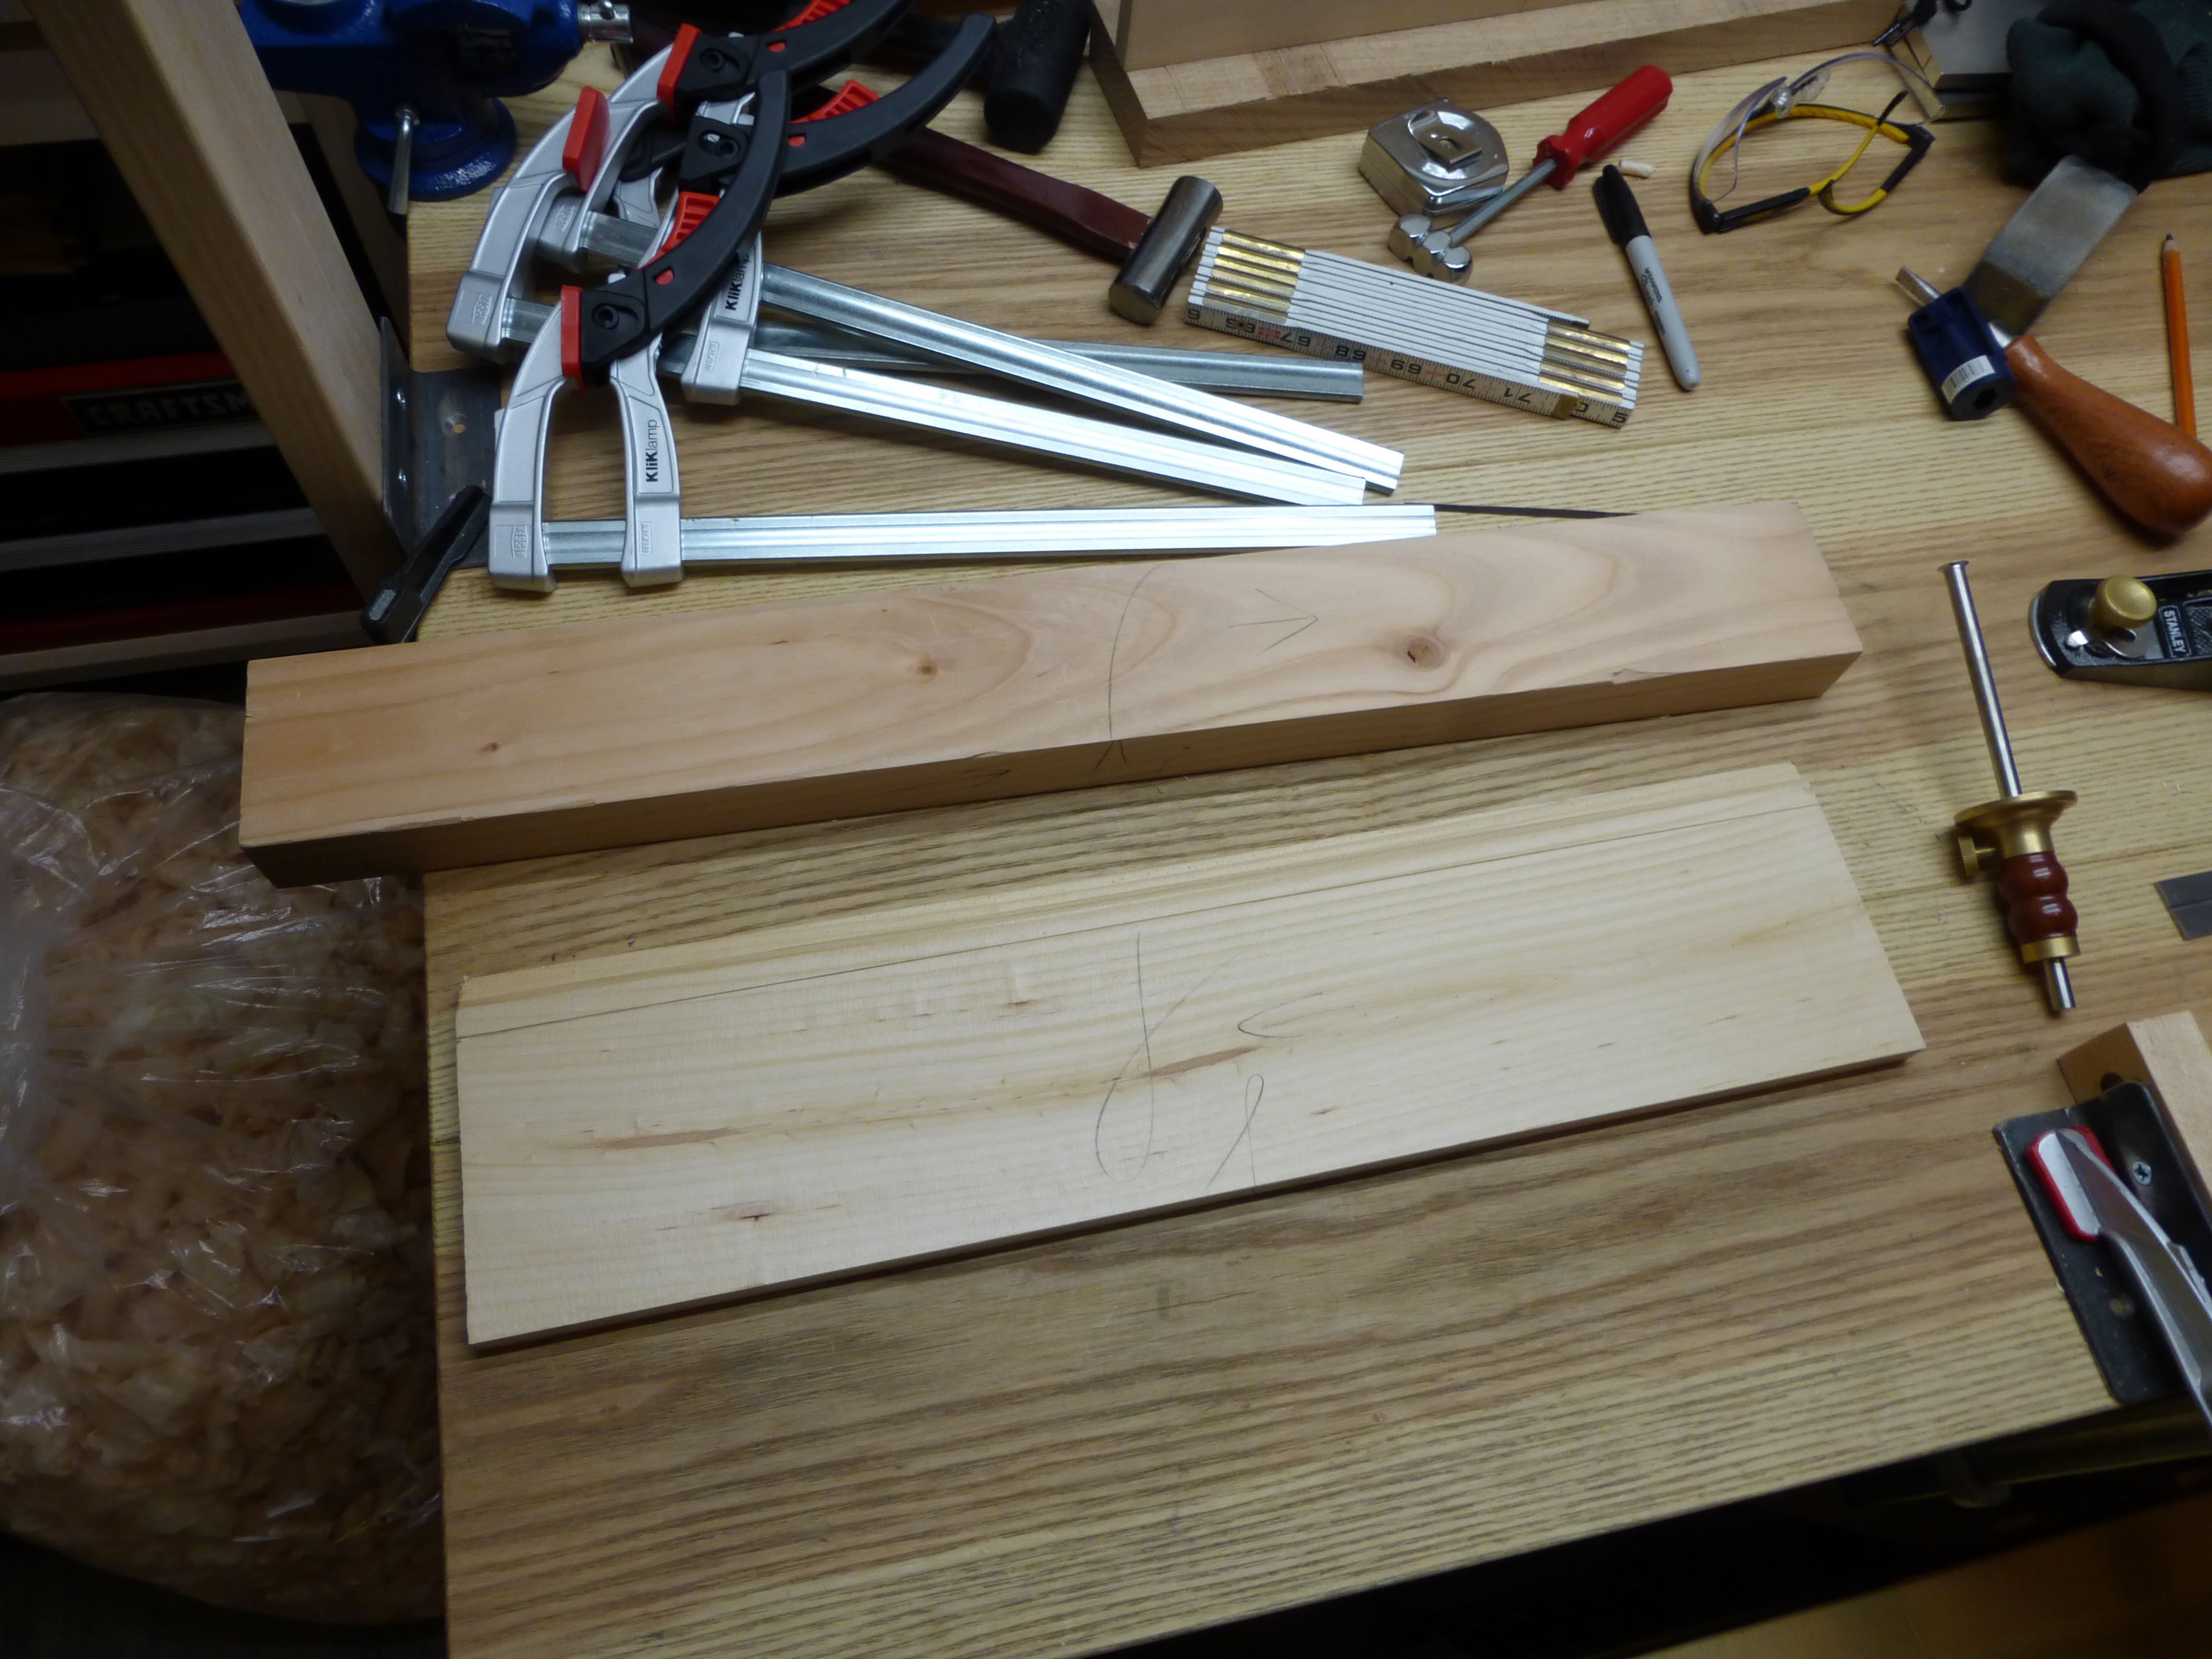
  4. Fully support the work.  Wood vibrates and resonates when struck.  Trying to chop a mortise in a piece of wood that’s partially overhanging the bench top is not very different from banging on an impromptu xylophone.  Fully supporting the piece over it’s entire length will reduce vibration and help deaden any resonance.
  5. Dampen outbound noise.  My walls are solid concrete, but my front door certainly isn’t.  It’s a hollow metal box that works pretty much like an amplifier into the hallway.  In a pinch, I will drape a heavy cloth blanket over my front door (not unlike the soundproofing they put in music studios).  There are commercial sound-dampening tapestries that work even better, if you care to spend the money.

Some combination of these tricks will go a long way toward keeping your neighbors and loved ones tolerant of your furniture-making.  And time spent disputing noise complaints or apologizing to your family is time not spent in the workshop.

JPG

Cleaning Up a Modern Stanley No. 5

What feels like ages ago, I set out creating a list of the first tools a beginner handtool woodworker should acquire. That list has never been far from mind, as it’s the question I get asked most.

I always felt guilty, though, because one of the tools on the list I did not own: a regular No. 5 jack plane. Well, it turns out I did own one; I had just forgotten about it when I culled my tool chest during the move into my new apartment. The regular No. 5 in question is a “contractor grade” Stanley purchased off Amazon. The one with the molded plastic handles. Everyone makes bad tool purchases, but I recently took the plunge and put in the work to make it serviceable, which was less laborious than expected.

Before anything else, I knew I wanted to replace the plastic handle and tote. I cannot thank Greg Droz at http://www.drozsoldetymestanleytotesandknobs.com/ enough for his excellent work and great price point on a replacement tote and knob. Made of rosewood, they fit the modern plane perfectly and have a great look and finish. I highly recommend you check him out.

Almost looks like a real plane, doesn't it?

Almost looks like a real plane, doesn’t it?

Next on the agenda was flattening the sole a bit. Even just by eye, I could tell it was severely dished. Three sheets of 80 grit adhesive sandpaper on a granite slab brought the sole flat enough for the work I’d require of it. Then a bit of polishing with 120 and 180 grit to a dull shine.  I also cleaned any metal shavings out from under the frog and squared it to the mouth as best I could.

I plan to use this for edge jointing thinner stock, so that remaining hollow along the side doesn't really bother me.

I plan to use this for edge jointing thinner stock, so that remaining hollow along the left side doesn’t really bother me.

While I had the 80 grit sandpaper on the stone, I also took a moment to flatten the back of the plane iron. Of all the sub-optimal machining in this tool, the iron was surprisingly flat and only took a couple minutes on the 80 grit then the 120 grit to flatten nicely. The chip breaker mates perfectly after only a few strokes as well.

Both were then polished on my diamond plates.

Both were then polished on my diamond plates.

Finally, it came time for iron sharpening.  Flat as the iron may have been, it certainly wasn’t ground square, so the new 30° bevel ended up a bit wider and certainly more skewed than I would have liked. Perhaps I will break out the WorkSharp 3000 to grind it square to reestablish the full 25° bevel in the future. For now, though, it’s fine.

No OCD here.

No OCD here.

And that was it.  There is a bit more slop on the depth adjustment knob than I am used to and the lateral adjustment lever feels cheap, but all in all, not bad for what essentially amounts to a found tool and 90 minutes of work.  I also should move the frog forward a bit and square one side if I ever plan to shoot with it, but for now the plane is functional and comfortable to use.I took some basic shavings on a scrap of hard maple to test it out.

No chatter, but there was some skudding easily solved by beeswax.

No chatter, but there was some skudding – easily solved by beeswax.

I’m not saying this will become an everyday plane.  But it is serviceable now and will be used mostly for edge jointing and flattening thinner stock. The tool is drastically lighter than my modern bedrock-copy No. 5 1/2 (and even my No. 4 of the same brand), which should give me better control on those delicate jobs.

All told, including the purchase of the new knob and tote, the plane came in just over $100. I don’t think I would go this route again, considering I could either pay just a bit more for a solid mid-grade brand or put just a bit more work into a restoration project from a flea market or estate sale. But the tool was on hand, and sunk costs are what they are, so I’m happy with it.

So now I have functioning versions of each of the tools on my list of beginner hand tools.  I plan to build a project using only the tools on that list and see if I can in fact practice what I preach.

JPG

Tenon Details

Mortise and Tenon joint is the first woodworking joint I learned to cut.  At first, it was tenons by hand and mortises by plunge router. Closed mortises, roughly half the material deep, and stub tenons, with four shoulders. Everything co-planar and nothing fancy. Words like “reveal” and “haunch” were unknown to me.

Even the picture is poor quality.

One of the first joints I ever cut.  Even the picture is poor quality.

After a few months of voraciously consuming woodworking scholarship (mostly via YouTube) and much trial and error, I knew enough to plan a specific reveal for a joint. A nice roundover leading to a slight reveal can make a world of aesthetic difference and can be accomplished by simply varying tenon shoulder depth.

This is a vanity sink I built for my brother's first house.

The vanity sink I built for my brother’s first house.  That’s the matching footstool on the right.

Later, I learned to always cut mortise and tenon joints to align the long-grain gluing surfaces (and maybe even do a double mortise and tenon) for maximum strength. This allows for different board orientations (and more delicate-looking frames).

Later still, I discovered the haunched tenon, and I’ve been using it as much as I can ever since.

They all basically look like this.

This is the angled-leg bedside table.

I understand the true purpose of the haunch. It permits maximum tenon height (for maximum resistance to twisting force) while still keeping the mortise closed at the top (and thereby stronger than an open mortise, such as a bridal joint). But I also appreciate the economy of the joint. The haunch means I have to chop less mortise overall without compromising joint strength. On a rectangular table with eight mortises (of 4 inches or so each), a half inch haunch saves me a full mortise-worth of chopping.

I also rarely do full length tenons, preferring a bottom shoulder of some depth (usually the width of the mortise, because a chisel is a handy straightedge) to hide any roughness of the mortise hole. Assuming a bottom shoulder of another half inch, that’s a whole extra mortise worth of chopping saved in a single project. And with the haunch on the top of the tenon, I’m only cutting three shoulders – maybe even only two shoulders, if the material is thin enough.

All this time savings means I get more done in the shop with less effort.  And best of all, none of these “shortcuts” ever show in the finished piece.

JPG

An Obvious Downside

I’ve mentioned a couple times that my main source of cheap pine is off-cuts from tongue-and-groove pine siding.  I’m running a bit low, but I’ve managed to make a three-foot tall stack of 36″ to 48″ long boards last for most of a year.  While the material is fluffy and easy to work, it isn’t exactly stable, and most of the time, is significantly twisted and cupped (thankfully, not often bowed).  This presents an obvious problem: final board thickness.

Before preparation, any given piece is only about 11/16″ thick, and the “raw” board can have almost 1/8″ of cup/twist or more.  This means that after flattening and straightening to S2S, I’m often a barely a shade over 1/2″ on some parts of the board.  Passing the piece goes through the thicknesser takes it down to a hair over 1/2″ all around at S4S.

P1000072

This pile of shavings is from S2S’ing only two 19.5″ x 4″ boards.

This is why I’ve gotten in the habit of only S3S’ing these boards when the project can allow for it.  For example, the bottom shelf of the toy workbench was made of four such boards.  The underside of that shelf will never be visible, so I left the extra mass in the boards by only S3S’ing them.

P1000066

That’s a machinist granite slab adding clamping pressure.

I also use this trick when I need an inside tenon shoulder or when a board is too wide for my thicknesser, in each case where the inside face will otherwise be concealable.

This trick isn’t available in some applications, however.  For instance, I can’t attach drawer runners to the twisted inside face of a side rail (like for the angled leg side table) and the underside of a tabletop should be trued to mate well to the table frame.  I guess you could technically use rabbets to solve each problem, but that seems like even more work than just thicknessing properly.

I haven’t disassembled much antique furniture, but I find it difficult to believe I’m the first person to cut this corner when possible.  I think this shortcut thing is becoming a running theme.

JPG

To Make or Not to Make

As I’ve mentioned before, one of the things that keeps me from splurging on new tools is space. Case in point, I’d love to own a plow plane, but I have absolutely no idea where to store the thing so it won’t get dinged constantly.

Maybe I could make a lidded box to keep it safe.  Maybe I’ll make a plow plane myself so I don’t care if it gets dinged. Maybe I’ll just suck it up and keep using a compact plunge router.

JPG

Shortcuts That Make Sense

I think I first heard the expression when I read the Fellowship of the Ring for the first time as a teenager:  “Shortcuts make long delays”.  I always took that expression to heart and I try not to cut corners in my woodworking (other than breaking the arrises). Sometimes, though, shortcuts make sense.

For instance, I rarely cut through tenons.  Unless they are for a specific design element, or the wood is particularly thin in the first place, through tenons just aren’t necessary  They look cool, and I guess a through tenon might add strength in the right situation, but why do the extra work if you don’t have to?  For that matter, why cut a full length stub tenon when a shorter stub tenon will do just fine?

Side rails to keep the legs rigid and square.

Test-fitting the side rails for tight fit between the shoulders and the legs.

On the mini workbench, I had cut some 1.125 inch tenons on the side rails (see above).  Then I looked at the thickness of the legs themselves (1.5 inches) and the position of the rails (flush to the underside of the bench) and determined that a .75 inch stub tenon would be more than sufficient.  A .75 inch tenon would translate into a mortise that I could chop in a single pass back and forth, saving time overall.  So I hacked half an inch off each of the tenons.

So I hacked half an inch off the tenons.

It’s not lazy; it’s efficient.

The side rails will still do their job  with the shorter tenon (i.e, keeping the legs rigid and square front to back), but that’s more a function of the tight fit between the tenon shoulders and the leg than a function of the dept of the mortise.

Stub tenon or not, that's a tight fit.

Stub tenon or not, that’s a tight, square fit.  And yes, I keep my miter box on the floor.

Speaking of shortcuts, I have also decided I’m not going to mortise the front and back rails into the legs.  Instead, I will half-lap and screw them into the insides of the legs, mainly because I’d like the ability to remove or re-position the slatted shelf if necessary in the future.  Mortising those rails into the legs would make that much harder.  Plus, it will save me a bunch of time (and I really enjoy the ease of cutting half-lap joints).

So next time you’re planning out a woodworking project, think long and hard about any available efficiencies.  I’m not saying scrap the corner dovetails on your tool chest in favor of nailed rabbet joints (although that would be perfectly fine if done correctly).  But I am saying don’t go overboard if you don’t need to do so.

JPG

Straight and Square is Not Just for Wood

Working on a couple different planing-intensive projects has brought to my attention that I had somehow ground most of my plane irons and chisels out of square.  Again, I blame my Work Sharp 3000, which I really like but have never really gotten the hang of fine tuning.  If anyone is aware of a how-to for micro-tuning a Work Sharp 3000, please send me the link.

So, the last couple days I have been hand-grinding everything back into square.  I had to dust off my coarser diamond plates, as well as a wide-wheel sharpening guide that I’ve had for a long time, but abandoned a while ago when I picked up one of the eclipse-style sharpening guides.  My reasoning was the narrower wheel on the eclipse-style guide would make tipping a plane iron (to create a camber) easier.  It also apparently made tipping a chisel without realizing it easier.

Wide wheel = stability.

I also made another bench-hook style holder for my plates because I am sick of wiping slurry off my Milkman’s Workbench.

So going back to the wide-wheel sharpening guide with greater stability makes sense for re-grinding square.  I could certainly do it with the eclipse-style guide, but I’d rather eliminate user error altogether (which got me into this mess in the first place).

I do add micro-bevels by hand, though, so there is plenty of opportunity for user error slightly later in the process.

JPG

Through the Gauntlet

Sticking with the theme from Michael’s guest spot last week, let’s talk about preparing rough stock for joinery.

One of my most favorite things to do in the world is plane a piece of wood S2S (i.e., Surfaced Two Sides) by hand.  Going from rough stock to two perfectly straight, perfectly square sides entirely by hand is such a joy.  A face mark, then a square mark and some arrows to indicate grain direction.  Onto the next board!

The pile of wood grows almost as quickly as the pile of shavings.

And the pile of boards grows almost as quickly as the pile of shavings.

One of my least favorite things to do in the world is plane a piece of wood S4S by hand.  Going from two sides perfectly straight, perfectly square to four square entirely by hand is such a pain.  And that is why I still own and often use a thickness planer (it lives at my parents’ house), even though I do mostly hand tool woodworking.

Ready to load into the car.

Ready to load into the car.

On thicker stock like the above Douglas Fir which is for a miniature workbench for my niece and nephew (more on that another time), it is so convenient to send the S2S boards through the thicknesser to clean up the remaining sides.  Then just a quick smoothing plane to take out any plane marks and I’m good to go.  On thinner stock, I’ll actually thickness just one face (making it S3S?) and use the traditional method to square the final side.

Top piece is now S4S; bottom piece is now S3S.

Top piece is S4S straight out of the thicknesser; bottom piece is S3S(?) and ready for ripping/final squaring down do the gauge line.

I quickly came to realize that when thicknessing it’s imperative to know grain direction.  Tear-out from power planing is so much worse than tear-out from all but the heaviest set hand plane. That’s why I’ve gotten into the habit of indicating grain direction on all my S2S boards.  Keeping track of which way to pass a board through the thicknesser can mean the difference between a light pass just to square up a side and having to mill down another 1/4 inch to get to clear grain (or, even worse, having to mill another board entirely).

My thickness planer may be an hour and a half round trip drive away (plus the time for milling), but it ultimately saves me time and frustration.  And that is good enough for me.

JPG

A Rectilinear Corner

Editor’s Note: today, we’re doing something a bit different.  Michael, a friend, fellow-woodworker and fellow-lawyer, whom I have known for literal decades, has graciously agreed (after much prodding by me) to write a guest spot for TheApartmentWoodworker.com.  I think Michael brings up a prescient point about the modern woodworker.  In the past, many artisans would have contributed to a single piece of furniture.  Nowadays, hobbyist woodworkers are convinced they must be jack-of-all-trades craftspeople.  This is certainly not true, and there is great value and efficiency in outsourcing certain project parts. I also learned a new word (rectilinear). Thank you, Michael!
JPG
– – –
Like James, I woodwork in a small shop in my spare time. I use mostly handtools: not only because I enjoy them, but because, for me, they’re simply more convenient. I believe in using the most efficient tool for the job, and when the job involves cleaning up after yourself, and not tracking dust through the rest of the house (you know, the one your partner just cleaned), then handtools quickly score points on the efficiency scale.
But when the snow melts, and I can pull out a contractor’s table saw and rip down some boards in the yard, the efficiency scale leans the other way. Could I have done the job with handtools? Sure, but who cares? This is a hobby and I only have a limited time to do the things I enjoy, one of which is creating beautiful pieces of furniture.
I love the subtle camber on the front front (I hope that not just camera bend).

Editor’s Note: I love the subtle hollow on the front frame (at least, I hope that’s hollow and not just camera distortion).

That’s why I am a firm believer in outsourcing some woodworking tasks when it makes sense to get the project done. For example, I don’t turn my own legs. I don’t have a lathe, or have the room for one.  I’ve never even tried turning. Maybe I will someday, but for now, when a project calls for a turned leg, I go to places like tablelegs.com. There are other excellent websites as well, where a skilled turner will make you any style leg you want – from cabriole legs to bun feet. I can usually find what I’m looking for, or at least something close that I can modify to fit my project. The quality is great, and consistent.  The point is, my lack of shop and skills shouldn’t pin me into a rectilinear corner.
Bun feet!

Editor’s Note: Bun feet!

Sure, I could take a class at the local woodworking club and eventually develop the turning skill to do it myself.  But I want to actually finish my project this decade. Again, I say who cares?  And by outsourcing I am supporting other woodworkers.
But please don’t order your legs pre-mortised.
Don't be lazy: haunch your mortises.

Editor’s Note: Don’t be lazy: cut (and haunch) your mortises yourself!

Where to Put It All?

It’s increasingly apparent that my little apartment woodworking experiment has hit a major snag. No, not sheer lack of time because of my hectic work schedule (I find the time). Not even lack of effective work holding (I’ve got that covered). My biggest problem right now is lack of space. Specifically, lack of tool storage space. I’ve pared away everything I can. There is simply nothing more to cull from my on hand tool collection and I’m still short on space.

Workshop Banner

Filled beyond capacity! Like a trendy nightclub!

I know I’ve been lamenting the space constraints in previous posts, but I’ve finally decided to do something about it. No, not build a TARDiS. Beginning this weekend, I am doing the next best thing: a major workshop layout redesign. The hope is to find enough floor space for a standing cabinet that can store larger, less frequently used tools and free up workbench and tool chest space for more commonly used items. All without cluttering (further) the travel lanes in my apartment.

I haven’t decided yet about the type of standing tool cabinet (store-bought or custom made [by me]). Given my stance on casework, and the need of an immediate solution, I will probably go with store-bought. Seems to be my new theme.

Wish me luck!

JPG