I, like most woodworkers, have a Lee Valley/Veritas wish list. For some time now, just sitting in the “Purchase Later” section of my shopping cart, has been a skew rabbet plane. In fact, it is next on my list of impulse purchases. Or at least it was, until today. Because I’ve decided to make my own rebate plane instead.
Well, two, actually.
If you haven’t already, I highly recommend creating a free account at Paul Sellers’ Woodworking Masterclasses. There are paid project videos, but there are also free-to-watch how-to videos on a wide range of topics. One installment in the “Poor Man’s” woodworking tools series is a rebate plane that uses a chisel for a plane iron.
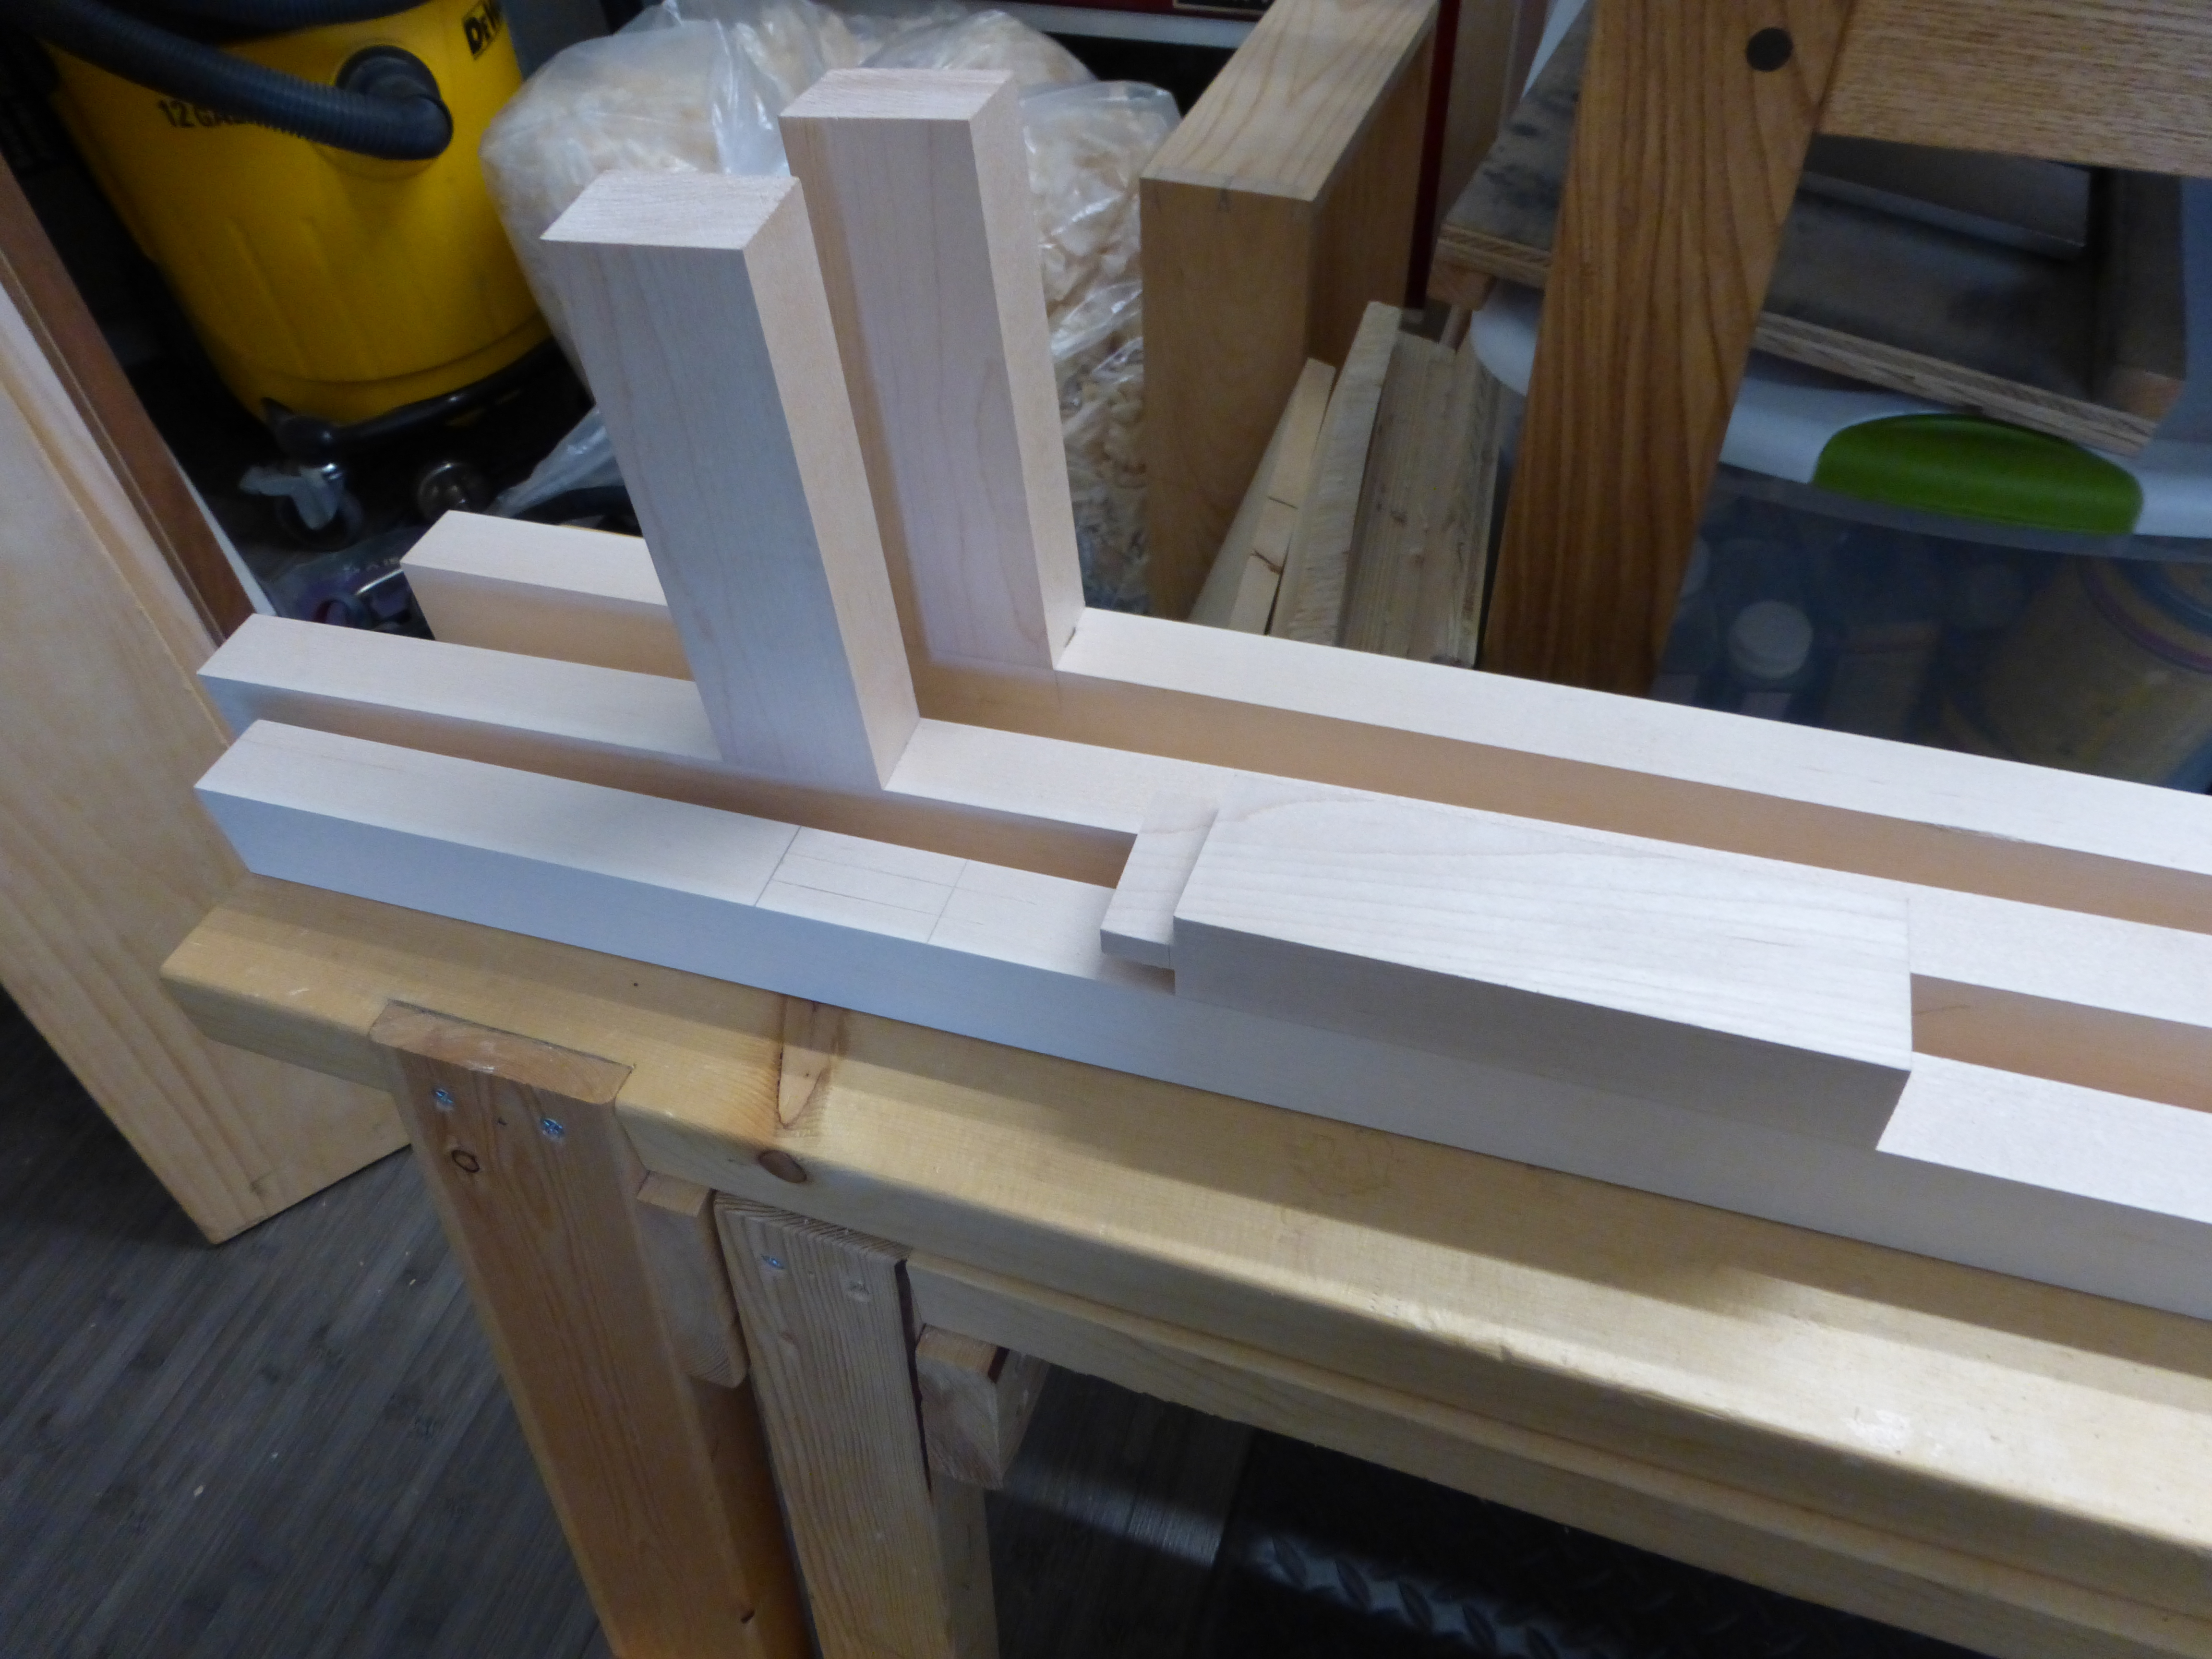
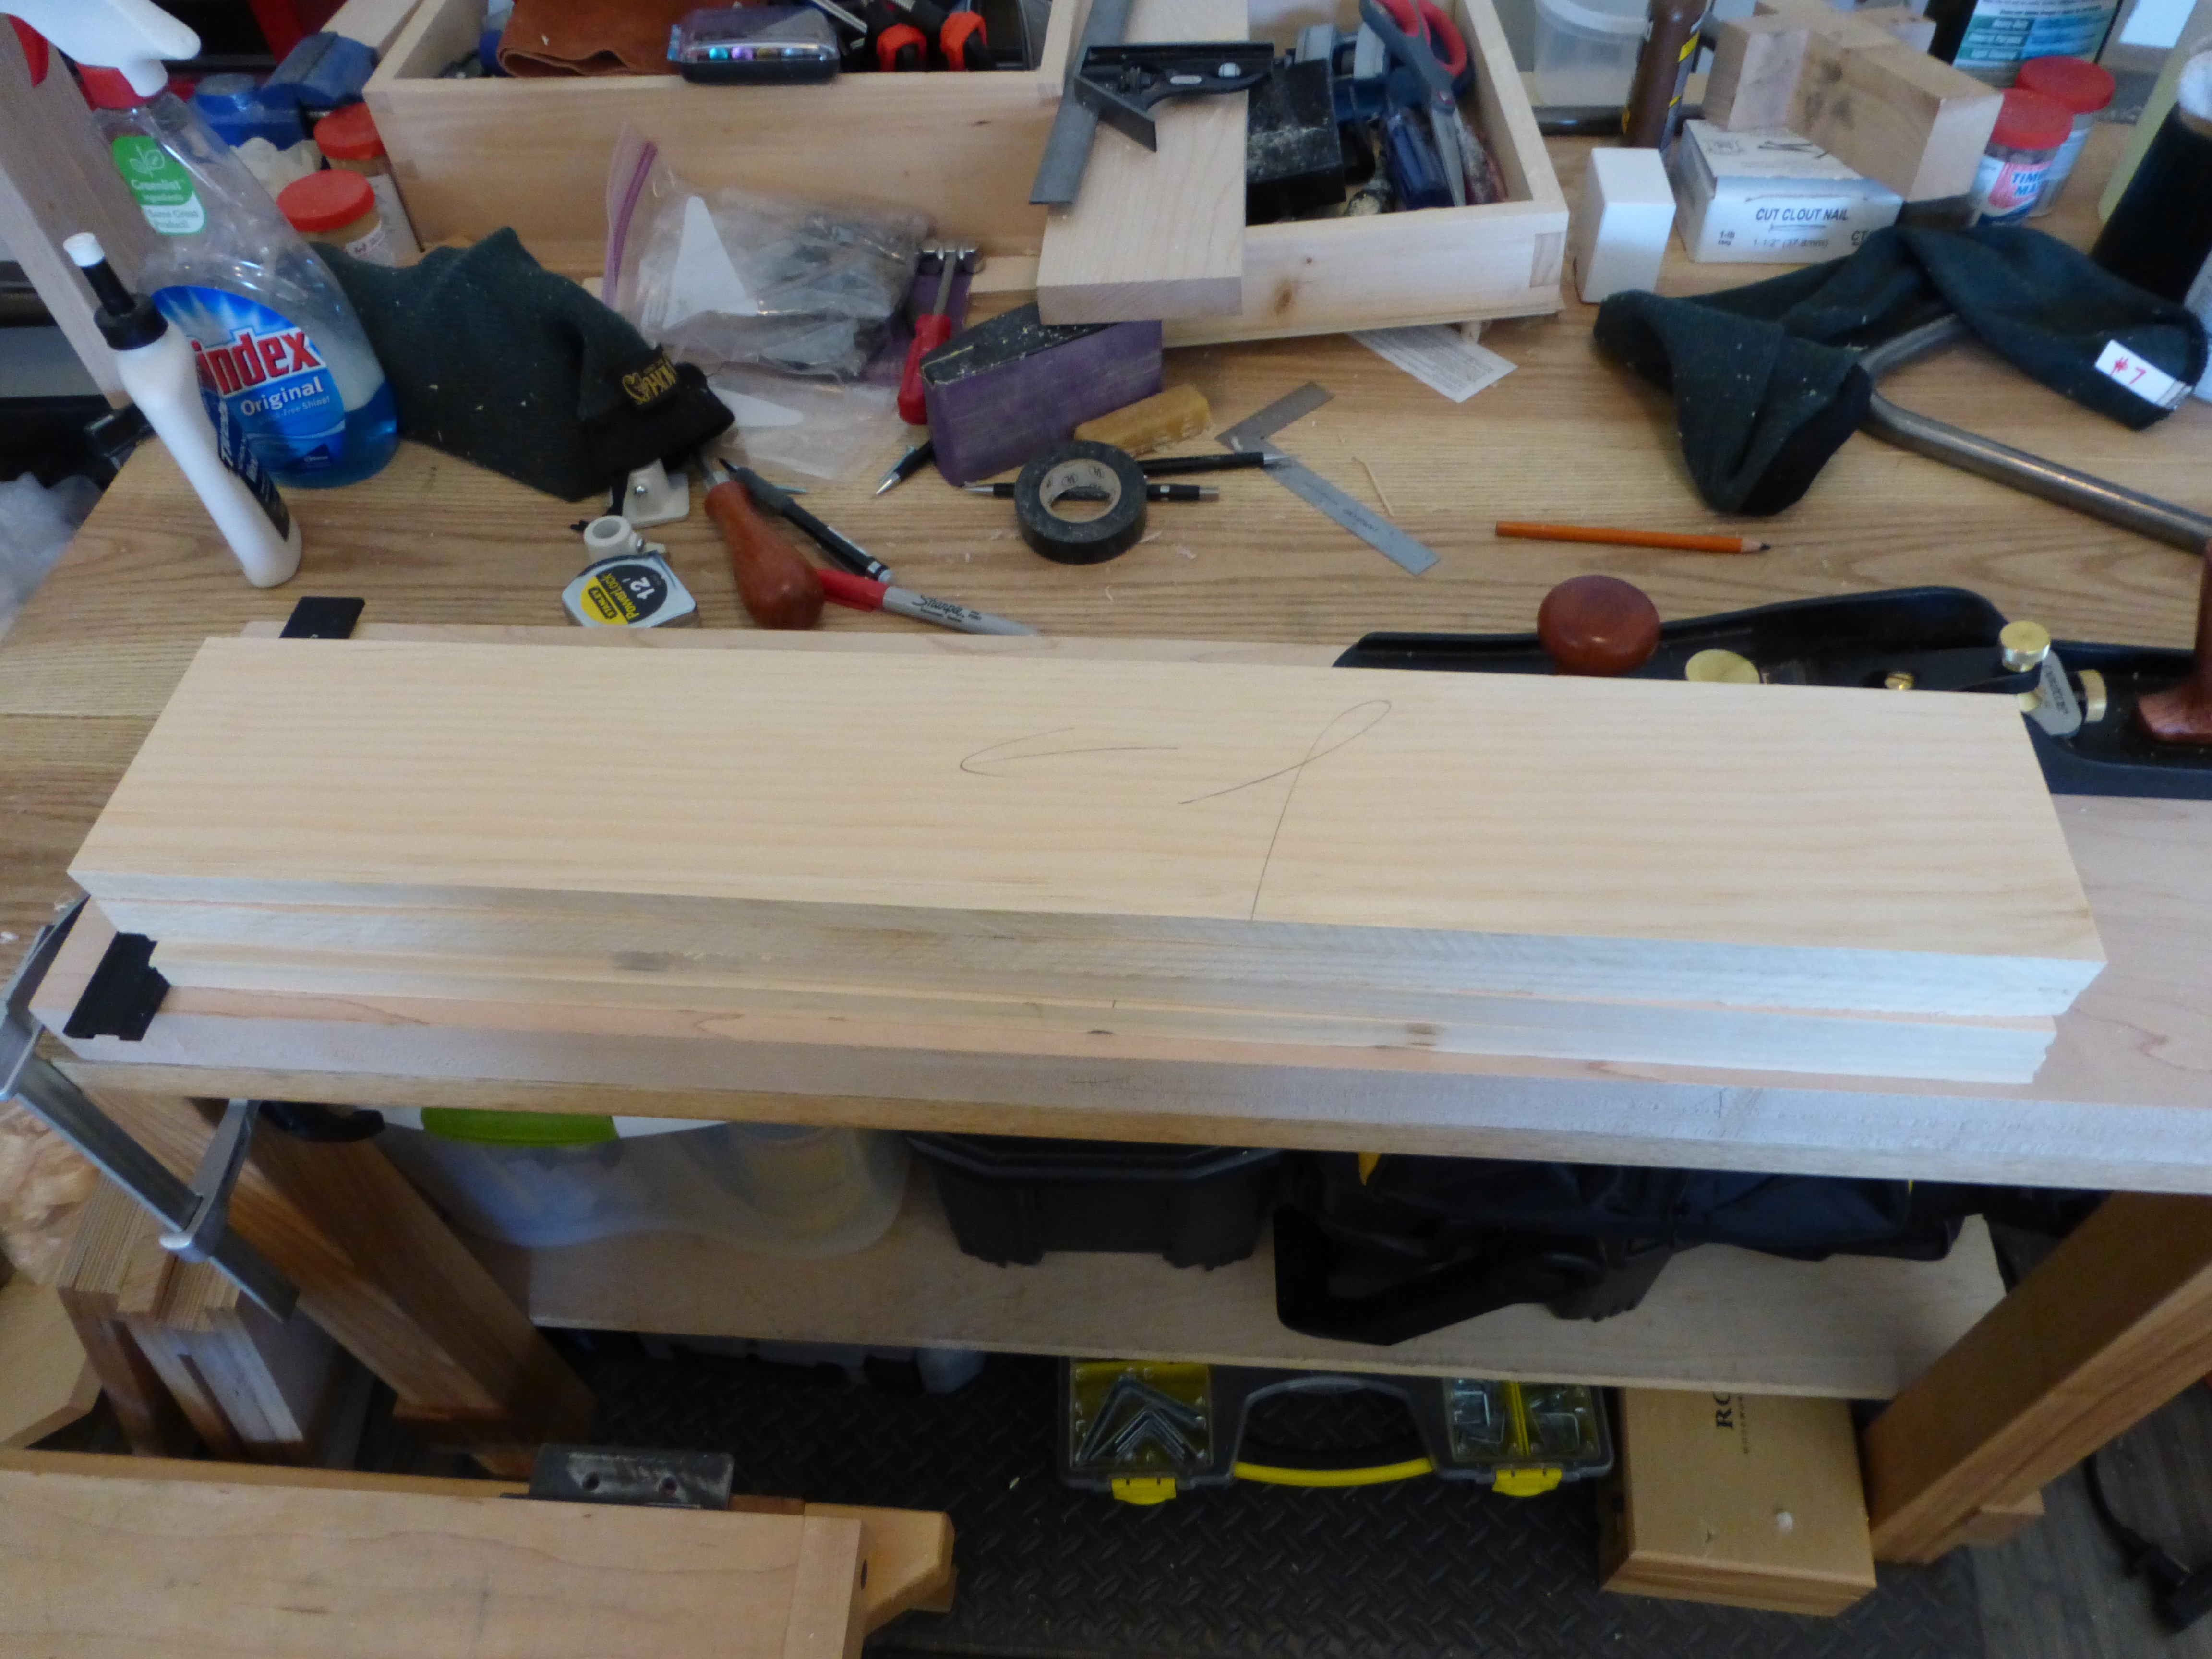
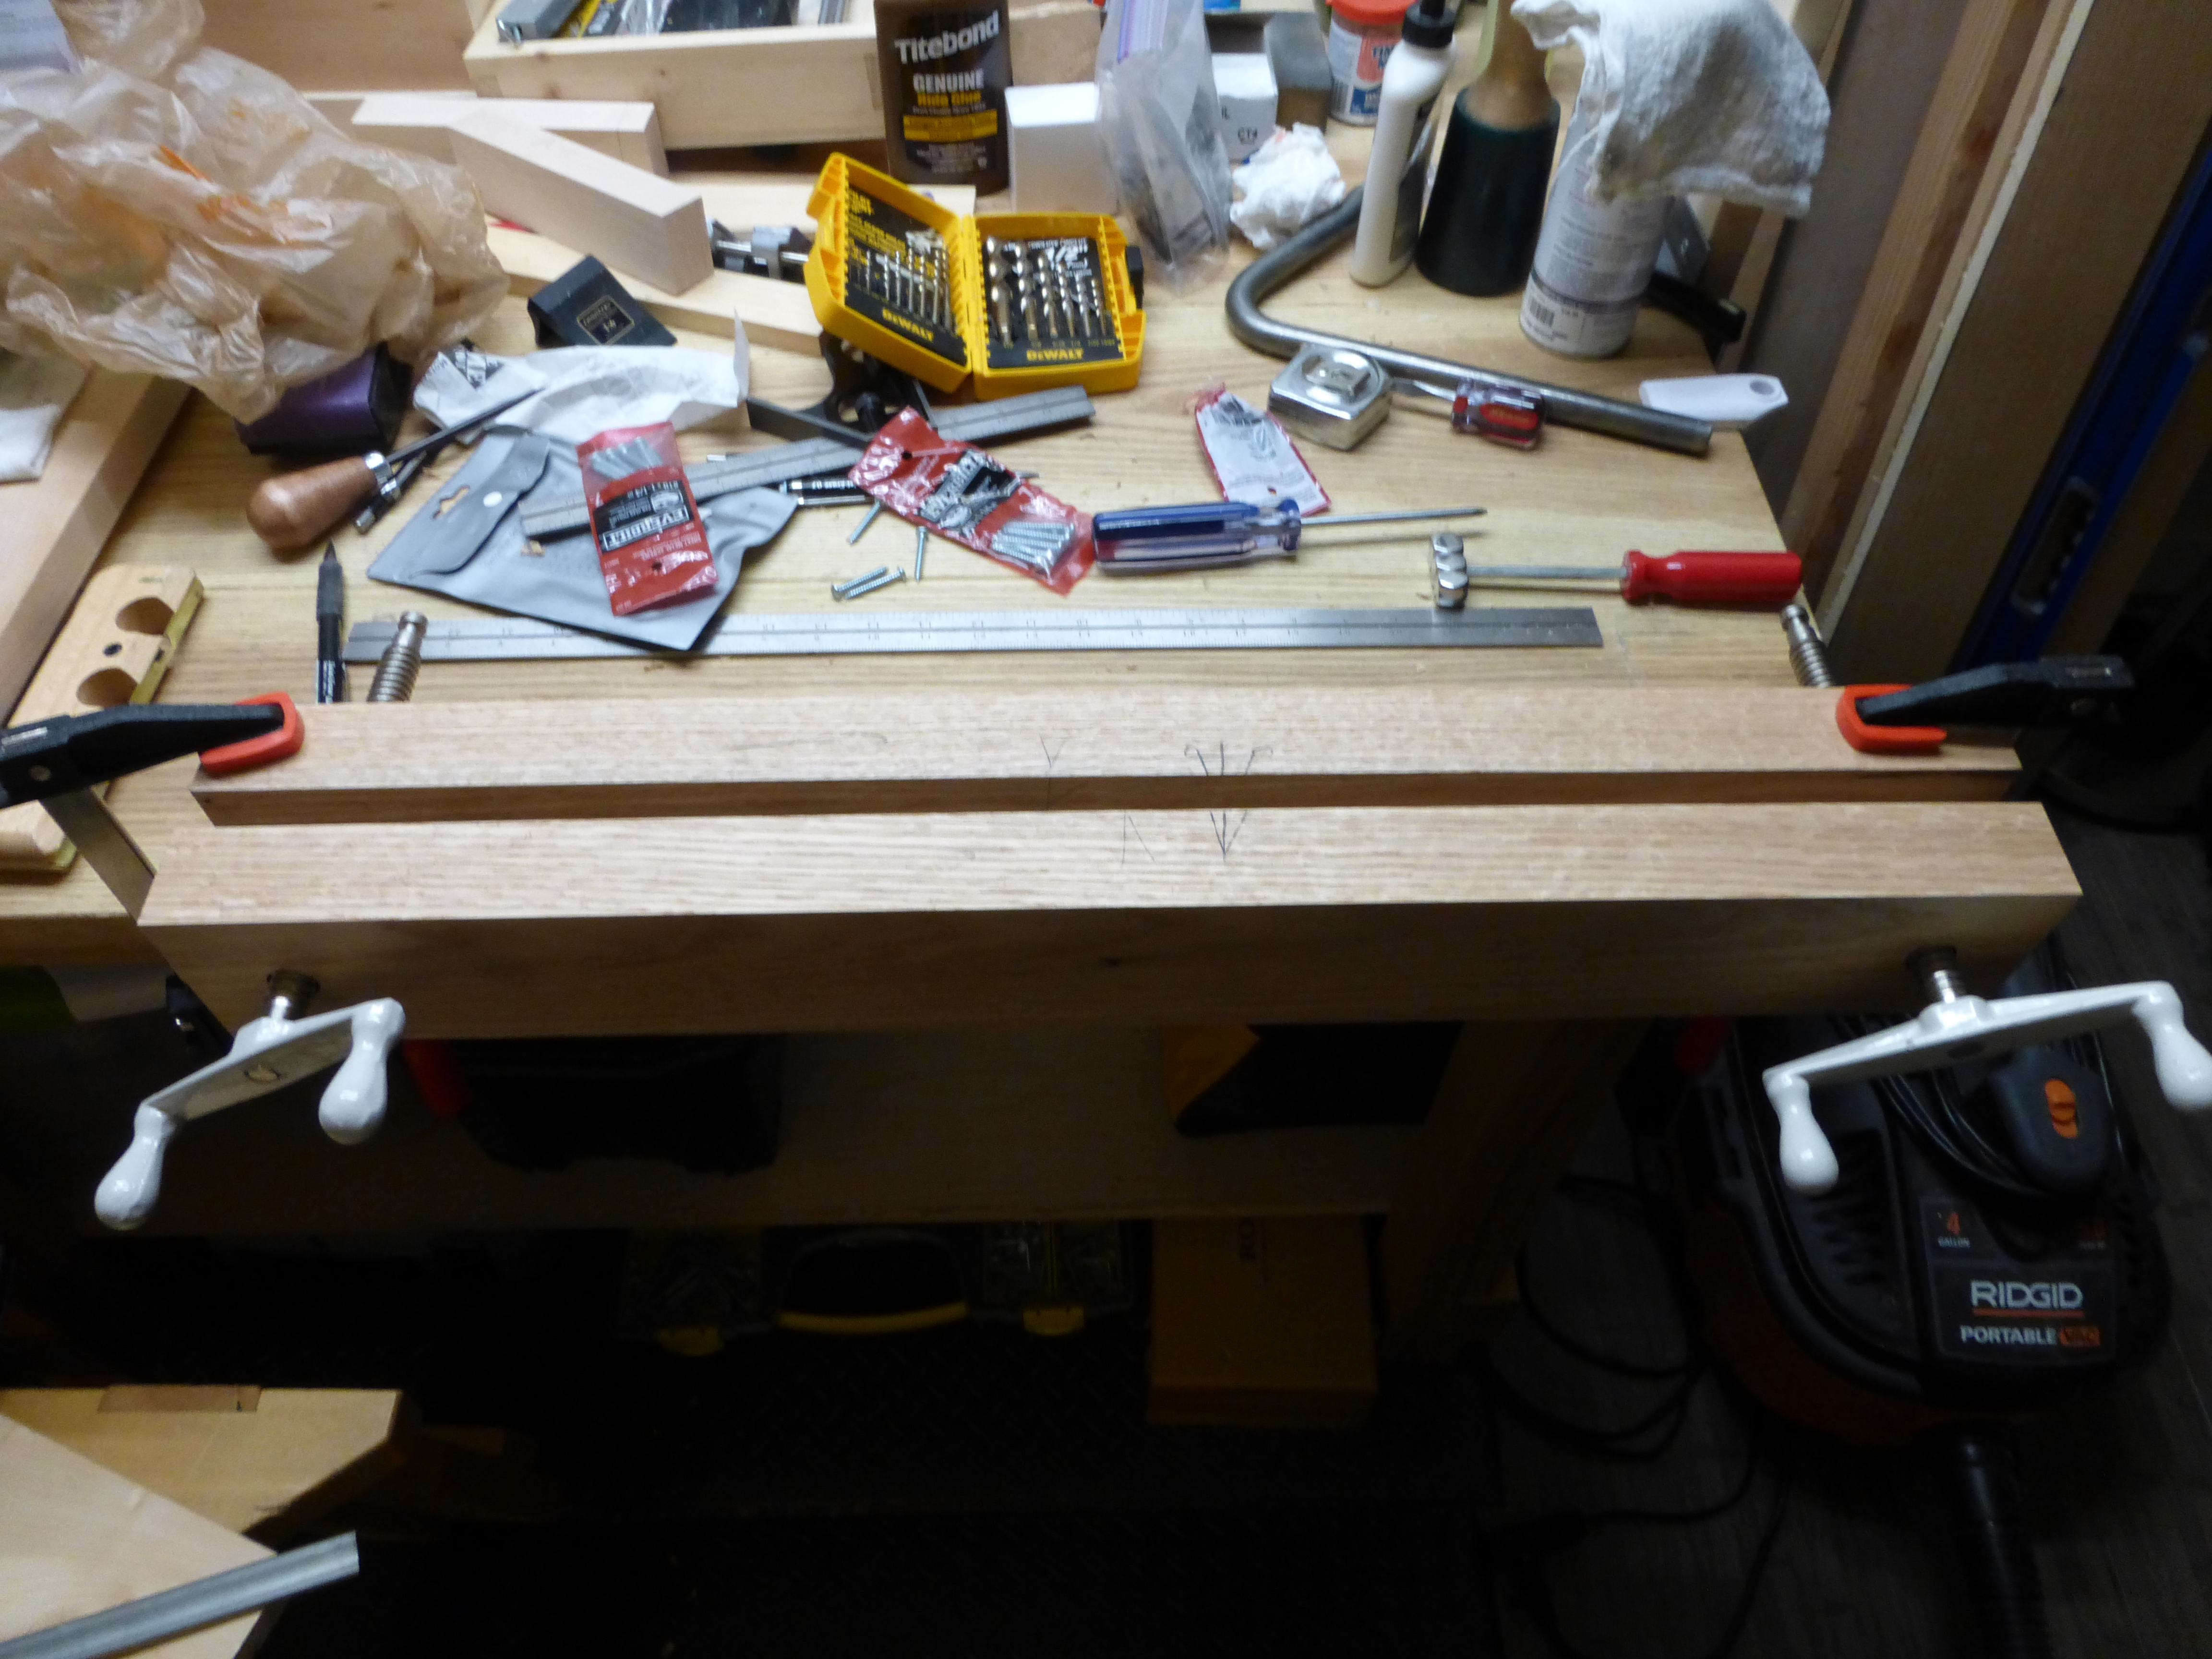
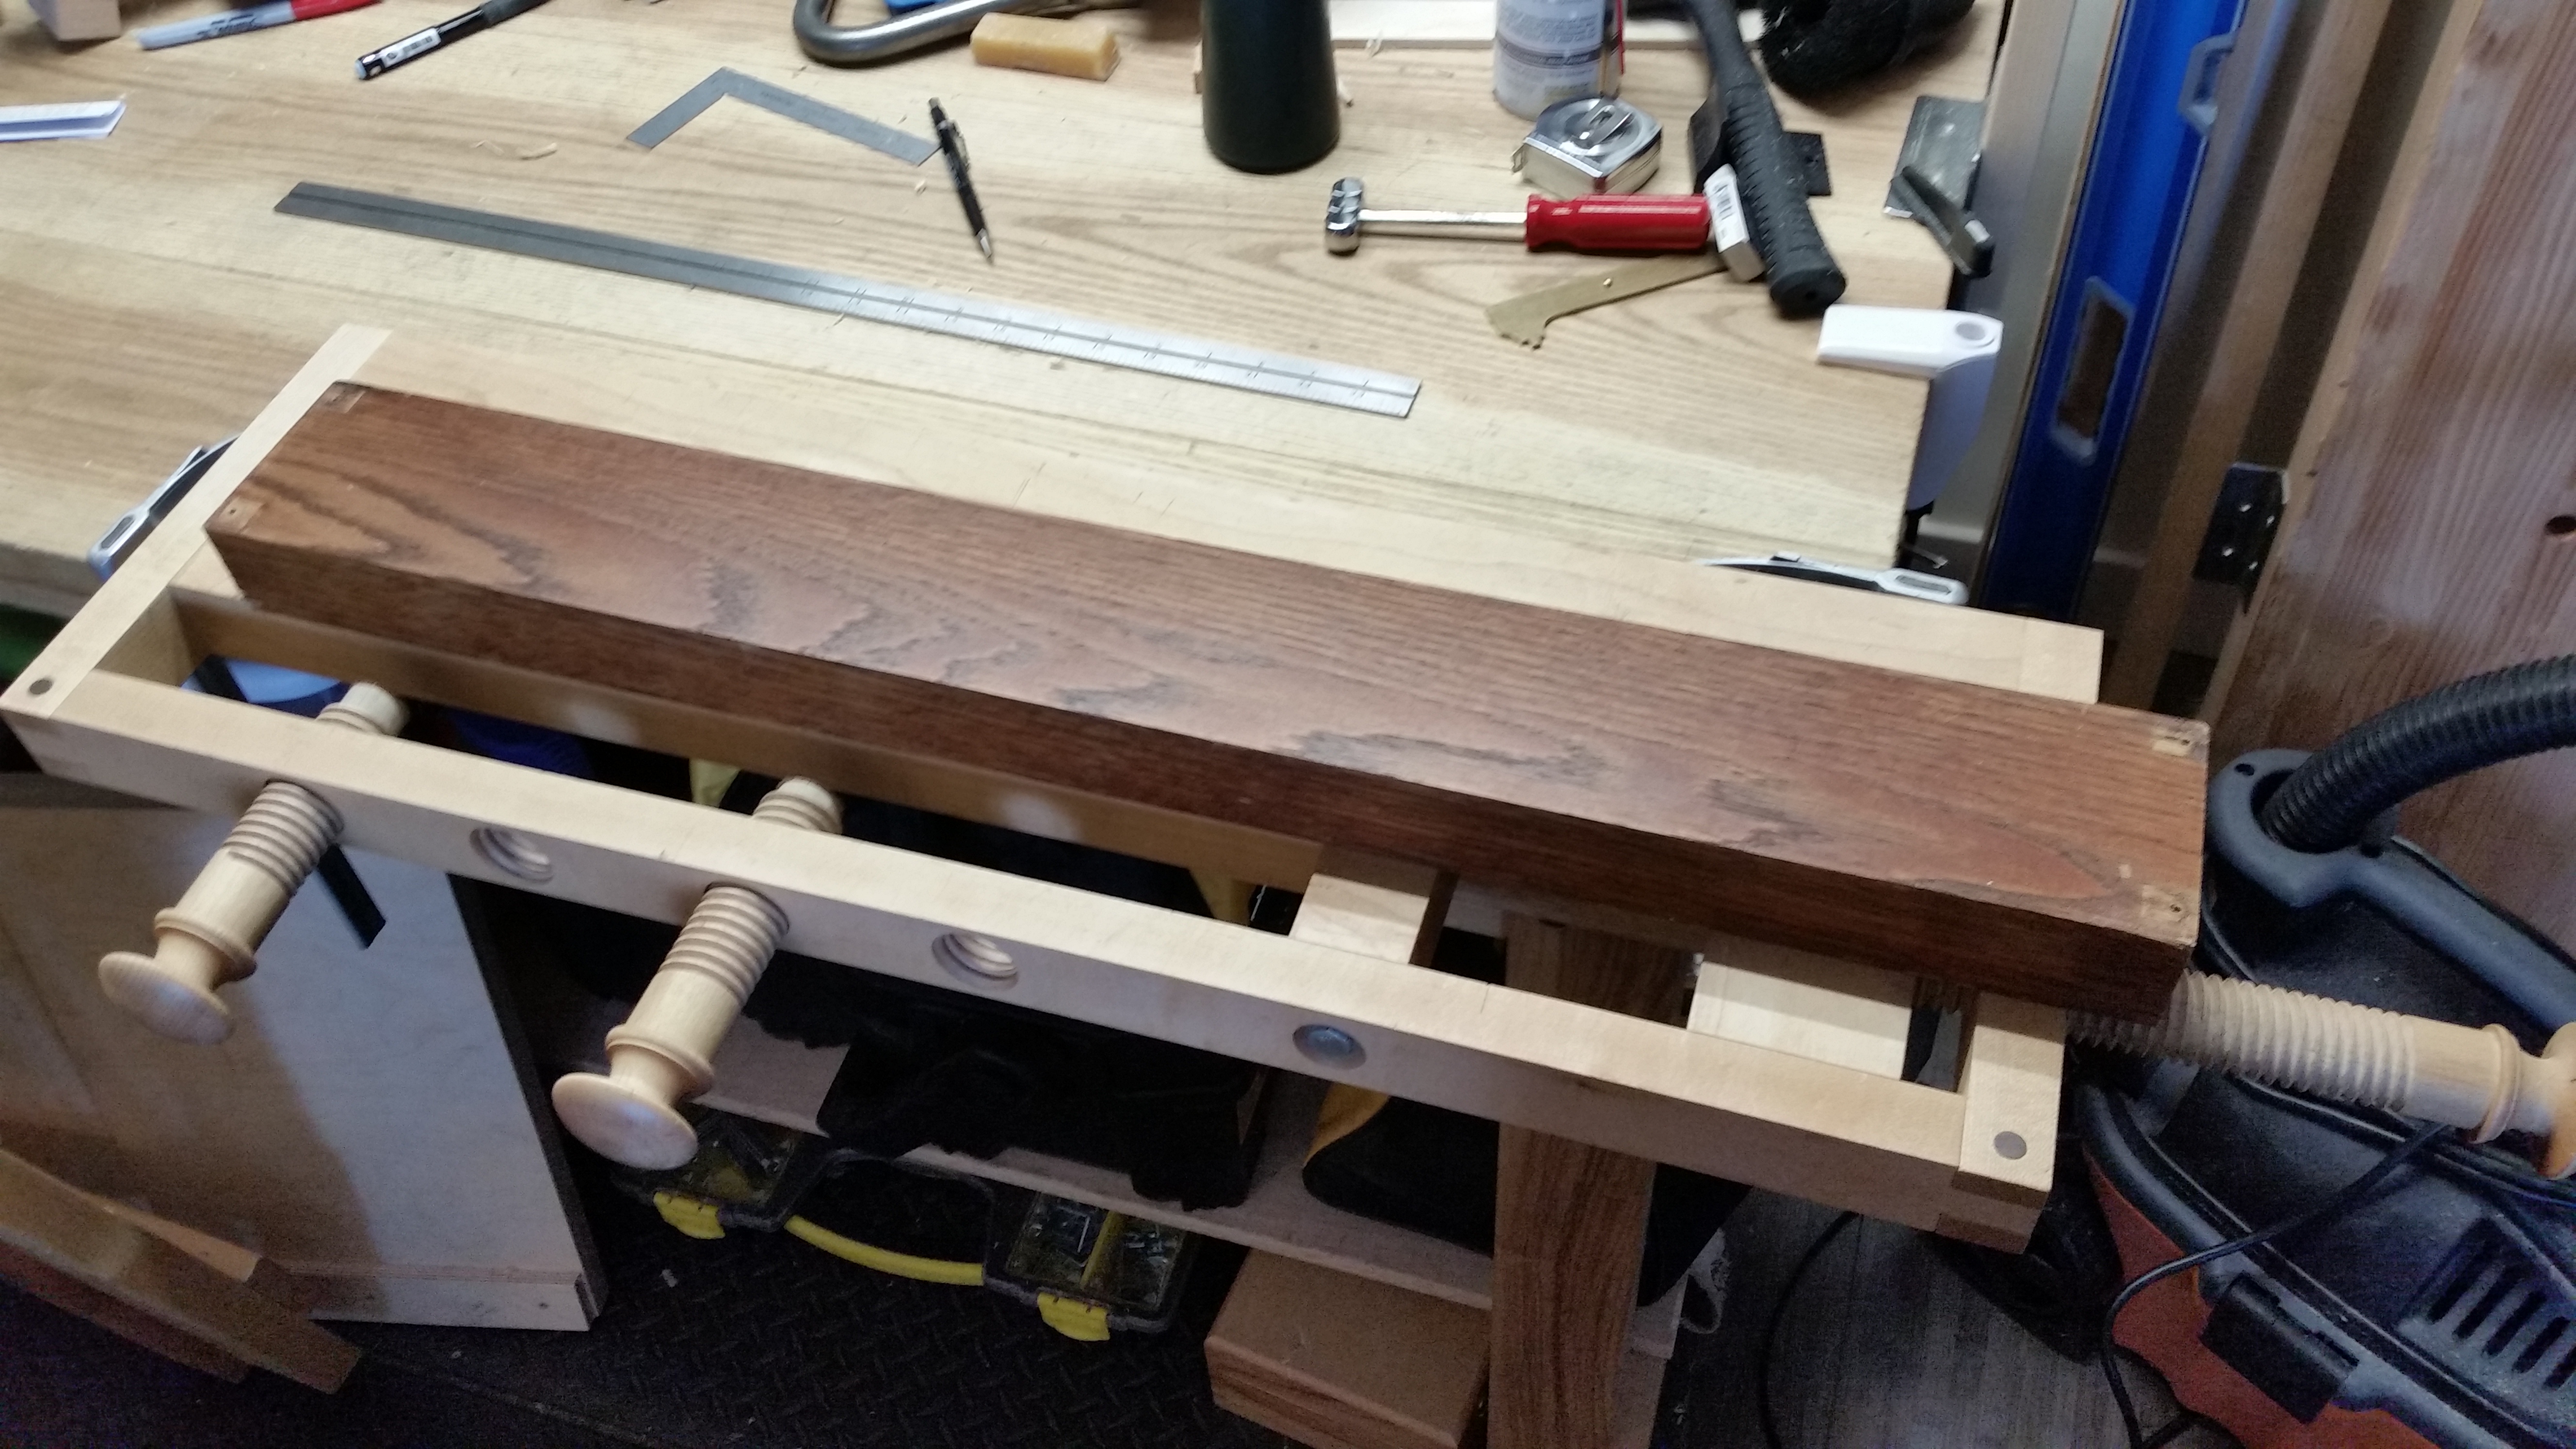
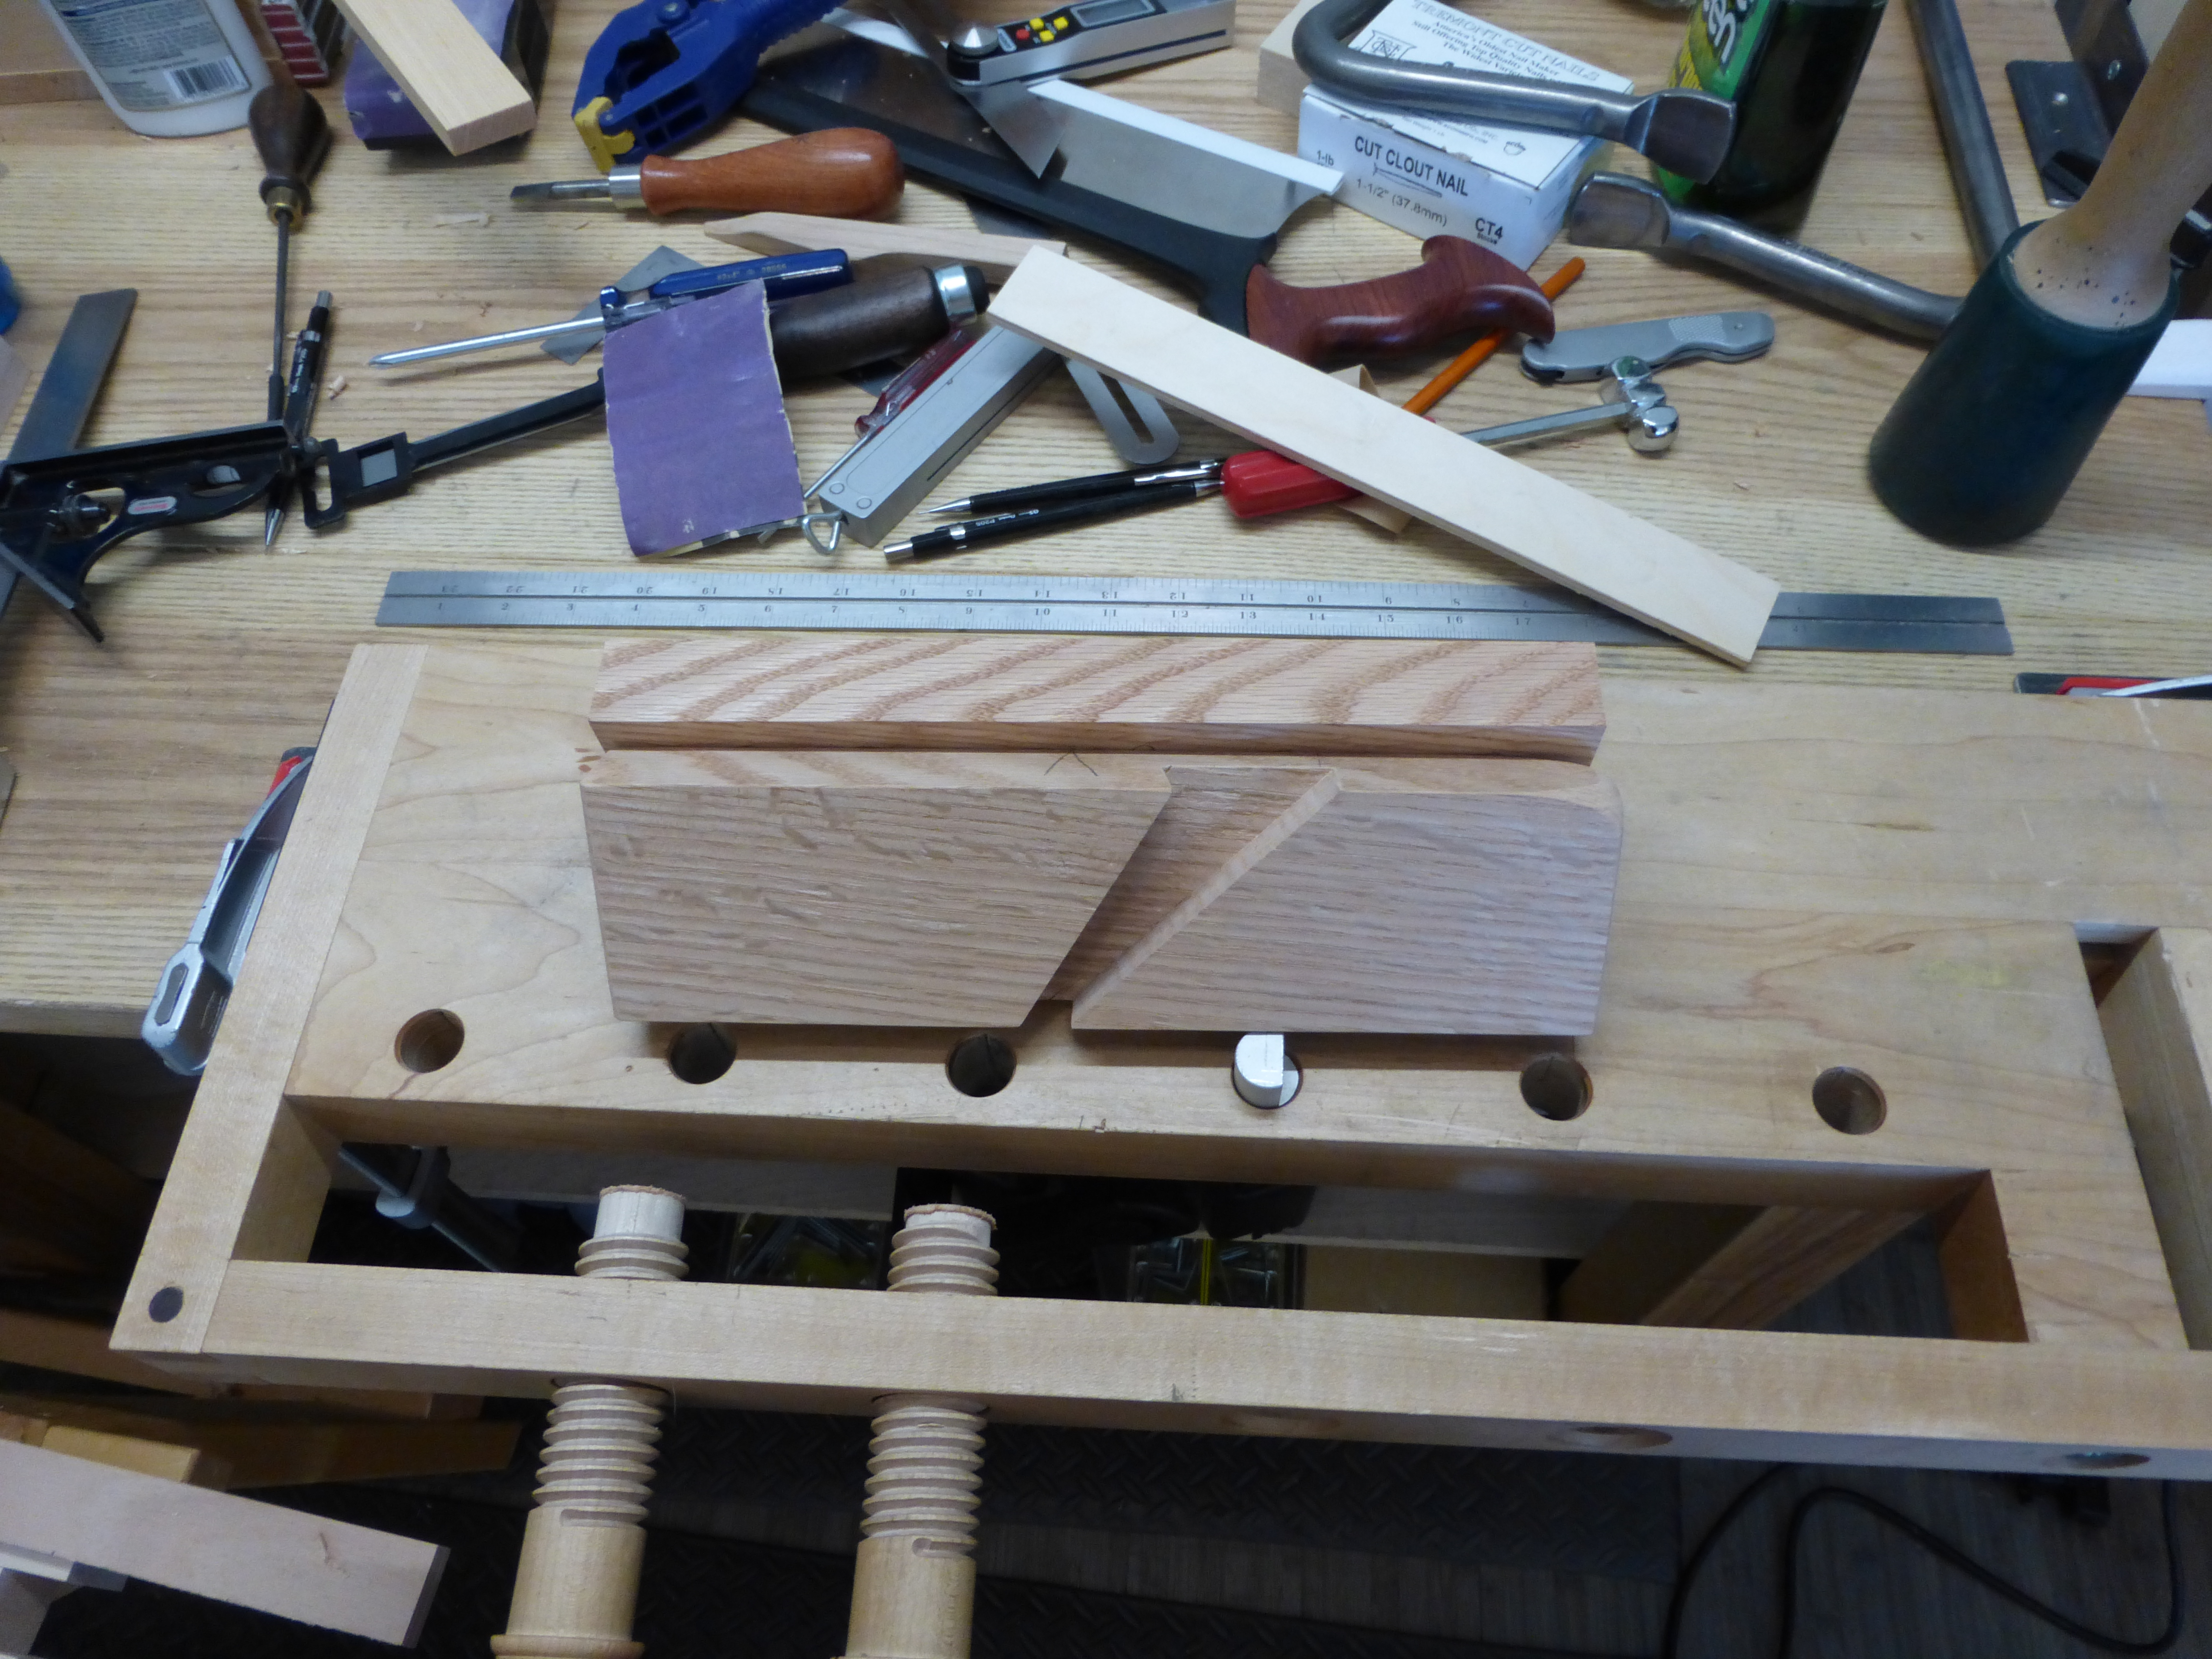
I had some lovely quarter-sawn red oak scraps laying around the shop, so I decided to try my hand at planemaking.

Actually quarter-sawn.
The first rebate plane came out so well that I decided to make both right and left versions. The right version originally used a 1/2 inch Narex bevel-edged chisel, but I decided to increase to 5/8 (for both aesthetic and practical reasons), so I need to make a new wedge.
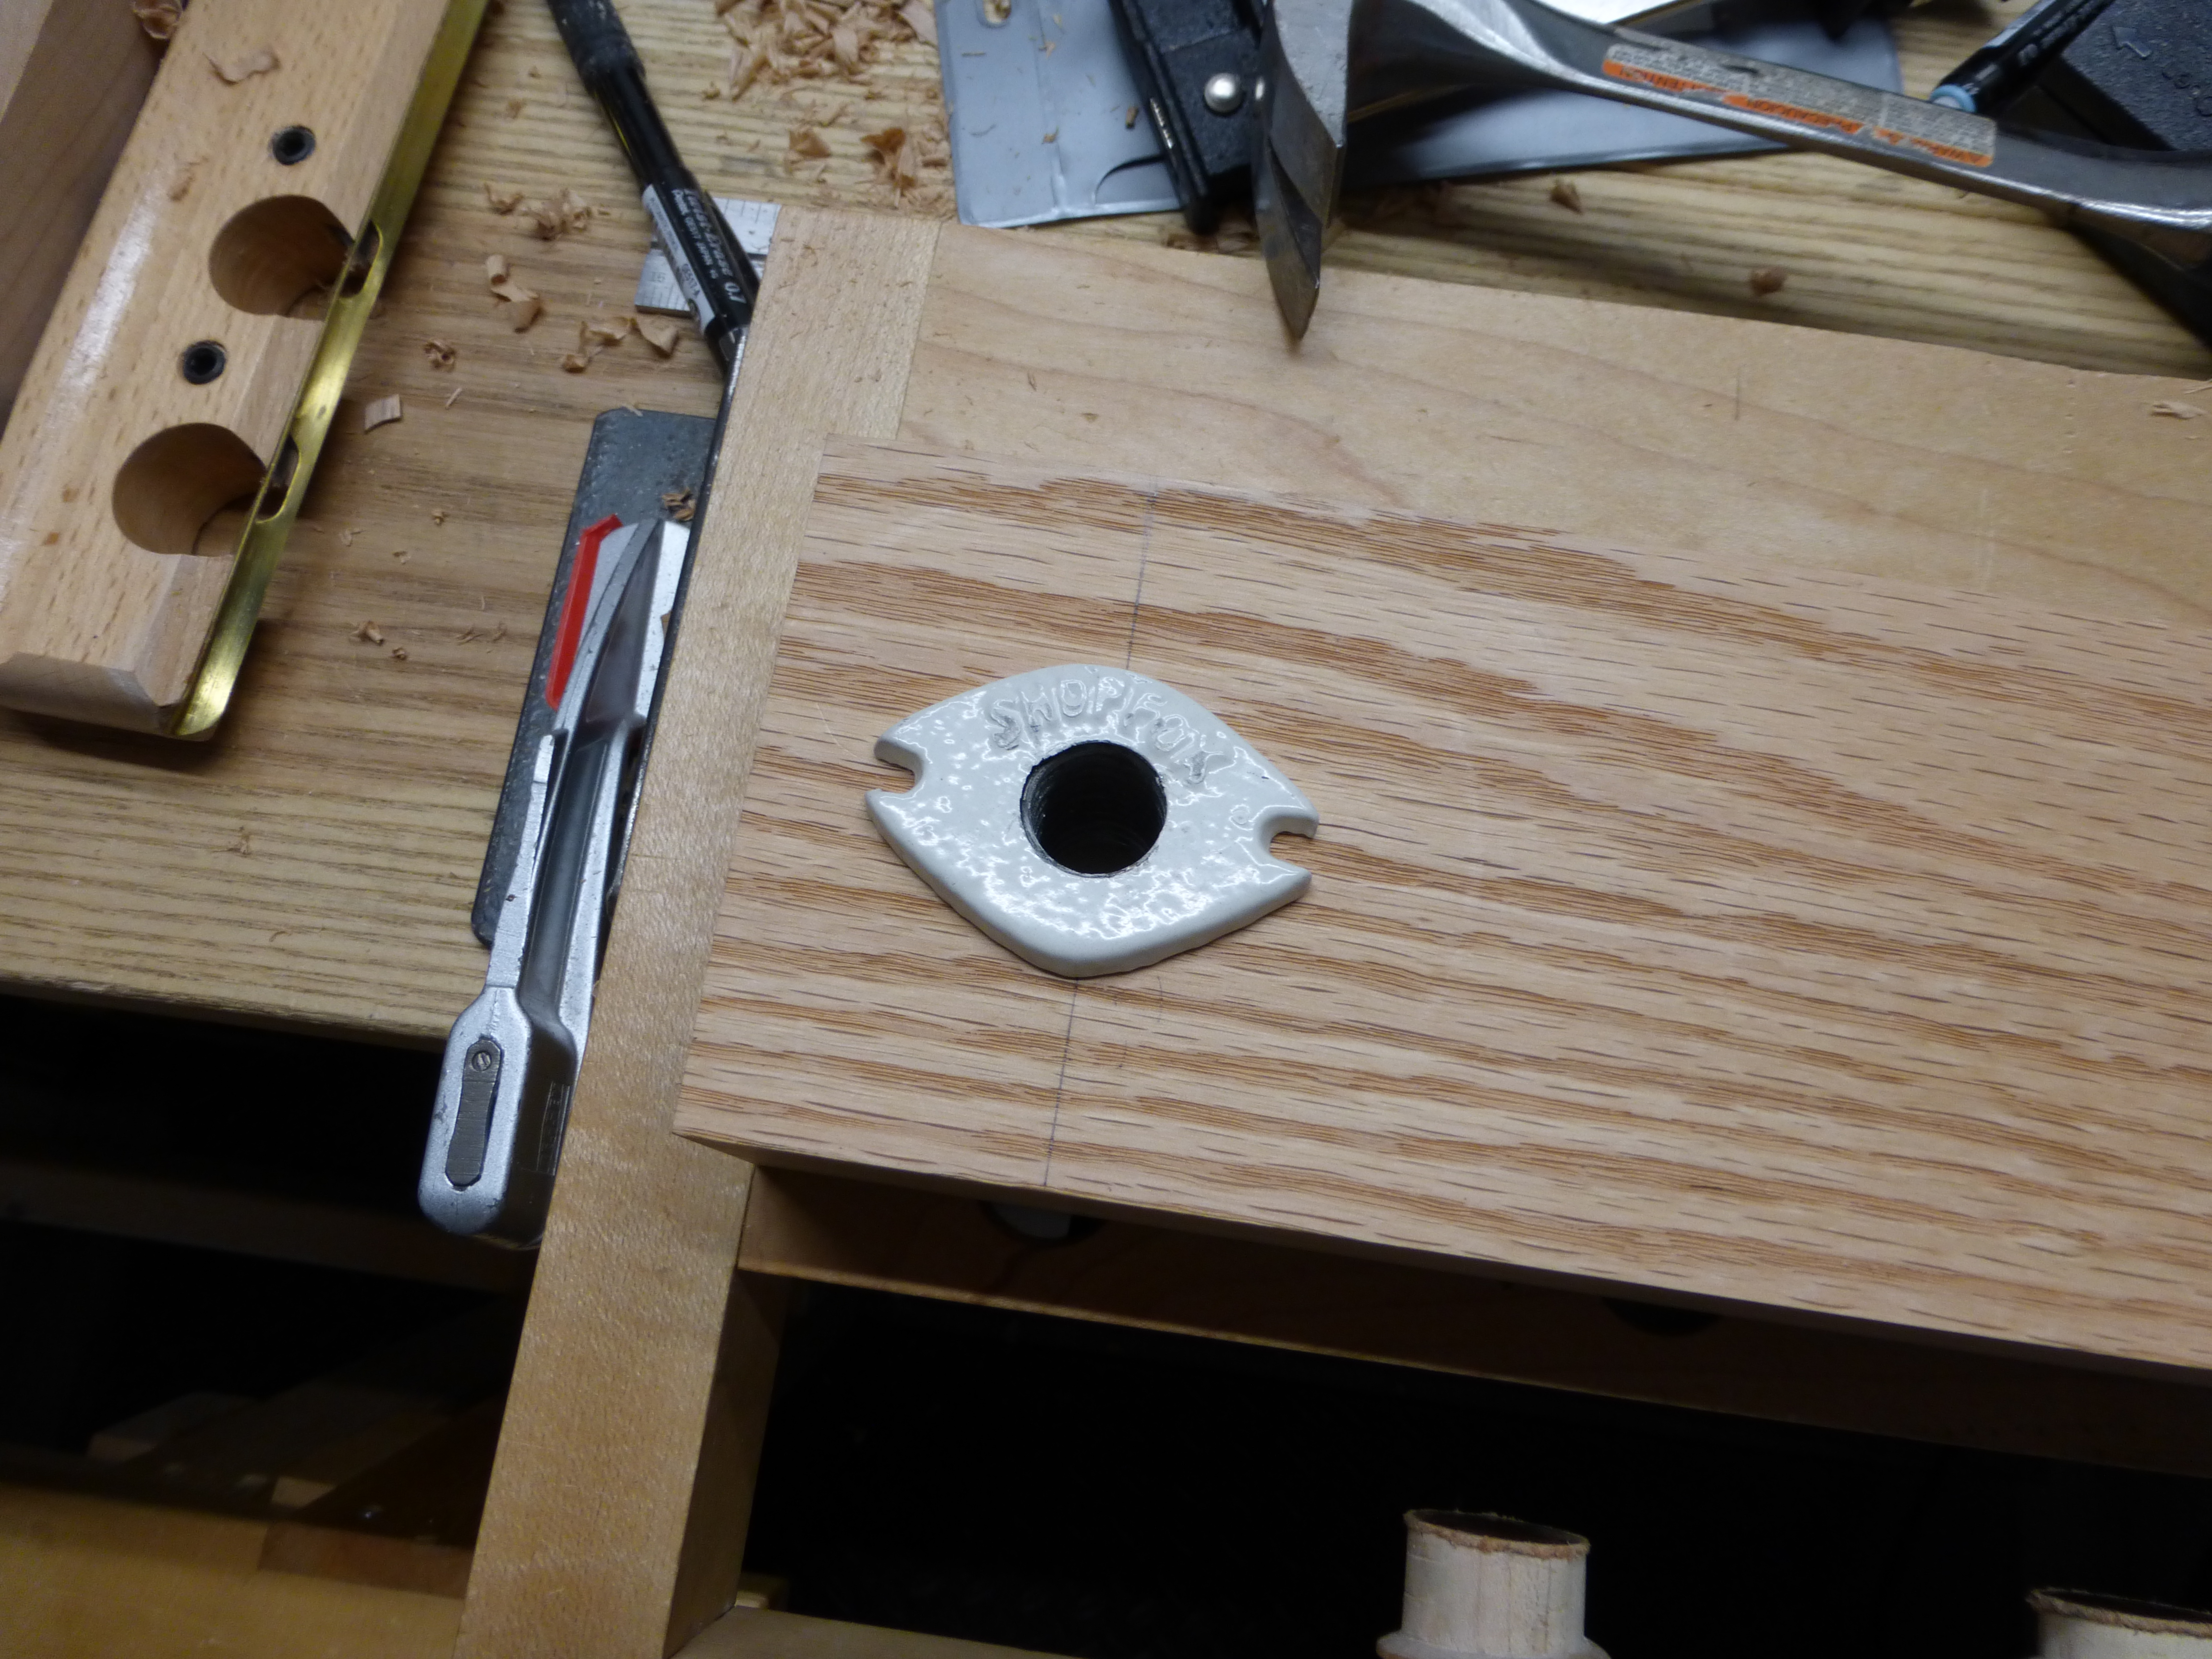
Both versions will have an adjustable fence. The right version will also have a nicker (or “scoring spur”) made from a re-purposed (read: chipped) wheel marking gauge cutter, for cross-grain rabbeting.
Suffice to say, I now have a Lie-Nielsen wishlist that includes a set of planemaker’s floats.
JPG