A few days ago, I wrote about how cleaning, honing, sharpening and project planning just wasn’t as fulfilling as actually making things. Although I stand by that statement, I think it may have sounded more negative than intended.
When I first started woodworking, for good or for ill, I was focused on acquiring “tools” (as most people understand the word). Things that cut. Things that shape. Things that go ” whirrrrr” at various pitches (which nowadays is just me making sound effects for my router planes and braces).
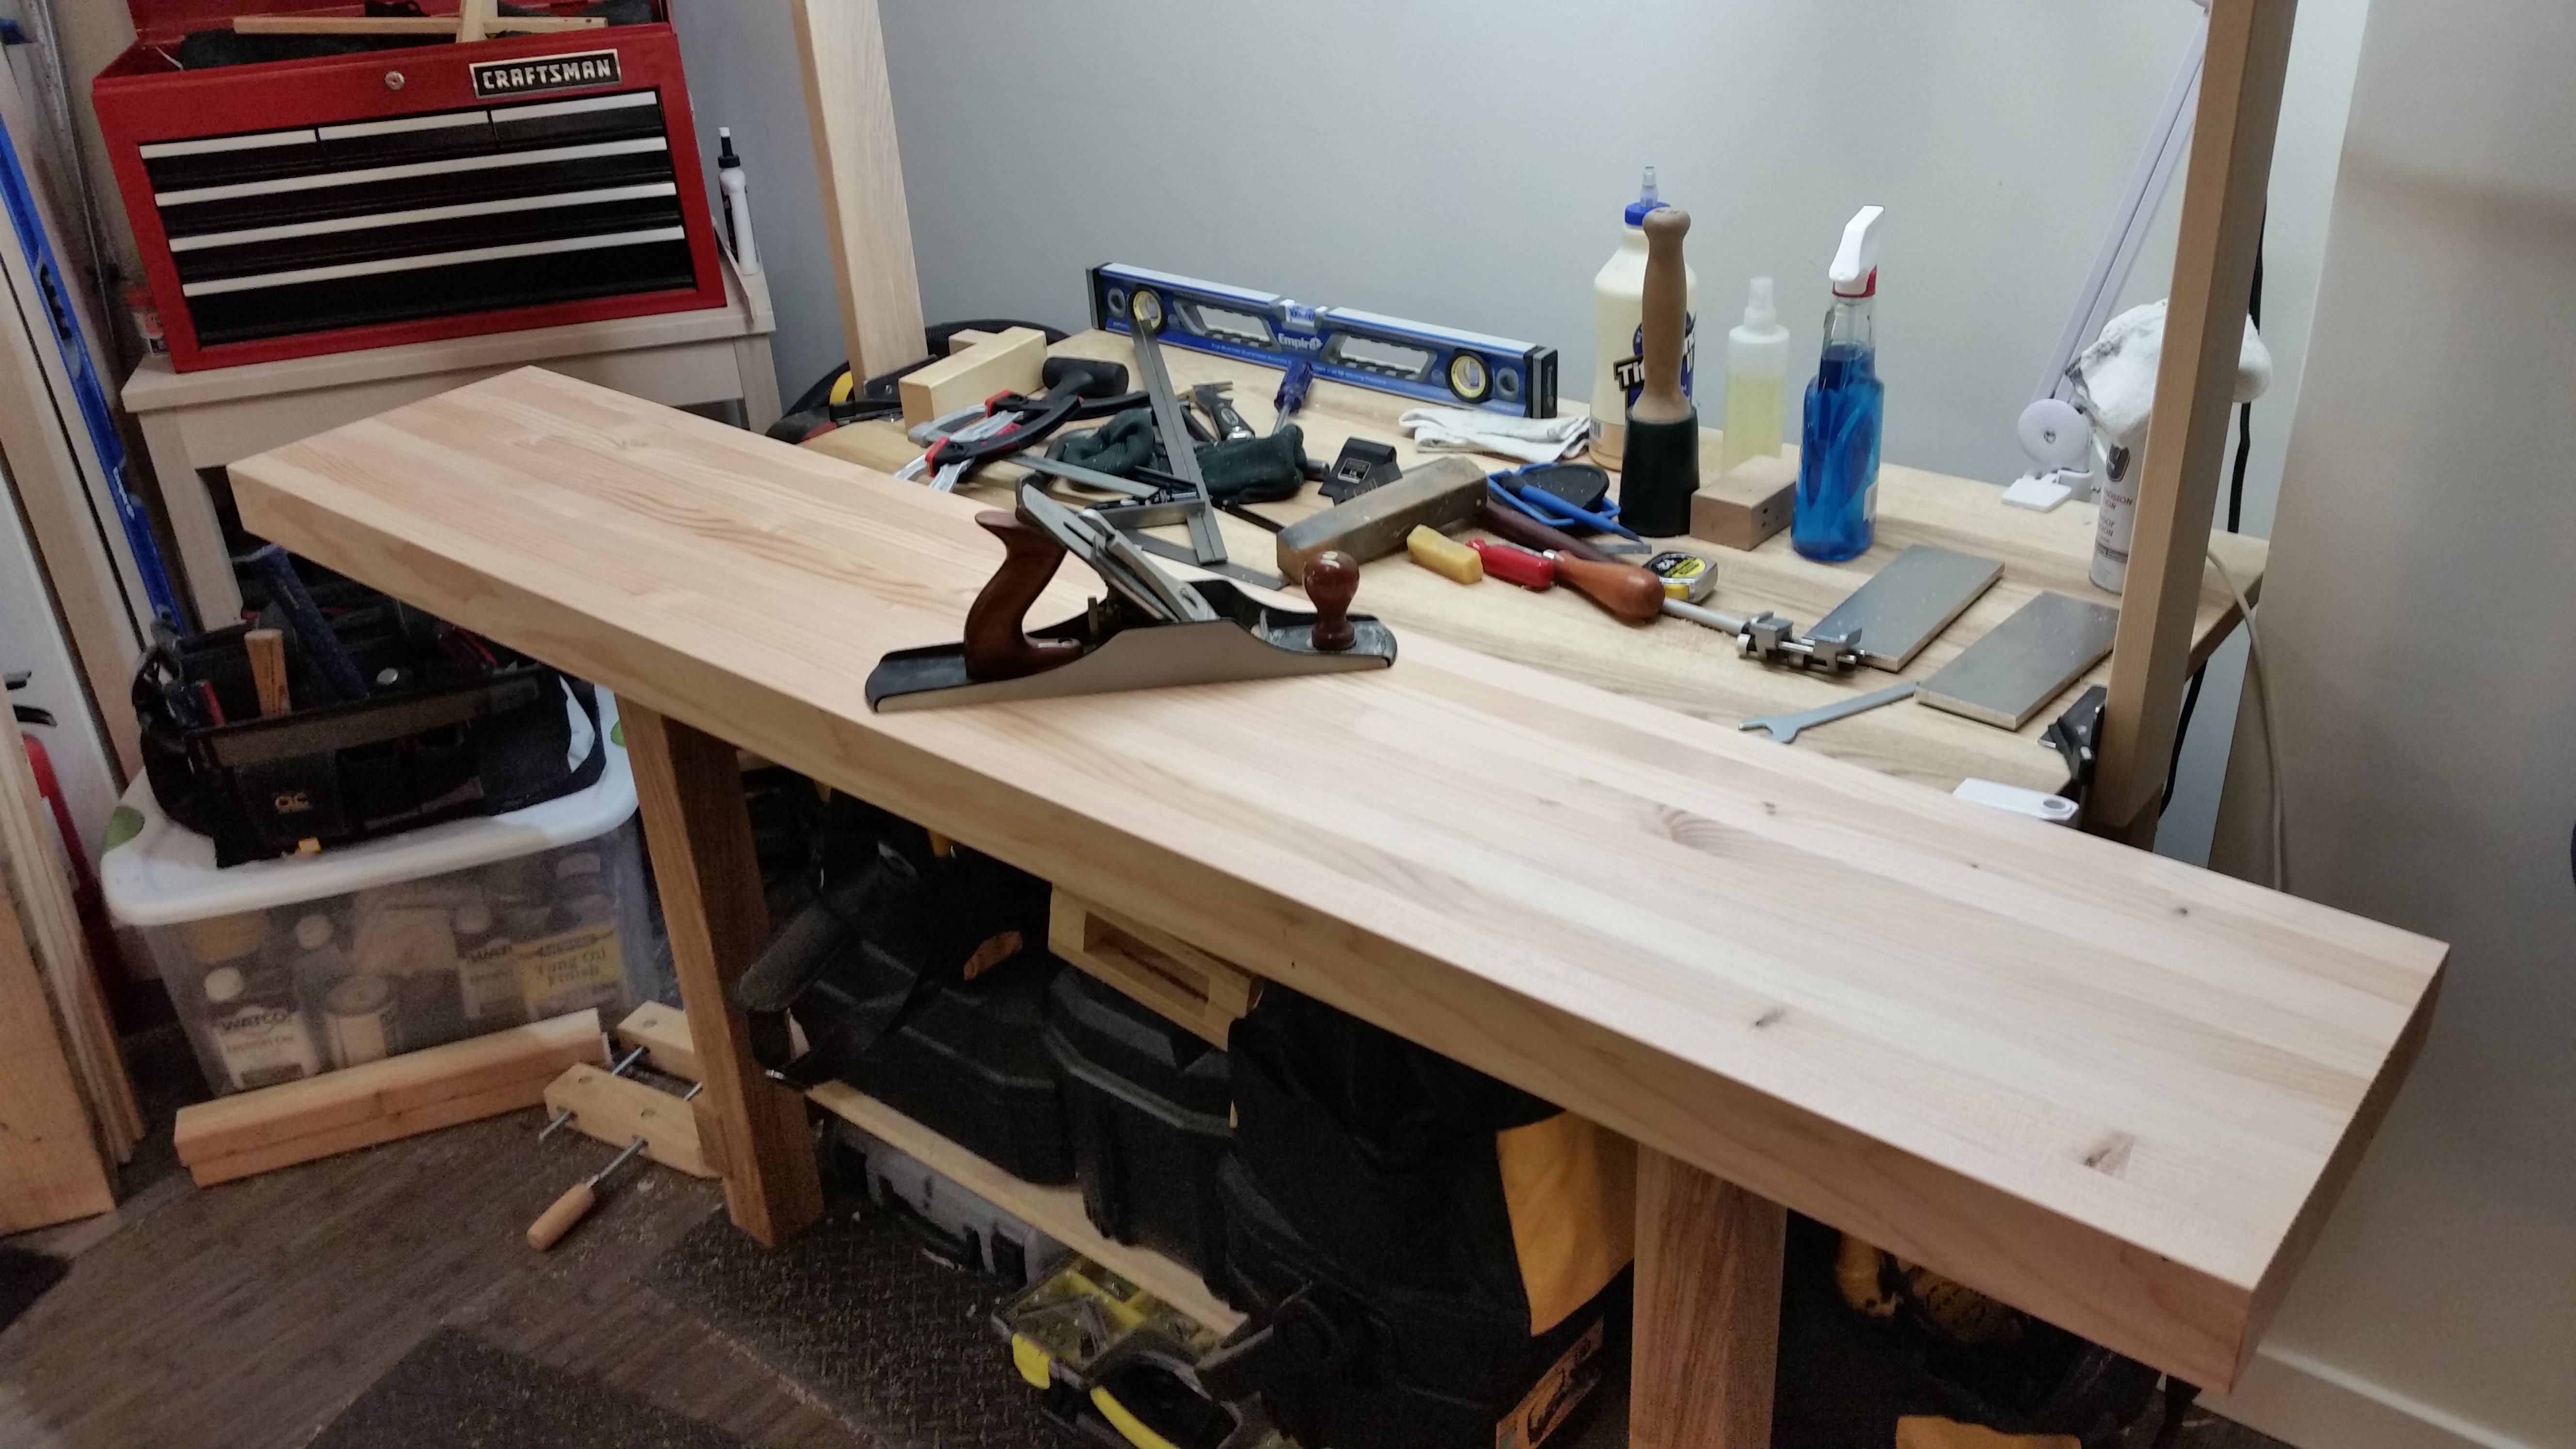
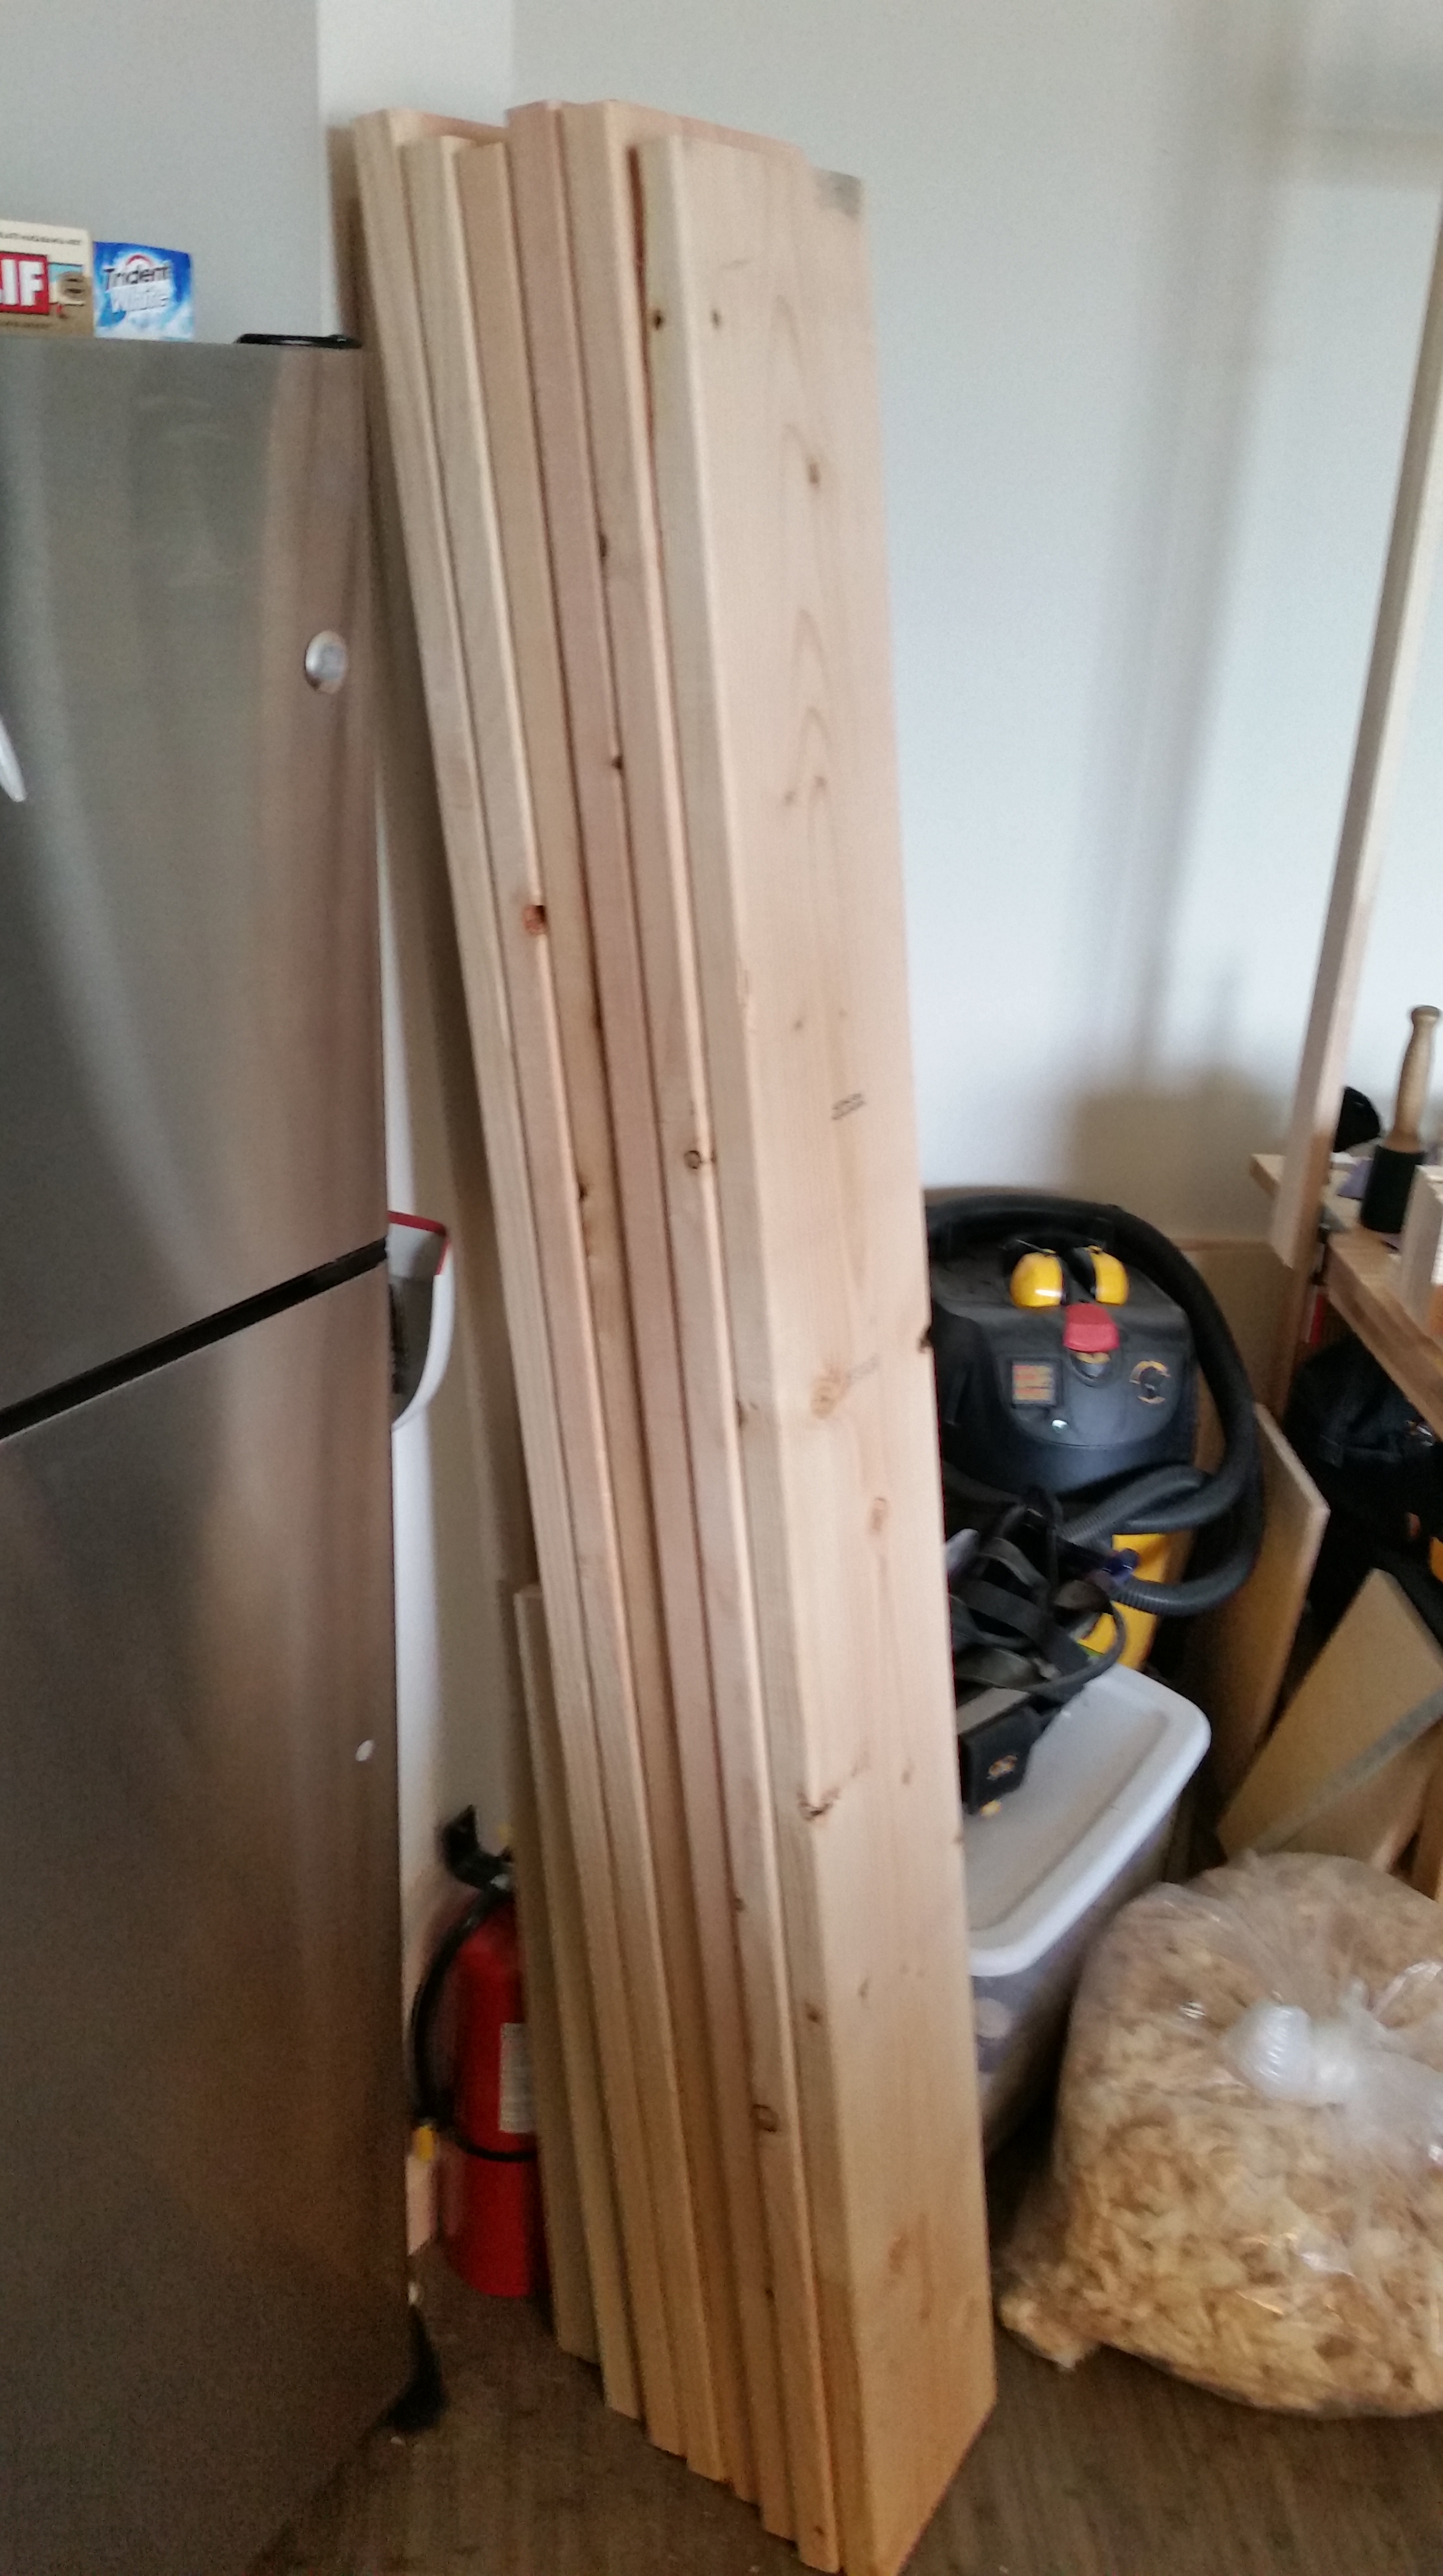
In a brief moment of calm over the weekend (I did not, by the way, get any ripping done), I was rummaging through my toolchest in hopes of finding more excess to trim. I was struck by how few “tools” I actually own. I won’t go through the litany again, but in sheer number and volume, it’s not much (and certainly my “tool” collection hasn’t grown significantly since establishing the apartment workshop several months back). In reality, there is so much more to a workshop than “tools”.

The real heroes of my apartment woodworking shop.
A good portion of my shop equipment is not “tools” (as most people understand the word), but accessories for sharpening, setting up, maintaining and protecting my “tools”. Accoutrements that allow my chisels, knives, planes, saws and squares to consistently perform at a high level.
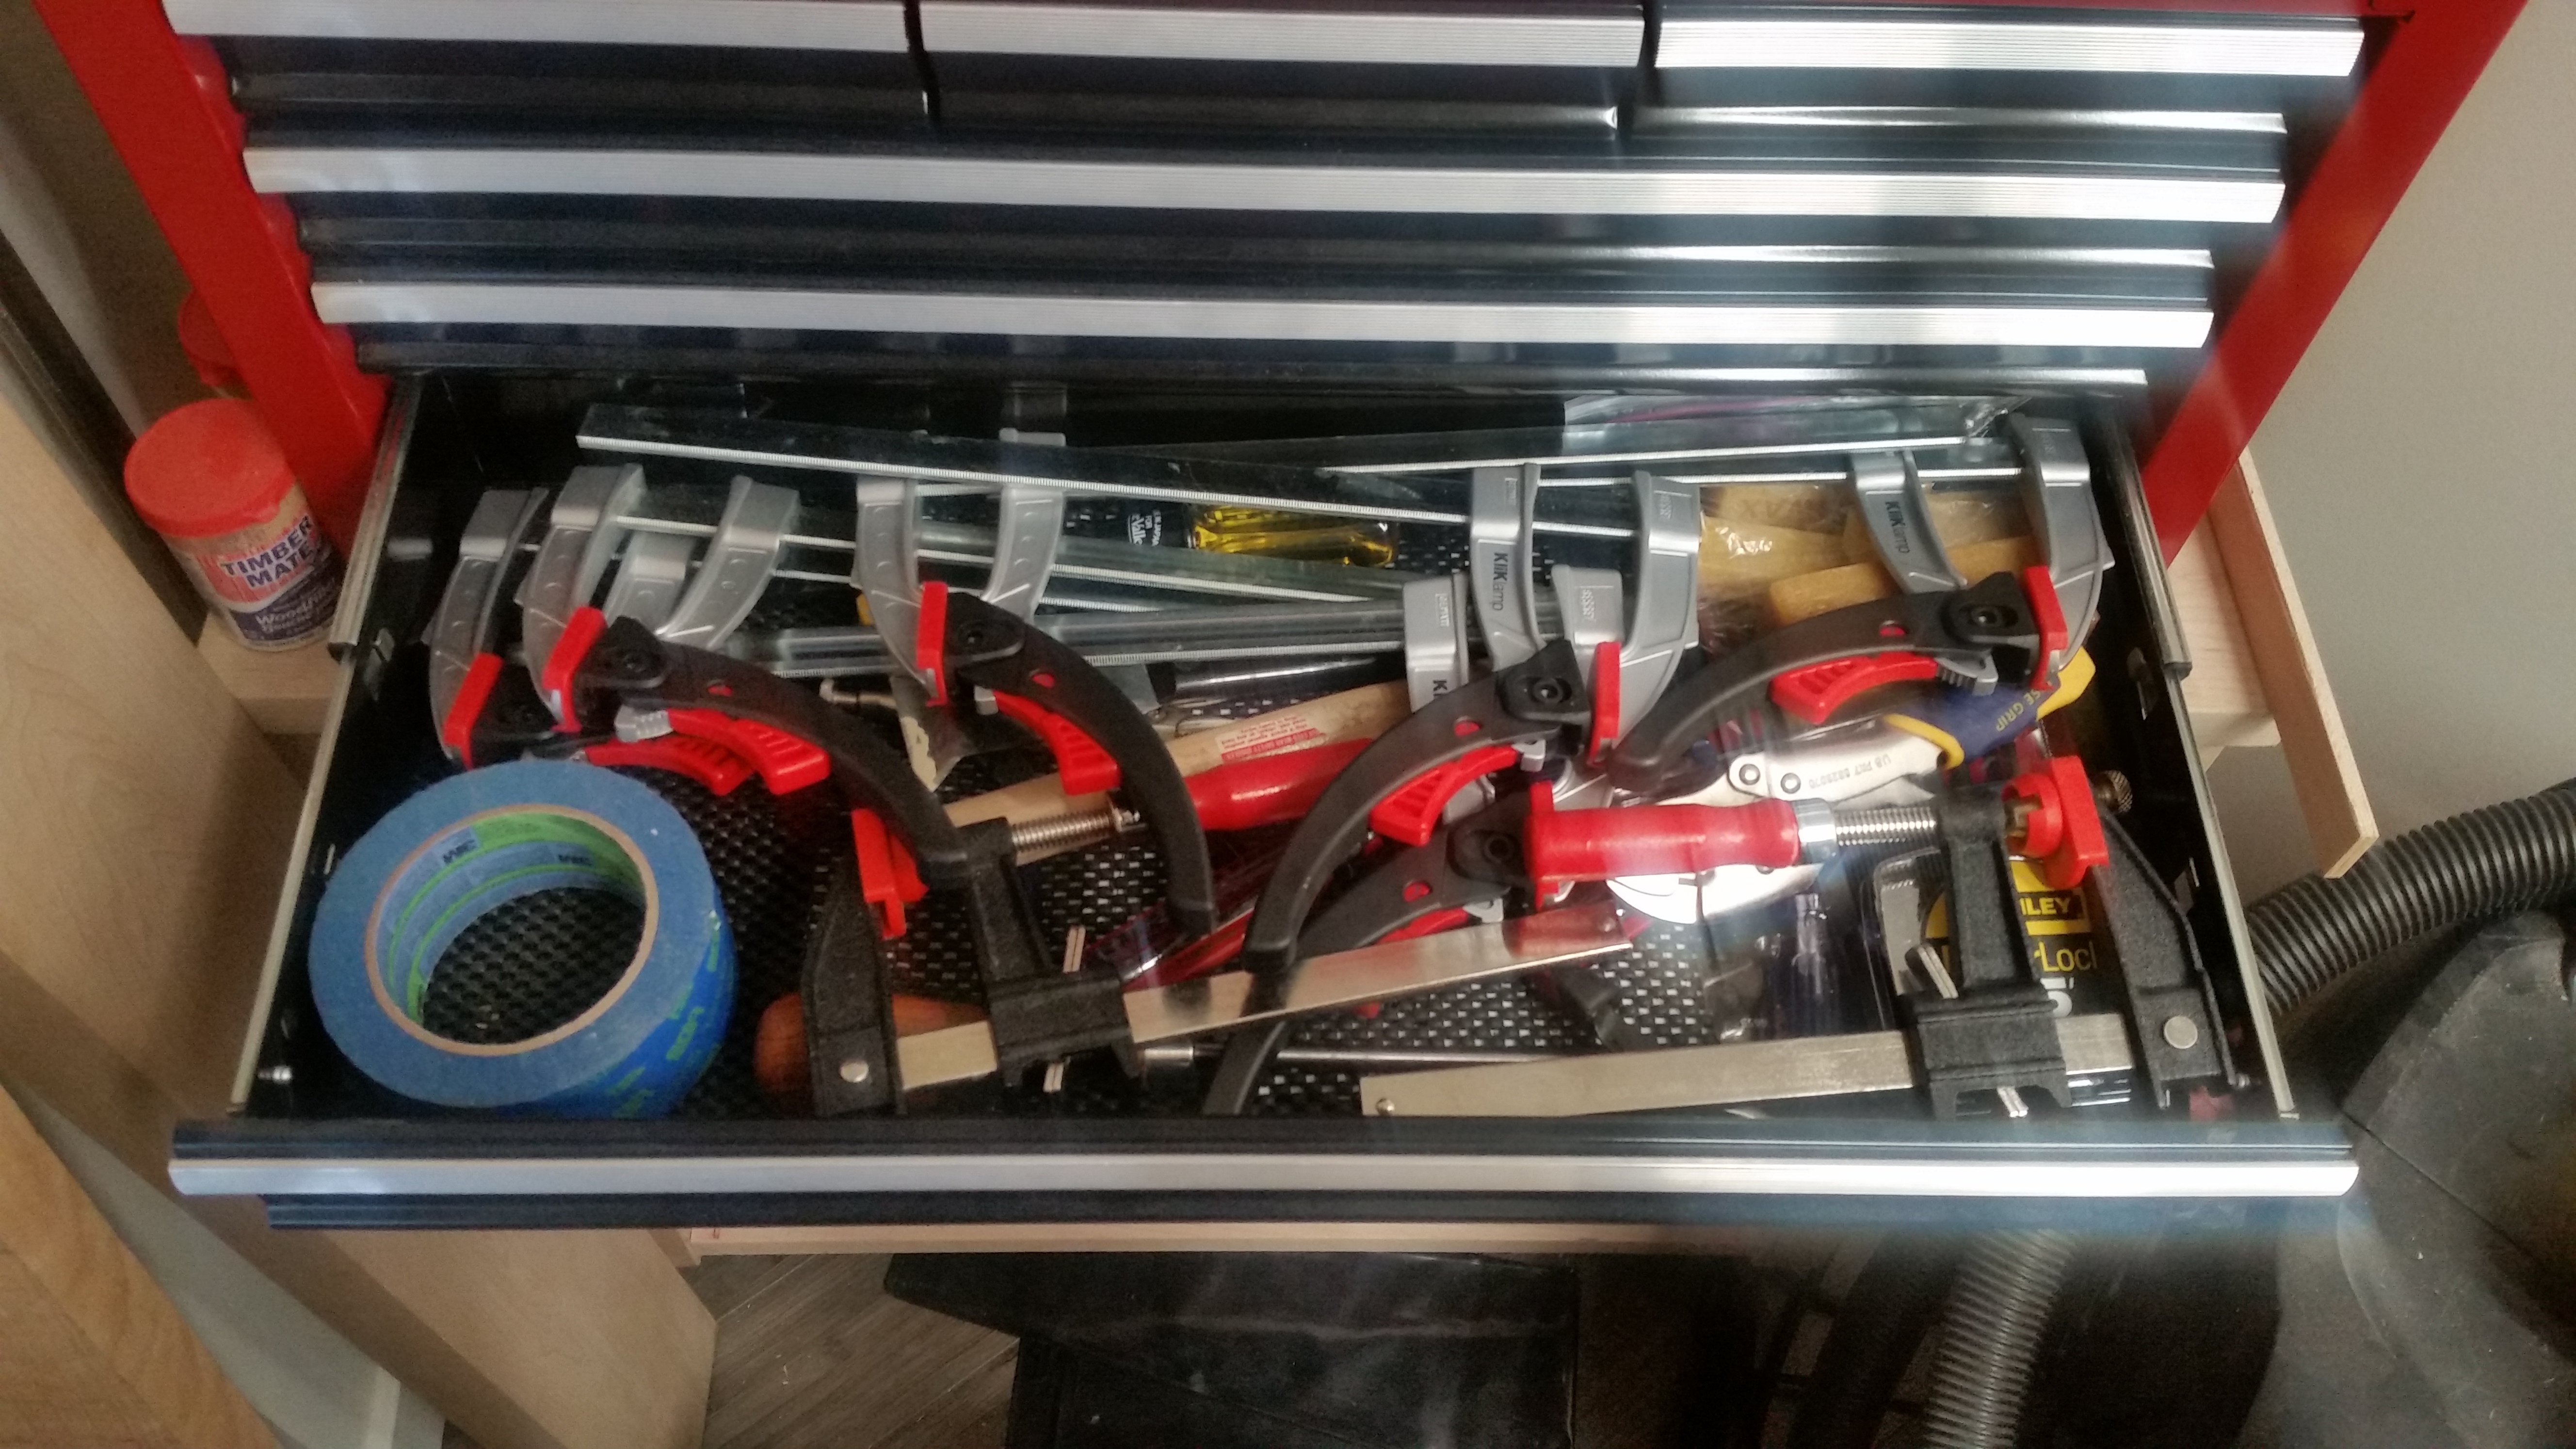
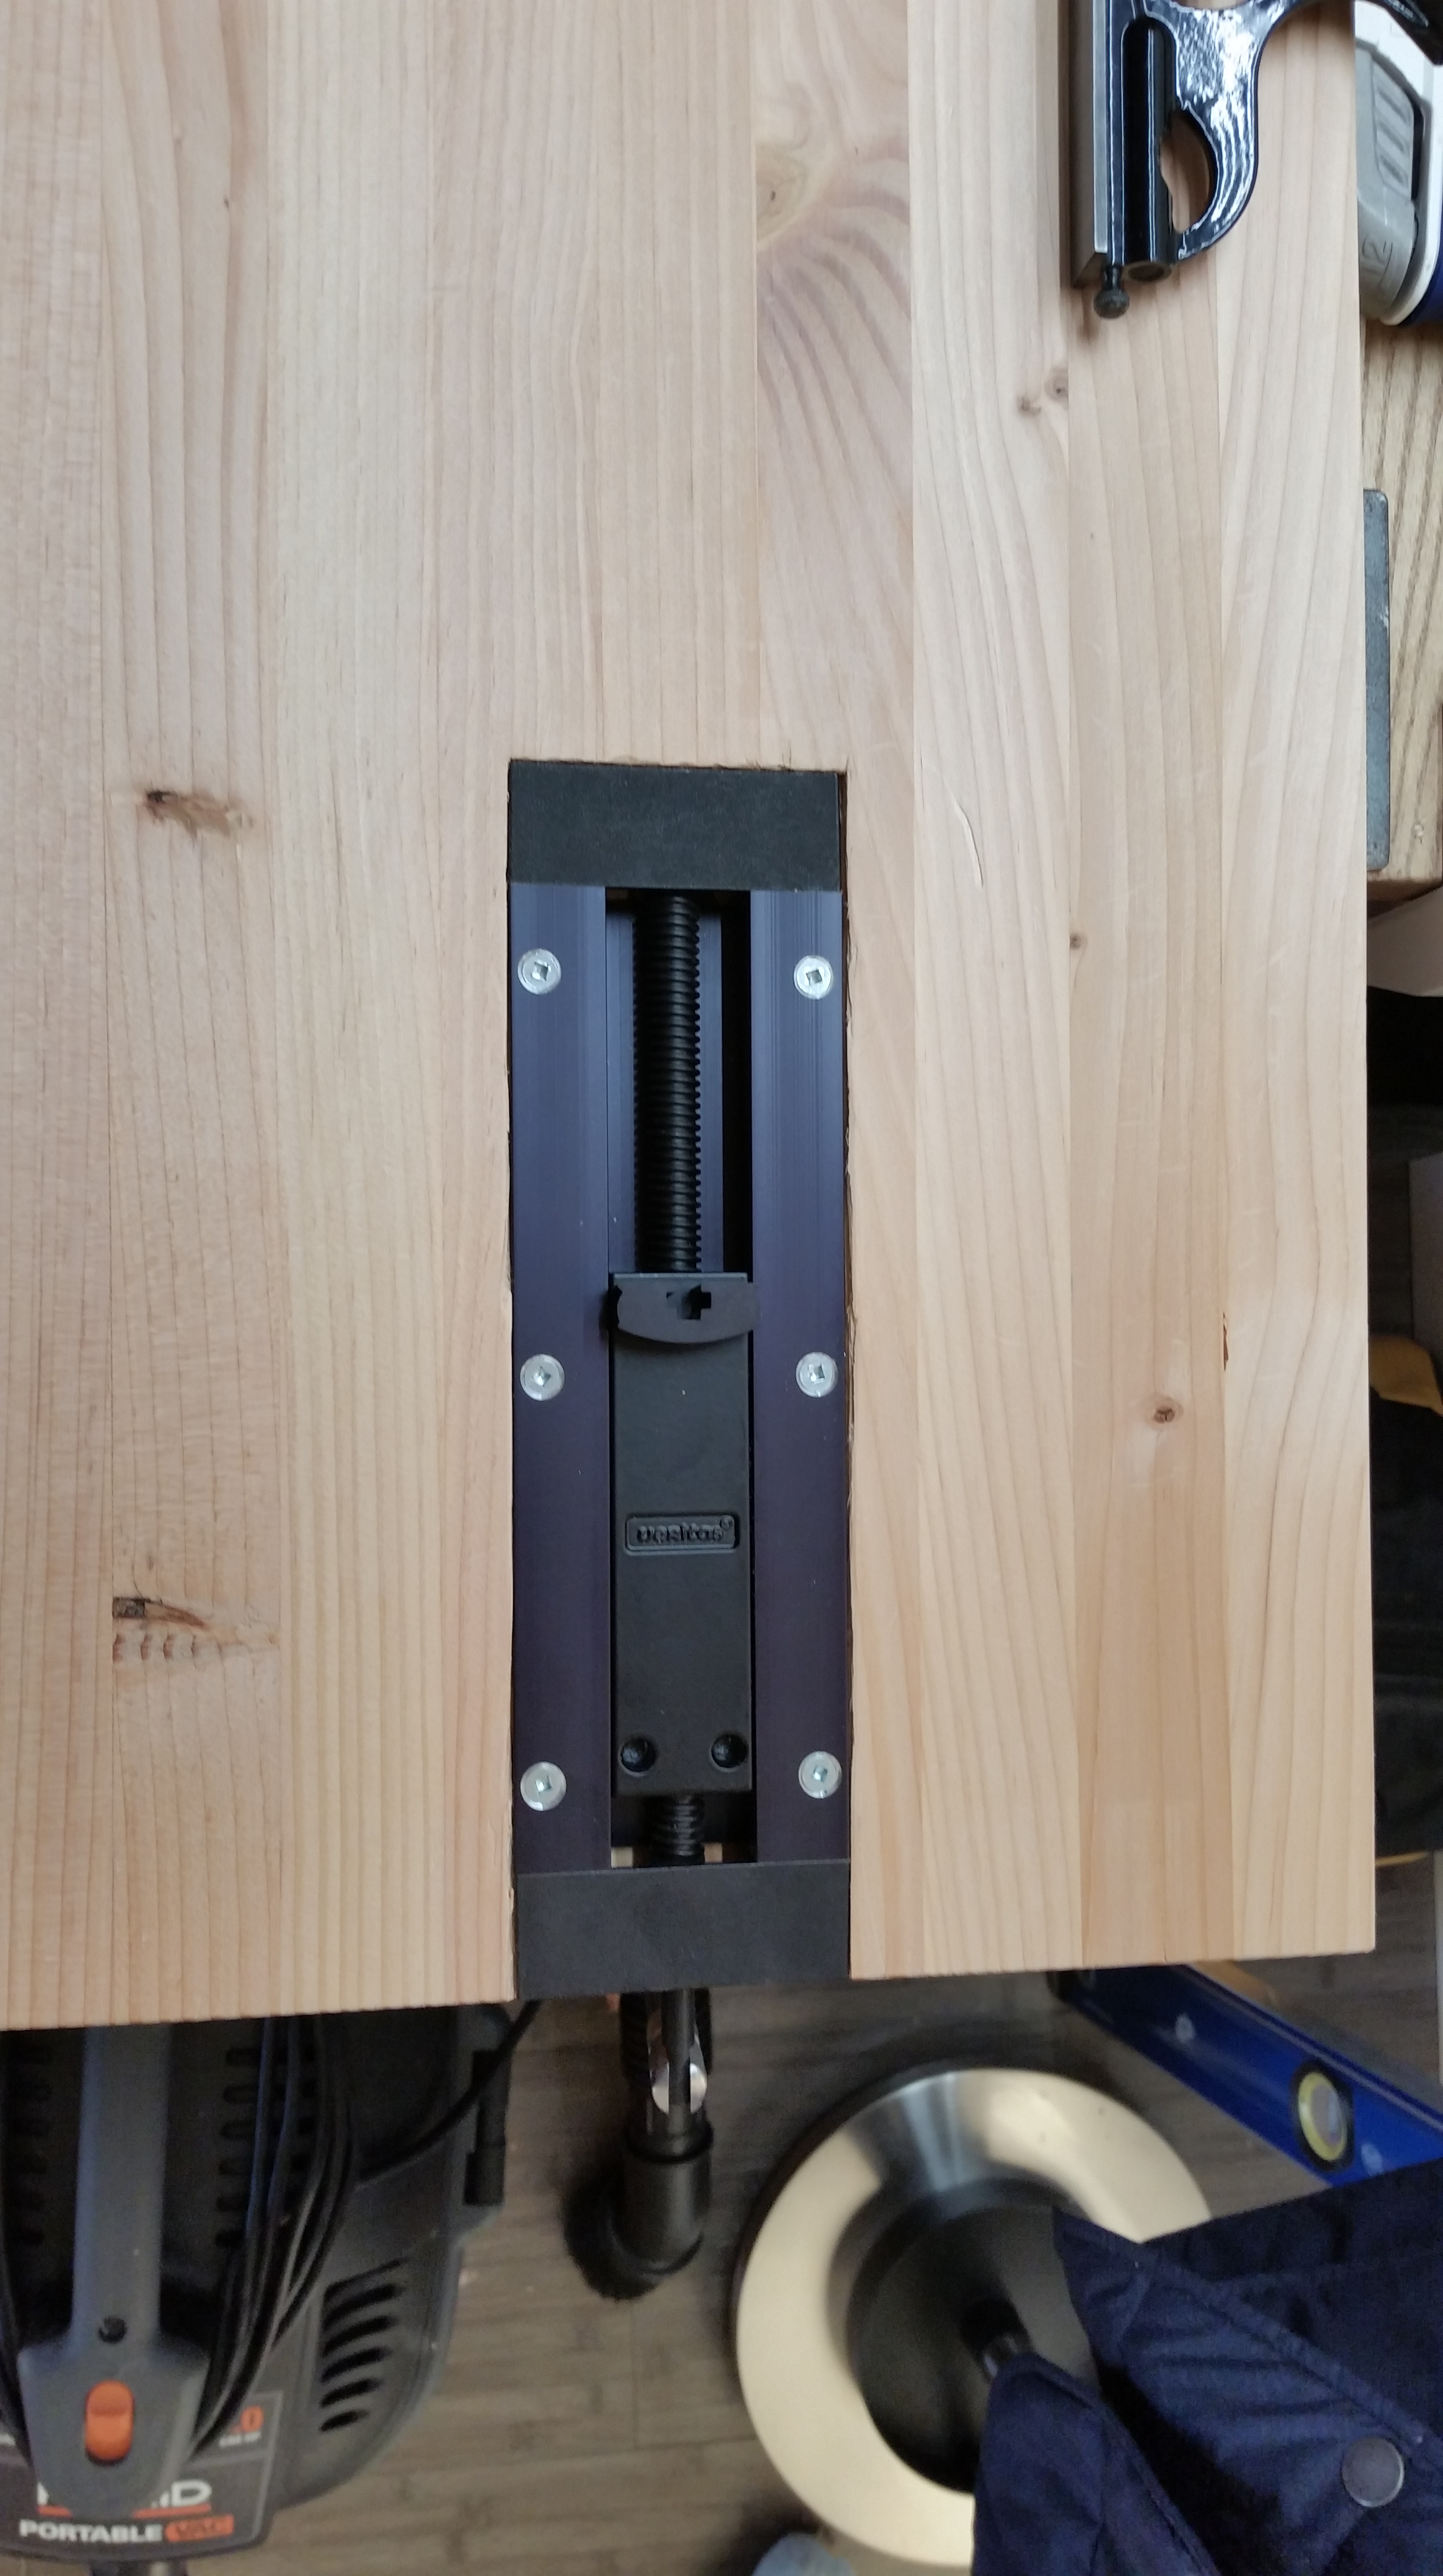
And clamps. Lots and lots of clamps. Always more clamps. In soft focus.
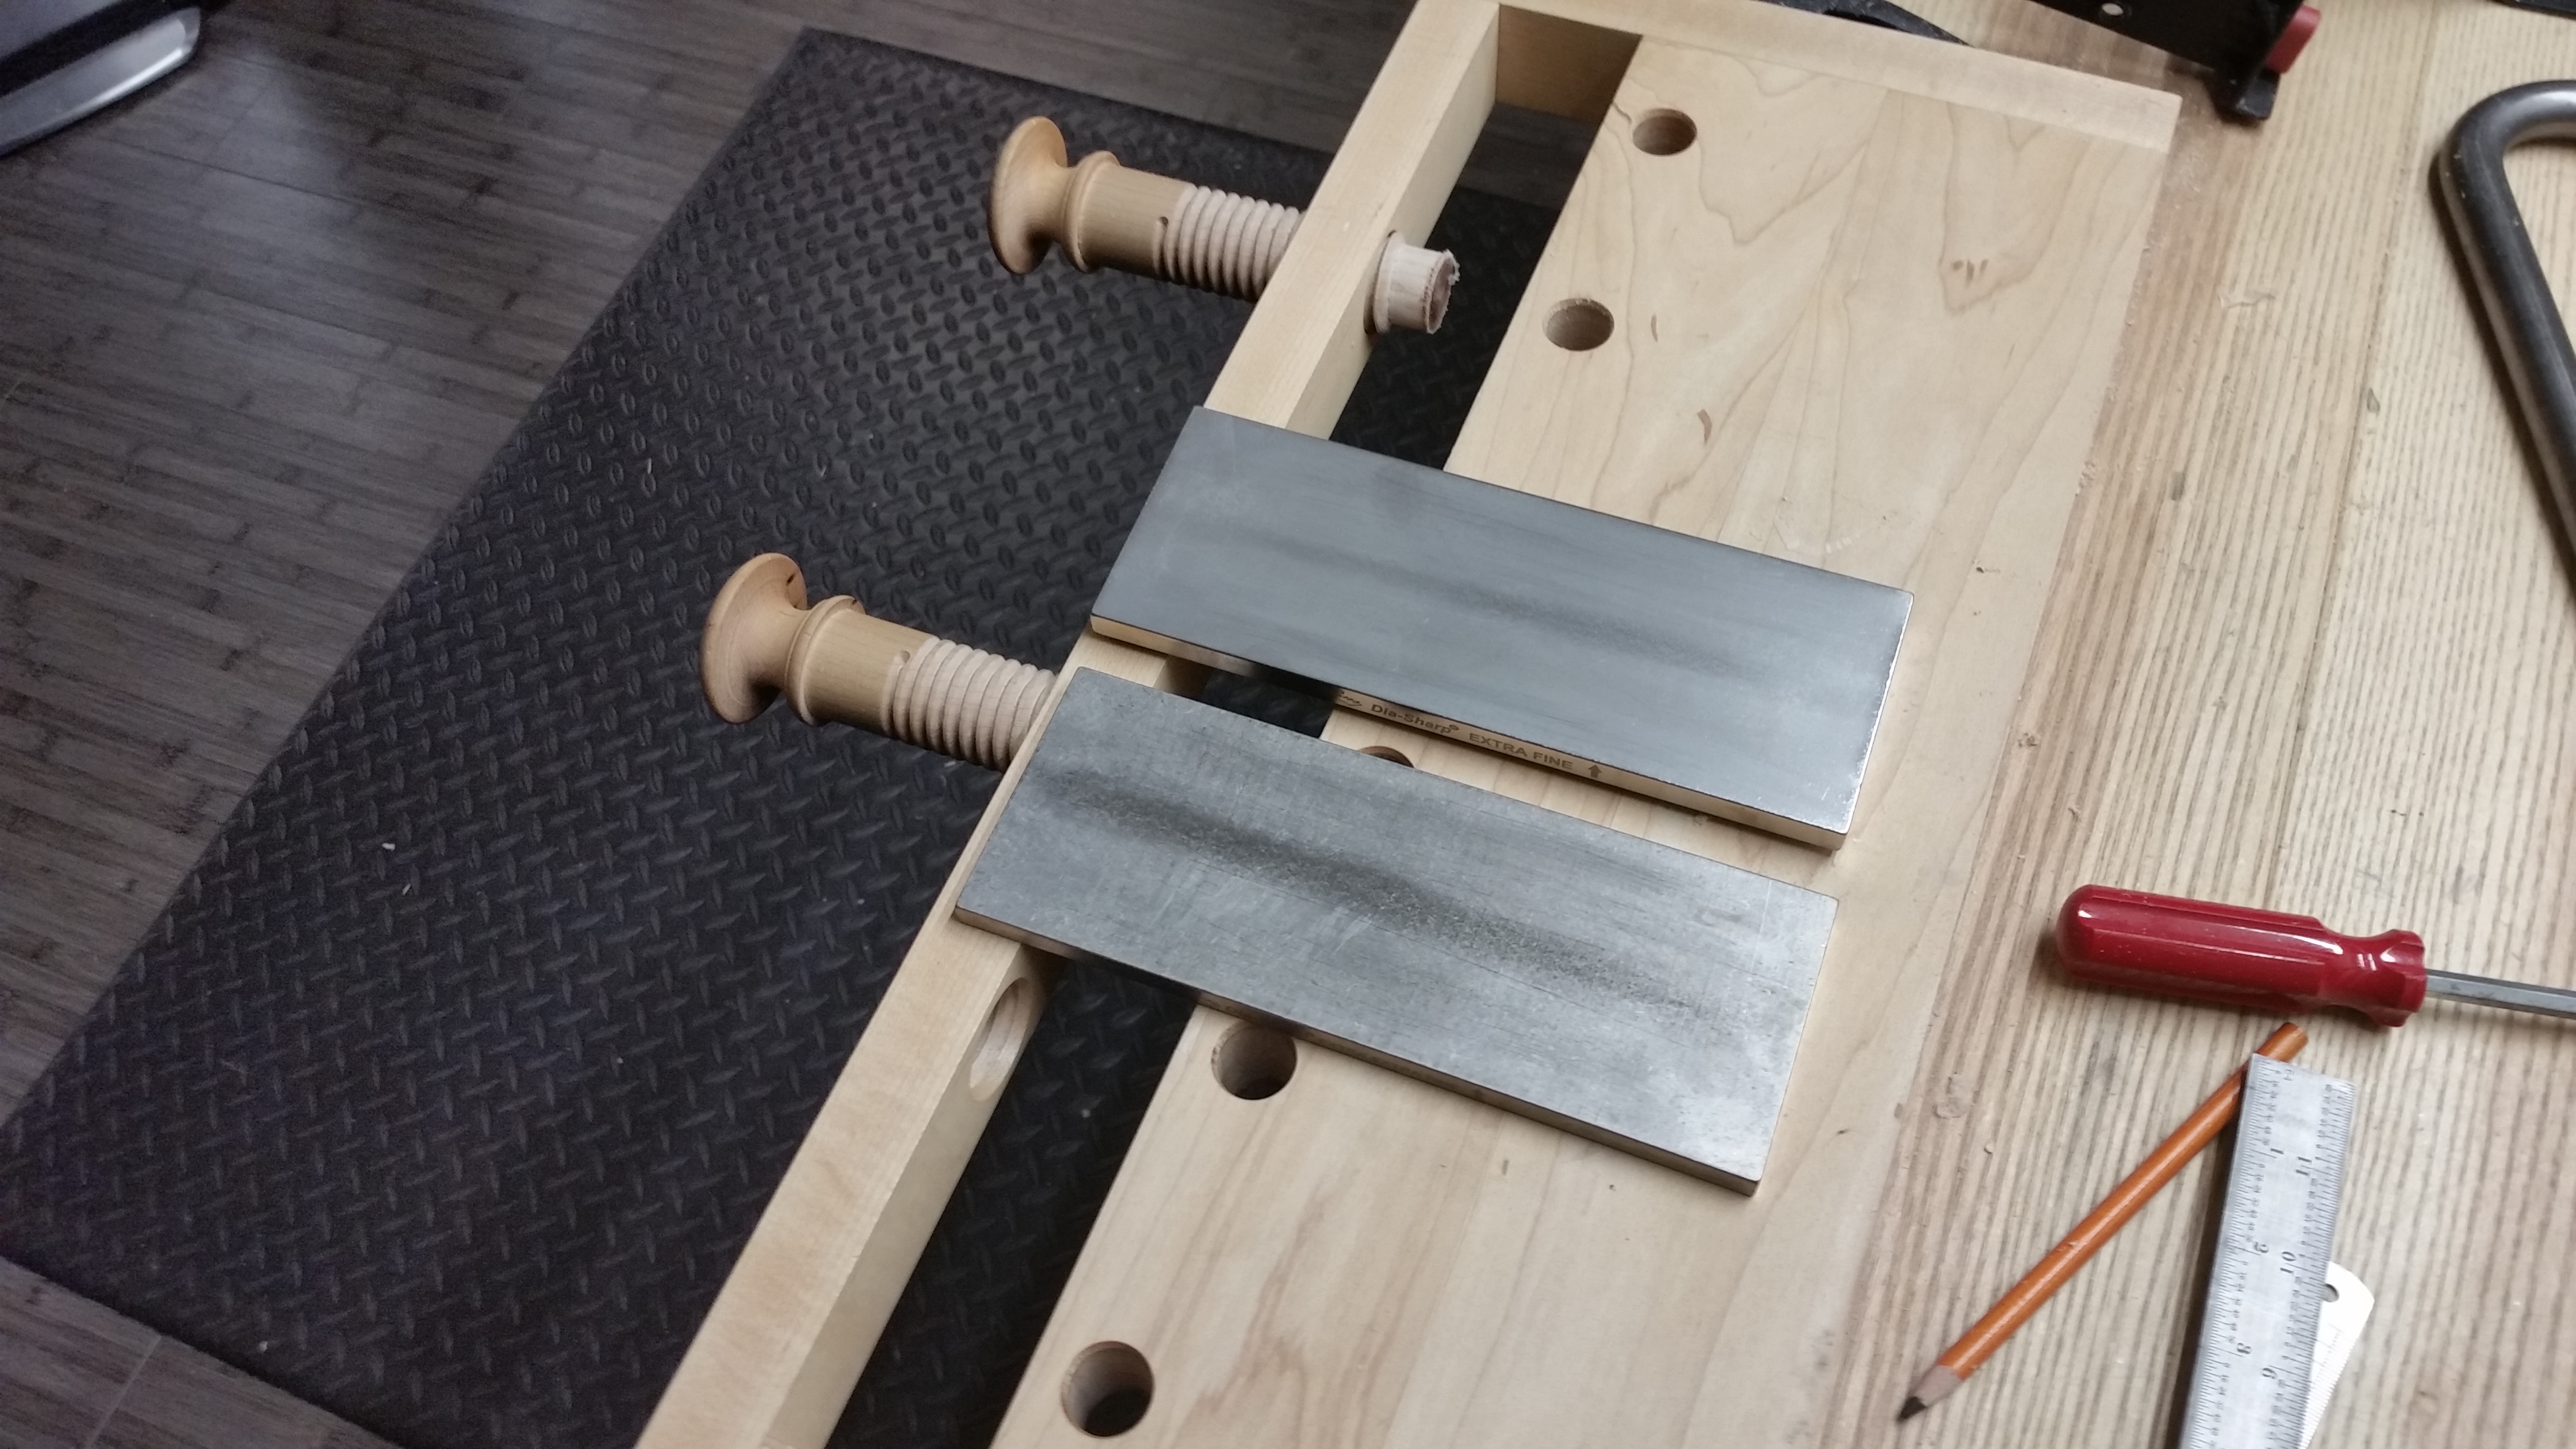
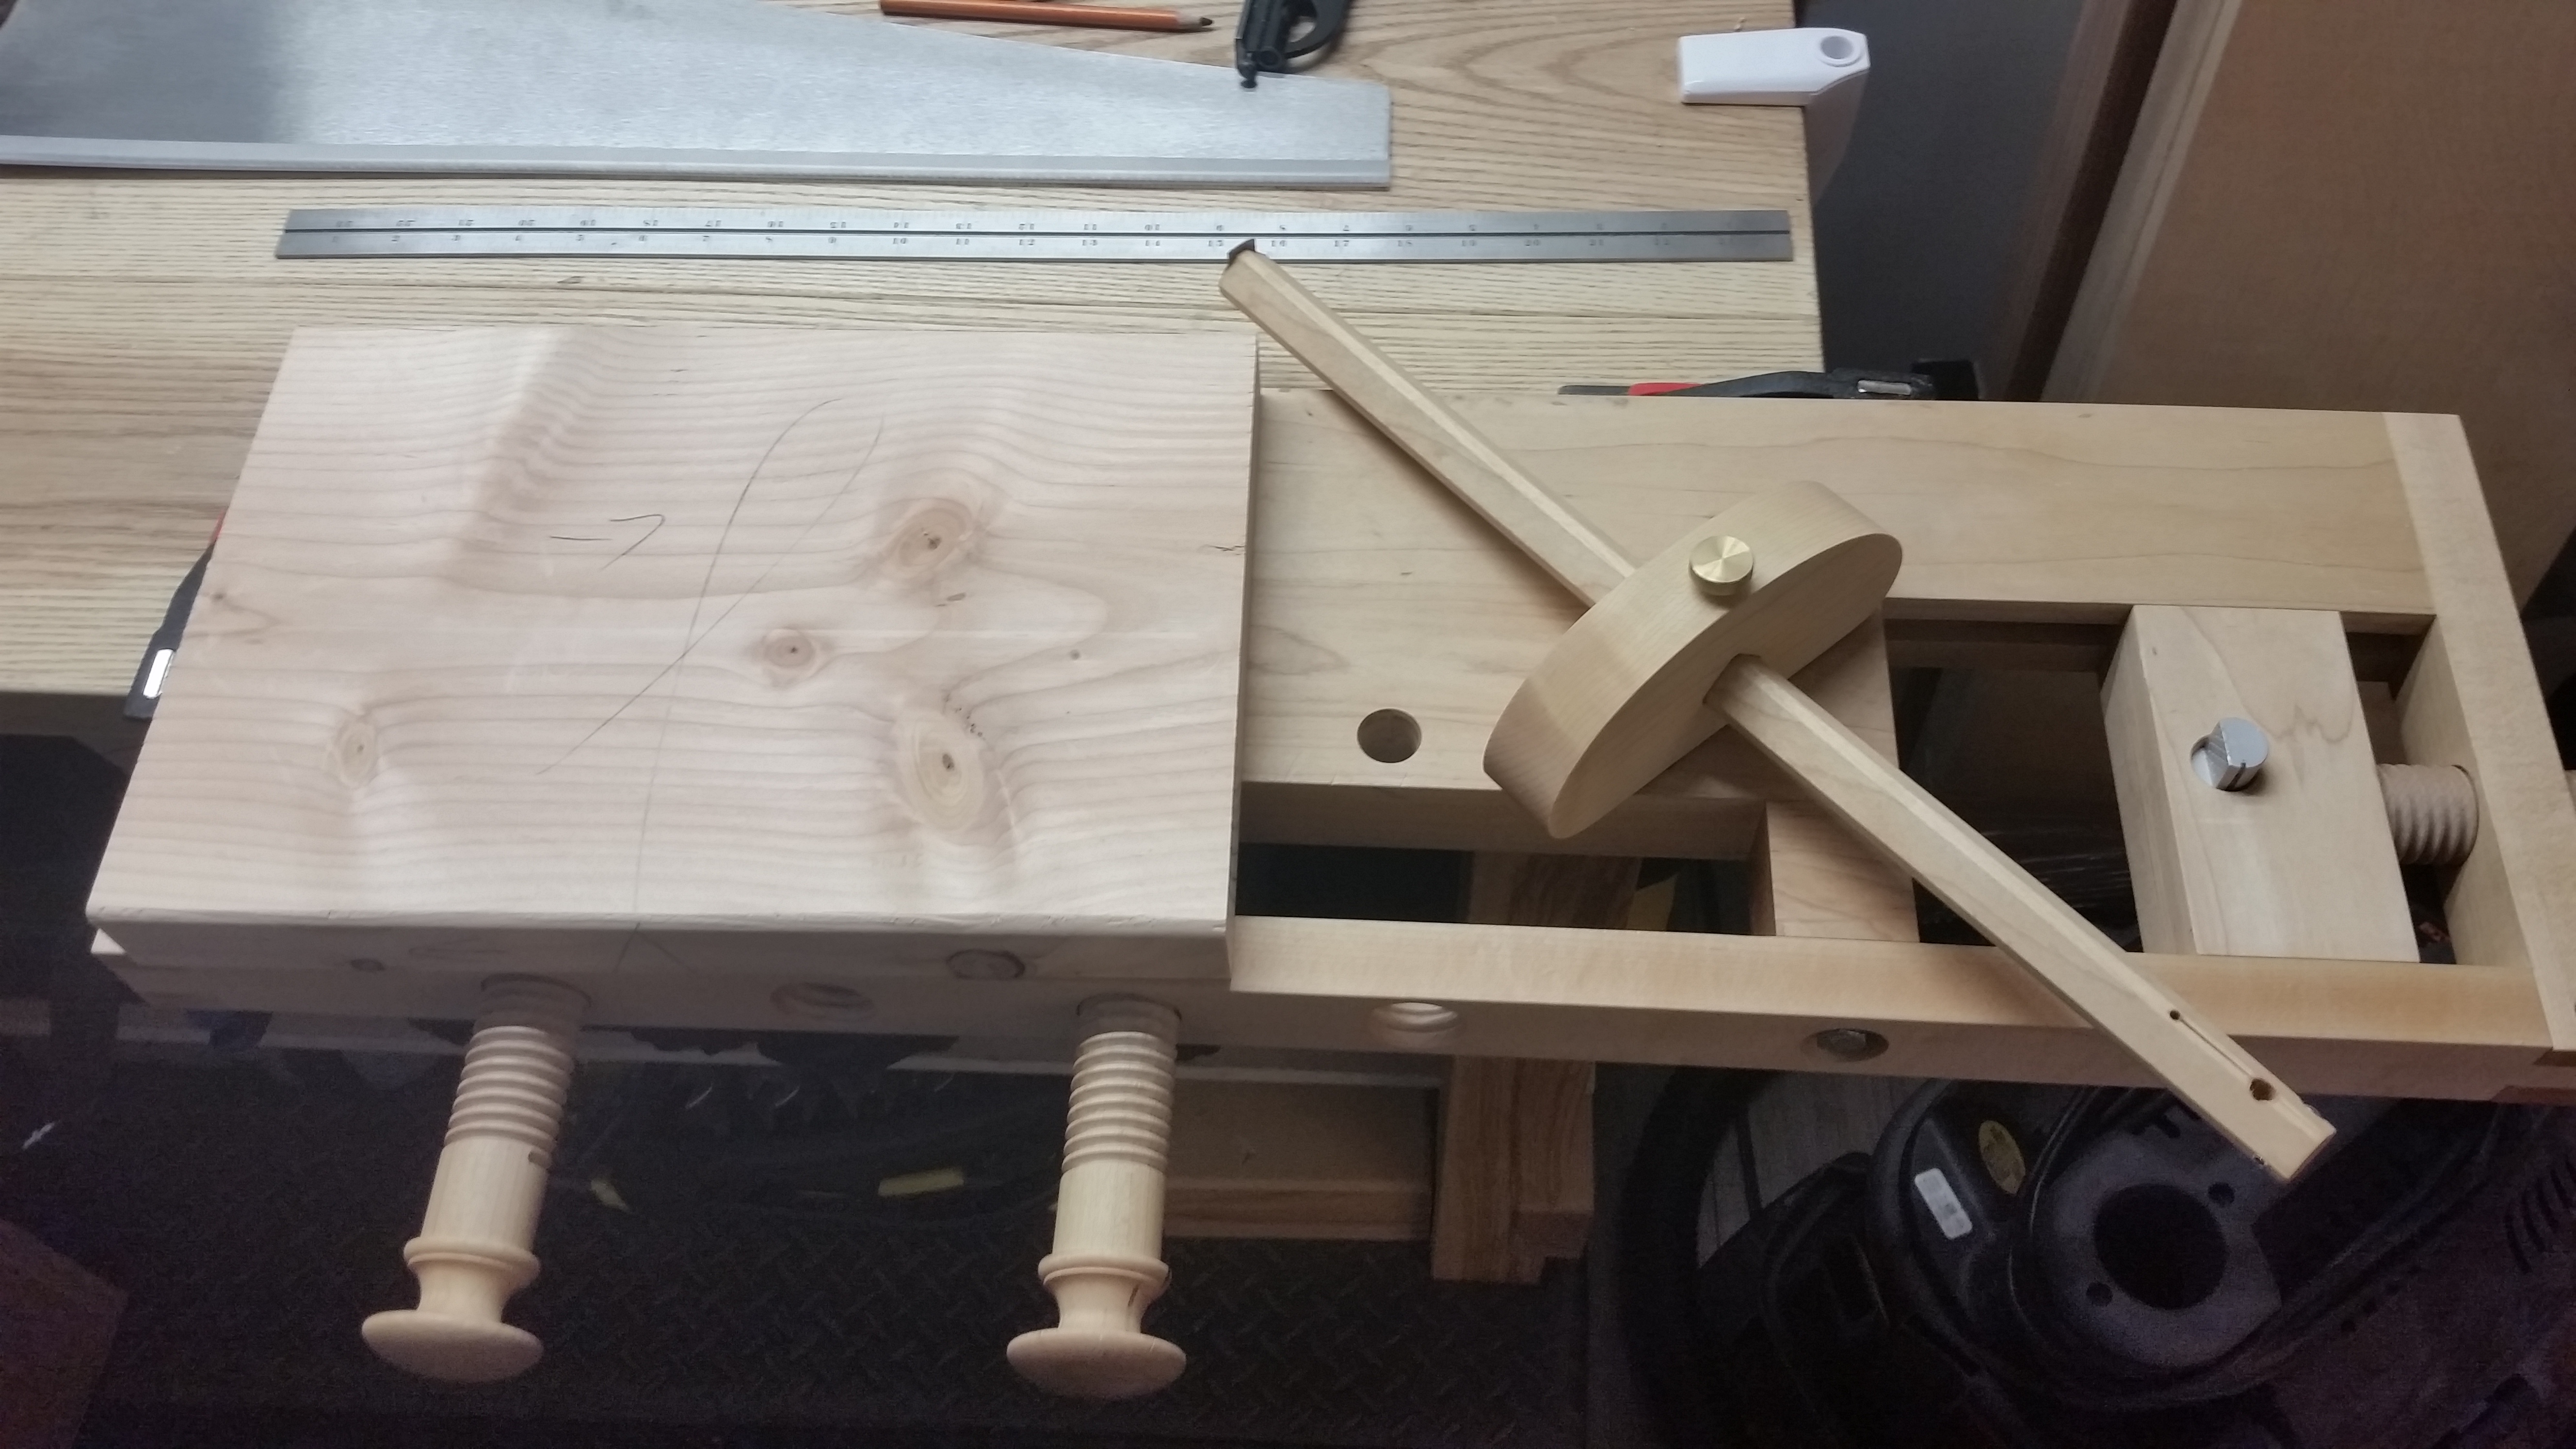
Learning to use these support items effectively is the other half of woodworking. Dull, poorly set tools are as much a threat to safety and success in the workshop as poor technique. So while I will enjoy the making more, I will also be thankful for the vises, sharpening stones, files, gauges, blade guards, rust prevention chemicals, and that sort of thing that make the making possible.
In sum: sharpen early and hone often; lubricate and polish regularly; protect edges always. Your tools and your projects will be better for it.
JPG