In a vulnerable and impressionable state the other day, I splurged on a new scrub plane. I’ve mostly gotten my retail therapy habit under control as of late, but in this case, the price point was too good to resist. I weighed the benefits of merely buying an extra iron for my No. 4, but without a bench grinder in my apartment, this seemed a less attractive option.

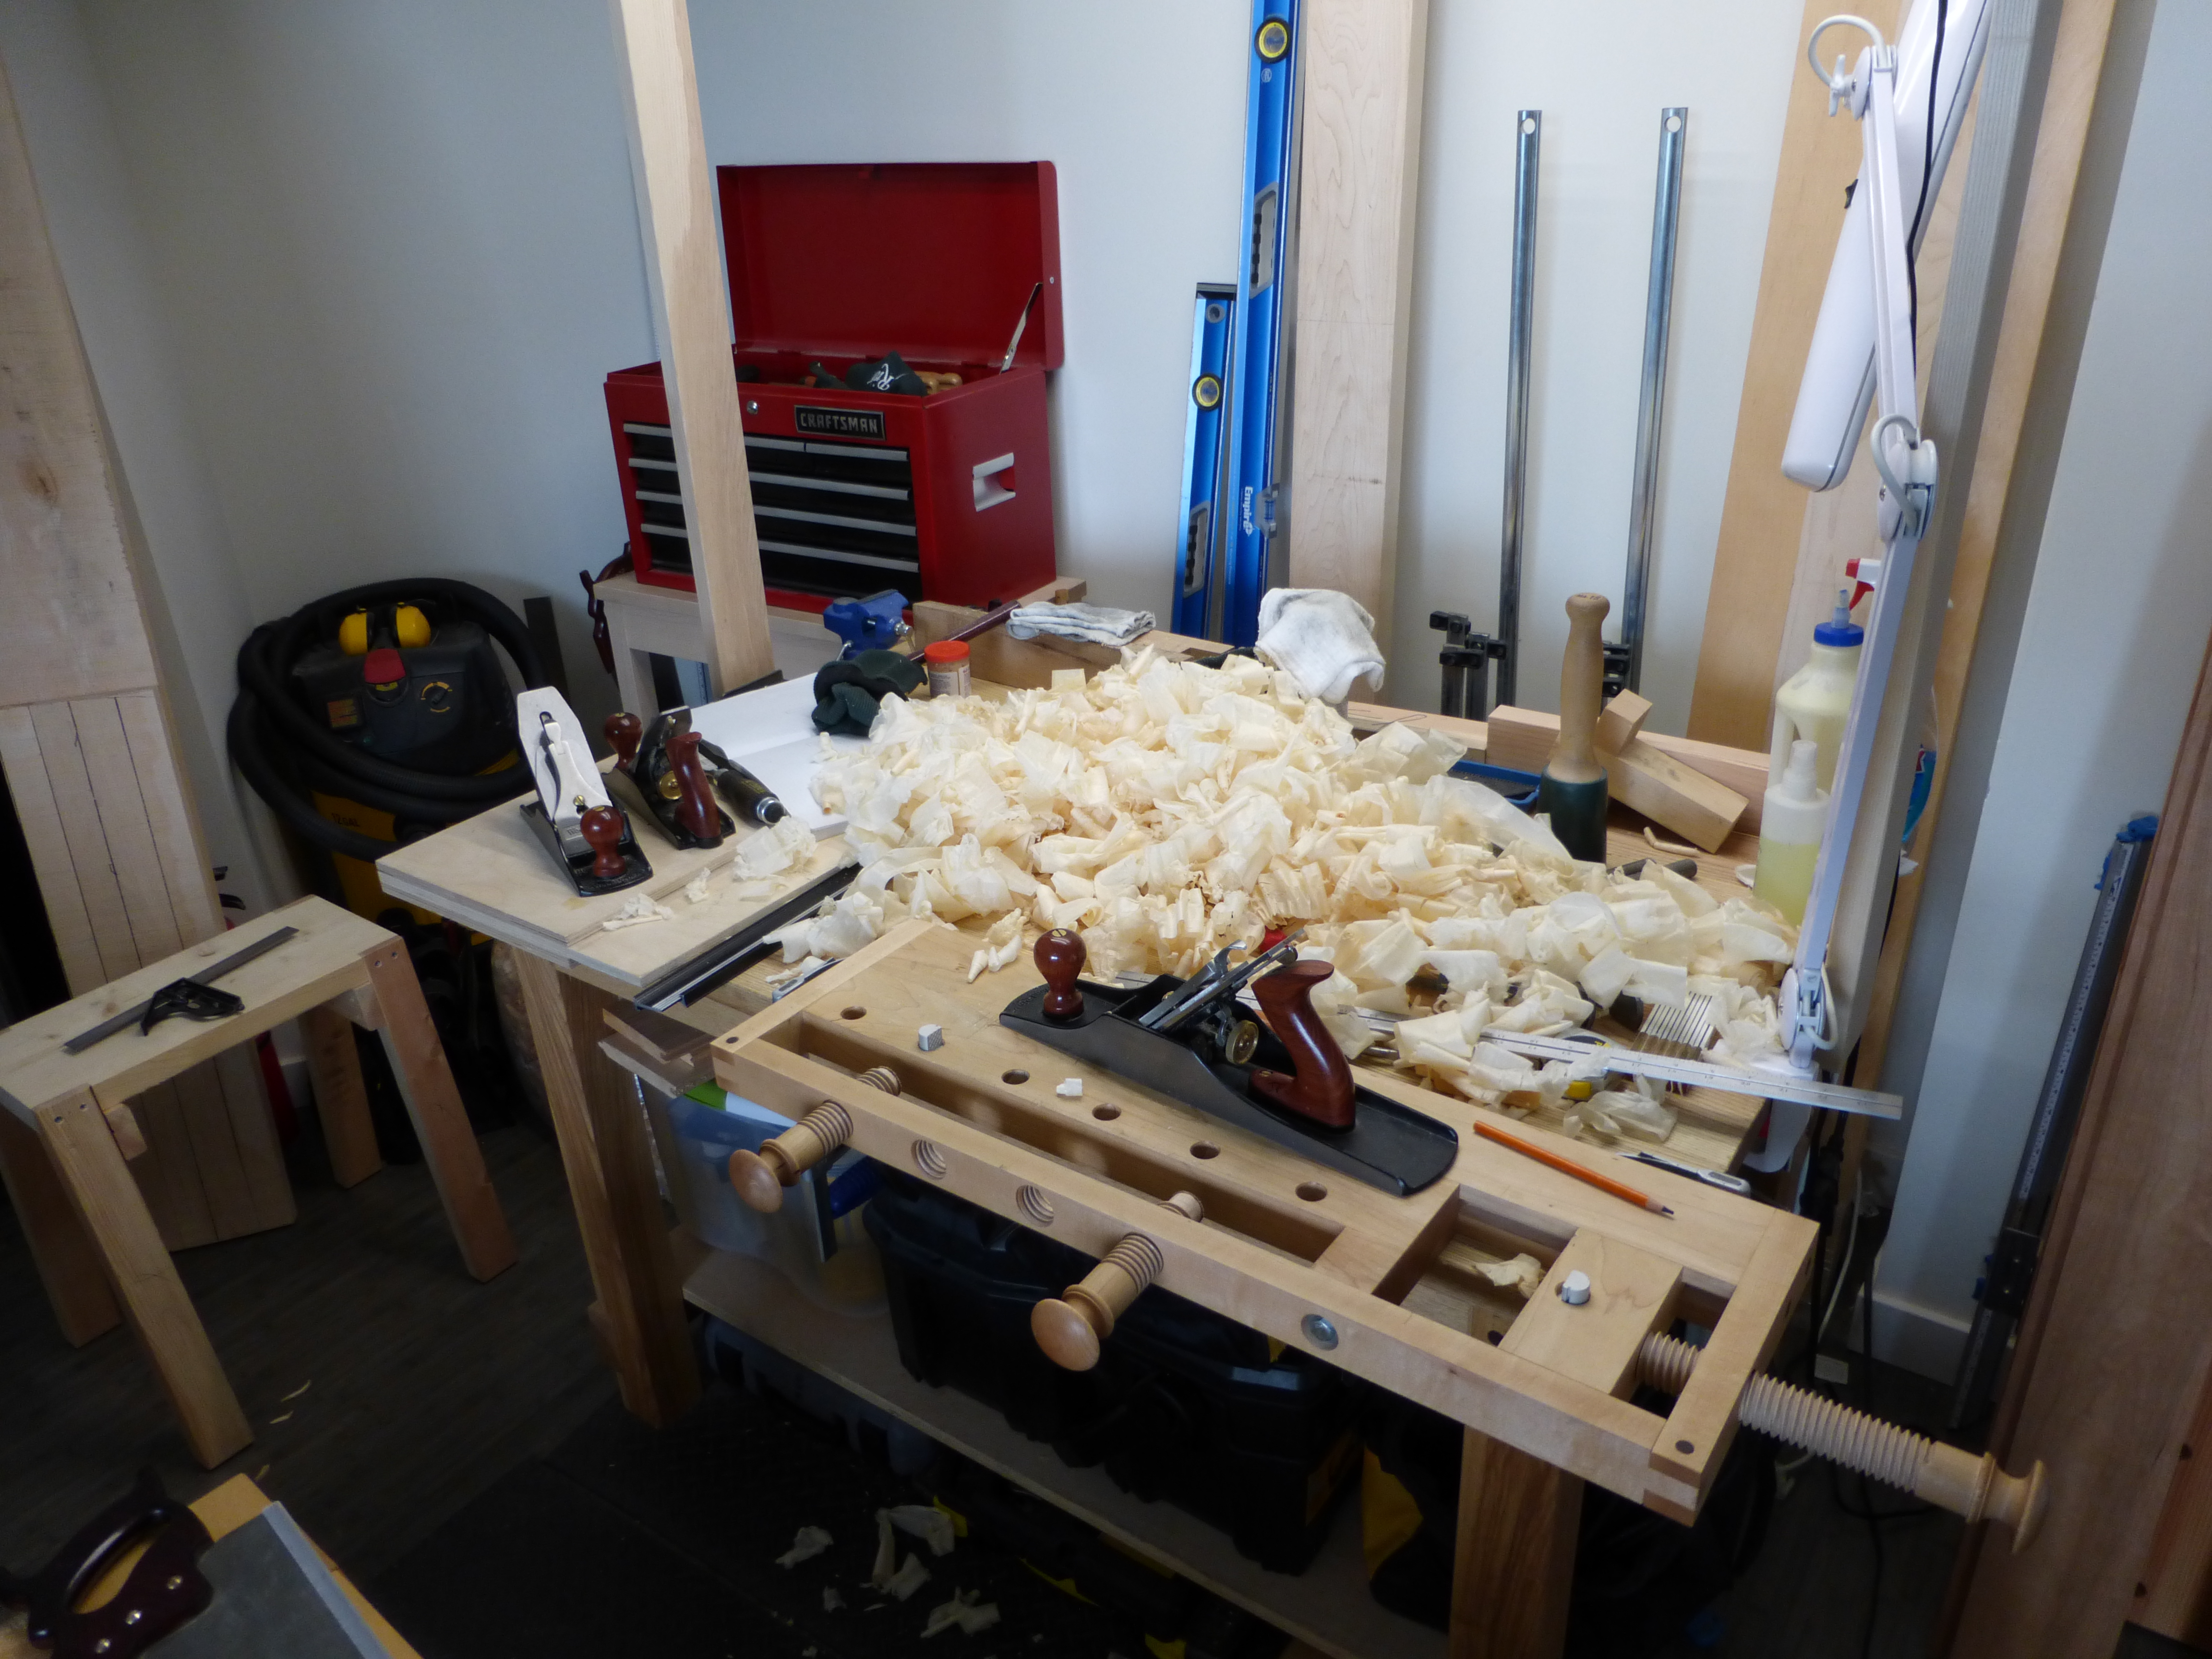
This is my favorite part of woodworking.
I’ve been managing well without a true scrub plane for a while. Lately, all my traversing is done with an exaggerated camber on a No. 4. This is perfectly fine for pines and softer hardwoods, but some upcoming hardwood projects (real hardwoods: oak, ash and maple) made it time for an upgrade. I’ll straighten the iron on my No.4 so it can return to general purpose/shooting duties.
What drove me over the edge, though – aside from over-tiredness and crushing existential dread – was taking down the width of several long boards, where the waste was not thick enough for hand-sawing away but was too much for even a heavy-set bench plane. So I splurged.
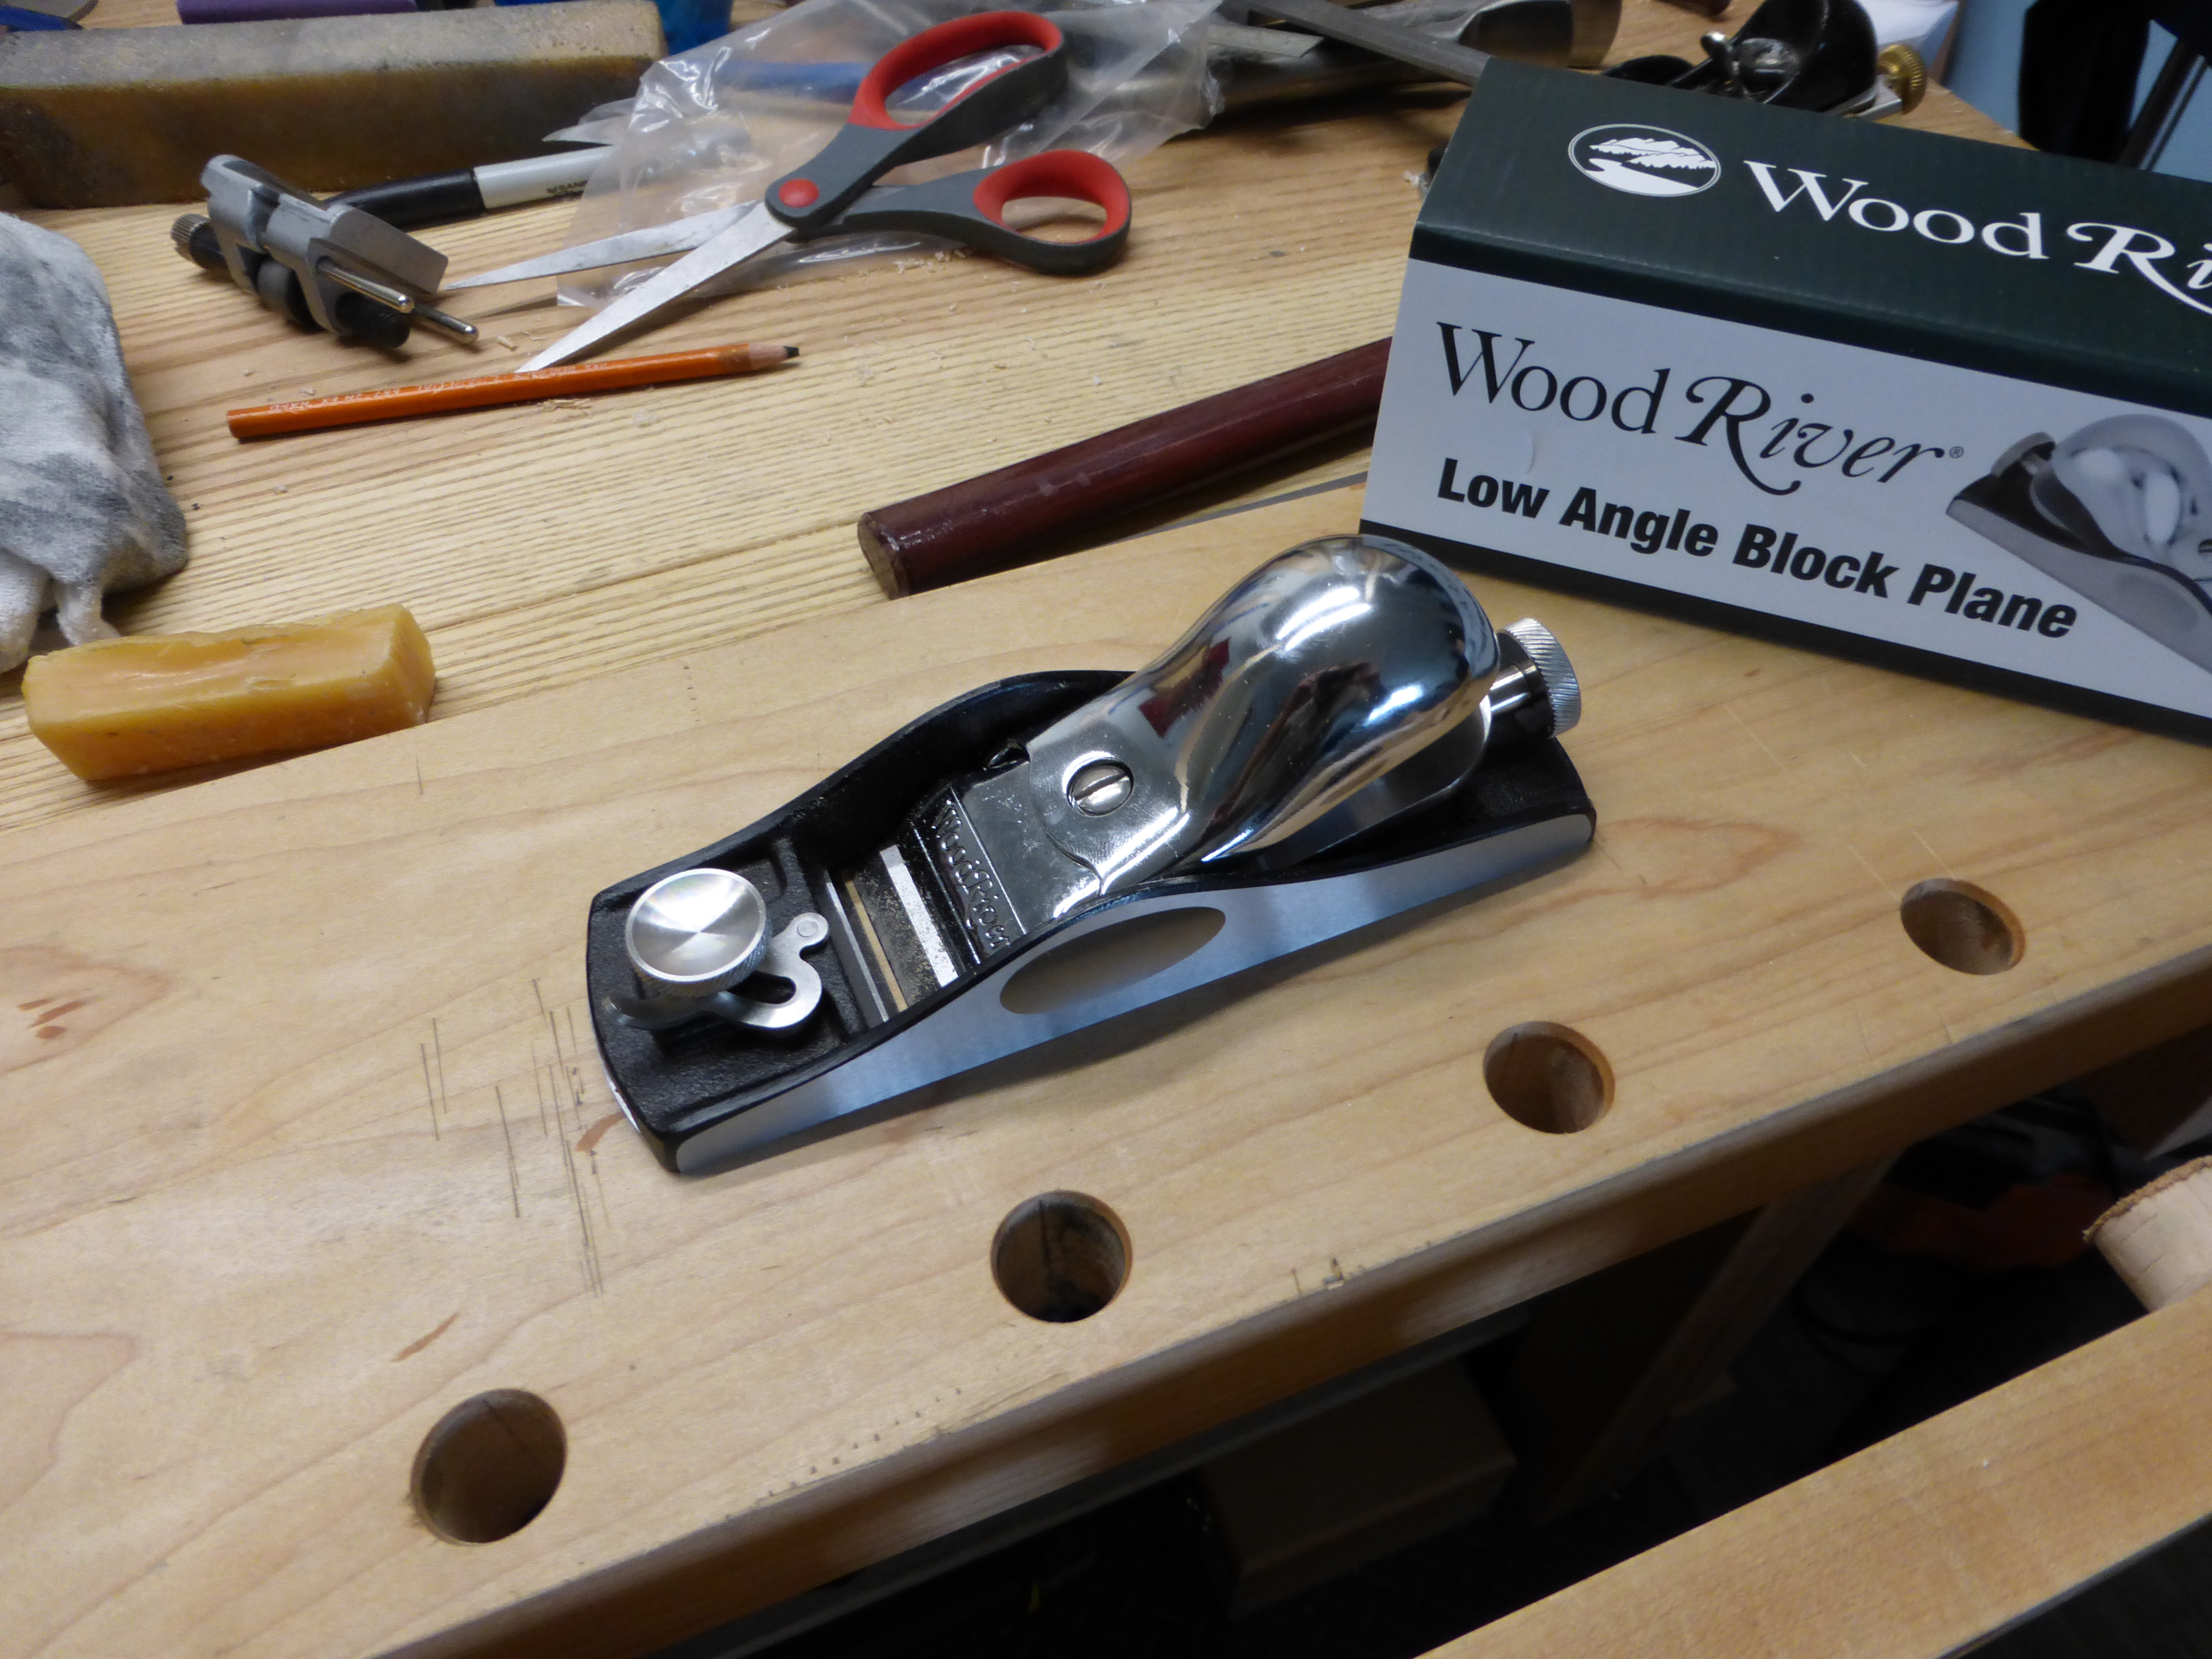
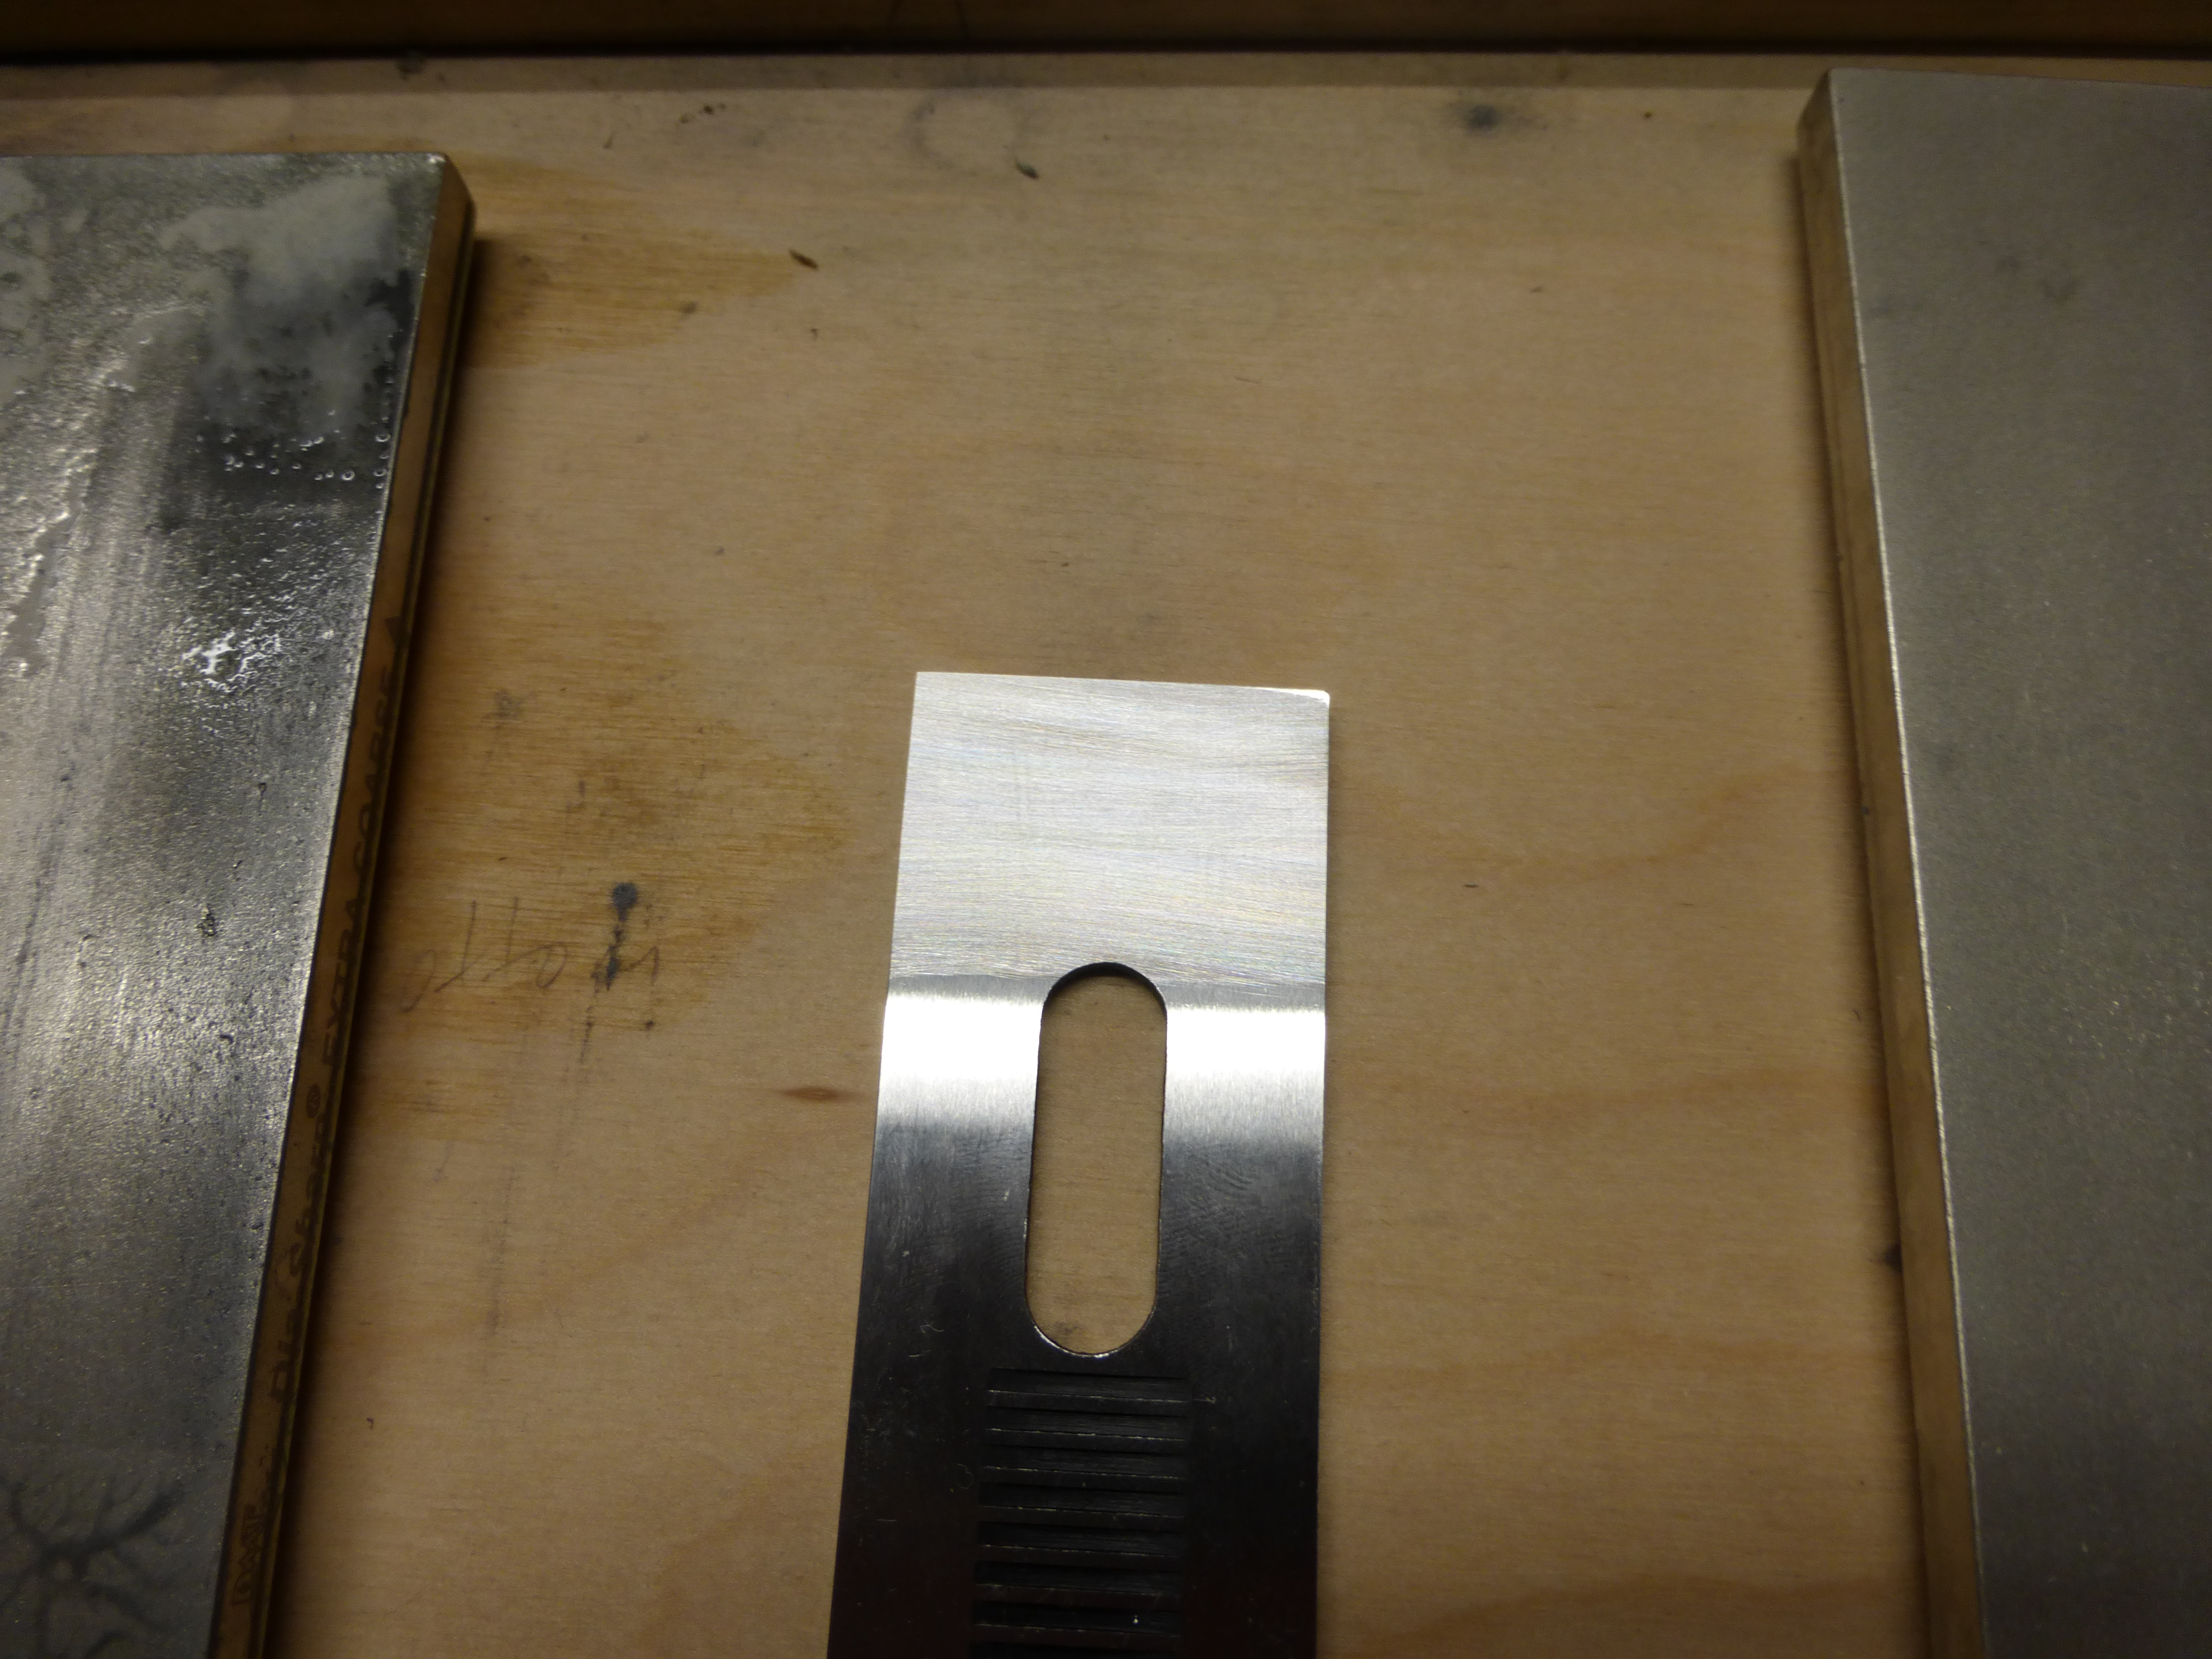
This is my first Lee Valley/Veritas plane. I own several of their saws (as well as some winding sticks, wheel marking gauges and other miscellany) and am always impressed with their quality and pricing. I was nonetheless blown away by how little tuning was required. Right out of the box, the sole was dead flat. As was the iron, which was already ground to radius (thankfully). After a mineral spirits wipedown to remove the shipping grease and a quick coat of T-9, I assumed all the plane would need is a secondary bevel on the iron before taking shavings.
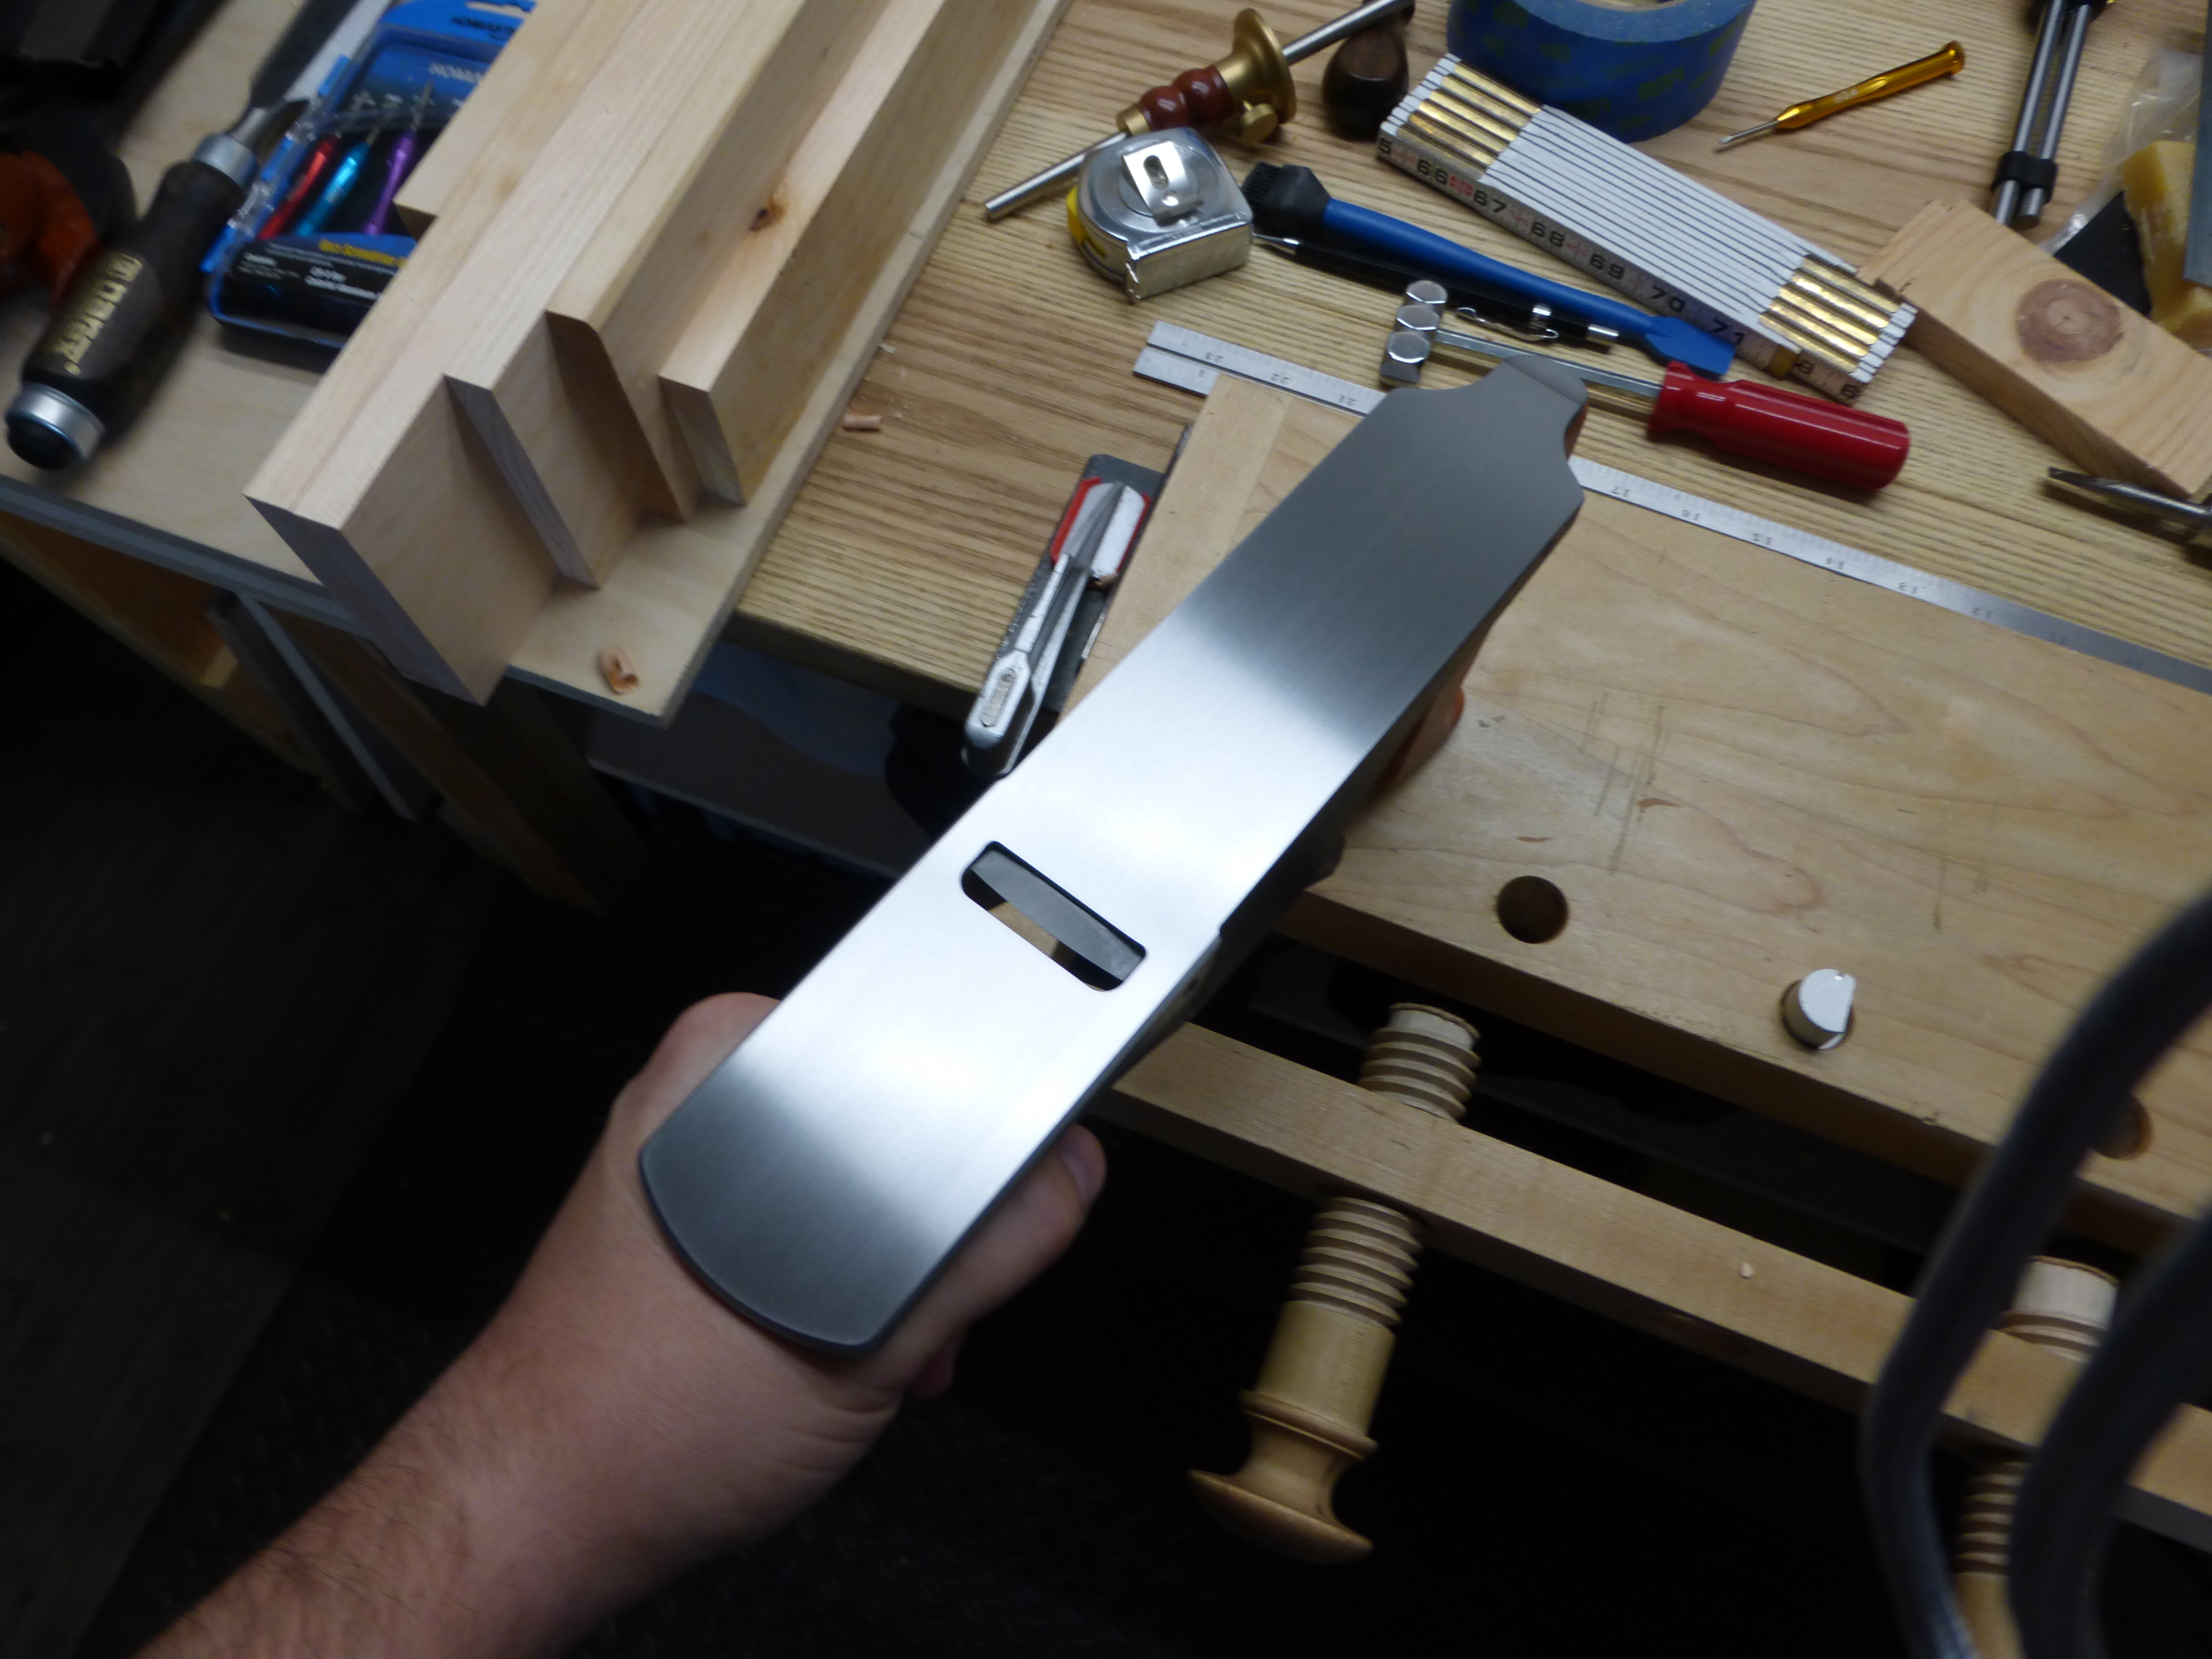
The quality of machining is such a joy.
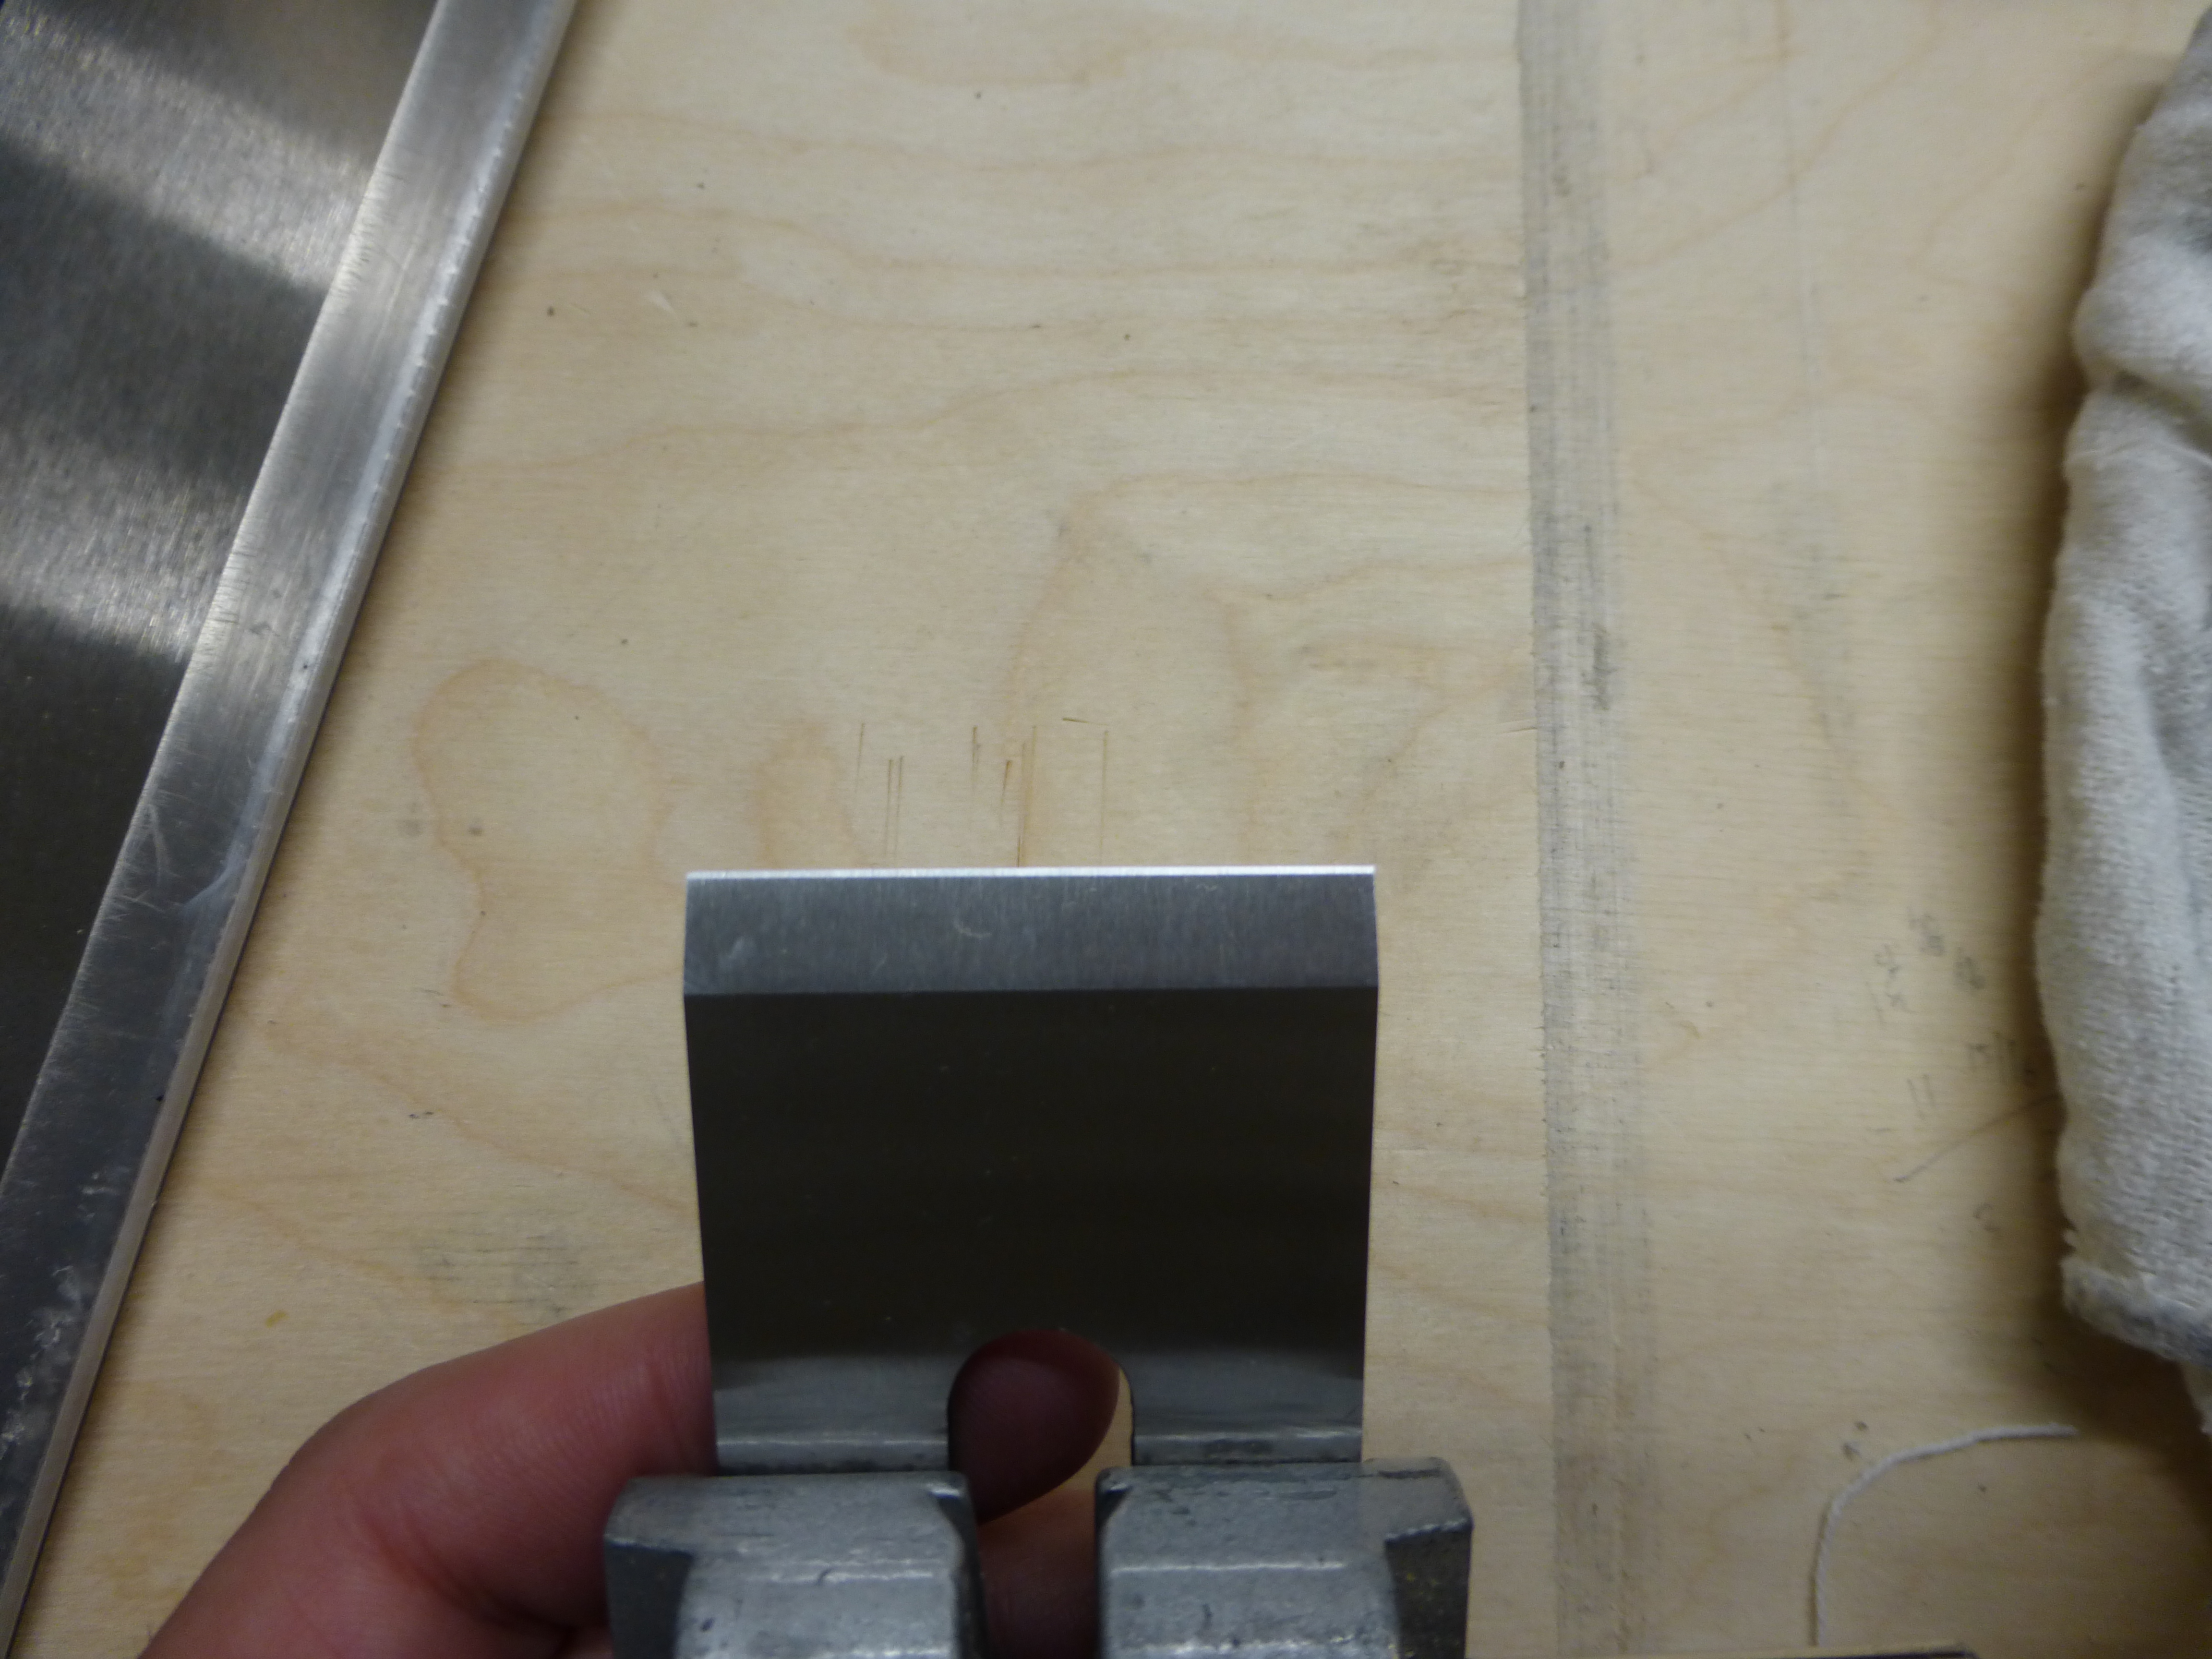
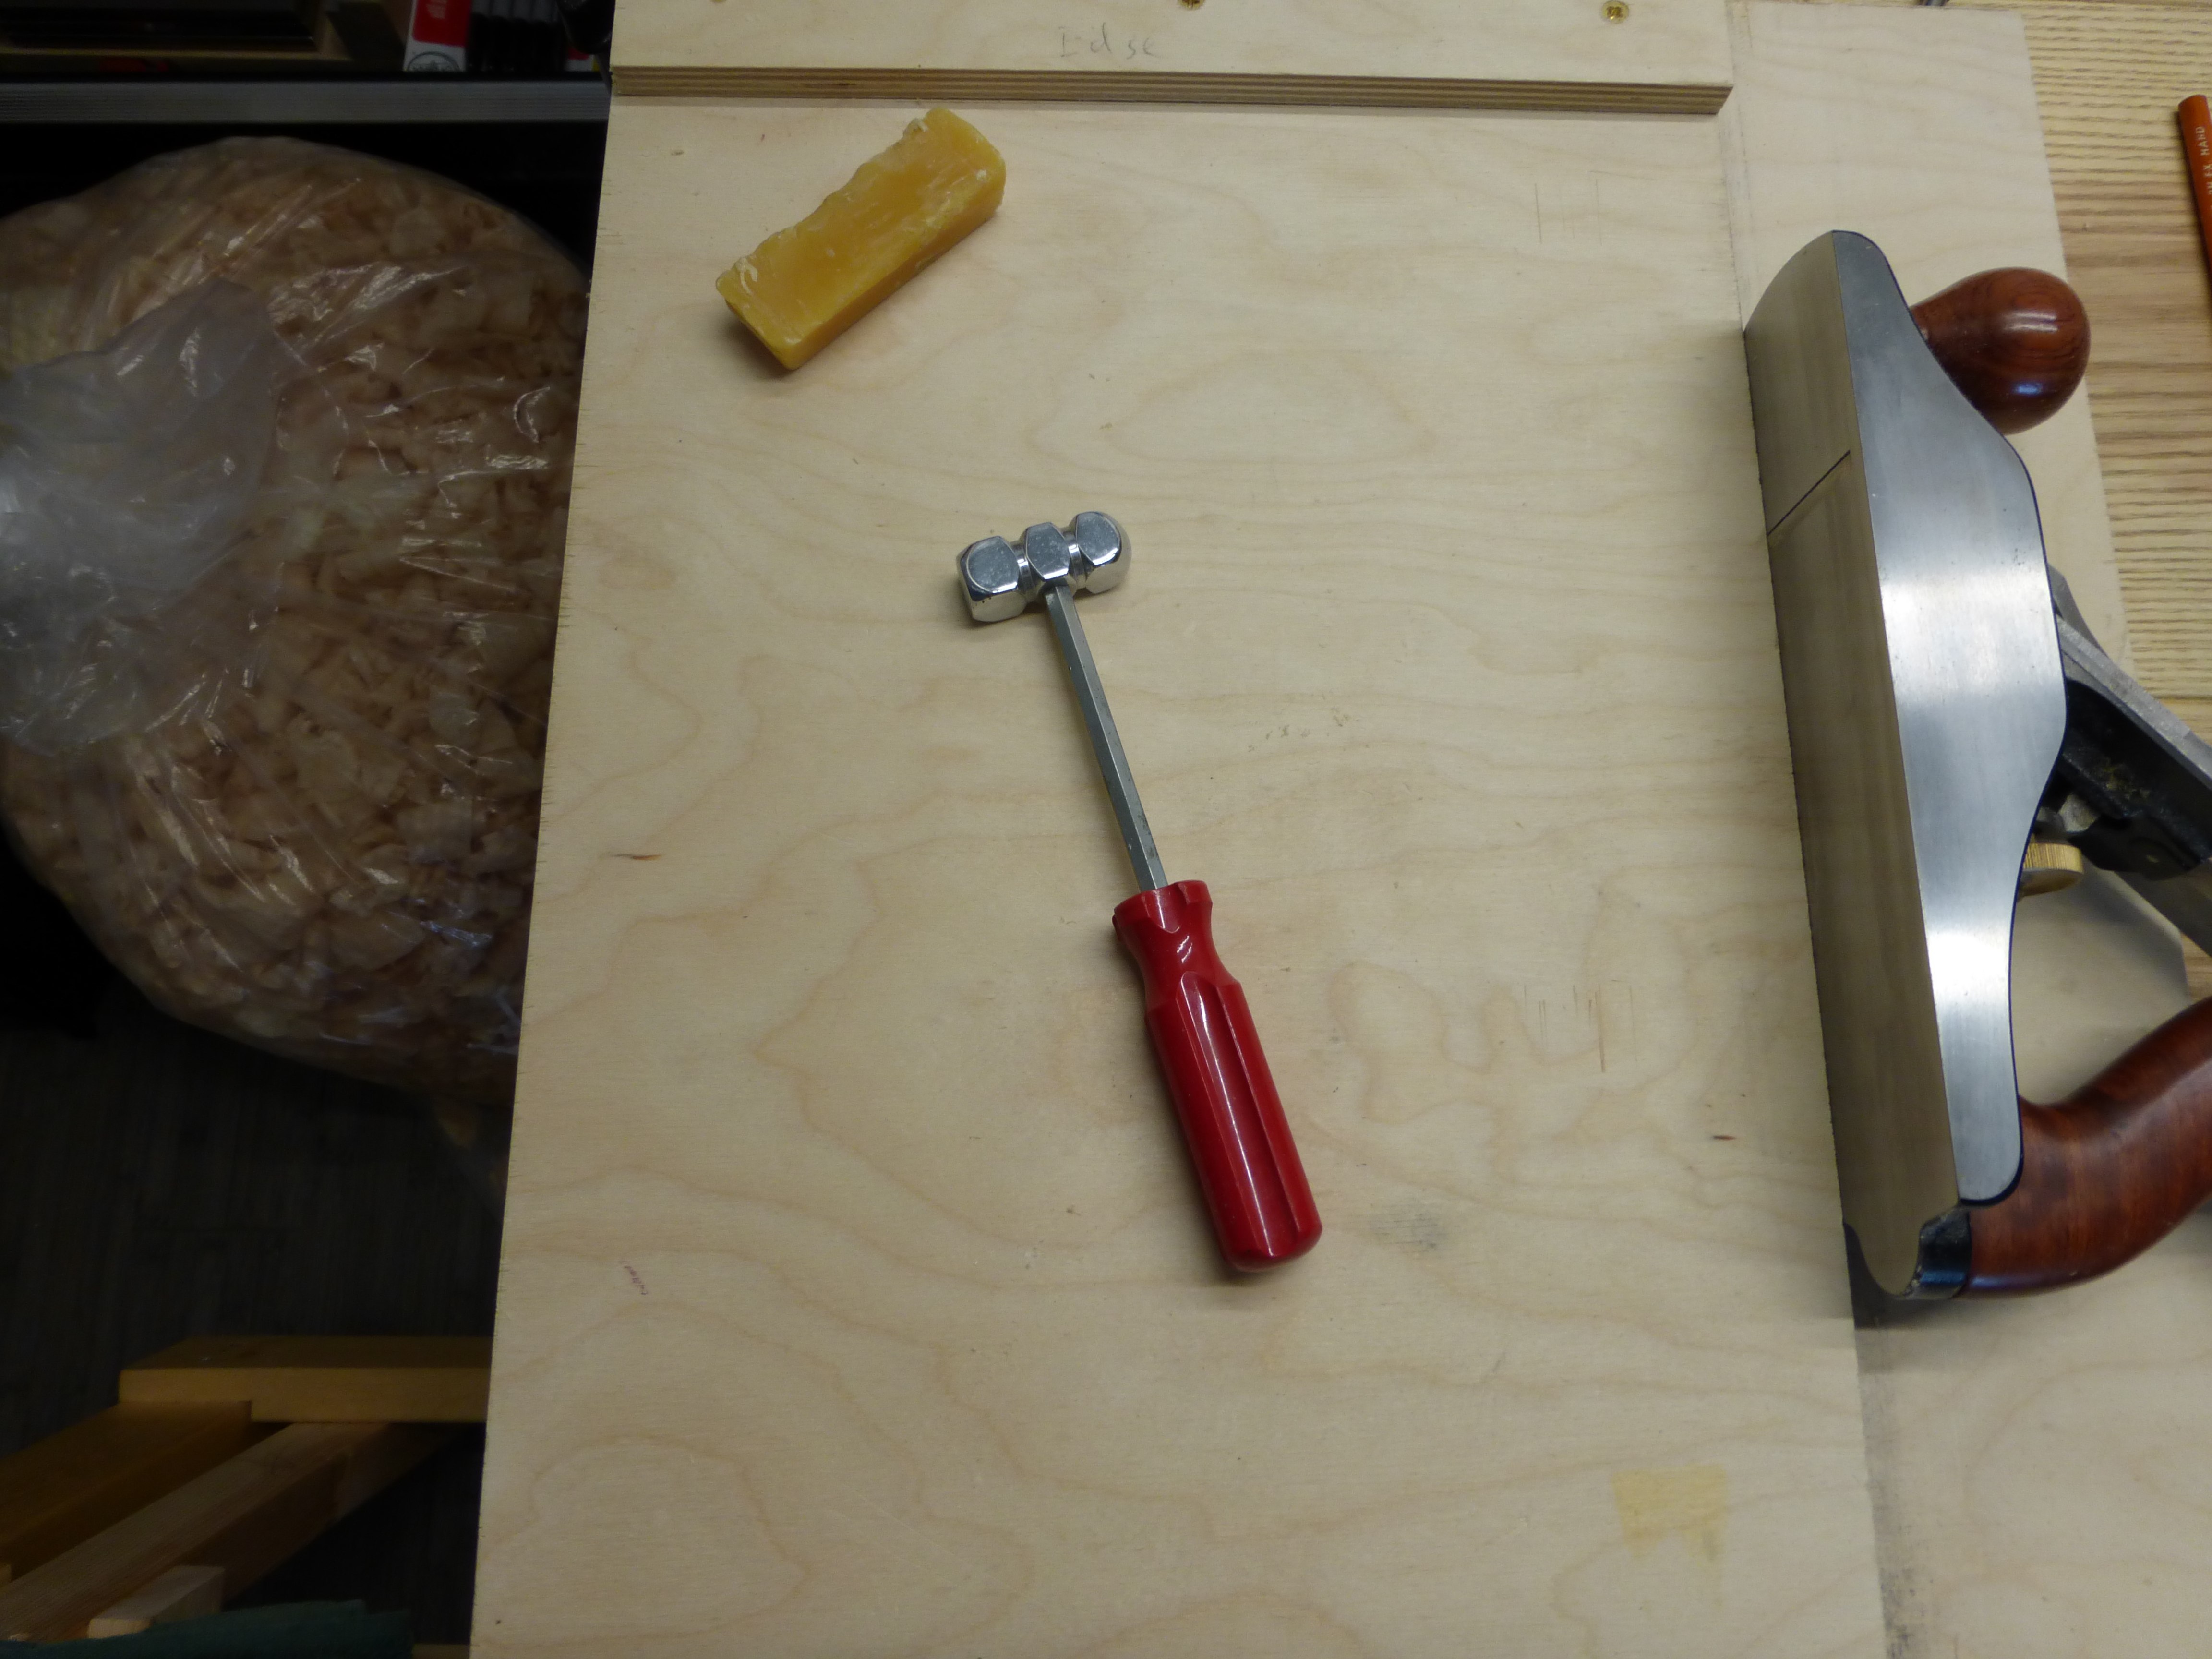
Christopher Schwarz did a great blog post on scrub plane iron sharpening a while back that demystified the process. I am always grateful for his wisdom. A quick thumbnail test, though, revealed the iron was already rather sharp. I could polish it further, but “well enough alone” is the rule of my apartment woodworking shop. I literally just had to center the blade and tighten down the set screws before the plane was ready for use.
Overall, so far so good. I will post a follow-up with some pictures once I’ve had a chance to take shavings.
JPG