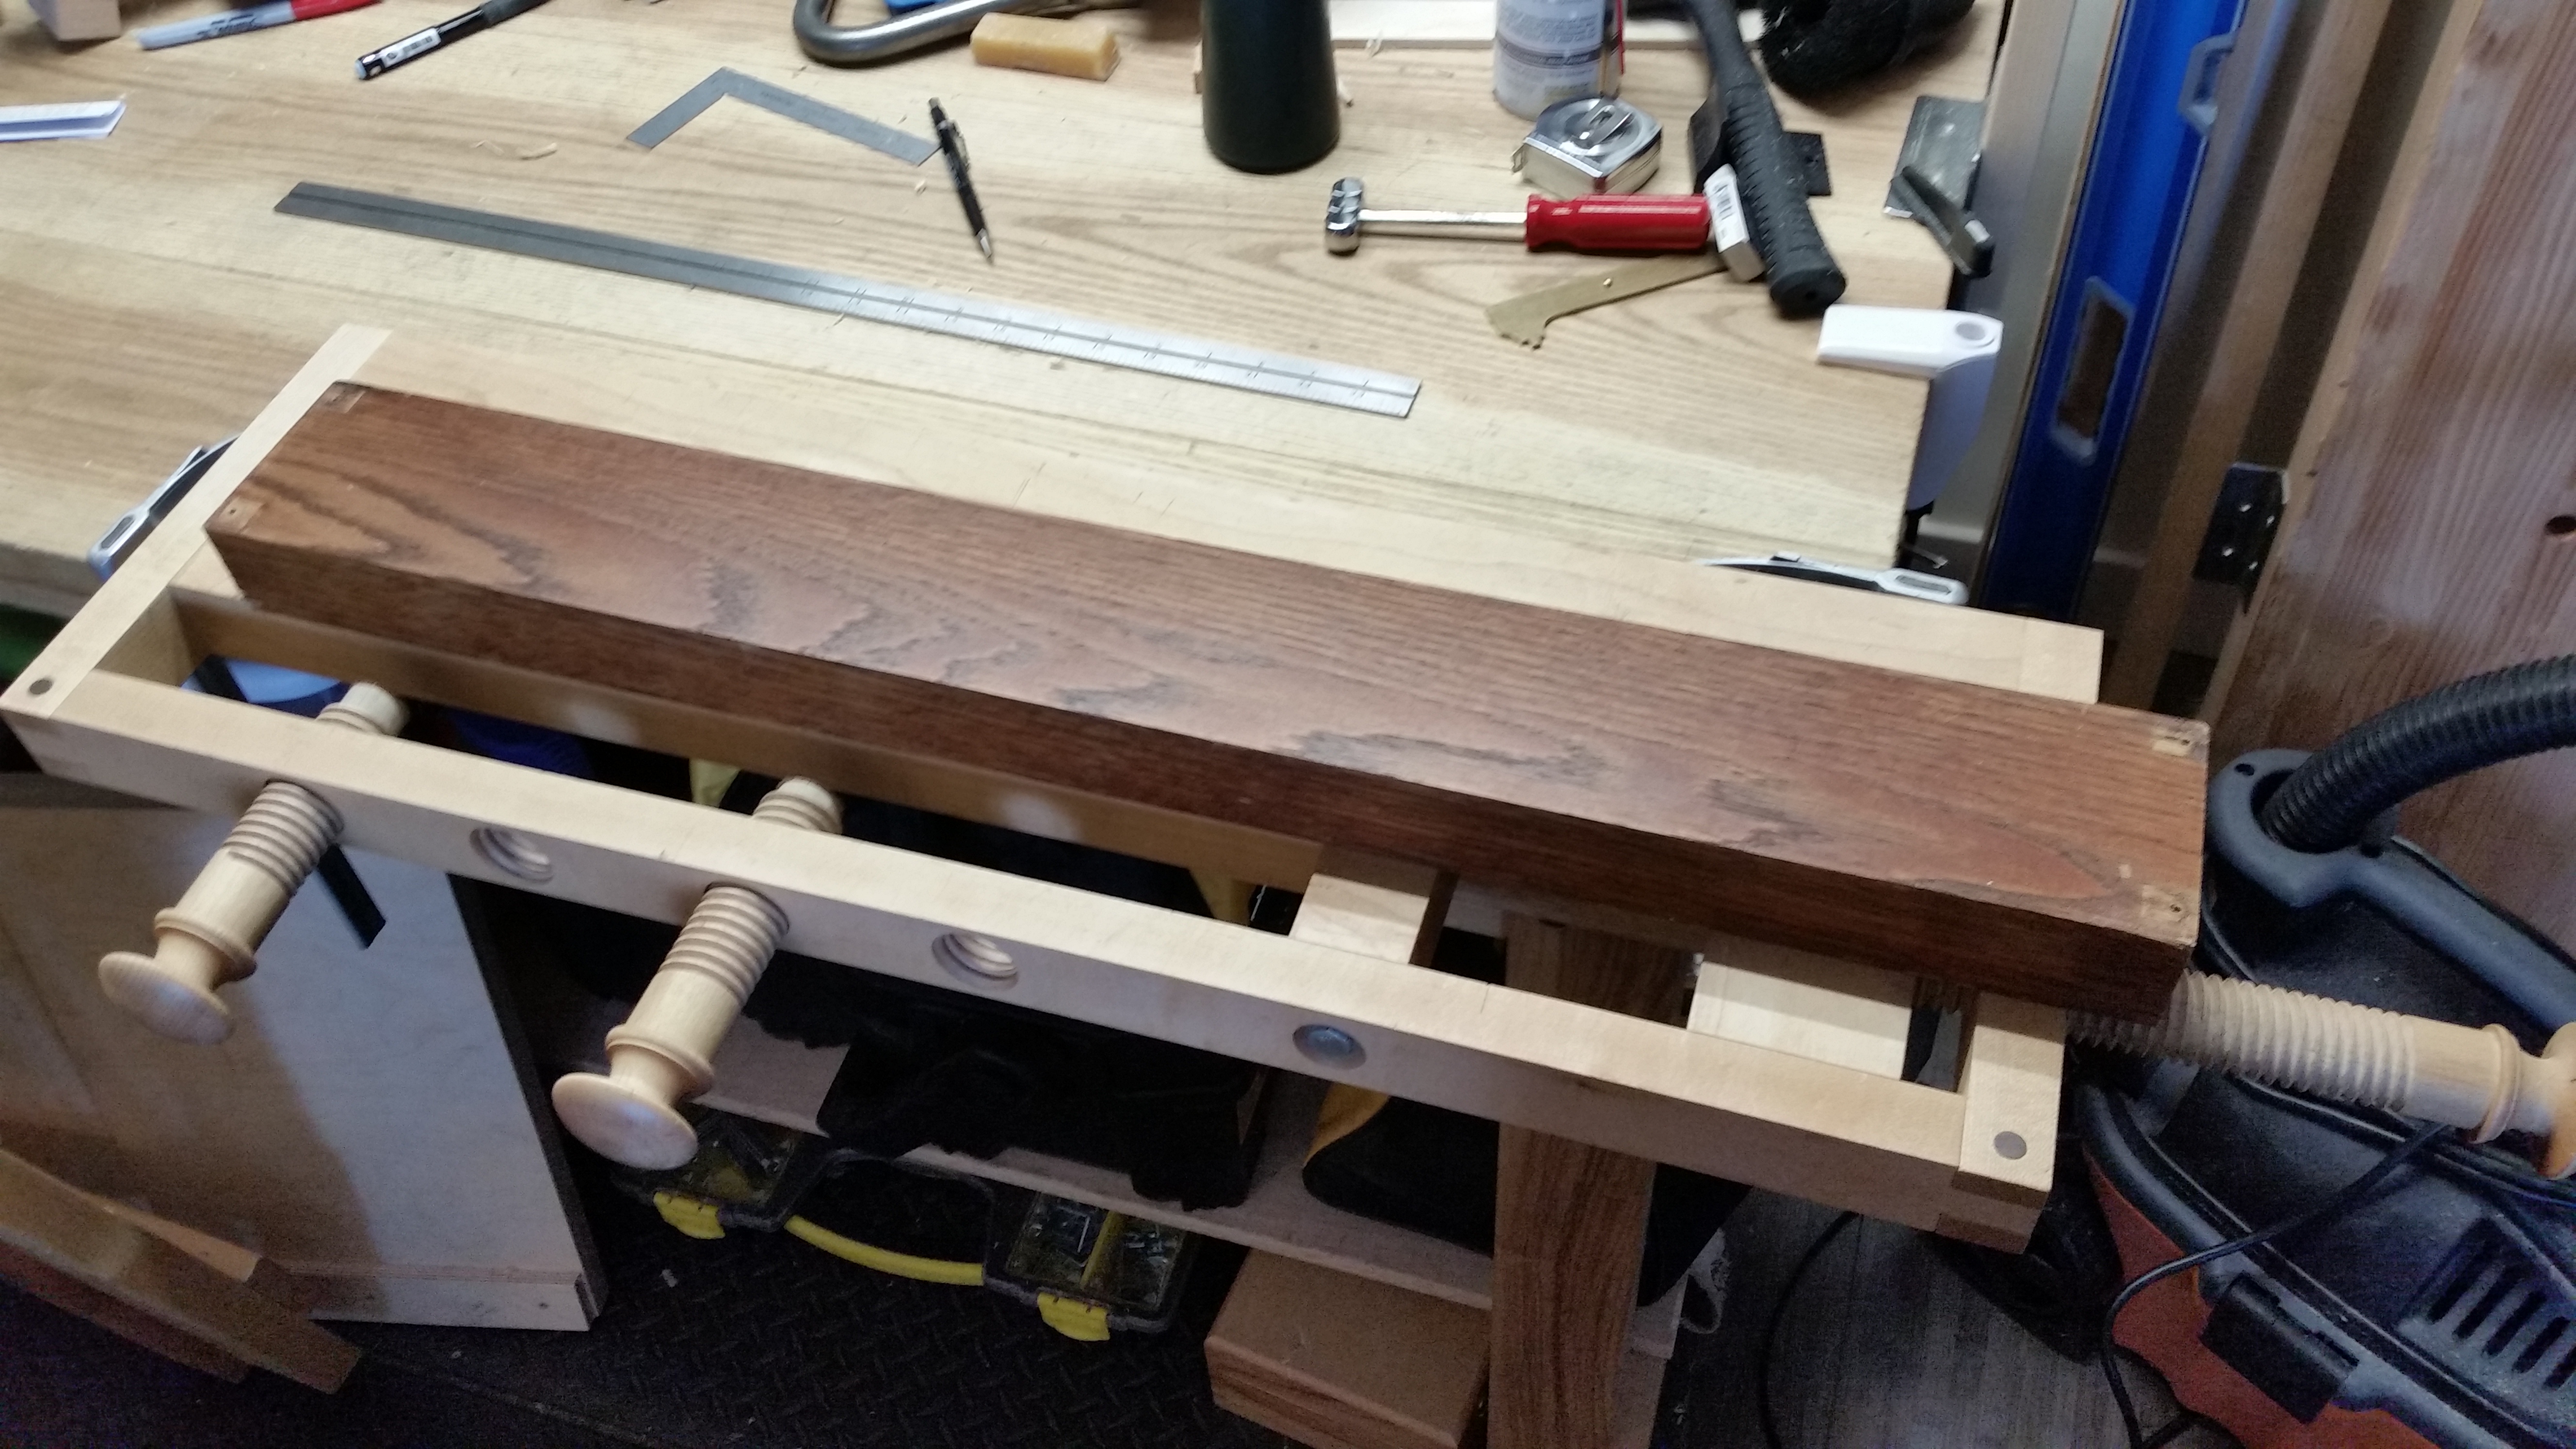
For more almost a week now, I’ve been mulling over the plan for using veneer press screws and some reclaimed red oak to create a moxon-style vise. I was rather resigned to chopping out recesses for the collets by hand, until I had an idea. The collets themselves are a little over 1 inch in diameter, with some ridges that increase the overall width to just over 1 1/8 inches. So using a 1 1/8 inch forstner bit (the same one used for the 1 1/4 inch wooden screw threading kit from J&J Beall), I drilled a “mortise” all the way through the back vice chop and drove the collets into place with a mallet.
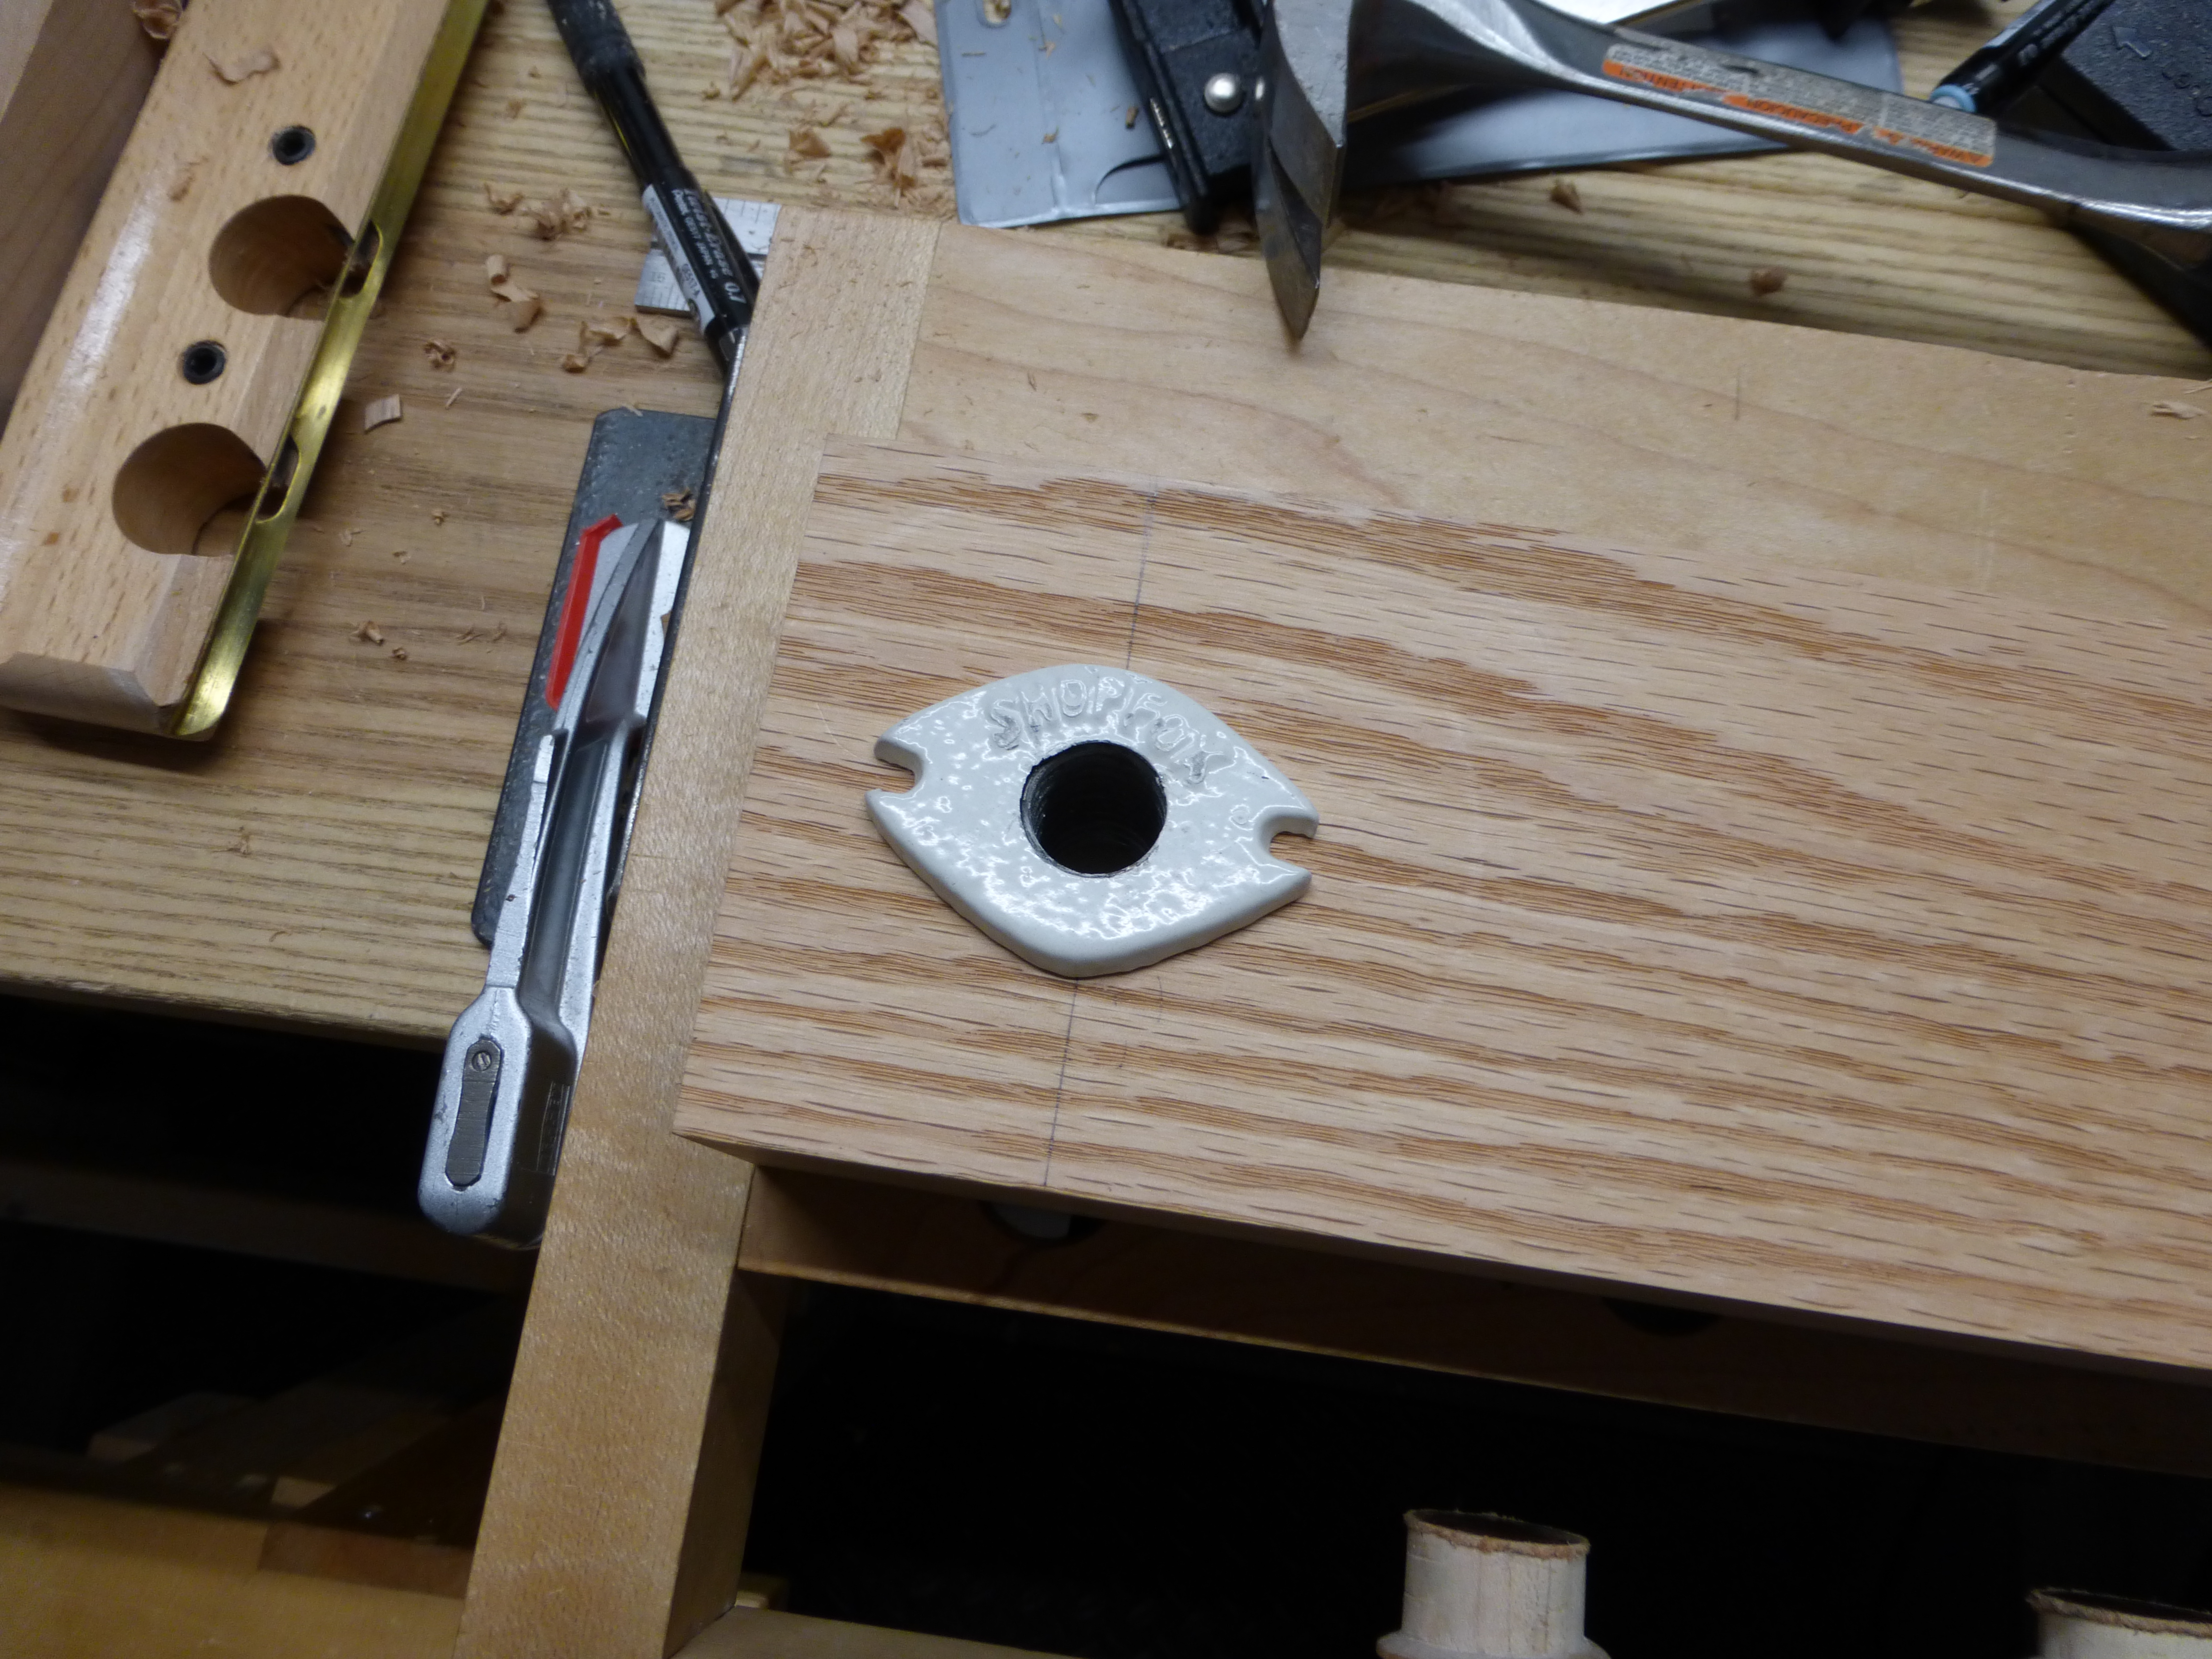
Nice and flush(ish)!
There are some gaps on the inside of the mortise, which I will likely fill with epoxy to seat the collets permanently into the back chop. For now, though, some No. 8 screws do the trick to lock the collets in place while I finish the vise.

The roundover is more out of habit than necessity.
I then threaded the press screws through the collets and used the sharp tips on the ends to transfer the hole locations to the front chop. The holes in the front chop are 3/4 inch, while the screws themselves are just over 11/16, so I will wrap the screws with some electrical tape to tighten up the fit on the front chop. Then it was time to test fit.
Surprisingly quick to come together.
The last component to the moxon vise is a set of spacers which glue to the outside of the front chop. They prevent the spinning handles from rubbing against the front chop. I had some scrap 1/2 inch oak left over from the medium tool chest drawer runners which came in handy.

Glued down, though I may add screws as belt-and-suspenders.
And that’s it. After the glue dries, I will round over the exit holes on the spacers, break the corners all over and chamfer the top of the front chop. I hear the chamfer creates clearance for handsaw cuts. Then I will test out the vise doing vise things.
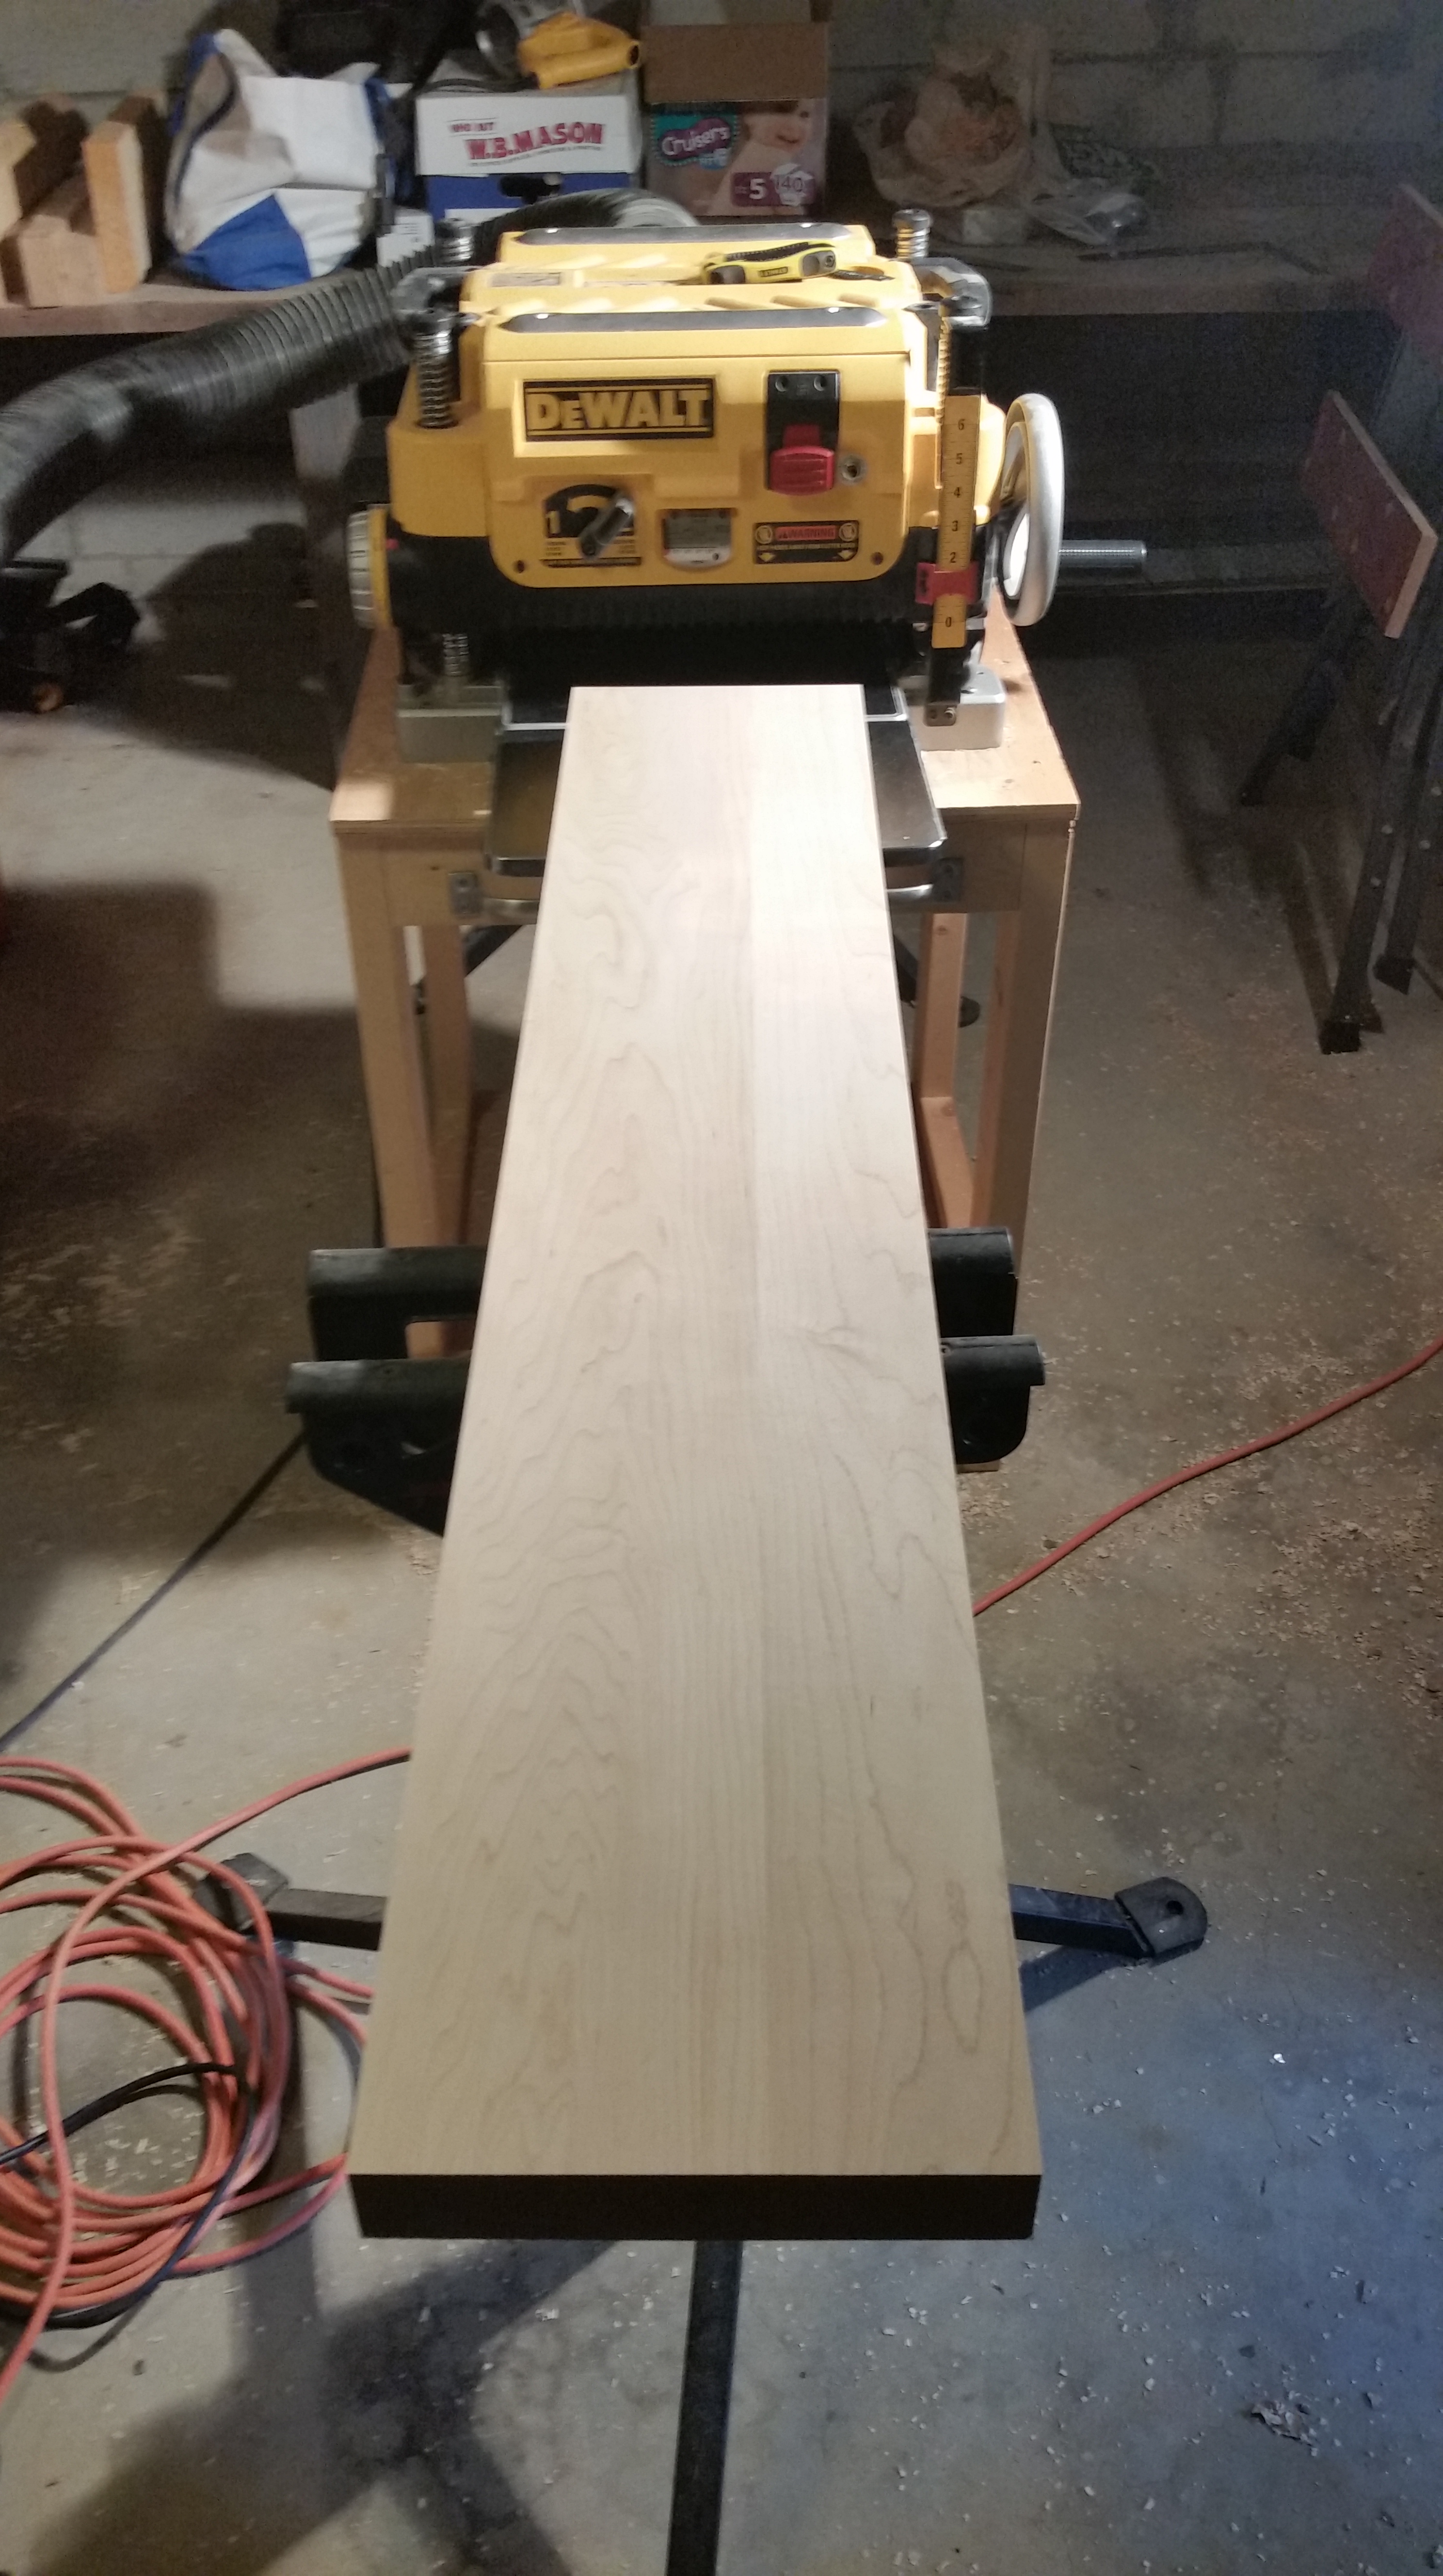
The amazing part is that the entire vise build (other than driving to/from my thickness planer and glue drying time) only took about 3 hours of shop time. That includes stock preparation. Very doable overall, and not bad for a first attempt.

The finished vise (pre-chamfer).
JPG