I wonder sometimes if others have similar woodworking experiences to me. Namely, that just after finishing a piece for myself, a friend or relative will ask for it instead.
Now I try to live my life as Tolkien describes Aule, the Smith (“the delight and pride of Aulë is in the deed of making, and in the thing made, and neither in possession nor in his own mastery; wherefore he gives and hoards not, and is free from care, passing ever on to some new work.”). And I like to think that quote describes me pretty well. So many pieces end up in others’ hands, even those pieces purpose built for me, if the giftee seems particularly keen on it.
For that reason, I have been sans dining table for some time. Every time I finish one, it seems it’s claimed within a few weeks. But not this time. At least not yet.

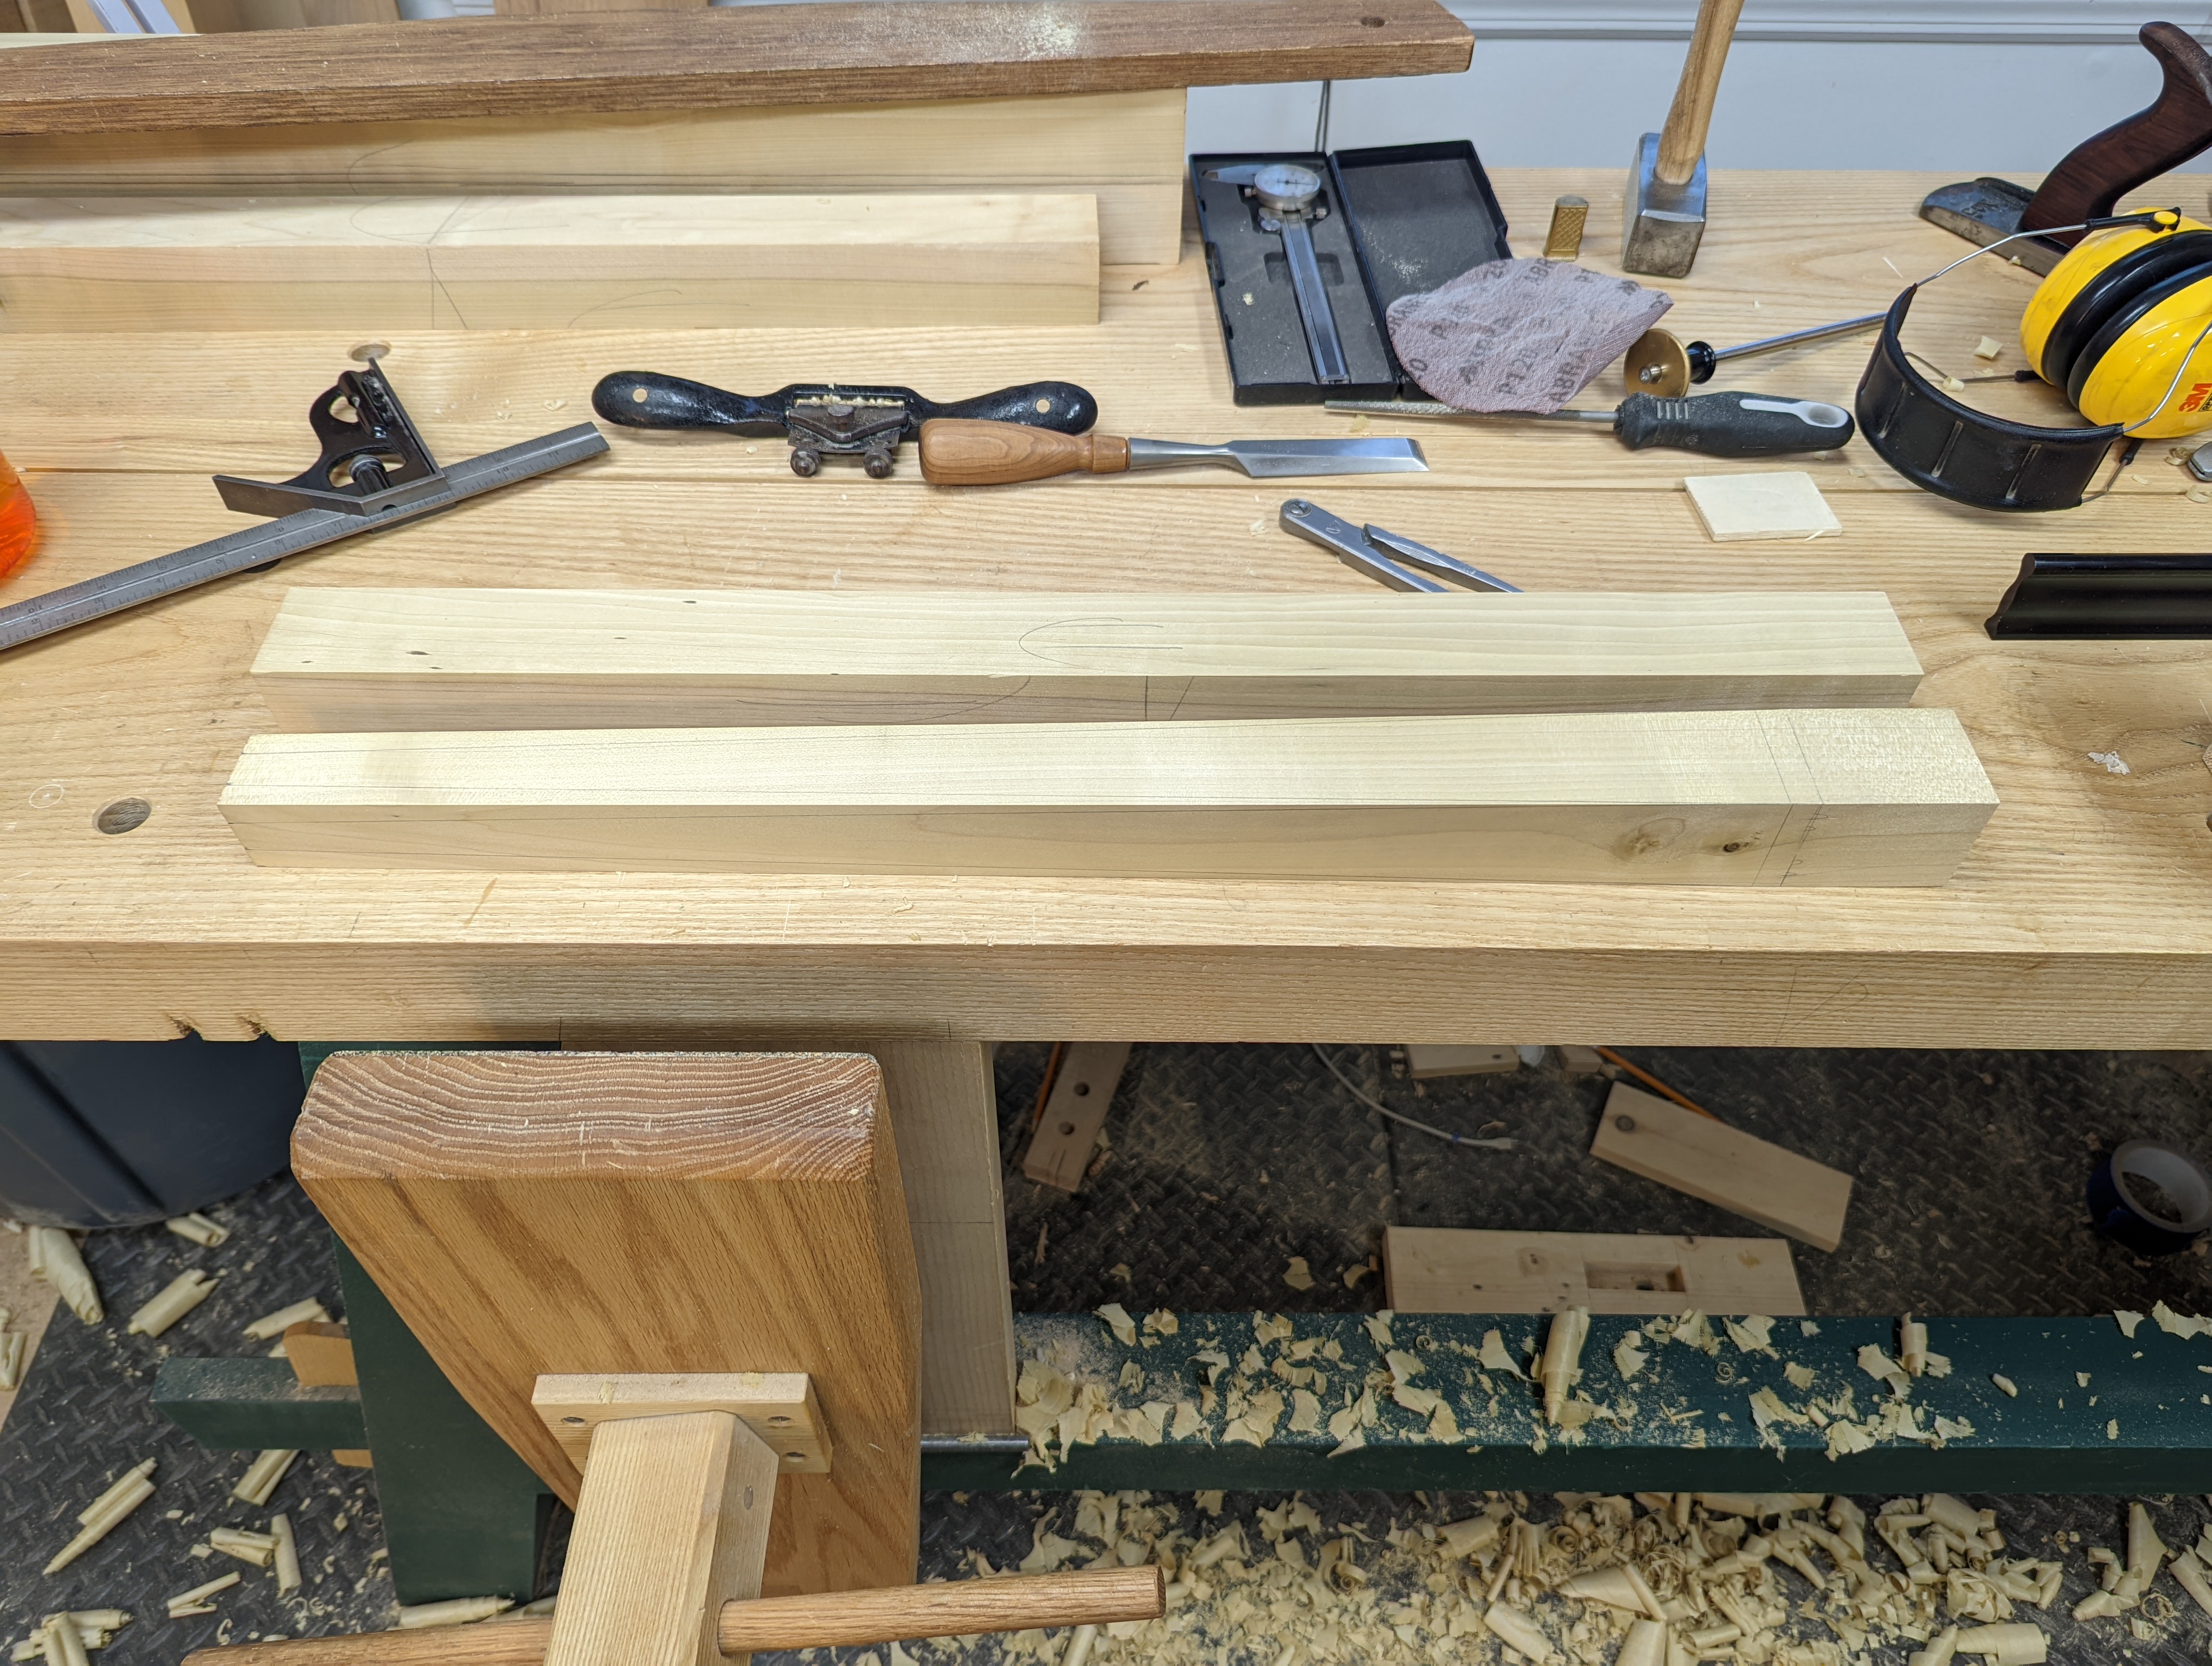
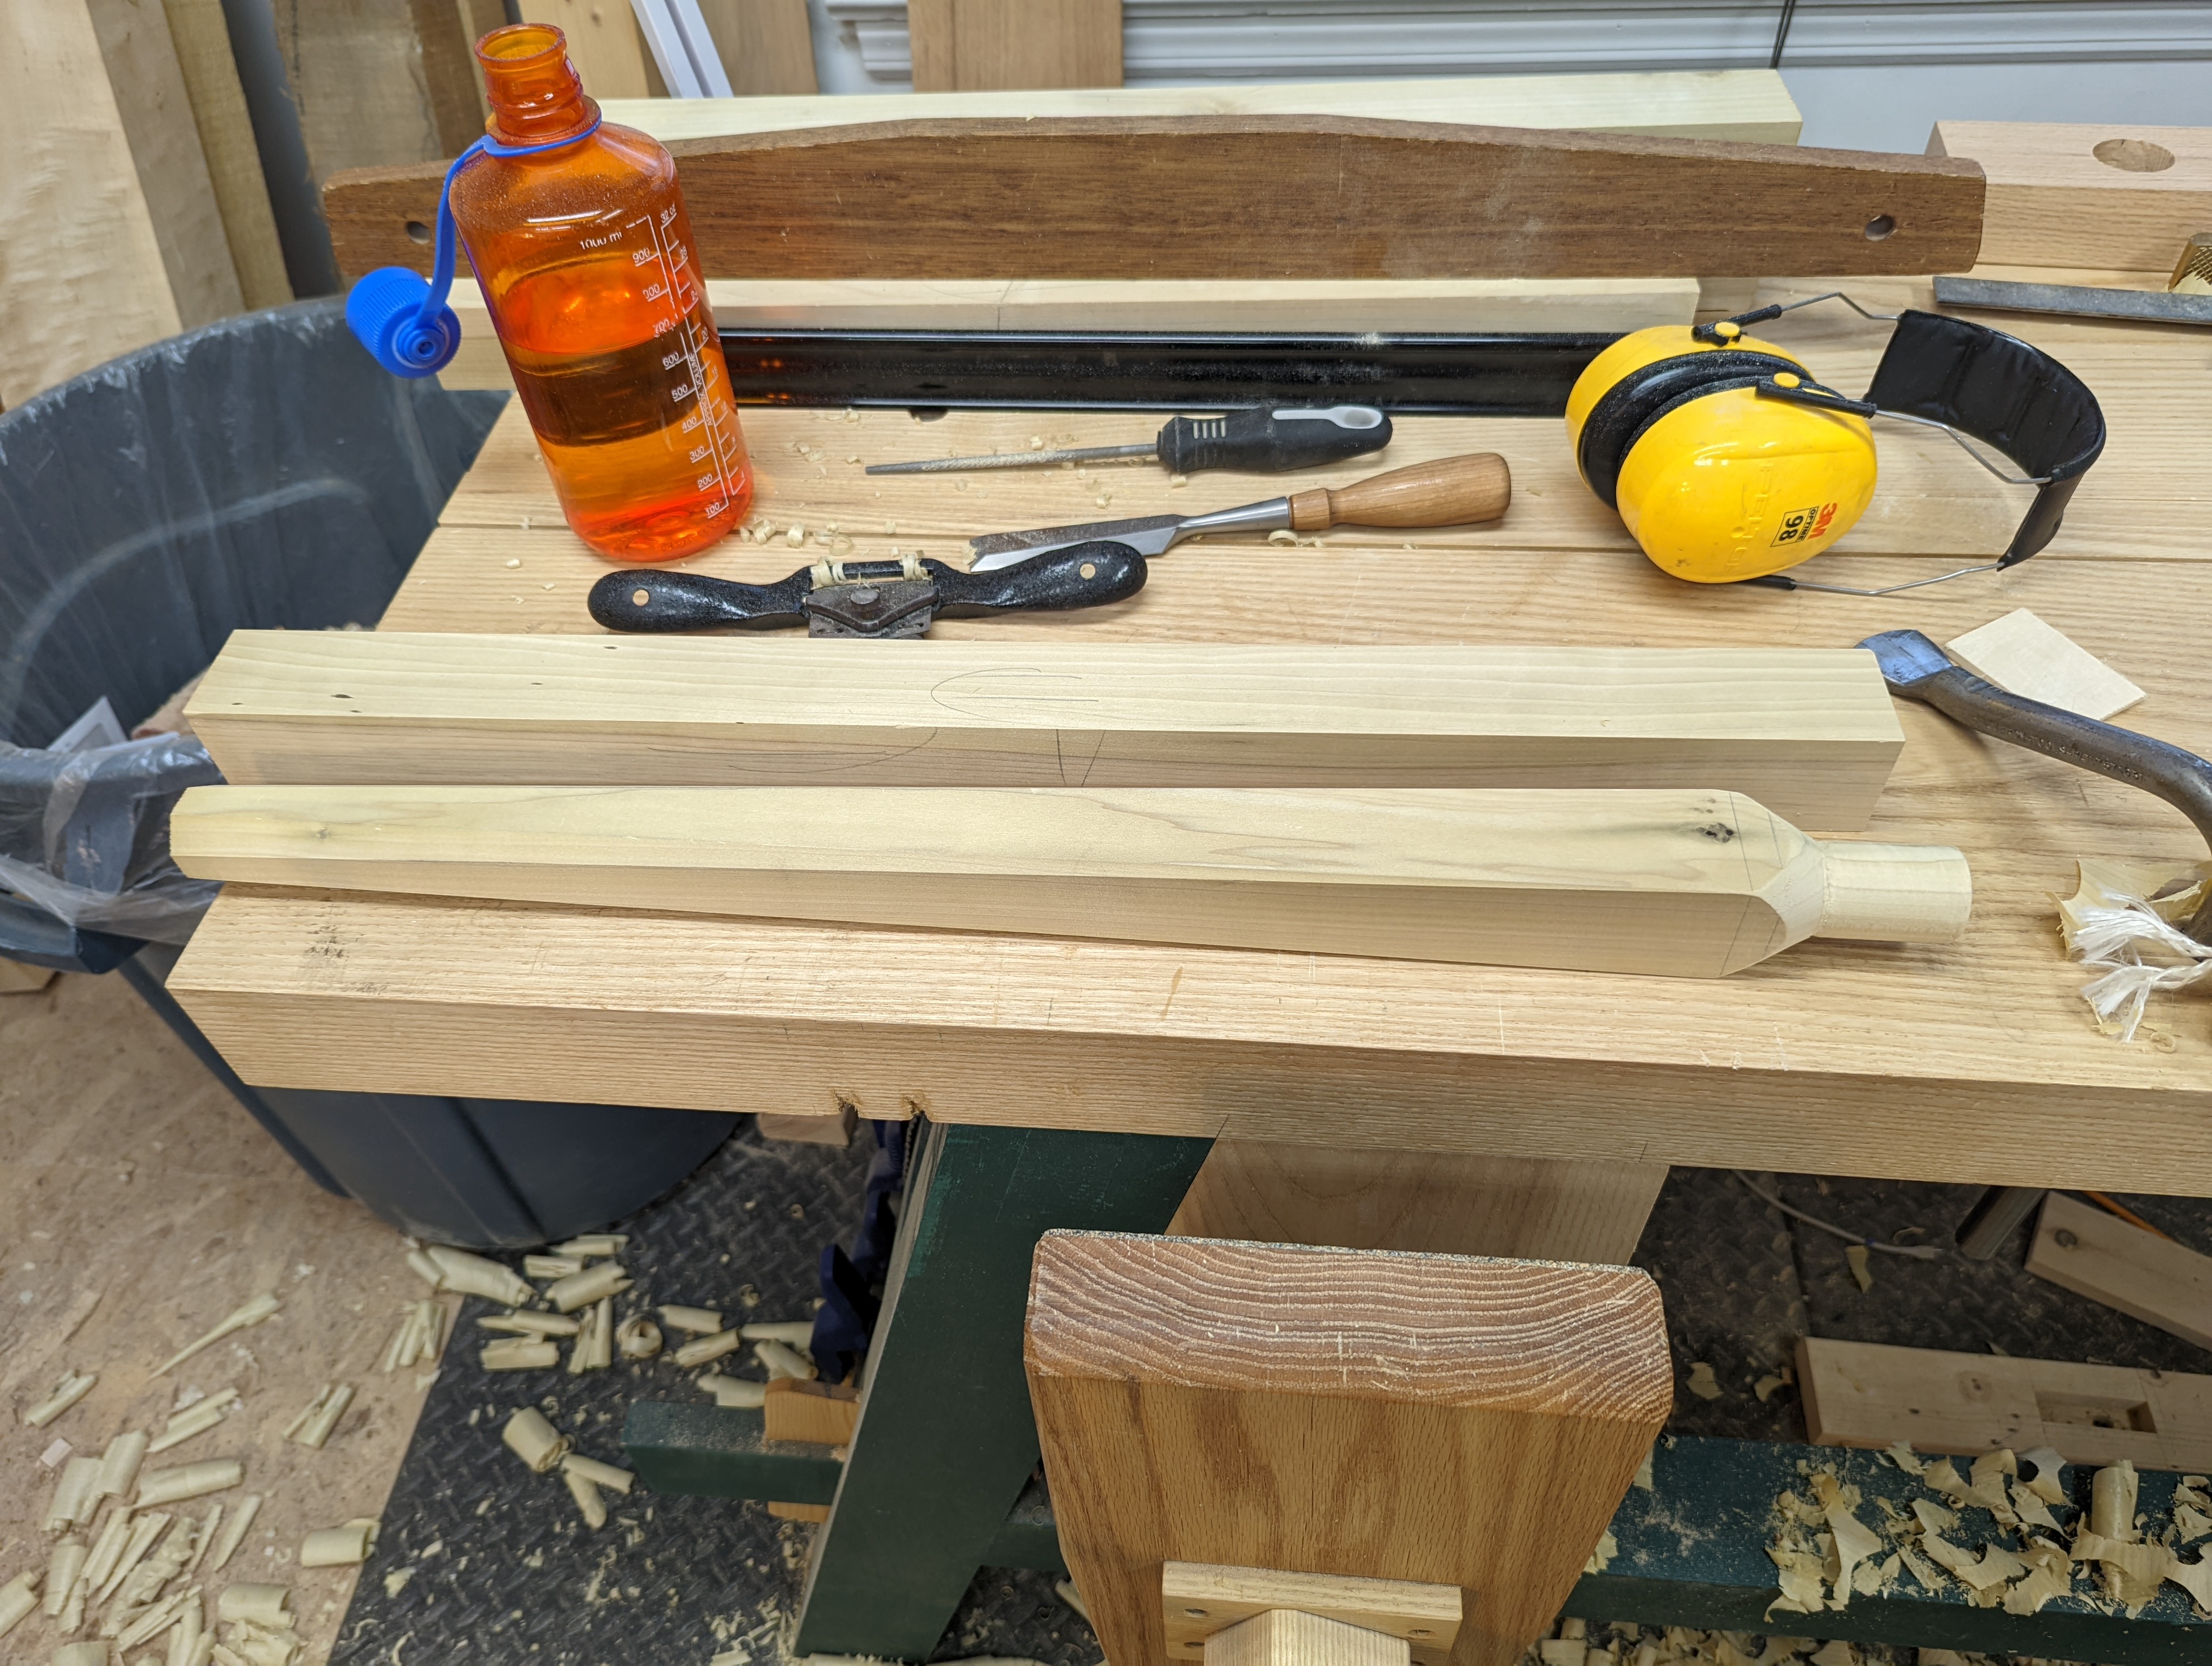
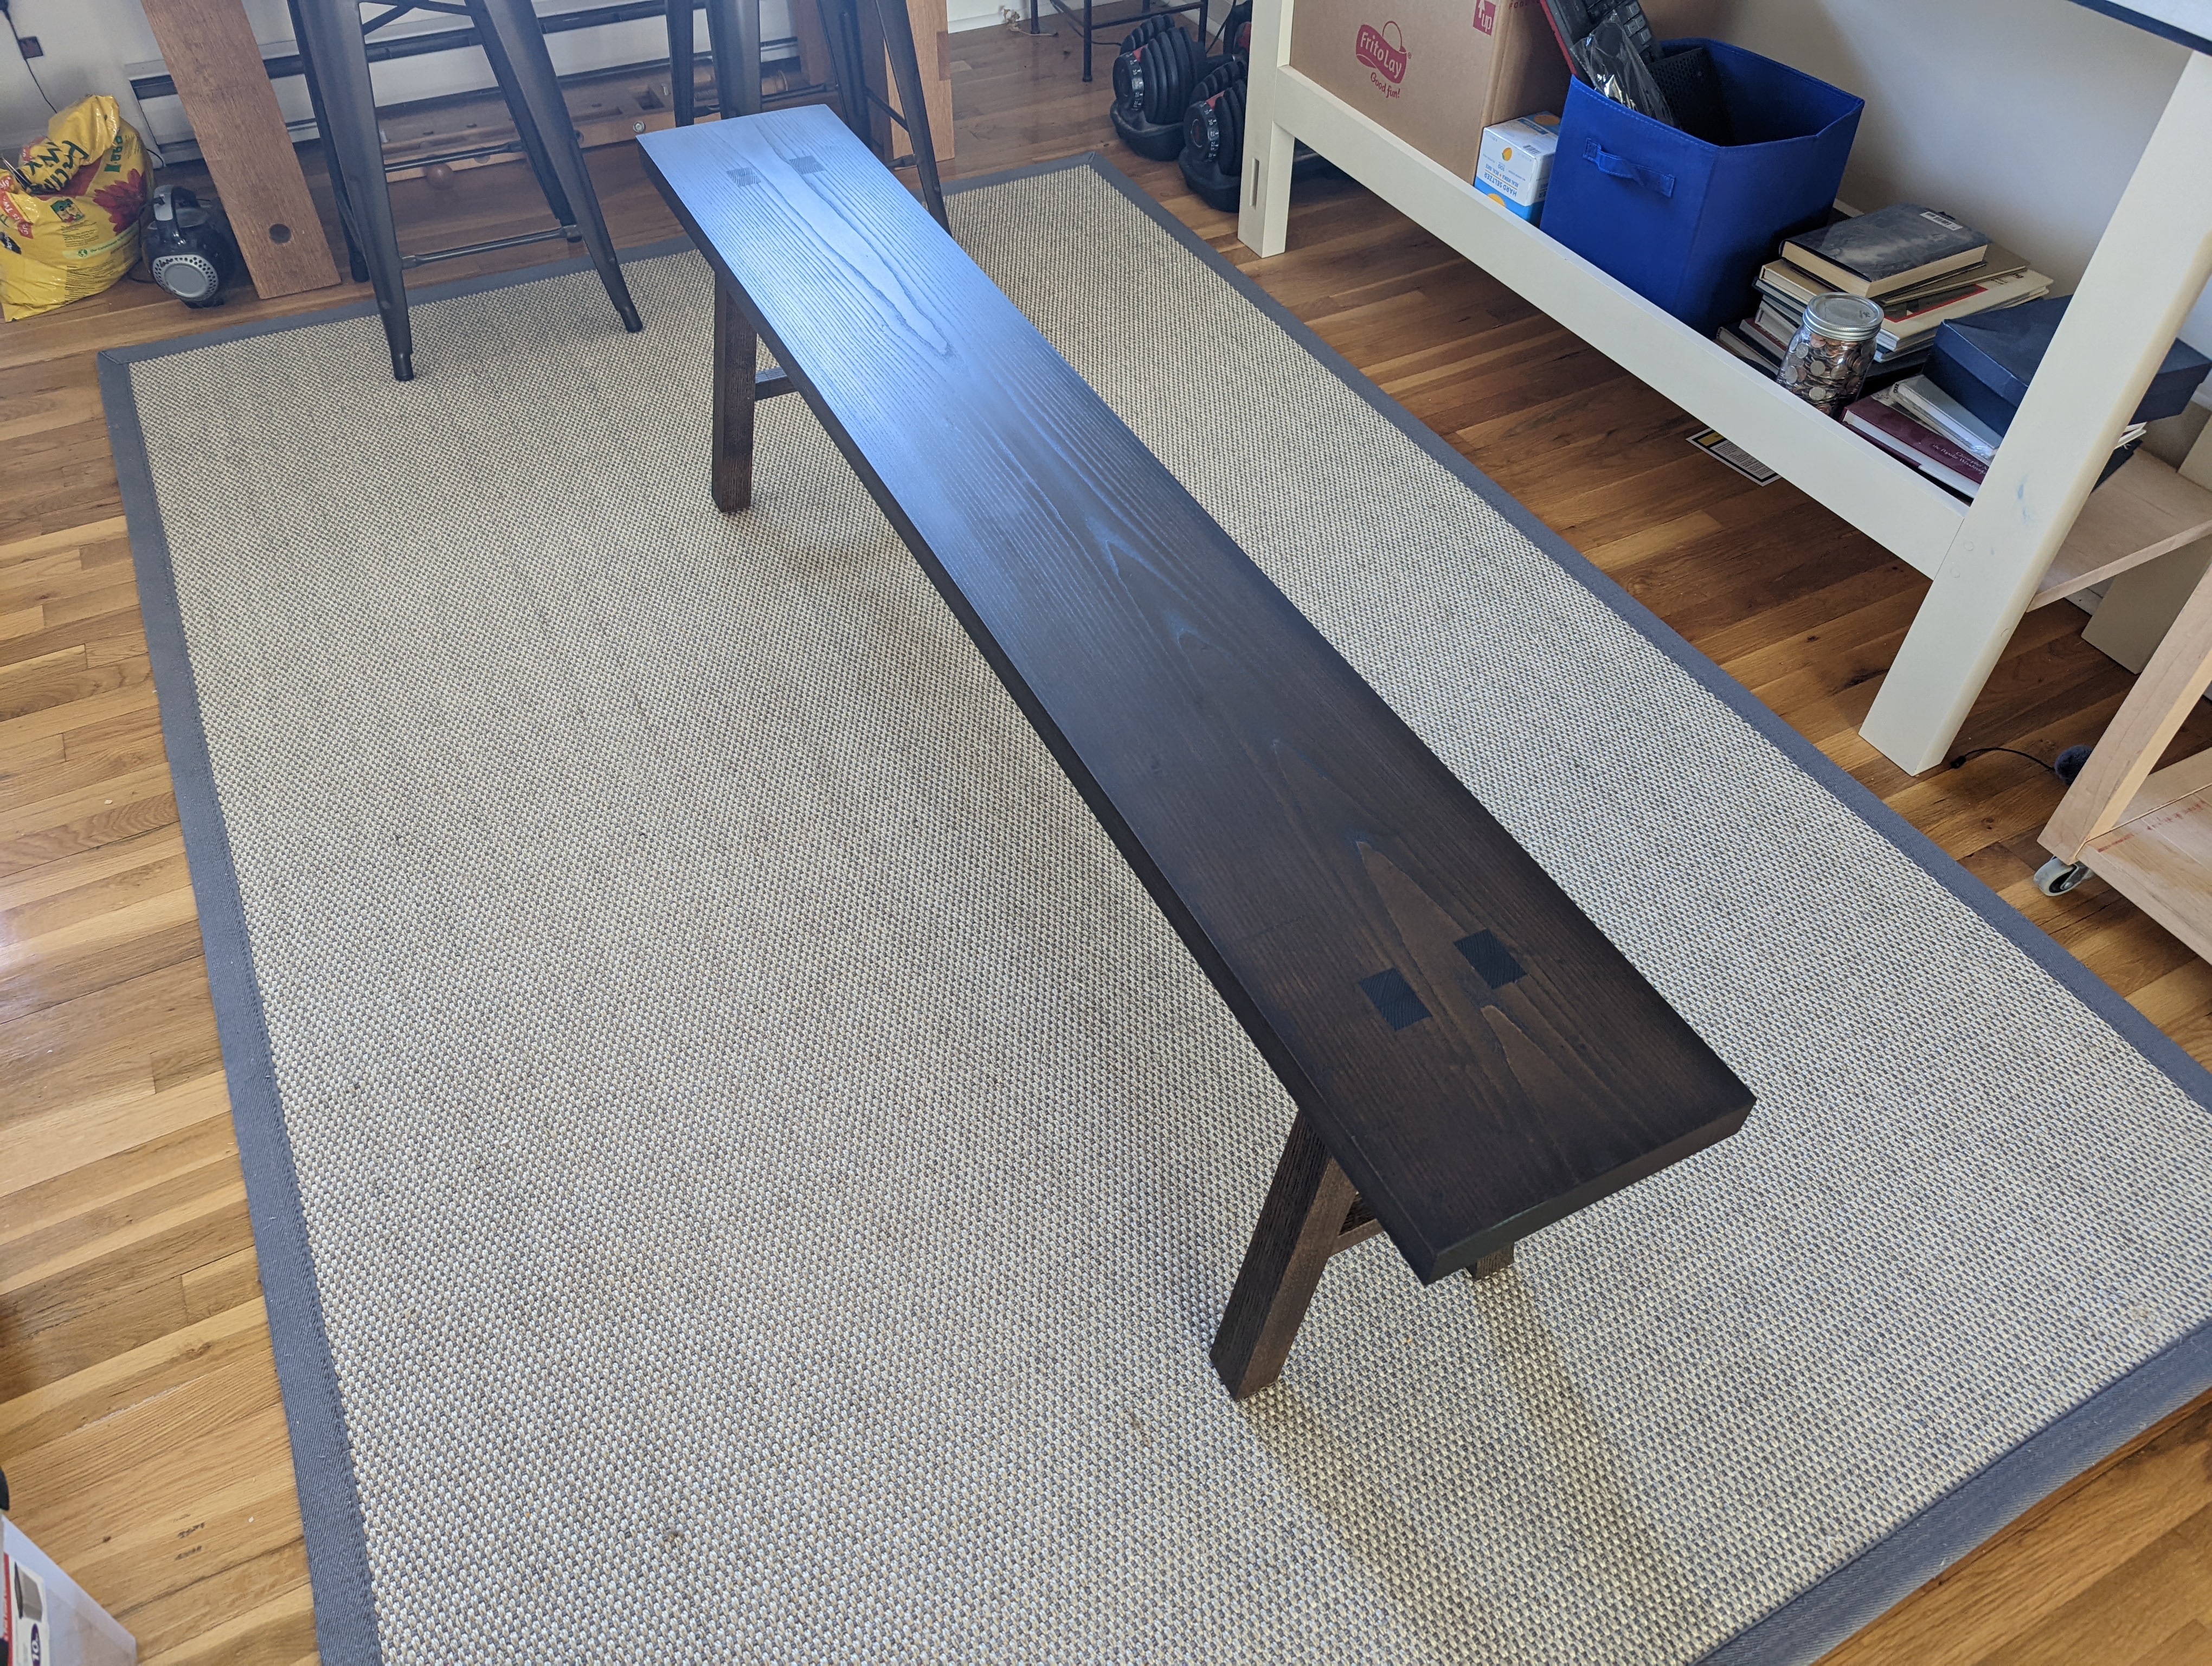
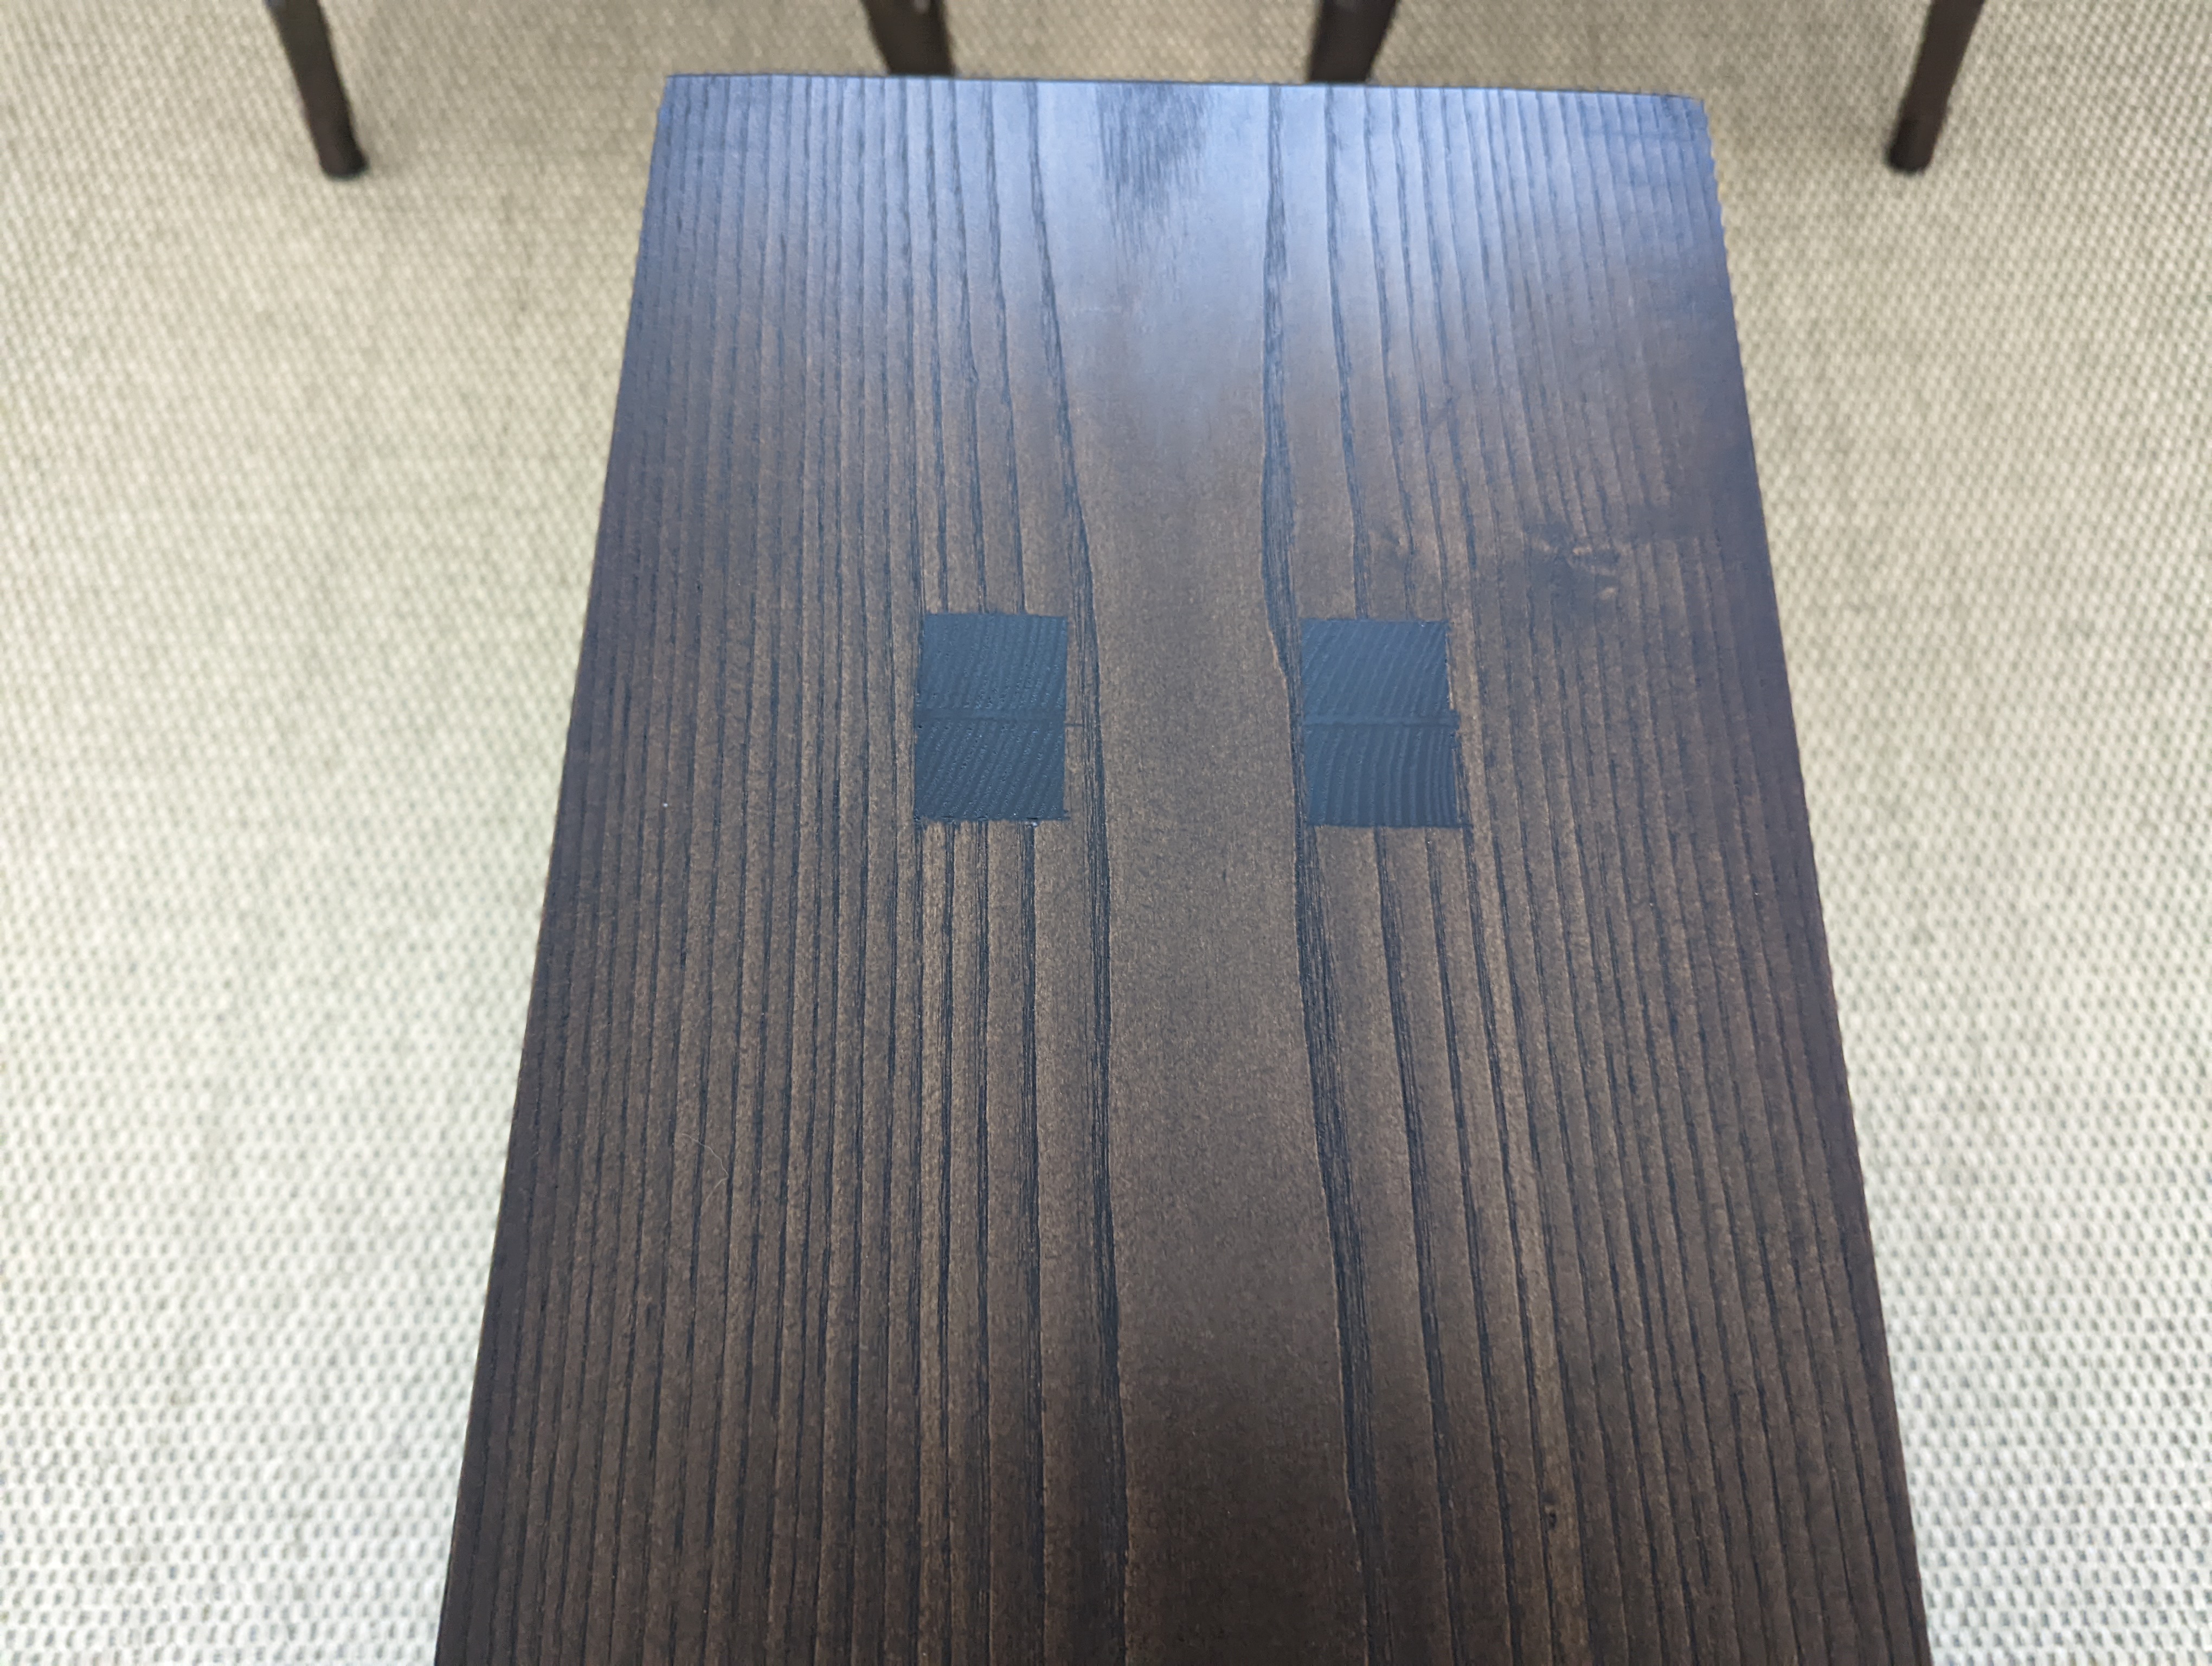
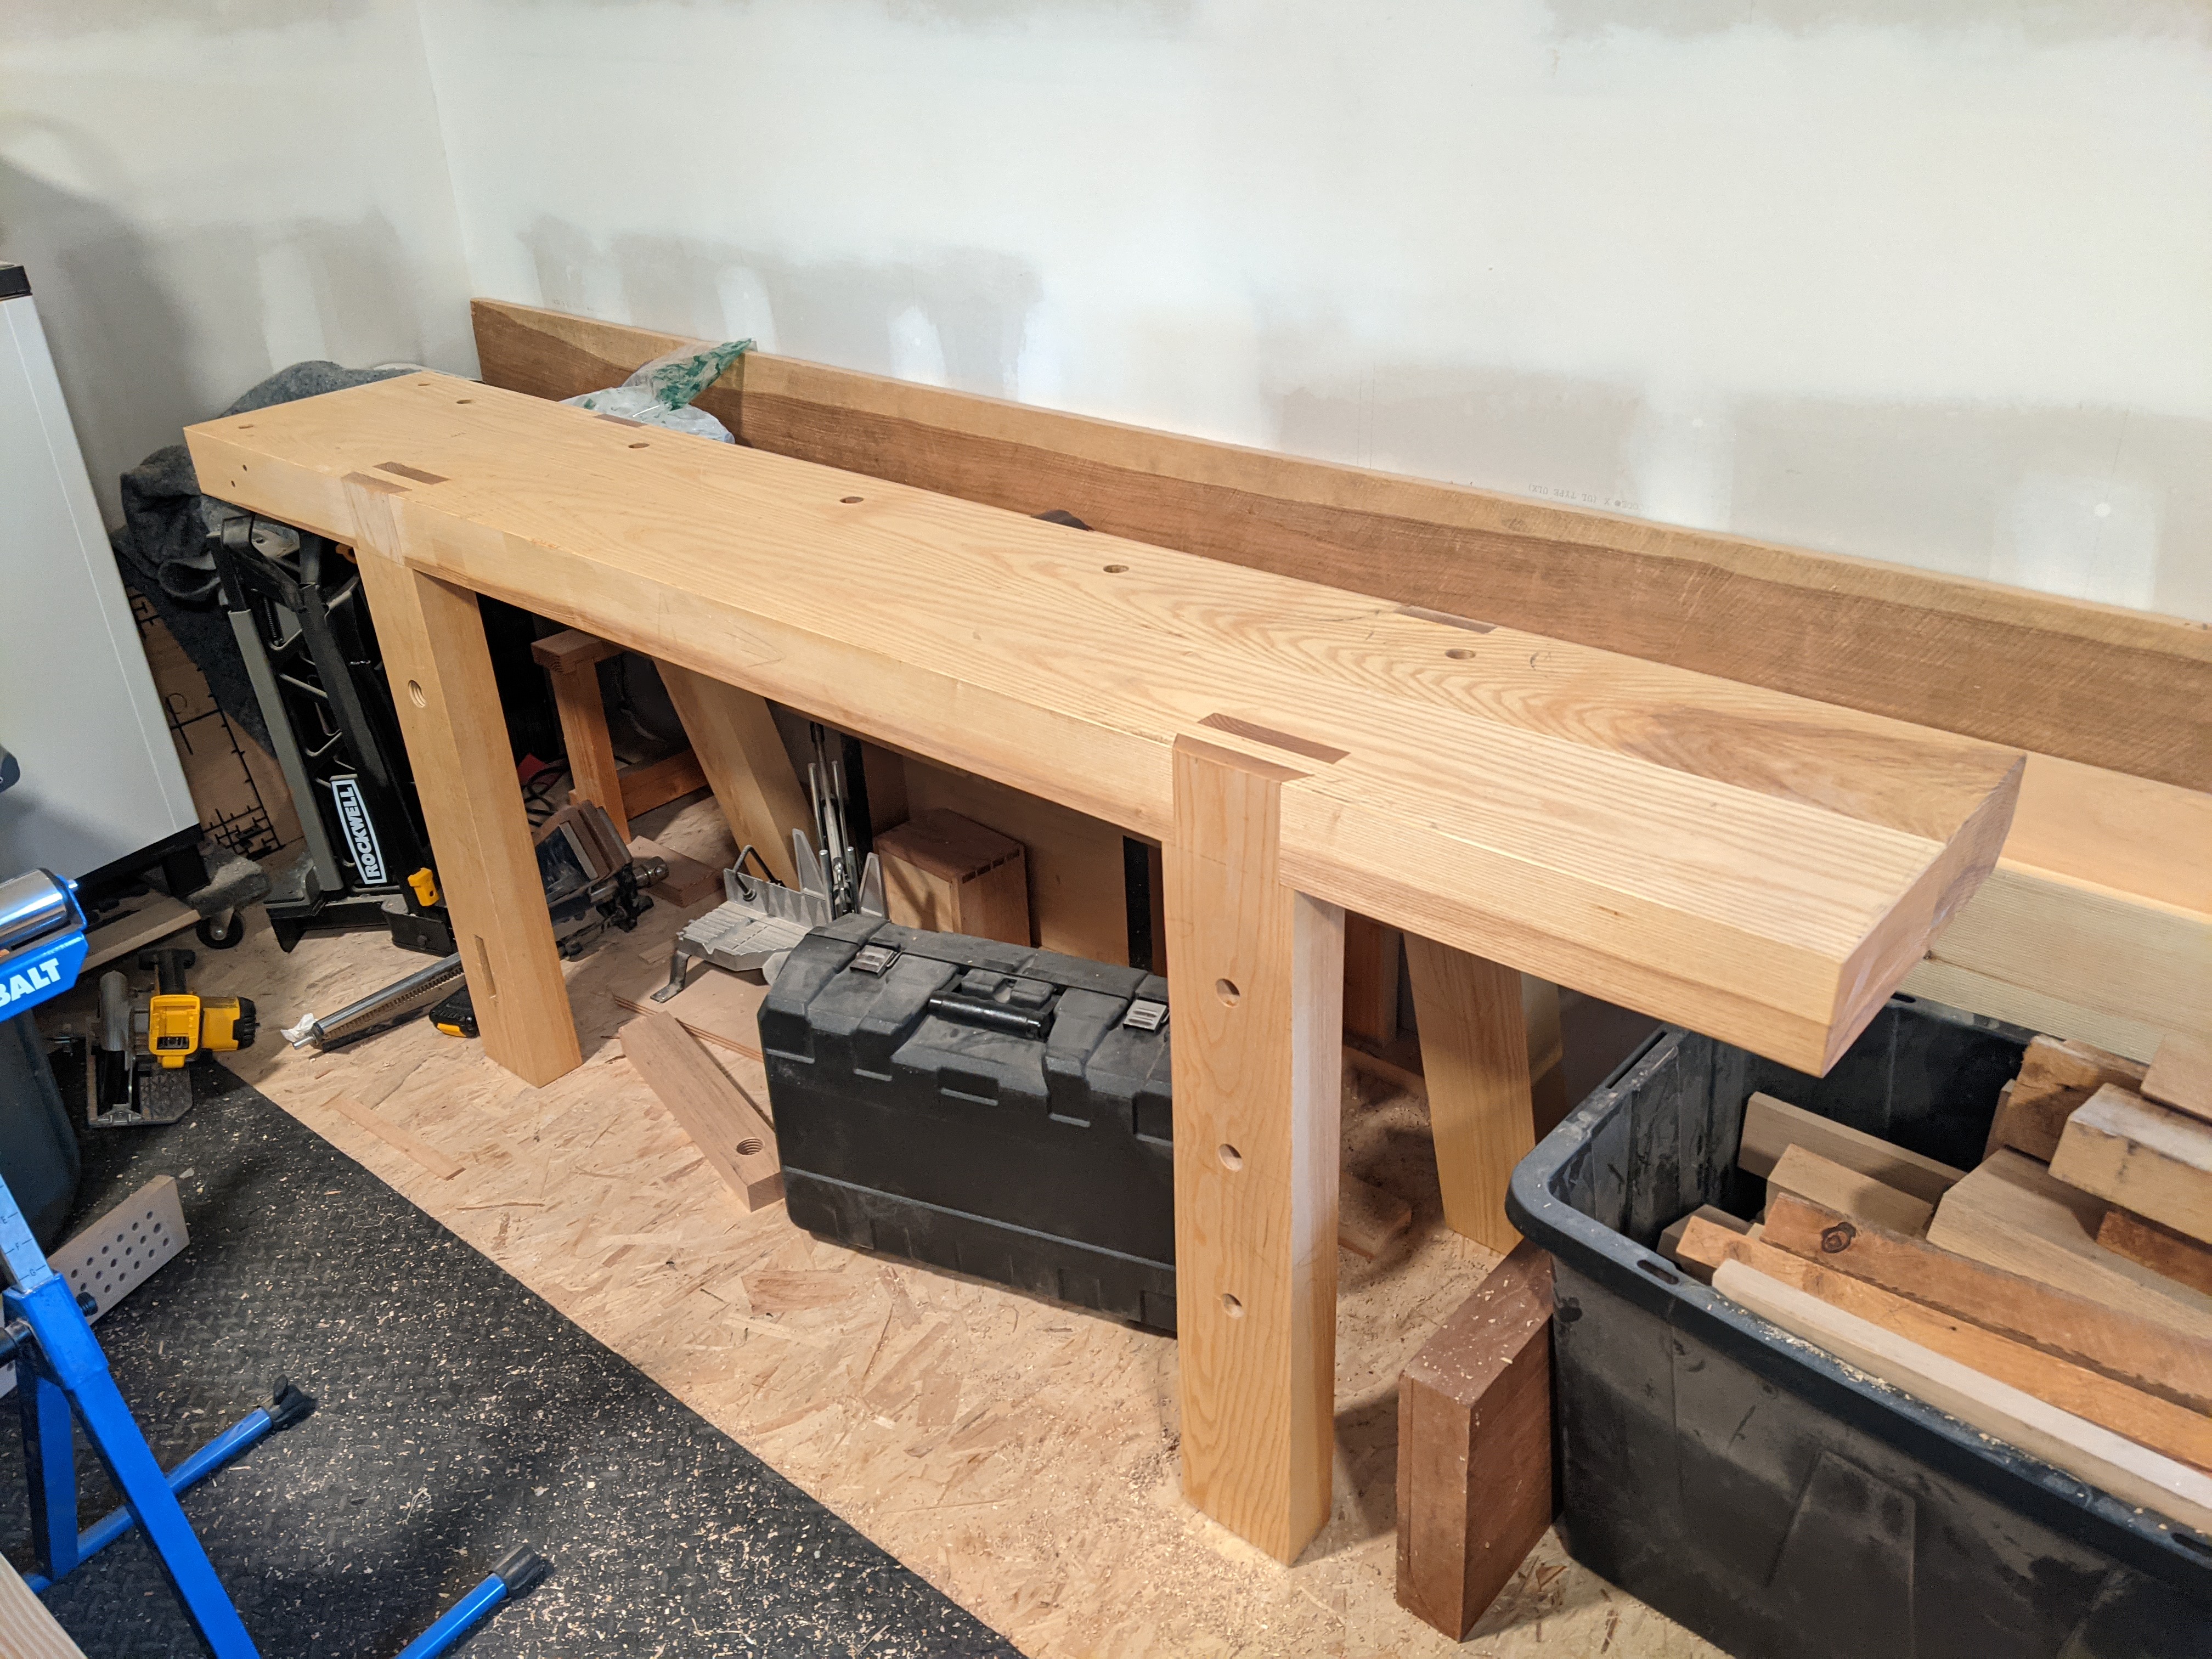
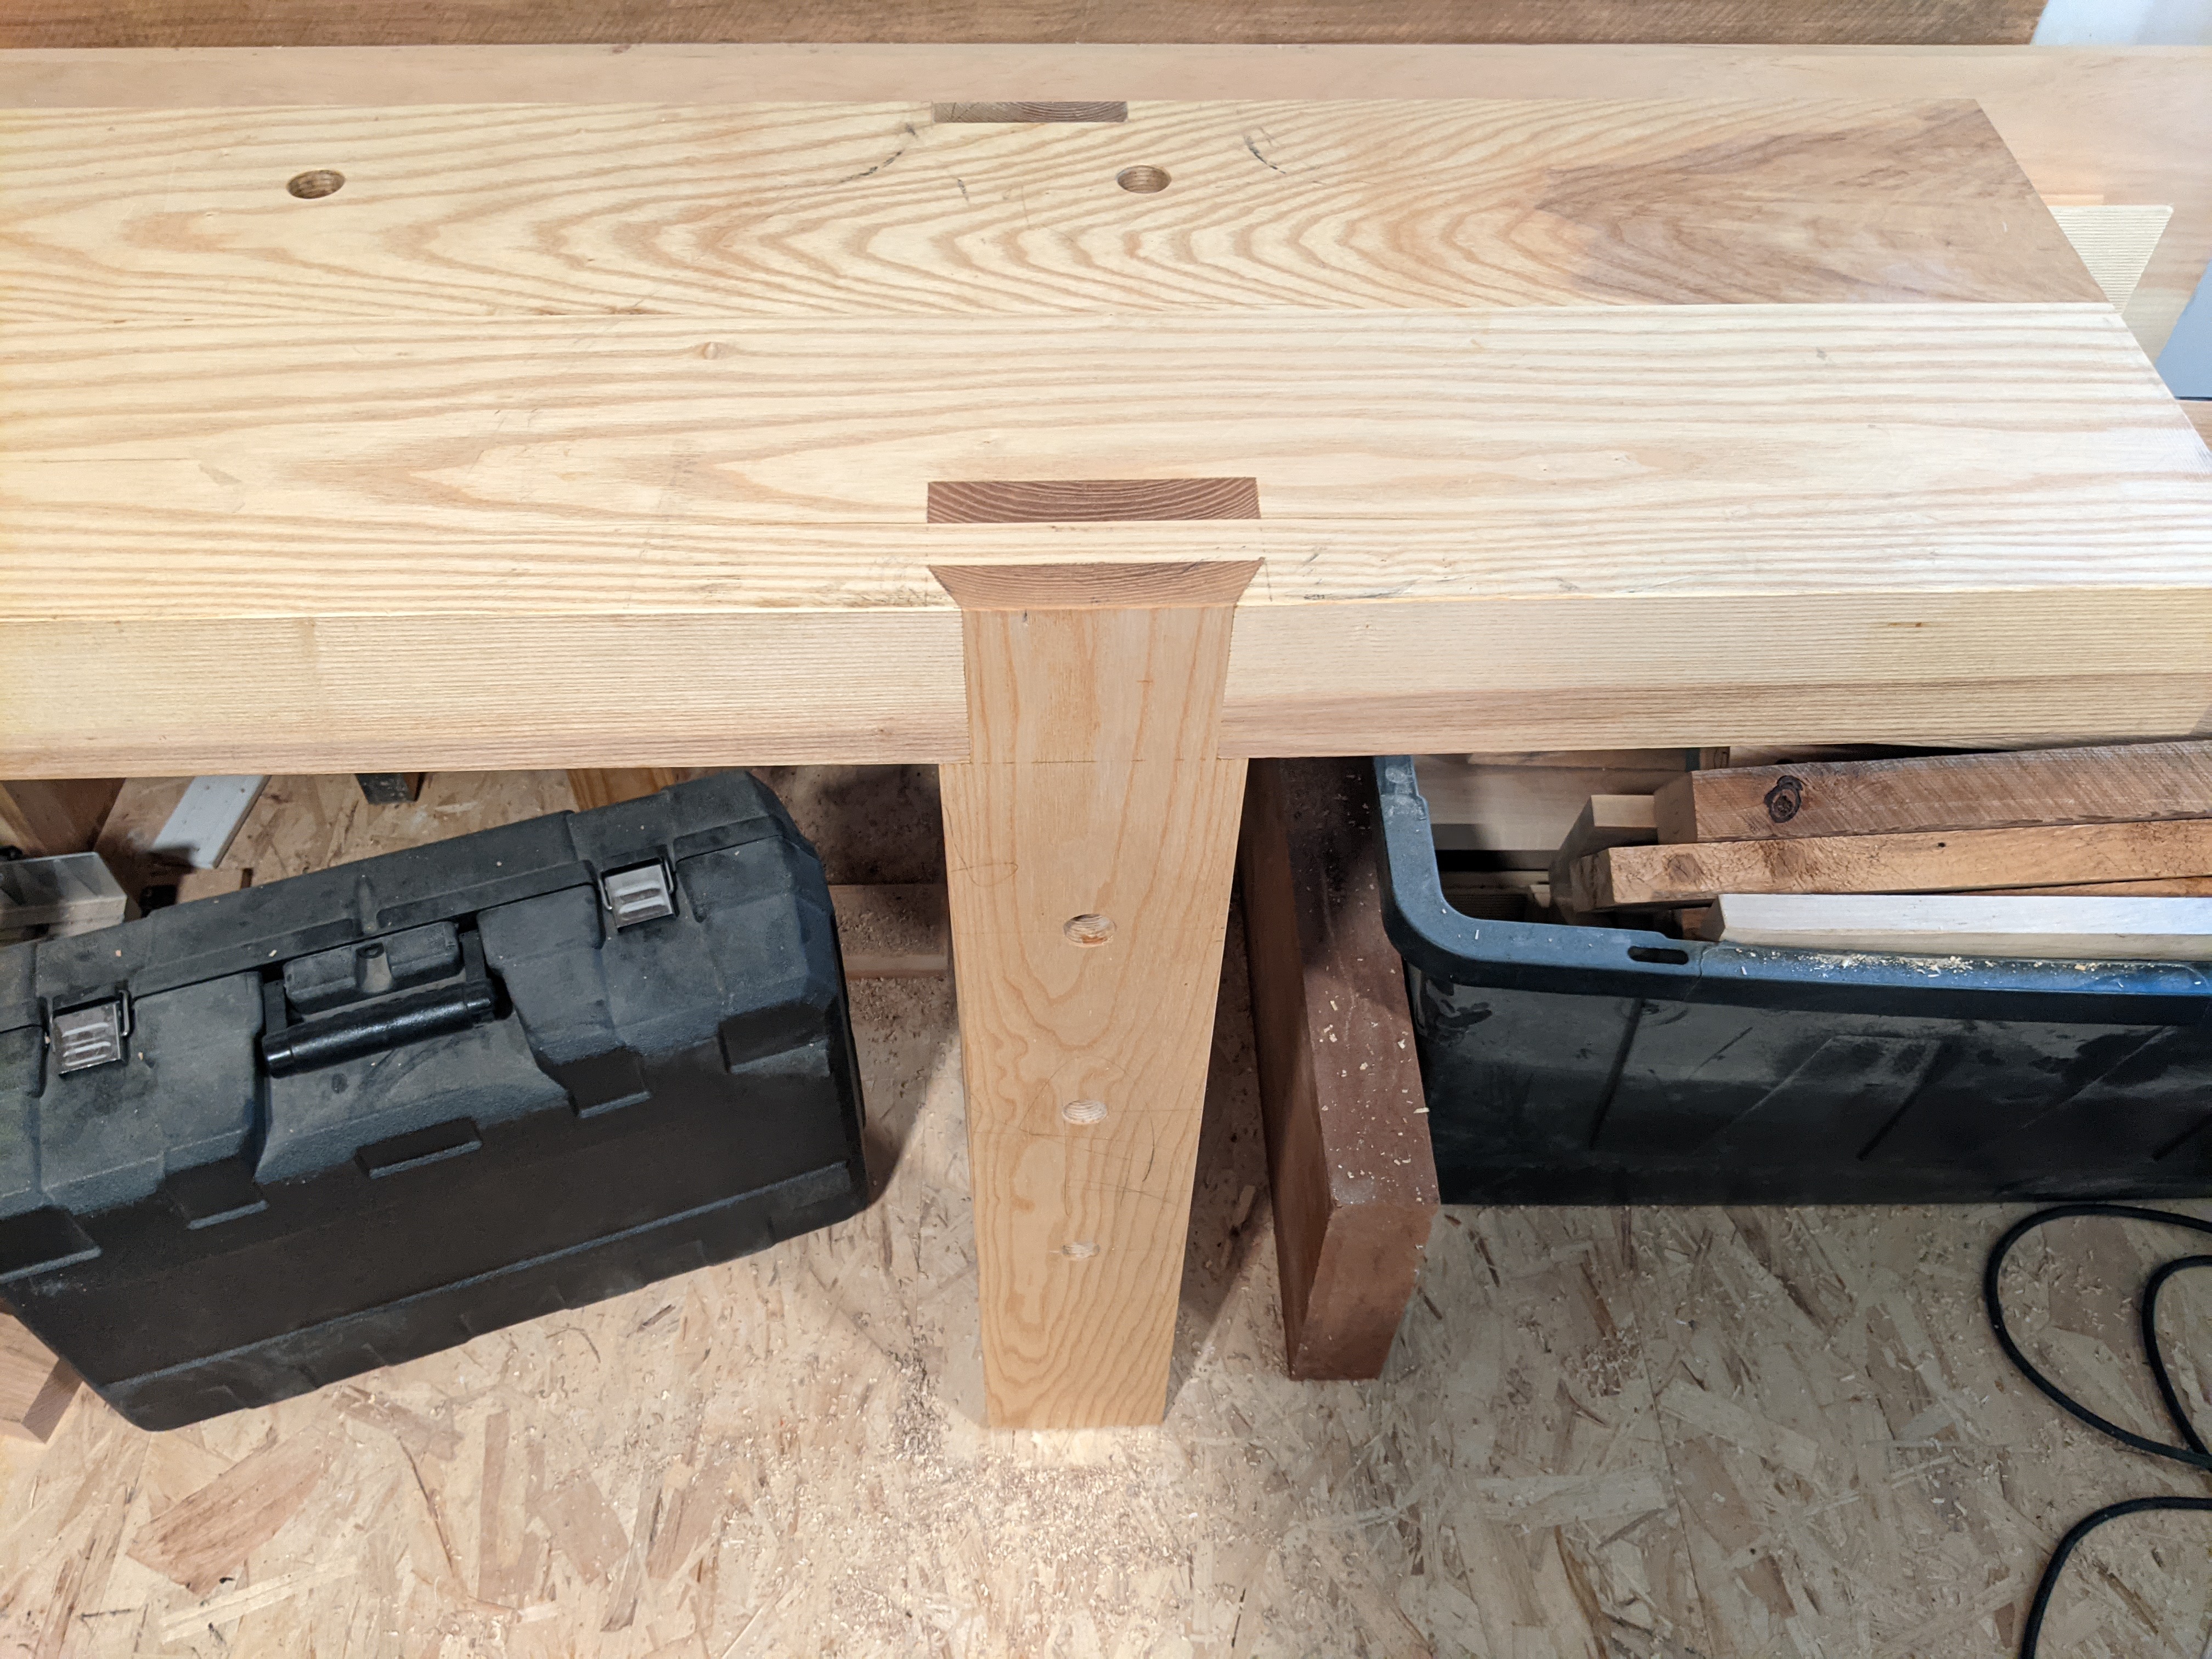
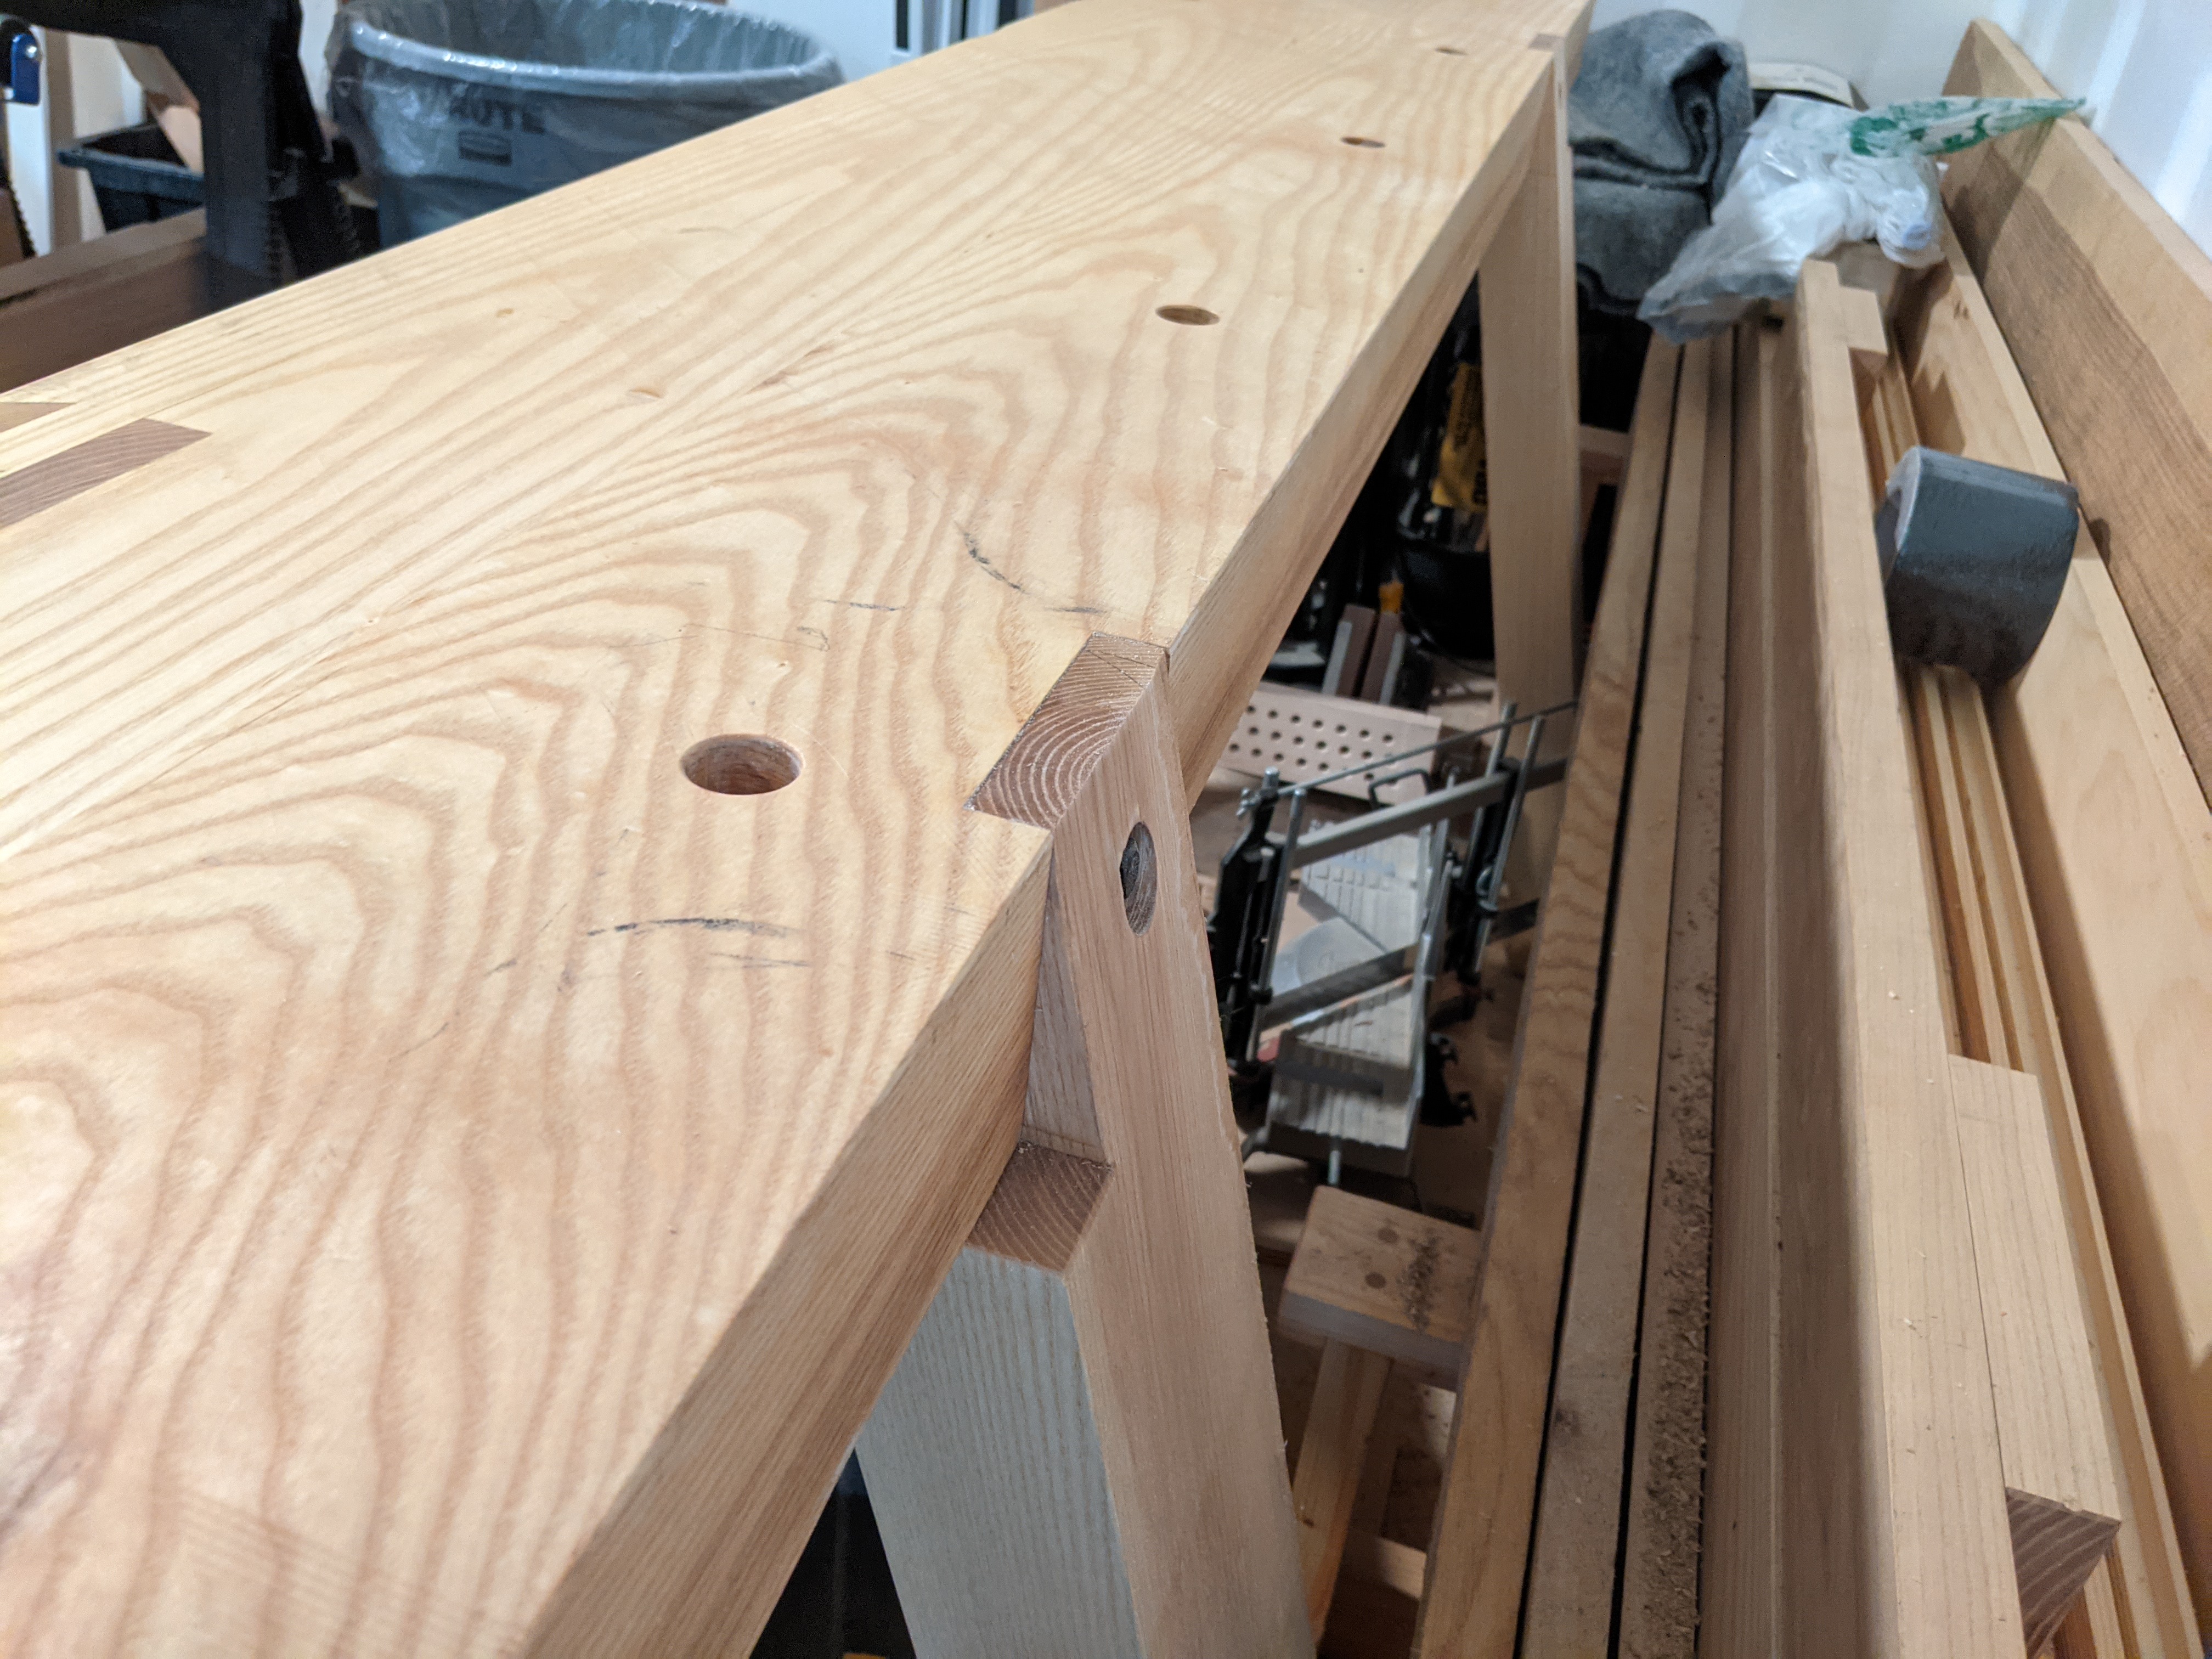
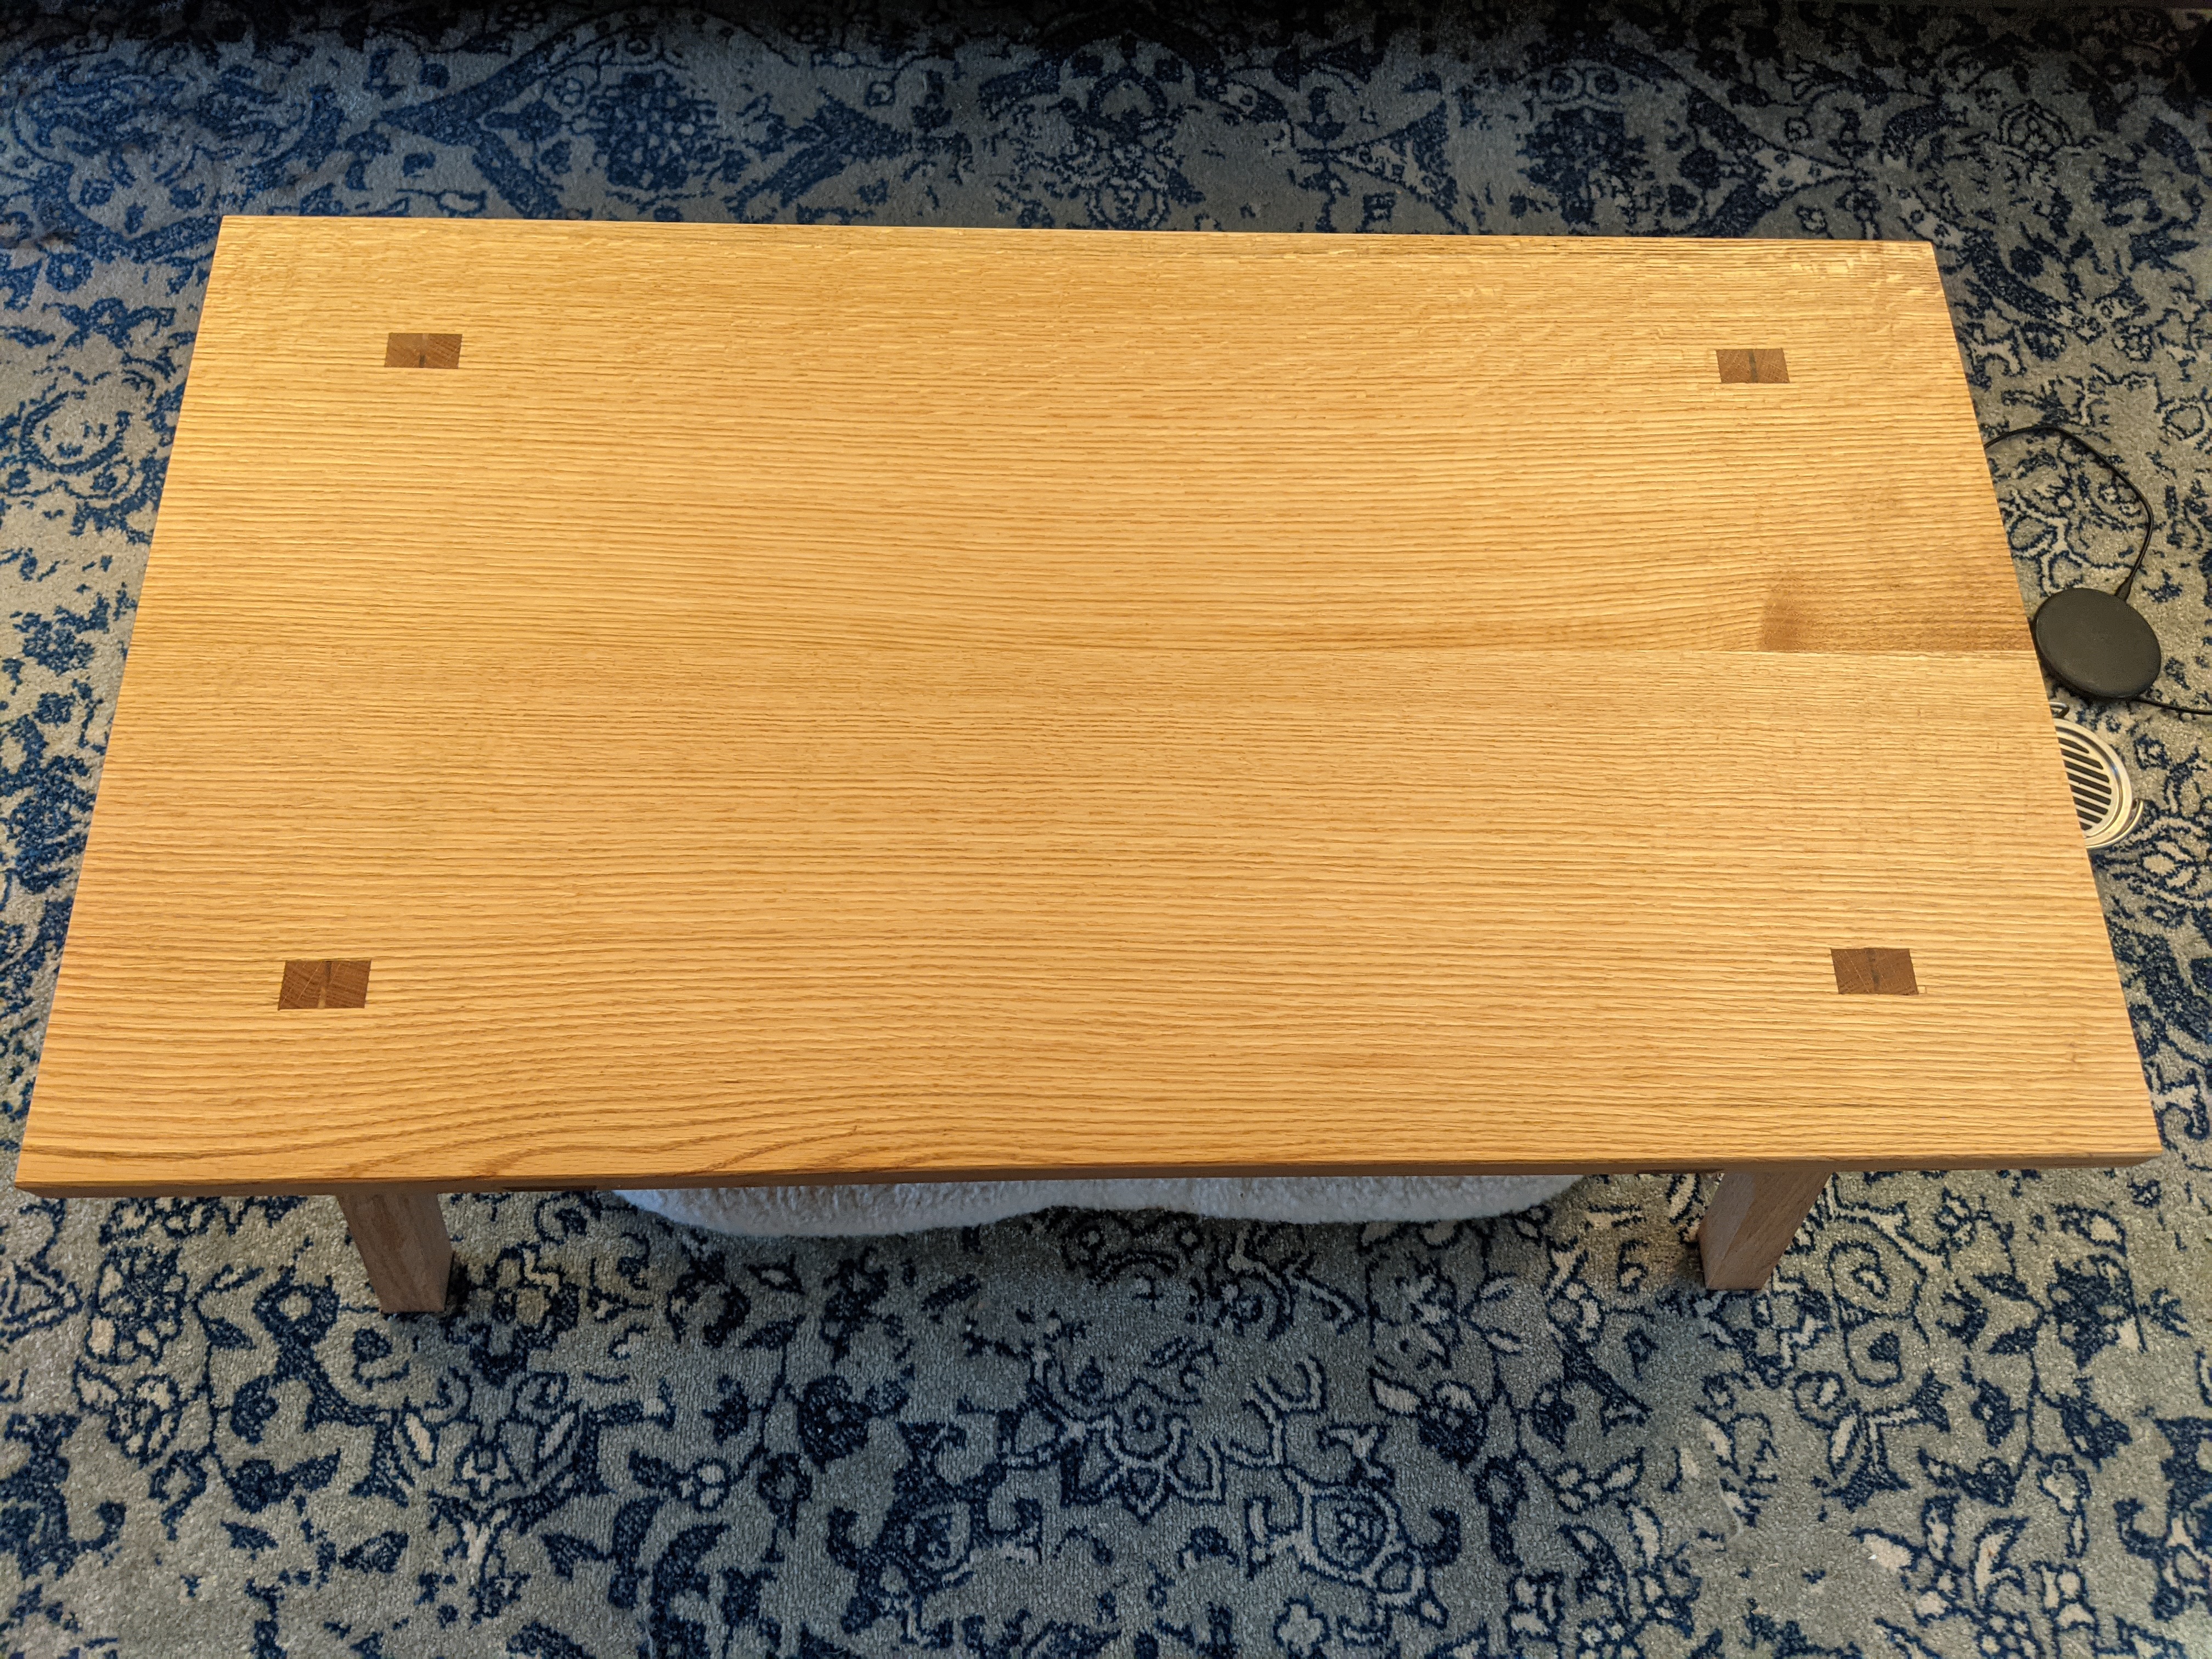
The style itself feels a bit tacky to me. It’s a home center butcher block tabletop (birch) and the legs are poplar. Nice, clear, straight grained poplar (left over from the base of my Moravian Workbench), but still. The table is an inch too low (at 27.75″) because I was just using what’s on hand. The legs themselves are round tenoned and wedged into thick blocks. Essentially making leg brackets. Which are just screwed into the underside with torx deck screws.

I’ve been joking on social media that it’s a lazy table (third laziest, in fact). But I don’t think that’s quite right. The legs themselves are tapered octagons. And the mortises are bored at 12.5 degrees and when attached have about a 30 degree sight line. I didn’t make a full base or dovetail the legs into the tabletop or something like that. But it still took some thought and problem solving.

But that’s not really the point. Calling it lazy seems to me a bit like gatekeeping. And that’s not something I support in any field, especially hobby woodworking. All that should matter is that a person made a thing and had fun doing it (or at least is pleased with the result). I personally don’t use a table saw or a router table, but I also personally don’t give a fuck if someone else does.

There are enough litmus tests in this life. My only one is “do you have a thing that you love to do?” And as long as that thing is not hunting endangered animals for sport, you do you, bud.
And if you do hunt endangered animals for sport, you can fuck all the way off and unfollow me.
Please and thank you.
JPG