I’m not always kind to my Work Sharp 3000 sharpening system. It’s a temperamental machine, in my experience. But seeing as I somehow let some of my chisels get a bit out of shape, the Work Sharp has spent a fair time on my bench lately.
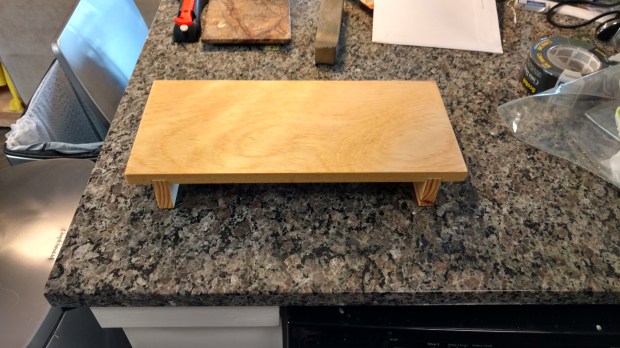
In all its glory.
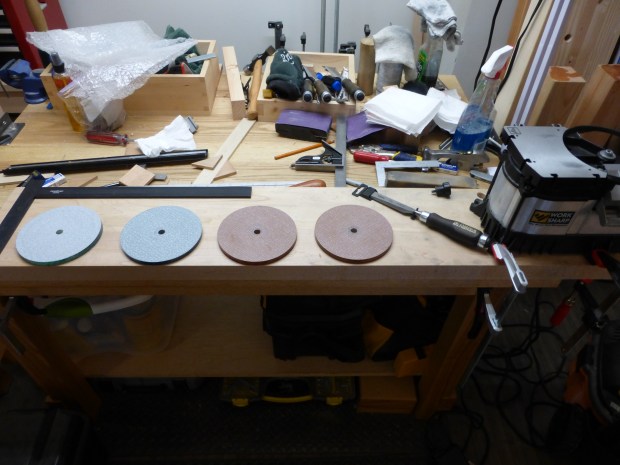
For those unfamiliar with the product, the Work Sharp spins a tempered glass disc covered with adhesive-backed abrasive paper on each face (see above). With the disc spinning, the top face is typically used for flattening, while an adjustable tool rest permits bevel-grinding and sharpening on the underside (up to 2″ wide). Though great for bevels, I’ve found it nearly impossible to evenly flatten on the top face while the disc is spinning. But the discs are very flat, which is what I’d like to talk about today.
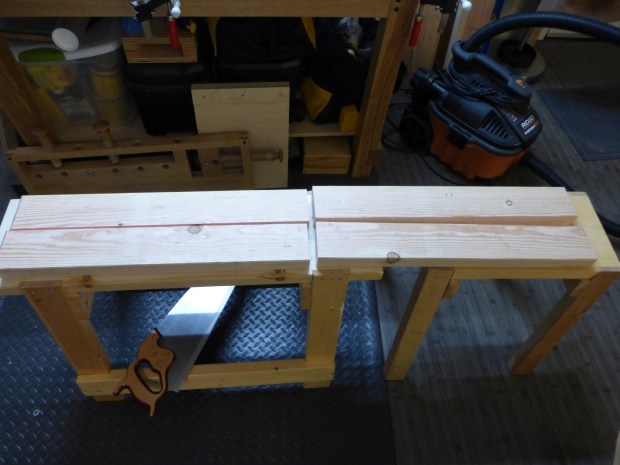
For flattening, I typically use a machinist’s granite slab with adhesive-backed sandpaper. The setup is admittedly much better for planes than for chisels and the granite slab can be cumbersome in use. For example, I can only adhere a few different grits at a time (which range only from 80 to 320). Also, changing sandpaper often leaves adhesive residue that needs to be scraped away (or worse, removed with mineral spirits). So instead, I’ve been using the Work Sharp discs for re-flattening my chisels, but off the machine.
To begin with, there are more grits available than with adhesive-backed sandpaper (WS goes from 80 grit to 3000 and above) and each of grit is available at all times because I own 5 glass discs. Plus each disc is naturally non-skid on the benchtop, having abrasive paper on both sides. In addition, because each disc is barely over a chisel-length in diameter, I can work the chisel from all angles use every square inch of abrasive on the discs (unlike my granite slab, where large swathes of fresh grit are wasted). Finally, the abrasive on the WS discs lasts much longer than ordinary sandpaper and can be easily cleaned with a crepe block while spinning on the machine.
And the results have been more than satisfactory, especially for my purposes.

Polished to 1000 grit only. I already own enough mirrors and my chisels are for chopping.
I’m not recommending anyone go out and buy a Work Sharp 3000 (and certainly don’t blow $100 on extra glass discs just because they are nice surfaces for flattening). But small-space woodworking is about finding the right tool for the job from what’s available. And in this case, something I had on hand works better than anything else.
JPG


![IMG_20160128_204049456[1]](https://theapartmentwoodworker.com/wp-content/uploads/2016/01/img_20160128_2040494561.jpg?w=620)